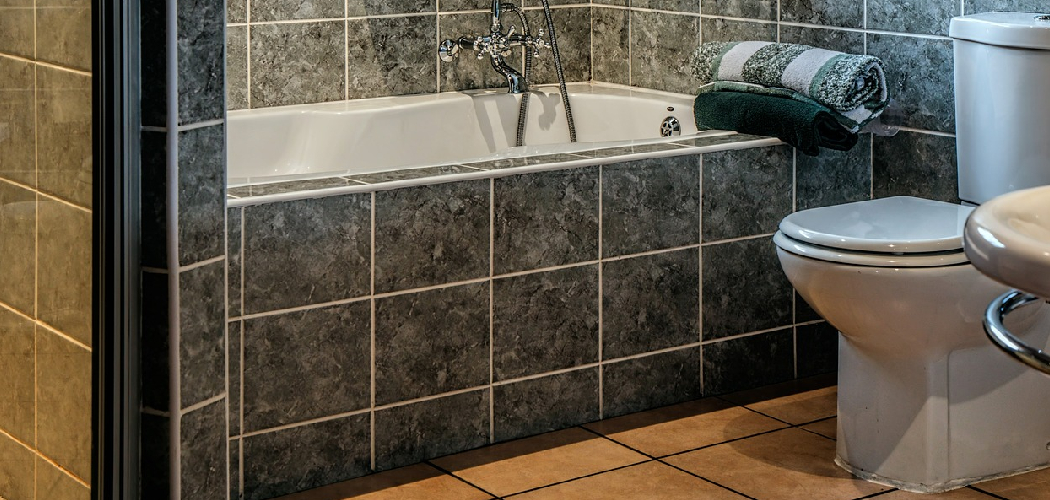
Are you having issues with a clogged toilet? Before calling a plumber, you can try using a drain cleaner to clear the blockage. Here are some steps on how to use drain cleaner in toilet.
Using drain cleaner in your toilet can be an effective way to tackle stubborn clogs and maintain proper drainage. These specialized products are formulated to break down waste, grease, and mineral deposits that can cause blockages. However, using them correctly is essential to ensure safety and achieve the best results.
In this guide, we will walk you through the steps to effectively use drain cleaner in your toilet, from preparation to application, while providing tips to prevent future clogs and maintain a healthy plumbing system. Following these guidelines allows you to keep your toilet functioning smoothly and avoid costly plumbing repairs.
What Will You Need?
Before starting, gather the following materials:
- Protective gear such as gloves and goggles
- A bucket or container to hold water
- Toilet brush
- Plunger
- Drain cleaner specifically designed for toilets (avoid using regular drain cleaners in the toilet as they can damage your plumbing system)
Once you have these materials on hand, you are ready to begin.
10 Easy Steps on How to Use Drain Cleaner in Toilet
Step 1: Read the Instructions
Before applying drain cleaner to your toilet, it is crucial to carefully read the label and instructions provided by the manufacturer. Each product may have specific directions regarding the amount to use, how long to let it sit, and whether it is safe for your toilet model.
Pay attention to any warnings or precautions, especially regarding the use of protective gear. Understanding these details will not only maximize the effectiveness of the drain cleaner but also ensure your safety and the longevity of your plumbing system.
Step 2: Prepare the Area
Once you’ve familiarized yourself with the instructions, prepare the area around your toilet. Remove any items that may obstruct access or be damaged by spills, such as toilet paper holders or bath mats.
Open a window or turn on a fan for ventilation to avoid inhaling any harsh chemical fumes that may be emitted during the process. Keeping pets and children away from the area until the task is completed is also advisable, as drain cleaner can be hazardous.

Step 3: Drain Water (if necessary)
If your toilet bowl is filled with water, it’s essential to drain some of it before applying the drain cleaner. This step allows the cleaner to work more effectively on the blockage, as it needs direct contact with the clog.
To drain the water, you can either shut off the toilet’s water supply near the base or use a sponge or small bucket to remove excess water manually. Be careful not to overspill, as this could create a mess on your bathroom floor.
Ideally, you want the bowl to be about half full, which provides enough liquid for the drain cleaner to activate and helps wash away debris once it begins to dissolve the clog. After achieving the desired water level, you’re ready to proceed to the next step.
Step 4: Apply the Drain Cleaner
Now that you have prepared the area and adjusted the water level in the toilet bowl, it’s time to apply the drain cleaner. Begin by carefully pouring the recommended drain cleaner directly into the toilet bowl.
Make sure to follow the manufacturer’s guidelines regarding the specific quantity to use, as using too much may not yield better results and could potentially harm your plumbing system. Once the cleaner is in the bowl, ensure it reaches the clog by swishing it around gently with the toilet brush, but avoid vigorous scrubbing at this stage.
After application, allow the drain cleaner to sit for the specified time stated on the product label. This waiting period is crucial, giving the chemicals time to break down the materials causing the blockage.
During this time, you may notice some fizzing or bubbling in the bowl, indicating the cleaner is actively working. While you’re waiting, it’s a good idea to keep the bathroom well-ventilated and keep pets and children away to avoid any exposure to the fumes.
Step 5: Flush the Toilet
After the recommended waiting period has elapsed, it’s time to flush the toilet. This flush will help wash away the dissolved clog and any remaining drain cleaner. Start by turning on the toilet’s water supply if it was previously shut off, allowing the tank to fill.
Once the tank is filled, flush the toilet to clear the bowl. Observe the water flow; a more potent, uninterrupted stream usually indicates that the clog has been removed. If the water drains smoothly, you’ve likely resolved the issue. However, if the toilet is still slow to drain or has a backup, it may indicate that the clog remains or is partially cleared.
Step 6: Test the Toilet
After flushing, it’s essential to test the toilet to ensure everything functions properly. This involves flushing the toilet several times to check for any lingering blockages or slow drainage.
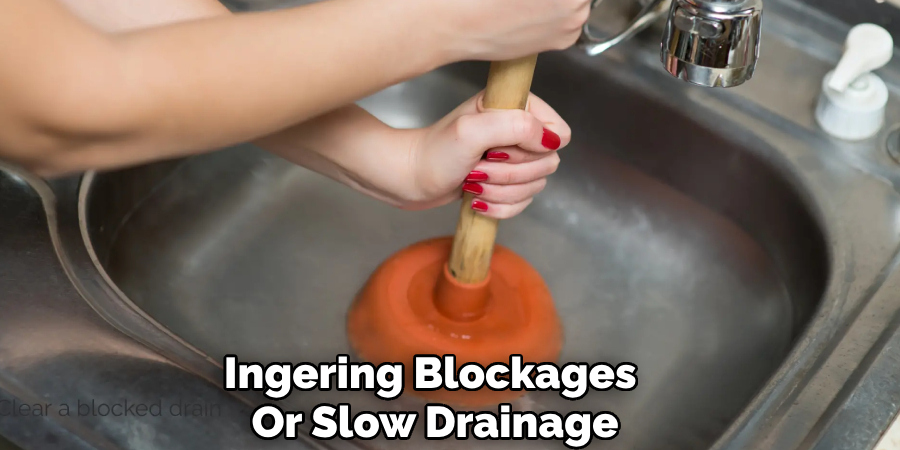
Further intervention may be needed if the water rises again or the flushing power seems weak. You can try using a plunger to dislodge any remaining debris manually. If the problem persists, consider repeating the drain cleaner application or consulting a professional plumber.
Step 7: Clean the Surrounding Area
Once you are satisfied with the toilet’s performance, take a moment to clean the area around the bathroom. Disinfect any surfaces that may have been exposed to drain cleaner or water during the process.
Using a bathroom cleaner designed explicitly for disinfecting is advisable to kill any bacteria or lingering germs. Return any items removed during preparation to their original places, ensuring the environment is tidy and safe.
Step 8: Prevent Future Clogs
Implement practices that prevent future clogs to keep your toilet functioning smoothly in the long run. Be mindful of what goes into the toilet; never flush items like paper towels, feminine hygiene products, or excessive toilet paper, as these can lead to blockages.
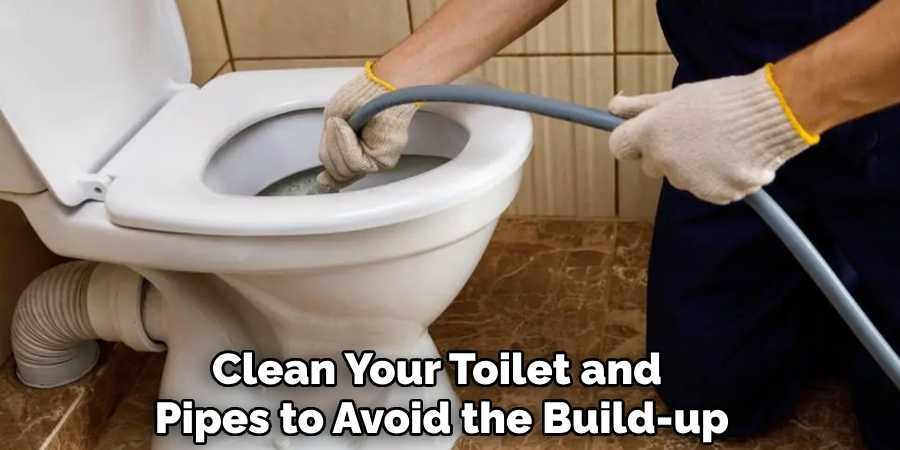
Regularly clean your toilet and pipes to avoid the build-up of waste and mineral deposits. Using a toilet brush routinely and scheduling the occasional application of a gentle drain cleaner can help maintain clear plumbing.
Step 9: Monitor the Drainage
After successfully clearing the clog and cleaning the area, monitoring the drainage over the following days is critical. Monitor how well the toilet flushes and whether any signs of slow drainage return.
Regular monitoring can help identify early warning signs of future blockages, allowing you to address them before they escalate. If you notice that the toilet begins to drain slowly again, it may be a good indicator that there is still some debris lingering in the pipes or other plumbing issues may develop.
In addition, consider maintaining a routine check-up of other drains in your home to ensure they’re also functioning correctly. Regularly inspect sink traps and shower drains to catch any potential clogs. If you discover recurring drainage issues, scheduling a professional plumbing inspection could be wise.
A plumber can thoroughly examine your plumbing system, potentially uncovering deeper problems that may not be visible to the naked eye, such as tree root intrusion or pipe deterioration. Maintaining vigilance protects your home from unwanted plumbing problems and ensures a well-functioning sanitary system.
Step 10: Know When to Call a Professional
Lastly, it is crucial to understand when to seek help from a plumber. If you have tried drain cleaner, plunging, and other methods without success, it may be time to bring in an expert.
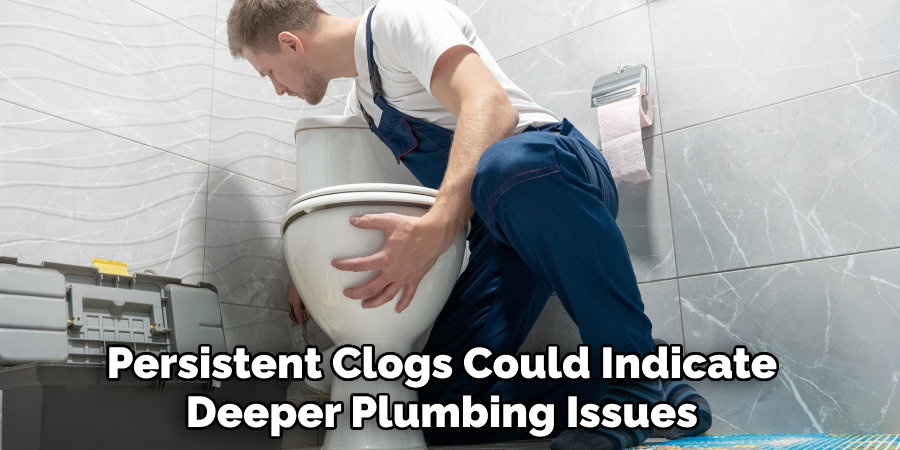
Persistent clogs could indicate deeper plumbing issues that require specialized equipment or expertise. Don’t hesitate to call a professional to ensure your plumbing system is functioning optimally and to avoid daily inconveniences.
By following these steps and implementing preventative measures, you can successfully clear a clogged toilet and maintain a healthy plumbing system.
5 Things You Should Avoid When Using Drain Cleaner in the Toilet
- Avoid Mixing Different Cleaners: Combining drain cleaners can create harmful chemical reactions. It’s essential to use one product at a time and follow the manufacturer’s instructions closely to prevent dangerous fumes or damage to your plumbing.
- Refrain from Overusing Drain Cleaner: Using drain cleaners too frequently can damage pipes and cause corrosion. The harsh chemicals can wear down pipes over time. Instead, reserve drain cleaners for significant clogs and employ preventive measures regularly.
- Avoid Flushing Non-Flushable Items: Be mindful of what you flush down the toilet. Items like paper towels, wipes, and feminine hygiene products should never be flushed, as they can lead to clogs that drain cleaners cannot fix.
- Do Not Ignore Safety Precautions: Always wear gloves and protective eyewear when handling drain cleaners. Ensure adequate ventilation in the bathroom to avoid inhaling toxic fumes during the application process.
- Avoid Using Drain Cleaner in Unclogged Toilets: Do not apply drain cleaner to toilets that are functioning well. Using such chemicals without necessity can be harmful to your plumbing system and wasteful when preventative measures would suffice.
Conclusion
In conclusion, effectively using drain cleaner in your toilet involves understanding when and how to apply it, as well as recognizing its limitations.
Always start by assessing the issue; if a clog persists after multiple attempts to resolve it, it may indicate deeper plumbing problems. Safeguard your plumbing by employing preventive measures to minimize the occurrence of clogs, such as being mindful of what goes down the toilet. Additionally, prioritize safety by using protective gear and ensuring proper ventilation while handling drain cleaners.
By following the steps outlined in this guide on how to use drain cleaner in toilet, you can ensure a smoother and more efficient drainage experience. Should issues persist, never hesitate to reach out to a professional for assistance, ensuring your plumbing remains in optimal condition.

