Are you experiencing a sputtering faucet or inconsistent water pressure? This may be due to trapped air in your water pipes. Bleeding the air from your pipes is a simple process that can easily be done at home without special tools.
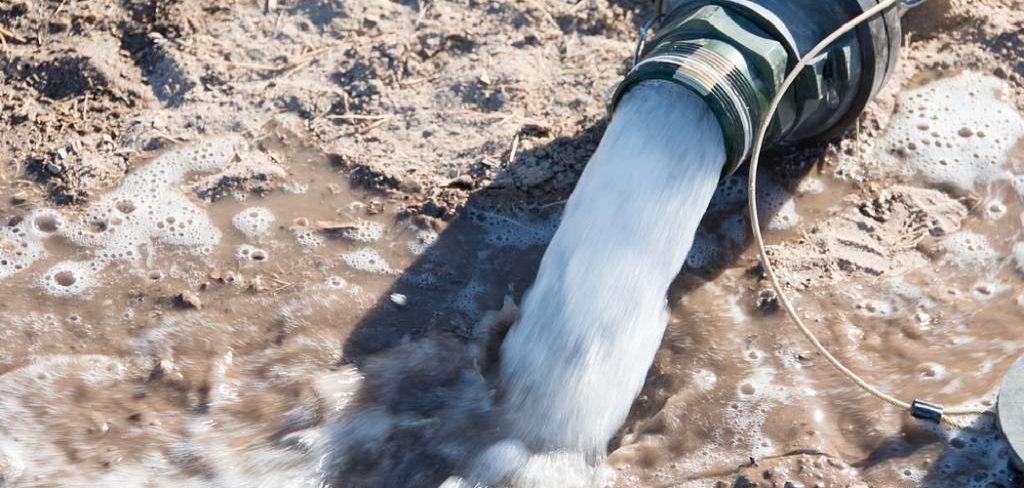
How to bleed air from water pipes is an essential maintenance task that can help ensure the efficient operation of your plumbing system. Air trapped within the pipes can lead to various issues, such as water hammer, reduced water pressure, and inconsistent temperature in hot water systems. By systematically removing the trapped air, you can improve water flow and enhance the overall performance of your fixtures.
This guide will outline the necessary steps and precautions to take while bleeding the air from your water pipes, making the process straightforward and manageable for homeowners.
Why Does Air Get Trapped in Water Pipes?
Air can become trapped in water pipes for several reasons, including:
- Recent Plumbing Repairs: If you’ve recently had work done on your plumbing system, it’s possible that air has entered the pipes during the process.
- Water Line Breaks: A break in the main water line serving your area can cause air to enter your home’s plumbing system.
- Changes in Temperature: Temperature changes can cause fluctuations in water pressure, which can lead to air being trapped in the pipes.
- Elevation Changes: If your home is at a higher elevation than the primary water source, air can become trapped in the pipes as water flows upwards.
It’s essential to promptly address and remove trapped air from your water pipes to avoid potential damage and inconvenience.
What Will You Need?
Before getting started, gather the following items to make the process easier:
- A bucket or container
- Towels or rags
- Pliers or a wrench (if needed for stubborn valves)
Once you have these items, you’re ready to begin the process.
10 Easy Steps on How to Bleed Air From Water Pipes
Step 1: Turn Off the Main Water Supply
Turning off the main water supply is the first and most crucial step in bleeding air from your water pipes. This step helps prevent any potential water flow while you’re working on the pipes, ensuring you can safely release the trapped air without the risk of water spraying out unexpectedly. Locate the main shut-off valve, typically found near the water meter or where the main line enters your home.
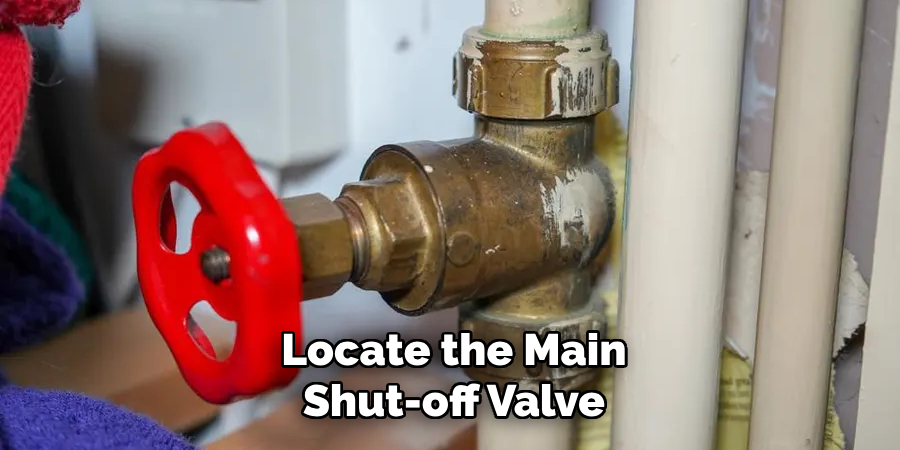
Turn the valve clockwise to shut off the water supply; you should hear a noticeable change in the water flow within your home. Once the water supply is off, it is advisable to open a few faucets throughout your house to relieve any remaining pressure in the system. This initial action can also temporarily reduce the chances of water spillage when you start bleeding the pipes in the following steps.
Step 2: Open All Faucets
With the main water supply turned off, the next step is to open all the faucets in your home. Start with the highest point in your house and work your way down. This will allow any remaining water in the pipes to drain out, creating a vacuum that helps in releasing the trapped air. Additionally, opening the faucets will give you a better idea of the water pressure and flow issues you are dealing with. Make sure to open both hot and cold faucets in sinks, tubs, and showers, as well as any outdoor spigots. Keep the faucets open during the entire bleeding process to facilitate optimal air release.
Step 3: Locate the Air Relief Valve
Once all the faucets are open, the next step is to locate the air relief valve, typically found near the highest point in your plumbing system, such as on a water heater or in a plumbing vent. If your system doesn’t have an air relief valve, you may need to use a faucet that’s at the highest elevation within your home. If you’re unsure where to find the valve, consult your plumbing schematics or a professional plumber for guidance. Identifying the correct point to release trapped air is crucial to ensure an efficient bleeding process.
Step 4: Release the Air
Now that you’ve located the air relief valve, it’s time to release the trapped air. Using a wrench or pliers, carefully loosen the air relief valve by turning it counterclockwise. Be cautious as you do this, as some water may escape along with the air. You may hear a hissing sound as the air is released—a good sign that the trapped air is exiting the system.
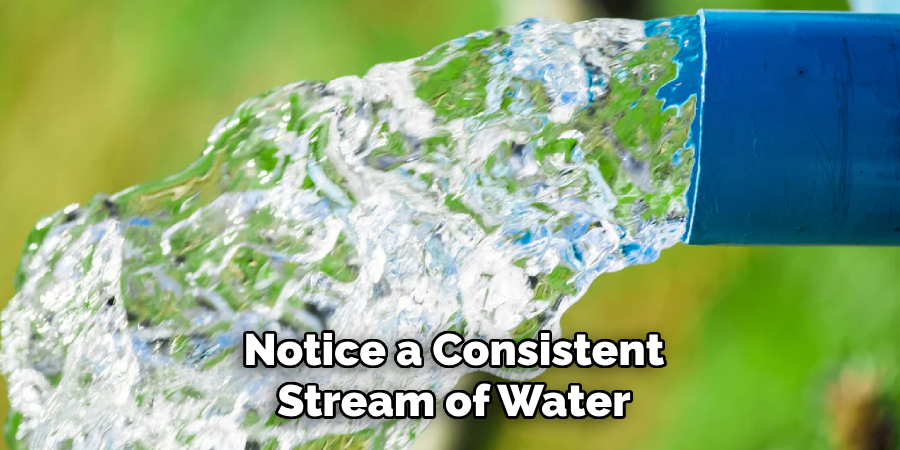
Allow the air to escape until water starts to flow steadily from the valve without sputtering, indicating that the air has been wholly bled from the pipes. Once you notice a consistent stream of water, tighten the valve securely by turning it clockwise to close it. This step is critical for ensuring that no air remains trapped in the system.
Step 5: Close All Faucets
After successfully releasing the trapped air and allowing water to flow steadily from the air relief valve, it’s time to close all the faucets in your home. Begin with the lowest faucet and work your way up to the highest one. This method stabilizes the water pressure throughout your plumbing system, reducing the risk of water hammer or further air entrapment. As you close each faucet, listen for any strange noises or changes in water flow that may indicate lingering issues. Once all faucets are closed, you can proceed to the next step.
Step 6: Turn On the Main Water Supply
With all faucets closed, turning the main water supply back on is time. Locate the main shut-off valve and carefully turn it counterclockwise to restore the water flow to your home. You may hear water rushing back into the pipes as you open the valve.
Allow a moment for the water pressure to stabilize. It’s important to check for any leaks around the air relief valve or other joints in the system, as this could indicate that the bleeding process may need to be repeated or that there may be an underlying issue in your plumbing. After ensuring everything is sealed and there are no leaks, you can proceed to the next step.
Step 7: Check for Air Bubbles
After turning on the main water supply, it’s important to check for any air bubbles in your plumbing system. Turn on each faucet individually, starting from the lowest point and moving to the highest. Observe the water flow; it should come out without sputtering or air pockets. If you notice any irregular flow or air bubbles, that could indicate that trapped air remains in the system. If this occurs, consider repeating the previous steps until you achieve a steady flow of water without any disruptions.
Step 8: Inspect Water Pressure
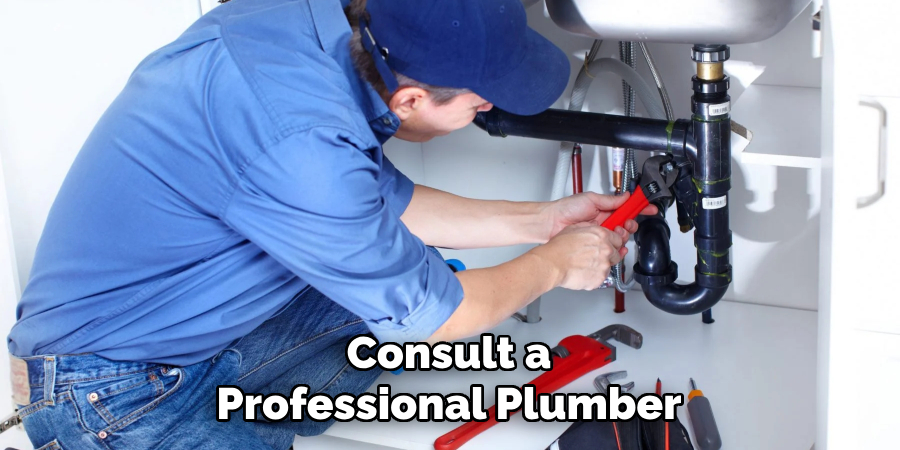
Once you have ensured that there are no more air bubbles, take a moment to inspect the water pressure at various taps around your home. Open each faucet fully and assess whether the water flows strongly and consistently. Low water pressure may suggest that residual air is still present in the system or a blockage elsewhere in your plumbing. If everything appears normal, proceed to the next step; however, if you notice continual low pressure, you may need to consult a professional plumber for further investigation.
Step 9: Clean Up
After ensuring that your plumbing system is operating smoothly and that no air bubbles or pressure issues persist, it’s essential to tidy up the work area. Begin by turning off any faucets you may have left open during bleeding. Wipe down any surfaces that may have gotten wet, particularly around the air relief valve and any sinks or bathtubs used during the procedure. If you’ve used any tools, such as wrenches or pliers, return them to their proper storage places to keep your area organized.
Additionally, check the area surrounding the water heater or where you conducted the bleeding for any residual water accumulation. Using towels or a mop, quickly dry up any spills to prevent slipping hazards and discourage mold growth. If you must remove any coverings, such as insulation on pipes or protective caps, ensure they are replaced securely. Finally, take a moment to document any observations made during the process, especially if you encountered persistent issues that may warrant further professional attention. Proper documentation can assist both you and a plumber should you need to consult one in the future.
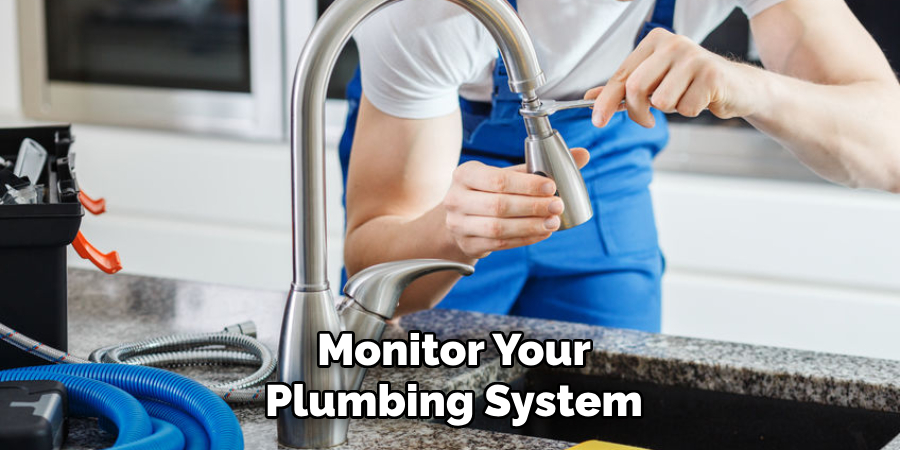
Step 10: Monitor Your Plumbing
Finally, monitor your plumbing system over the next few days. Monitoring for unusual sounds, pressure fluctuations, or leaks can help catch potential problems before they escalate. If issues arise again, it may be a sign of a deeper plumbing concern that requires professional attention. Regular maintenance checks can prolong the life of your plumbing system and reduce the likelihood of air trapping in the future.
By following these steps, you can successfully bleed trapped air from your plumbing system and restore proper water flow.
Conclusion
In summary, bleeding air from your water pipes is a crucial maintenance task that ensures your plumbing system functions efficiently.
By following the outlined steps on how to bleed air from water pipes—from locating the air relief valve to monitoring your system after the process—you can effectively remove trapped air that can cause noise, low water pressure, and damage to your plumbing. Regularly checking for air accumulation and promptly addressing it will help maintain optimal water flow and prolong the life of your pipes.
If you encounter persistent issues or uncertainties during the process, don’t hesitate to seek assistance from a professional plumber to ensure the integrity of your plumbing system.
