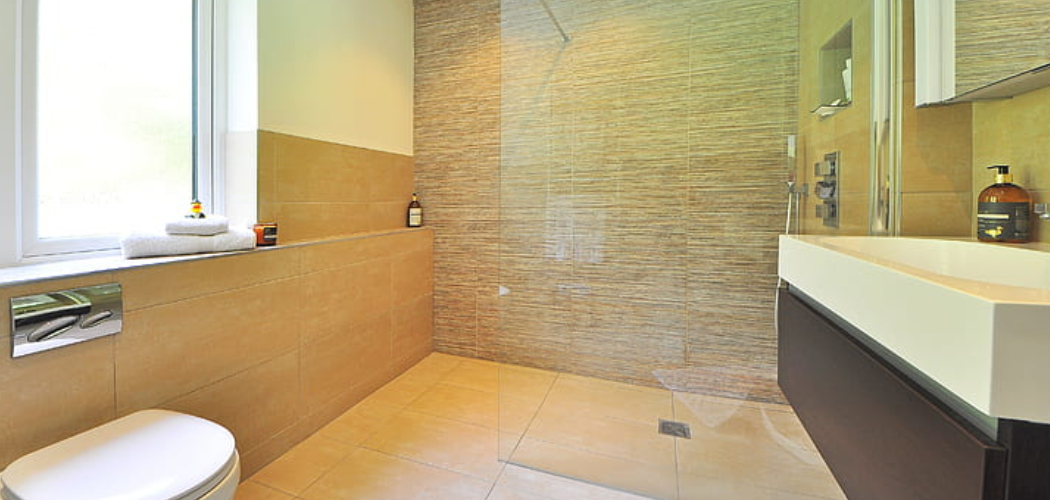
Are you tired of your old bathroom sink? Do you want to save space in your bathroom and give it a new look? A wall-mounted sink is the perfect solution for you.
Hanging a wall-mounted sink can be a stylish and space-saving solution for any bathroom or kitchen. This type of installation adds a modern touch to your décor and maximizes floor space, making your area feel more open and accessible. However, the process requires careful planning and execution to ensure proper support and stability.
In this guide, we will walk you through the essential steps and considerations for how to hang a wall mounted sink, ensuring it is both functional and aesthetically pleasing. Whether you’re a seasoned DIYer or a first-time installer, these instructions will help you achieve a professional-looking result.
What Will You Need?
Before you get started, it’s essential to have all the necessary tools and materials on hand. Here is a list of items you will need for this project:
- Wall mounted sink
- Sink bracket(s)
- Level
- Measuring tape
- Pencil
- Drill with appropriate bits
- Stud finder (optional)
- Anchors (if not drilling into studs)
- Adjustable wrench or pliers
- Silicone caulk
10 Easy Steps on How to Hang a Wall Mounted Sink
Step 1: Prepare the Area
Before installing the wall-mounted sink, preparing the area effectively is critical. Start by clearing the space around the existing sink and removing any items or fixtures that may obstruct your work. Ensure that the wall where the sink will be mounted is structurally sound and free from water damage or mold. It’s advisable to turn off the water supply to your existing sink and disconnect it, making sure to cap off any plumbing lines if necessary.
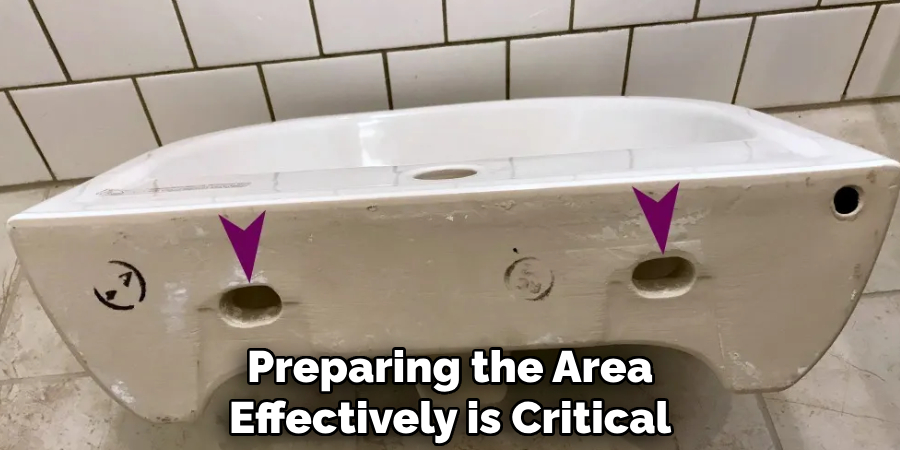
Next, measure the height you want to install the new sink, typically aligning it with the current countertop height for convenience. Use a level to draw a horizontal line on the wall for reference, which will guide you for both the installation of the sink and the brackets. Finally, consider patching any holes from the old faucet or sink for a cleaner installation and repainting the wall if needed before proceeding further. This thorough preparation will help facilitate a smooth installation process and ensure a polished final result.
Step 2: Locate the Wall Studs
Finding the wall studs is crucial in ensuring that your wall-mounted sink is securely supported. Use a stud finder to locate the studs within the wall, usually spaced either 16 or 24 inches apart. Mark the positions with a pencil, as these will be where you’ll anchor the brackets. If you prefer a more traditional method, you can knock on the wall and listen for a solid sound, indicating a stud’s location. Remember, it’s essential to attach at least one bracket directly to a stud for maximum stability, especially considering the weight of the sink and the potential water it holds.
Step 3: Install the Sink Brackets
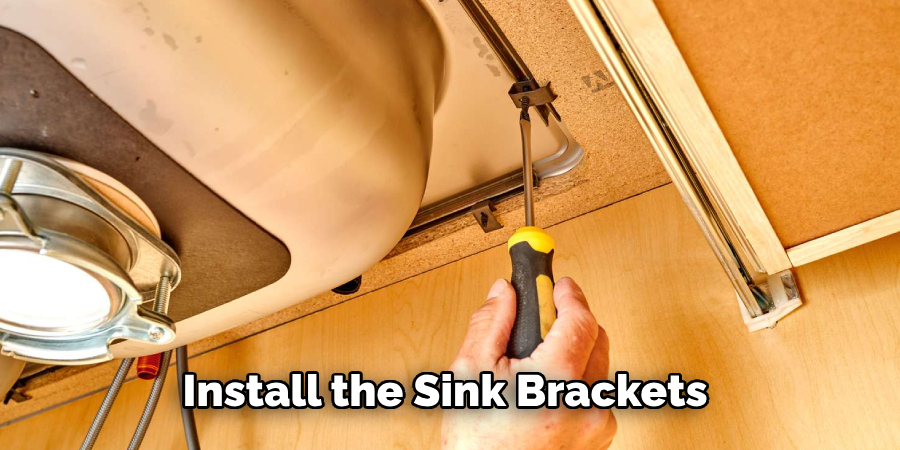
With your stud locations marked, installing the sink brackets is time. Refer to the manufacturer’s guidelines for your specific brackets, as installation methods can vary.
Hold the bracket against the wall, aligning it with your previously marked stud locations. Use a level to ensure that the bracket is straight, and mark the drill points with a pencil.
Drill pilot holes at the marked spots and then attach the brackets using screws. Again, ensure that at least one screw goes into a wall stud for robust support. Repeat this process for any additional brackets required for your sink.
Step 4: Prepare the Sink
While the brackets are being installed, you can prepare your wall-mounted sink. Depending on the model, you may need to attach the faucet and drain assembly before hanging the sink. If your sink requires any additional components—such as a mounting plate or filter—follow the manufacturer’s instructions carefully. This pre-assembly will simplify the installation process and reduce the chance of needing awkward adjustments later on.
Step 5: Hang the Sink
Once your brackets are securely in place and your sink is prepped, it’s time to hang the sink. Carefully lift the sink and align it with the installed brackets, ensuring that any mounting points on the sink correspond correctly with the brackets’ positions.
If the sink has a lip, it should rest nicely on the brackets for added support. Having someone assist you during this step is advisable to hold the sink in place while you secure it.
With the sink positioned correctly, use the provided screws or bolts to attach the sink to the brackets. Tighten them evenly to avoid placing undue stress on one side of the sink.
After securing, double-check with a level to ensure the sink is perfectly horizontal—making necessary adjustments as needed. A well-hung sink not only improves its functionality but also enhances your bathroom or kitchen’s aesthetic appeal.
Step 6: Connect the Plumbing
Once the sink is secured, reconnect the plumbing. Start by attaching the water supply lines—you might need an adjustable wrench or pliers. Ensure all connections are tight to prevent leaks. Next, connect the drain pipe, ensuring adequate sealing around any connections using the plumber’s tape or silicone as needed. Take time during this step; proper connectivity is crucial for the sink’s functionality.

Step 7: Seal the Edges
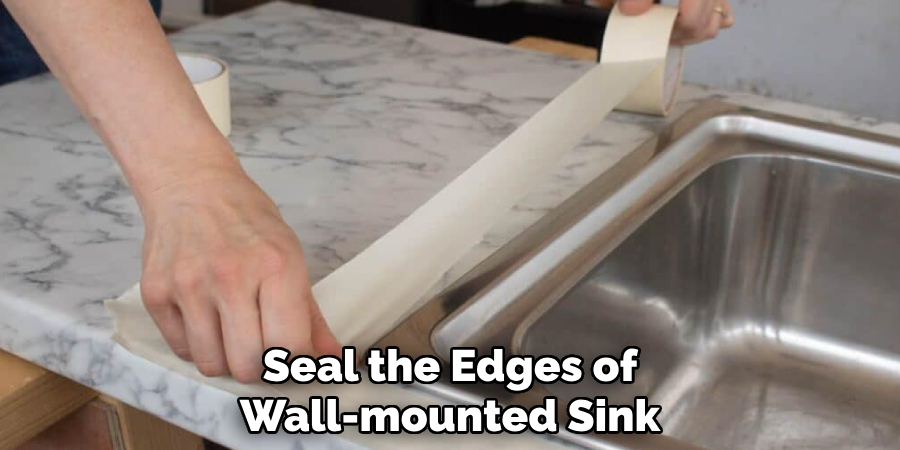
After successfully connecting the plumbing, it’s vital to seal the edges of your wall-mounted sink to prevent any water damage and enhance the overall aesthetic. Start by applying a bead of high-quality silicone caulk along the edges where the sink meets the wall. This caulking will serve as a waterproof barrier, protecting the wall from moisture that could lead to mold or deterioration over time. Use a caulking gun for precision, ensuring that the bead is even and fills any gaps.
Once applied, smooth the caulk with a wet finger or a caulk smoothing tool to create a clean, professional finish. Take your time during this step to ensure an attractive appearance, as it can significantly impact the final look of your installation. Allow the caulk to cure for the recommended time specified on the product label, typically 24 hours, before using the sink. This waiting period allows the seal to harden correctly and ensures maximum effectiveness against water intrusion. After the caulk is fully cured, you can proceed to the next step, further enhancing both functionality and style in your bathroom or kitchen.
Step 8: Test for Leaks
With the sink installed and sealed, the next crucial step is to test for leaks. Turn the water supply back on slowly and observe the connections. Check both the water supply lines and the drain pipe for any signs of leaking. If you notice any water escaping from the joints, it’s essential to turn off the water supply immediately and tighten the connections as needed. If leaks persist, inspect the seals and consider reapplying the plumber’s tape or silicone caulk to ensure a watertight fit. This step is vital, as it helps ensure your sink functions properly without causing potential water damage to your home.
Step 9: Final Touches
After testing for leaks and ensuring everything is functioning correctly, it’s time to focus on the final touches of your wall-mounted sink installation. Begin by cleaning the sink and surrounding area to remove any tools, debris, or leftover materials from the installation process. This not only enhances the overall appearance but also ensures a hygienic environment. If you haven’t already, reattach any decorative elements, such as sink covers or caps, to complete the look. Finally, take a moment to admire your handiwork and verify that everything is in order. Regularly check the installation in the coming weeks to quickly catch any potential issues.
Step 10: Regular Maintenance
Maintaining your wall-mounted sink is essential to ensure its longevity and optimal performance. Regularly inspect the plumbing connections for any wear or corrosion, and tighten loose fittings to prevent leaks. Additionally, clean the sink with non-abrasive cleaners to avoid scratching the surface and to keep it looking its best. Check the silicone sealant periodically to ensure it remains intact; if it shows signs of degradation, consider reapplying to maintain a waterproof barrier.
With these ten steps, you can confidently install and maintain a wall-mounted sink in your bathroom or kitchen. Remember always to follow the manufacturer’s instructions carefully and take your time during each step for the best results.
Conclusion
Successfully hanging a wall-mounted sink involves a series of meticulous steps, from preparing the installation area and securely attaching the sink to the brackets to connecting the plumbing and sealing edges properly.
By following each guideline carefully, you can ensure that your sink is not only aesthetically pleasing but also functional and durable over time. Regular maintenance and vigilance for any potential issues will further prolong the life of your installation, keeping your bathroom or kitchen looking immaculate. Always remember that careful planning and execution are key to achieving a seamless and professional result during your sink installation.
Hopefully, the article on how to hang a wall mounted sink has provided you with the necessary information and confidence to take on this project. Happy installing!

