Do you struggle with a slow or clogged bathroom sink drain? If so, you’re not alone. Many people deal with this frustrating issue on a regular basis. Luckily, there are simple methods you can try to get something out of your bathroom sink drain and keep it running smoothly.
How to get something out of a bathroom sink drain can be a frustrating experience. Whether it’s a ring, a toy, or a clump of hair, the obstruction can disrupt your daily routine and lead to potential plumbing issues. Fortunately, with the right tools and techniques, most items can be retrieved without calling a plumber.
This guide will explore various methods to effectively remove unwanted items from your bathroom sink drain, ensuring you restore proper functionality while minimizing damage to your plumbing system.
What Will You Need?
Before you begin, gathering the necessary tools and materials is important. These may include:
- Rubber gloves
- A sink plunger
- Needle-nose pliers or tweezers
- A wire hanger
- Baking soda and vinegar
- Hot water
Having a bucket or large bowl on hand is also a good idea to catch any water that may come out of the drain.
9 Easy Steps on How to Get Something Out of a Bathroom Sink Drain
Step 1: Ensure Safety First
Before diving into any plumbing task, safety should always be your top priority. Start by putting on rubber gloves to protect your hands from germs and sharp objects lurking in the drain. If you’re using chemical cleaners or substances like baking soda and vinegar, read the labels to avoid allergic reactions or harmful fume inhalation. Additionally, it’s a good idea to lay down towels around the sink area to soak up any spills or drips as you work.

Lastly, if the sink is filled with water, consider using a bucket to remove the excess, which will help you see better into the drain and avoid any splashes while you work. Following these precautions will ensure a safer and more effective process in tackling your clogged sink issue.
Step 2: Clear the Area
Before attempting to retrieve any items from the drain, it’s essential to clear the area around the sink. Remove any personal items, such as soap dishes, toothbrush holders, or decorative pieces that may be obstructing your access. This will create a cleaner workspace and prevent any accidental damage to your belongings during the process.
Additionally, ensure that the countertop is dry and tidy. Wipe down the surface with a damp cloth to remove any debris or dust that could interfere as you lean over the sink. A clear and organized space will help you focus on the task at hand, making it easier to maneuver tools and access the drain effectively. After clearing the area, double-check that all your tools are readily available so that you can work efficiently without interruptions.
Step 3: Use the Sink Plunger
With the area cleared and your safety precautions in place, it’s time to employ one of the most common household tools: the sink plunger. This method can be particularly effective for soft clogs, especially those caused by hair or small objects.
Begin by ensuring enough water in the sink to cover the plunger’s rubber bell. If the sink is dry, add a few inches of hot water to create a tight seal around the drain. Position the plunger over the drain, ensuring it completely covers the opening.
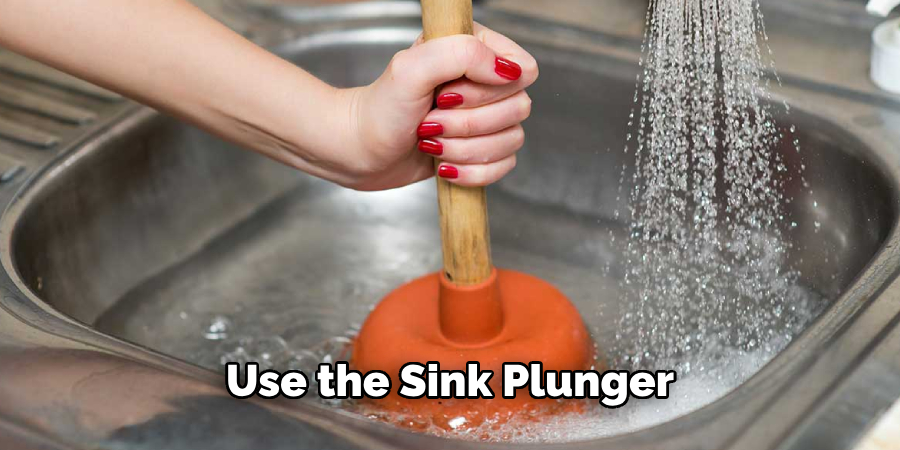
Firmly press down and then pull up in a quick, rhythmic motion. Repeat this process several times, keeping an eye on the water level; if it starts to drain, you may be dislodging the blockage. If the water drains successfully, you can check if the item is visible or still stuck. In cases where the plunger fails to clear the obstruction, don’t lose hope.
Step 4: Retrieve With Tools
If the plunger does not yield results, it may be time to reach for your needle-nose pliers or tweezers. These tools are ideal for extracting partially visible items in the drain. Carefully insert the pliers or tweezers into the drain, avoiding pushing the obstruction further down. Gently grasp and pull the item upwards; patience is crucial here, as forcing it can break the object or damage the pipes.
In cases where the object is deeper or out of reach, a wire hanger can be a useful tool. Straighten the hanger out, leaving a small hook at the end to catch the item. Carefully feed the hanger into the drain to snag and extract the clog. Whether you used pliers, tweezers, or a hanger, this step requires a delicate touch and a steady hand to avoid causing further damage to your plumbing.
Step 5: Employ Baking Soda and Vinegar
If the previous methods have not successfully removed the obstruction, you can try a natural cleaning technique using baking soda and vinegar. Start by pouring about half a cup of baking soda directly down the drain. Follow this with equal vinegar, allowing the two substances to react. You should observe fizzing and bubbling, which indicates that the solution is working to break down any buildup in the pipes.
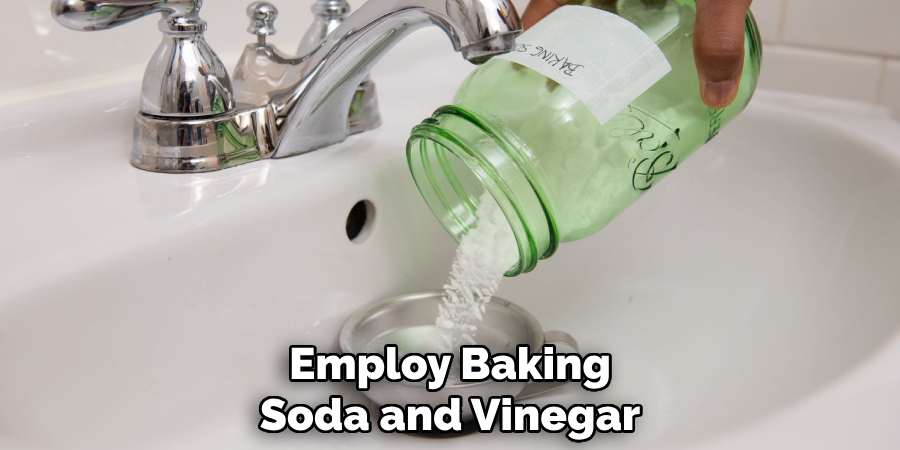
After approximately 10 to 15 minutes, flush the drain with hot water to help clear out any loosened debris. This method can be particularly effective for organic matter and may assist in removing stubborn clogs, providing a safe alternative to harsh chemical cleaners.
Step 6: Flush with Hot Water
Once you have attempted to dislodge the clog with the baking soda and vinegar mixture, it’s time to flush the drain with hot water. Boil a kettle or heat it in a pot until it reaches a rolling boil. Carefully pour the hot water down the drain in a steady stream. The heat should help dissolve any remaining debris or gunk lining the pipes. Be cautious when pouring hot water, as it can splatter.
This step often enhances the effectiveness of the previous methods and can further clear more stubborn clogs. If the water drains smoothly, it’s a great sign that you’re making progress. However, if the clog persists, don’t be discouraged; additional methods are available to tackle the issue.
Step 7: Use a Drain Snake
If all previous methods have failed to clear the clog, it may be time to enlist the help of a drain snake, also known as a plumber’s auger. This tool is designed to reach deep into the plumbing and dislodge stubborn blockages that other methods cannot reach. Begin by inserting the end of the drain snake into the drain opening, turning the handle clockwise as you push it further down the pipe. Be gentle yet firm; you want the snake to navigate through bends in the pipe without damaging it.
You’ve likely come into contact with the clog when you feel resistance. Continue twisting the snake to break up or hook the obstruction, then carefully pull it back out, bringing the debris with it. After extracting the snake, run hot water through the drain to ensure that any remaining fragments clear out smoothly. If the clog still remains, consider seeking professional plumbing assistance as the issue may be more complex than a simple blockage.
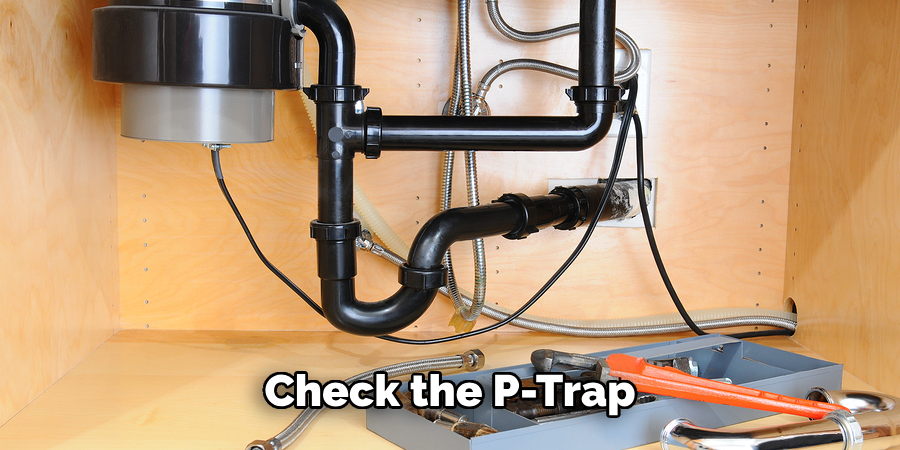
Step 8: Check the P-Trap
If the clog persists after using a drain snake, it’s time to inspect the P-trap, the curved section of pipe beneath your sink that prevents sewer gases from entering your home. Place a bucket or pan underneath the P-trap to catch any water or debris. Use a pipe wrench or your hands to loosen the slip nuts at both ends of the P-trap, then carefully remove it. Inspect the trap for any visible clogs or buildup, and clean it out thoroughly using a brush or cloth.
Reassemble the P-trap, ensuring that all connections are secure to prevent leaks. Once reattached, run some water to check for proper drainage. If everything flows smoothly, you’ve tackled the problem; if not, it may be necessary to investigate your plumbing system further or contact a professional plumber for assistance.
Step 9: Assess and Prevent Future Clogs
After successfully clearing the clog, it’s essential to take measures to prevent future blockages from occurring. Start by considering what items have been entering the drain and implement strategies to keep them out. Install a mesh strainer or drain cover to catch hair, food particles, and other debris before they can enter the plumbing system.
Additionally, regularly flush your drains with hot water and consider using a natural cleaner, such as a mix of baking soda and vinegar, at least once a month to help keep the pipes clear of buildup. By being proactive, you can avoid the inconvenience of clogs in the future and maintain a smoother functioning plumbing system.
By following these steps and employing various techniques, you can successfully remove a clog from your drain without calling in a professional.
Conclusion
How to get something out of a bathroom sink drain requires a combination of patience, the right tools, and a systematic approach.
By carefully inspecting the drain, utilizing tools such as pliers, tweezers, or a drain snake, and applying natural cleaning methods like baking soda and vinegar, you can effectively clear obstructions without damaging your plumbing. Additionally, regular maintenance and preventive measures can help you avoid future clogs. If these methods fail, it’s advisable to consult a professional plumber to ensure the issue is resolved comprehensively.
Taking these steps not only helps retrieve lost items but also enhances the longevity and efficiency of your plumbing system.

