Are you tired of jiggling your toilet handle every time you flush? A broken or malfunctioning toilet handle can be frustrating and inconvenient.

How to fix the toilet handle may seem like a daunting task, but with a few simple steps, it can often be accomplished easily and without the need for a plumber. A malfunctioning toilet handle can lead to inconvenience and wasted water, making it essential to address the issue promptly.
This guide will walk you through the common problems associated with toilet handles, the tools you may need, and a step-by-step approach to restore functionality to your toilet.
Whether the handle is stuck, loose, or broken, this section provides the information you need to troubleshoot and fix the problem efficiently.
What Will You Need?
Before you begin fixing your toilet handle, gathering the necessary tools and supplies is essential. Here are some items that you may need:
- Adjustable wrench or pliers
- Screwdriver (flathead or Phillips)
- Replacement parts (if necessary)
- Cleaning supplies (if the handle is stuck due to buildup)
Having these items on hand is always a good idea before starting any DIY project. This will save you time and frustration in case you encounter unexpected issues.
10 Easy Steps on How to Fix the Toilet Handle
Step 1. Identify the Problem:
Before diving into repairs, you must identify what is wrong with the toilet handle. Common issues include a handle that feels loose or wobbly, stuck and will not turn, or even a handle that has broken completely. Start by closely inspecting the handle for any visible signs of damage or wear.

If the handle is loose, it may need tightening, while a stuck handle could be obstructed by dirt or mineral buildup. Sometimes, the issue lies deeper within the tank, such as a broken chain or faulty flapper valve connection. Taking the time to diagnose the problem accurately will save you effort in the long run and help determine which tools and replacement parts may be necessary for the repair process.
Step 2. Turn Off the Water Supply:
Before you commence any repair work, turning off the water supply to your toilet is crucial. This prevents water from flowing into the tank while you’re conducting repairs, which can lead to spills or an unwanted mess.
Typically, the water supply valve is located near the wall behind the toilet, and it can be turned off by rotating it clockwise. Once the valve is closed, it’s a good practice to flush the toilet to empty the tank, as this will give you better access to the handle and other components inside.
Ensure there’s no remaining water in the tank before proceeding to the next steps. Taking this precaution will ensure a cleaner and safer working environment as you undertake the repairs.
Step 3. Remove the Toilet Handle:
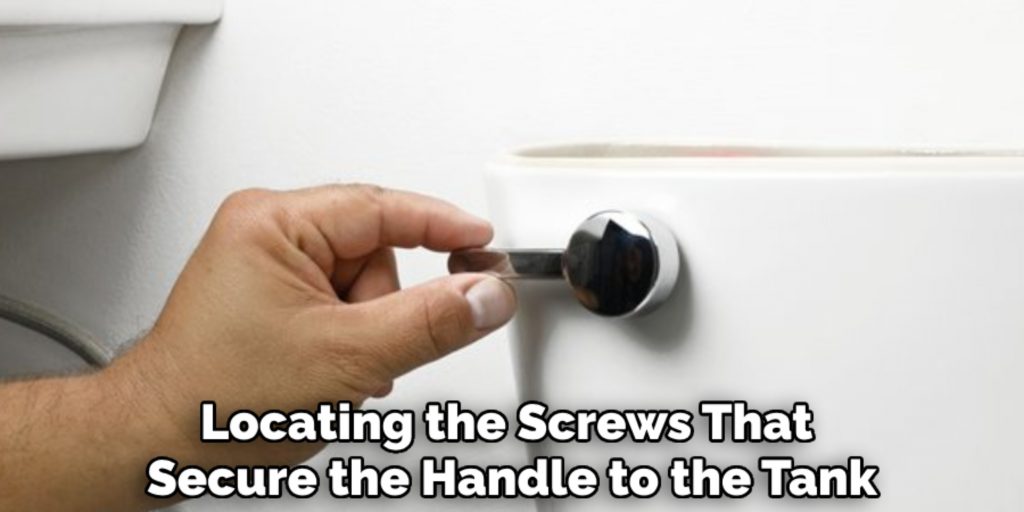
Once you have identified the problem and turned off the water supply, the next step is to remove the toilet handle. Start by locating the screws that secure the handle to the tank. These screws are usually found on the inside of the tank, opposite the handle.

Use your screwdriver to loosen and remove the screws carefully. Once the screws are detached, gently pull the handle out from the tank. If the handle is stuck, a little wiggling may be necessary to free it from buildup or deposits. Be cautious not to damage the tank while removing the handle, as it is delicate and can crack if not handled properly.
Step 4. Inspect the Handle and Components:
After removing the toilet handle, take a moment to inspect both the handle itself and the associated components within the tank. Look for signs of wear or damage, such as cracks in the handle or broken parts like the attaching arm or connecting chain. If the handle is simply loose, you may need to tighten a screw or replace a washer.
However, if the handle is broken or other components are damaged, you must consider obtaining replacements. Ensuring that all parts are in good condition is crucial for proper functionality, as even minor issues can affect the efficiency of your toilet’s flushing system.
Step 5. Clean the Area:
Before proceeding with repairs or replacements, cleaning the area around the handle and inside the tank is essential. Use a damp cloth or sponge to wipe down any dirt, grime, or mineral buildup that may have accumulated. This not only helps ensure a cleaner workspace but also makes it easier to see any potential issues that might otherwise be obscured by debris.
If there are stubborn deposits, consider using a solution of vinegar and water to dissolve them. Ensuring that the area is clean will also contribute to the longevity of the new handle and components, as buildup can lead to future problems. If you’re dealing with a stuck handle, cleaning the area may also help loosen it and make it easier to remove.
Step 6. Replace Broken Parts:
If your inspection revealed any damaged or broken components, now is the time to replace them. Begin by sourcing appropriate replacement parts that are compatible with your toilet model.
This may include a new handle, a connecting chain, or a flapper valve. Once you have the necessary parts, carefully install them according to the manufacturer’s instructions. For the handle, make sure to securely attach it to the tank, aligning it correctly with the internal mechanism to ensure a smooth operation.
If you replace any internal components, follow the same principles, ensuring everything is fitted snugly and correctly. Replacing broken parts significantly enhances the chances of your toilet functioning correctly once reassembling.
Step 7. Reattach the Toilet Handle:
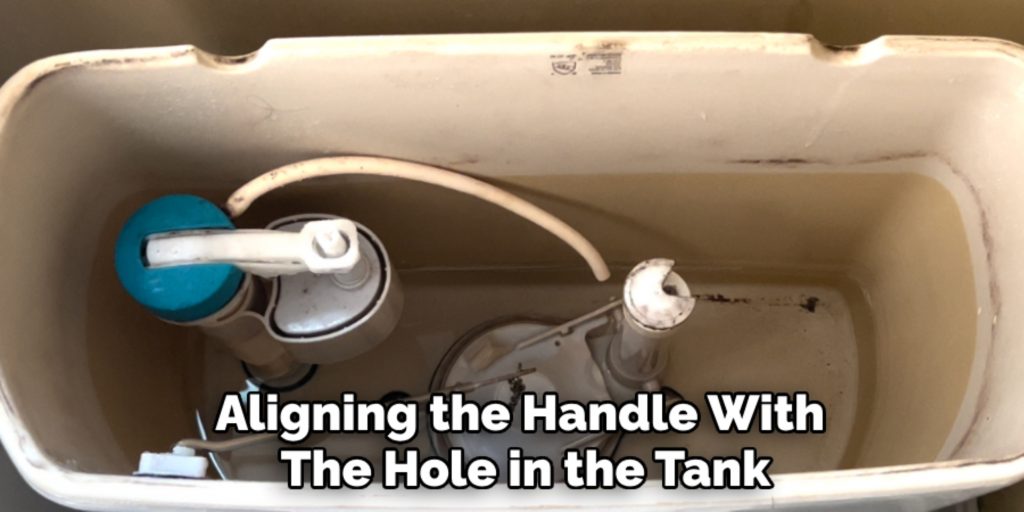
After replacing any broken parts, it’s time to reattach the toilet handle. Begin by aligning the handle with the hole in the tank, ensuring that it fits snugly against the internal mechanism.

Once positioned correctly, secure it in place by reinserting the screws that you removed earlier. Use your screwdriver to tighten the screws gently, being careful not to overtighten, as this can crack the tank or damage the handle.
After securing the handle, check its movement to ensure it operates smoothly and doesn’t obstruct any internal components. This step is crucial for restoring functionality to your toilet, so take your time to ensure everything is aligned correctly.
Step 8. Turn the Water Supply Back On:
Once the toilet handle is securely reattached and you’ve ensured that everything is operating smoothly, the next step is to turn the water supply back on. Locate the water supply valve that you turned off earlier and rotate it counterclockwise to open it. This will allow water to flow back into the tank.
As the tank fills, keep an eye out for any leaks around the handle or internal components that you’ve worked on. If everything appears to be functioning correctly, flush the toilet a few times to test the handle’s operation and ensure the entire system works as intended. Properly restoring the water supply is essential for completing the repair process successfully.
Step 9. Test the Flushing Mechanism:
After you’ve turned the water supply back on and ensured there are no leaks, testing the flushing mechanism is crucial to confirm that everything is functioning as it should. Start by flushing the toilet several times to observe how the handle responds. Pay attention to how quickly and effectively the tank fills and empties.
If the toilet flushes smoothly without any unusual noises or resistance from the handle, your repair has been successful. However, if you notice any issues, such as sluggish flushing or leaks, revisit the previous steps to ensure all parts are installed correctly and securely. Proper testing is essential to verify that your repair has restored the toilet to full functionality.
Step 10. Final Inspection:
After successfully testing the flushing mechanism, it’s essential to conduct a final inspection of the entire setup. Check for any remaining signs of leaks around the handle, tank, and base of the toilet. Ensure that all the screws are tight and that the handle is securely in place without any wobbling.
Take a moment to observe the overall operation of the toilet, looking for consistent performance when flushing if everything appears to be in order, congratulations! You have successfully completed the repair. Regular maintenance and periodic checks can help prevent future issues and prolong the lifespan of your toilet.
By following these steps, you can easily and effectively repair a toilet handle on your own without the need for professional help.

Conclusion
In conclusion, how to fix the toilet handle can be a straightforward process when approached step-by-step.
You can restore your toilet’s functionality without needing a professional service call by assessing the situation, cleaning the area, replacing any broken parts, and ensuring everything is securely attached.
It is essential to take time during each step to prevent potential issues and ensure that the bathroom operates smoothly. With patience and attention to detail, you’ll have a fully functioning toilet handle, providing you with peace of mind and saving you money on repairs in the future.
Regular maintenance will further enhance the longevity and reliability of your toilet, contributing to a more efficient bathroom experience.

