Are you experiencing a power outage but still need to use the toilet? Don’t worry. Flushing a toilet without power is possible.

How to flush a toilet with no power may seem daunting, especially when faced with an unexpected outage or emergency situation. However, understanding some simple techniques can help you maintain bathroom hygiene efficiently. In this guide, we will explore several methods to flush a toilet manually, using readily available resources.
Whether you use a bucket of water, leverage gravity, or employ alternative solutions, these tips will ensure that you can manage your toilet needs even in the absence of electricity. By being prepared and knowledgeable, you can tackle any power-related plumbing challenges with ease. Let’s get started!
What Will You Need?
Before diving into the various methods of flushing a toilet without power, gathering some basic materials and tools is essential. These items will make the process more manageable and prevent any potential mess or accidents. Here’s what you’ll need:
- A bucket or container with at least 2 gallons of water
- Rubbing alcohol or hand sanitizer for hygiene purposes
- Protective gloves (optional)
Once these items are ready, you’ll be prepared to tackle your power outage toilet woes!
10 Easy Steps on How to Flush a Toilet With No Power
Step 1. Gather Your Materials:
Before implementing any flushing method, having all your materials on hand is critical. Begin by obtaining a bucket or container capable of holding at least 2 gallons of water, providing enough volume to create a successful flush. Next, ensure you have rubbing alcohol or hand sanitizer ready, which will help maintain hygiene during the process.
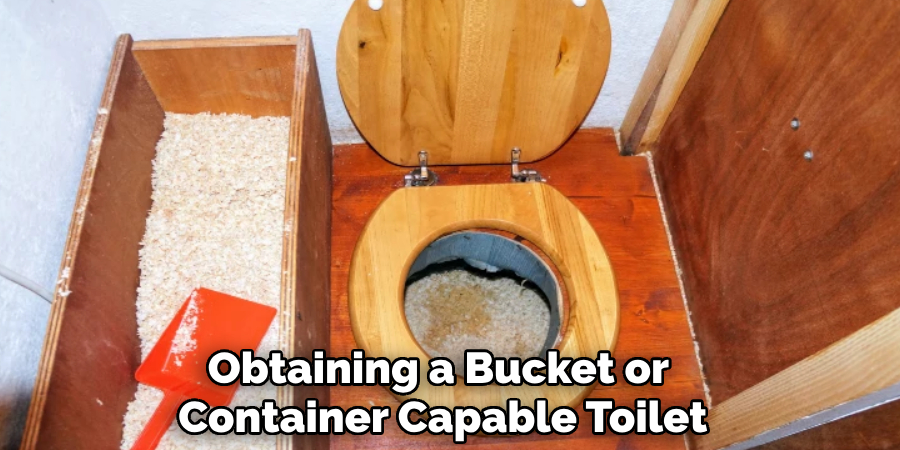
While not strictly necessary, wearing protective gloves can also be a good idea, mainly if you are concerned about handling contaminated surfaces. Having these materials prepared not only makes the task easier but also ensures that you’re focused and organized when you need to flush your toilet without power. Being well-equipped will help you feel more confident moving forward with the flushing methods outlined in this guide.
Step 2. Fill Your Bucket with Water:
Once your materials are gathered, the next step is to fill your bucket with water. Ideally, you should use clean water if possible, but any available water source will suffice in emergencies, such as from a bathtub or sink. Aim for at least 2 gallons to ensure enough water to create an effective flush.
If you’re filling the bucket from a faucet, remember to fill it as high as possible without spilling. Once filled, you’ll be ready to proceed to the flushing method that works best for you.
Step 3. Pour the Water into the Toilet Bowl:
After filling your bucket with water, it’s time to execute the flush. Begin by standing over the toilet bowl and pouring water directly into it. Aim for the center of the bowl to create a strong flow, which will help the water force its way through the plumbing and create the necessary suction for a flush.
Pouring the water quickly and in a steady stream will mimic the effect of a regular flush. It may take a couple of tries to get the pouring technique right, but with practice, you’ll become more efficient. Once the water has been poured, observe the toilet’s response and verify that the waste has been successfully cleared from the bowl.
Step 4. Observe the Toilet’s Response:
After pouring the water into the toilet bowl, paying close attention to how the toilet reacts is essential. Look for signs that indicate whether the flush was successful. If the waste and water are being effectively siphoned down the drain, you’ve performed the flush correctly.
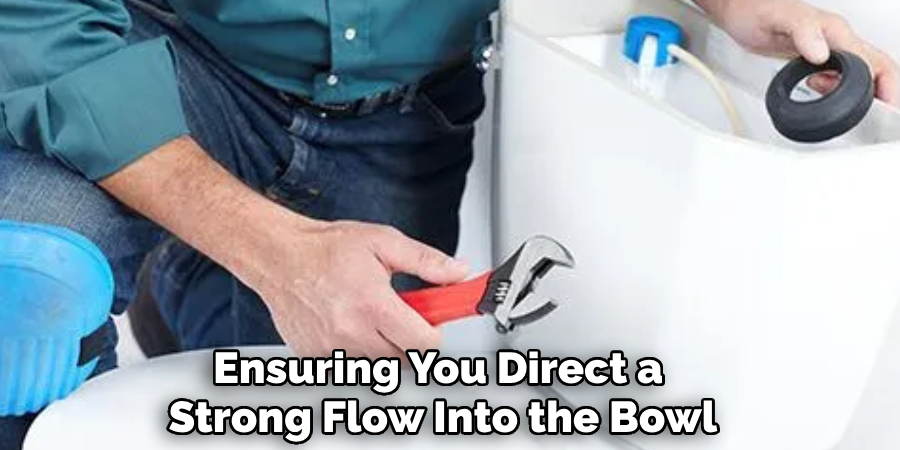
However, if the toilet bowl remains filled or the water level rises without draining, this may indicate a blockage. In such cases, you might consider repeating the pouring process with the same or additional water, ensuring you direct a strong flow into the bowl. It’s vital to stay vigilant during this step to avoid any overflow or mess.
Step 5. Clear Any Blockages:
If you notice that the toilet bowl remains full or does not drain effectively after your initial flush attempt, assessing for potential blockages is crucial. Begin by carefully inspecting the bowl for any visible debris or clogs that may obstruct the drainage process.
If you can see a blockage, try to gently dislodge it using a tool such as a wooden stick or a toilet brush. Be cautious not to damage the toilet while doing this. If the blockage is not easily accessible, avoid using your hands and instead consider adding more water to the bowl to try again. Pouring in a larger volume of water can create greater force, possibly dislodging the obstruction and allowing for proper drainage.
If the toilet remains blocked despite your efforts, it may be time to implement additional methods, such as using a plunger or exploring alternative flushing techniques outlined in this guide. Always prioritize safety and hygiene when dealing with toilet clogs, and remember that patience is key in these scenarios.
Step 6. Use a Plunger If Necessary:
If your attempts to flush the toilet have not resolved the issue, it may be time to bring out the plunger. This tool is designed to help clear blockages by creating suction and pressure. Position the plunger in the toilet bowl, ensuring it covers the hole at the bottom completely.
With a firm grip, push down on the plunger to create suction, then pull up quickly, repeating this motion several times. The up-and-down movement will help dislodge any stubborn clogs. After a few plunges, check the toilet bowl to see if the water level has decreased.
If the blockage clears, follow up with another flush using your bucket method to ensure everything flows smoothly. Remember to clean the plunger thoroughly afterward to maintain hygiene.
Step 7. Explore Alternative Flushing Methods:
If your efforts with the bucket and plunger have not resolved the blockage, consider alternative flushing methods. One option is to use a small dish soap mixed with warm water. Pouring this solution into the toilet bowl can help lubricate the pipes and break down stubborn clogs.
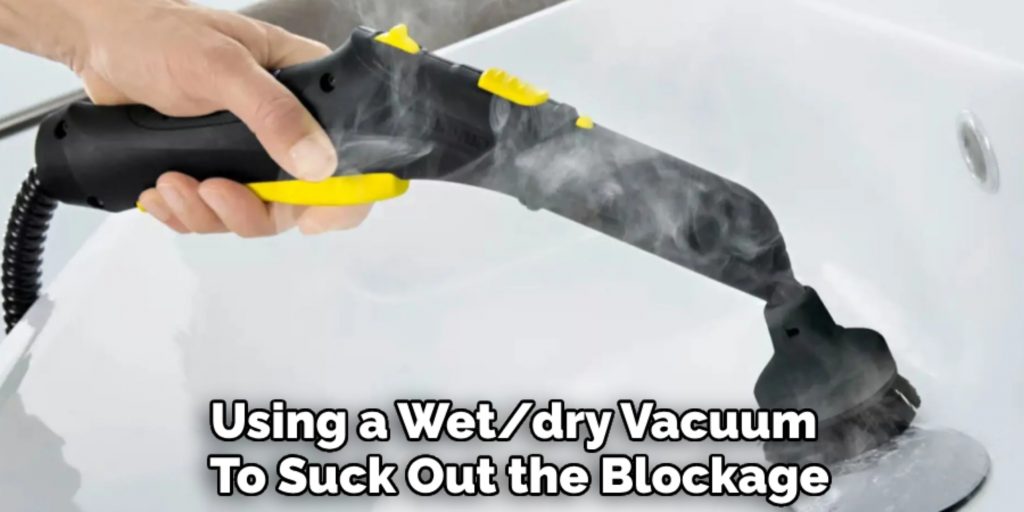
Allow the soap to sit for a few minutes, then follow up with another flush using your bucket. Another method involves using a wet/dry vacuum to suck out the blockage, but only if you’re confident in handling the vacuum safely and effectively.
Remember to adhere to safety precautions and ensure that you clean and disinfect any tools used during the process to prevent hygiene issues. If these methods fail, seeking professional assistance to address the plumbing issue might be necessary.
Step 8. Seek Professional Help:
If all your attempts to resolve the blockage have proven unsuccessful, call in a professional plumber. Over time, persistent blockages can lead to more severe plumbing issues that require expert attention.
A licensed plumber will have the experience and tools to diagnose and fix the problem efficiently. When reaching out for help, provide as much information as possible about the situation, including what you’ve attempted thus far and any unusual symptoms you’ve observed.
This will enable the plumber to prepare adequately for the visit and ensure a quicker resolution. Remember, promptly addressing plumbing problems can save you from more extensive damage and costly repairs.
Step 9. Prevent Future Blockages:
After resolving the current blockage, it’s important to implement preventative measures to avoid similar issues in the future. One of the simplest ways to do this is by being mindful of what gets flushed down the toilet. Avoid disposing of paper towels, feminine hygiene products, or excess toilet paper, as these can lead to clogs.
Additionally, consider using a toilet tank bank or water displacement device to reduce the amount of water used per flush, which can help in maintaining a solid flush while using less water. Regularly check and maintain the plumbing system, including the toilet’s internal components, to identify potential issues before they escalate.
Establish a routine cleaning schedule to keep clogs at bay, and educate all household members about proper toilet etiquette to promote long-term plumbing health.
Step 10. Regular Maintenance Checks:
To ensure the longevity and efficiency of your toilet, incorporate regular maintenance checks into your routine. Start by inspecting the toilet for any visible leaks around the base or from the tank, as these could indicate potential problems that need to be addressed.
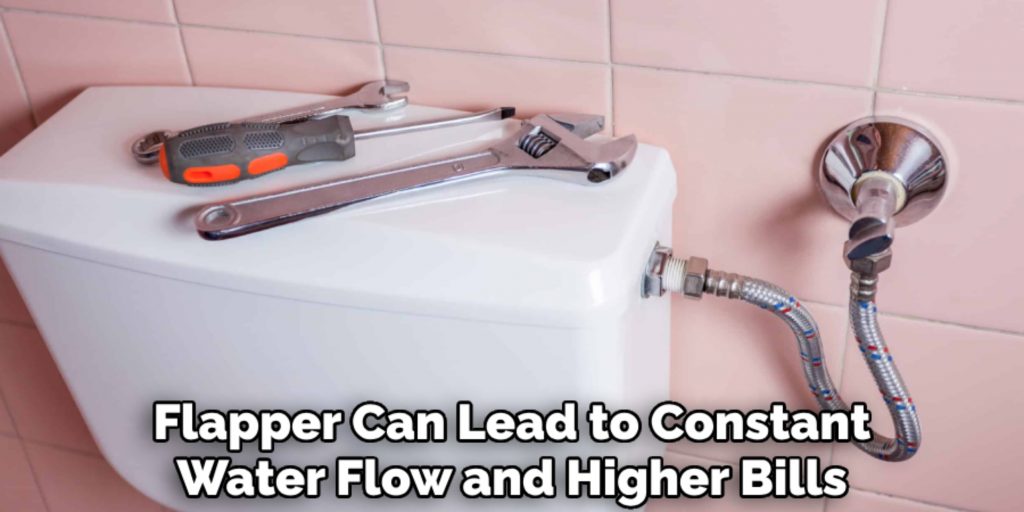
Check the condition of the flapper valve to ensure it seals properly, as a faulty flapper can lead to constant water flow and higher bills. Additionally, periodically remove the toilet tank lid and visually inspect the internal mechanisms, ensuring everything is functioning correctly and free of debris.
By following these steps, you can ensure that your toilet remains in top working condition and avoid any potential blockage issues.
Conclusion
How to flush a toilet with no power can be a straightforward process when you have the right methods at your disposal. By utilizing gravity-based techniques such as manually pouring water from a bucket into the toilet bowl, you can achieve a successful flush even during outages.
Remember to keep your toilet clean and well-maintained to avoid blockages, which can complicate the situation further. Understanding alternative flushing methods, proactive maintenance, and emergency resources will equip you to handle sudden power loss effectively.
Ultimately, being prepared and knowledgeable about your toilet system can provide peace of mind and ensure continued functionality when needed.

