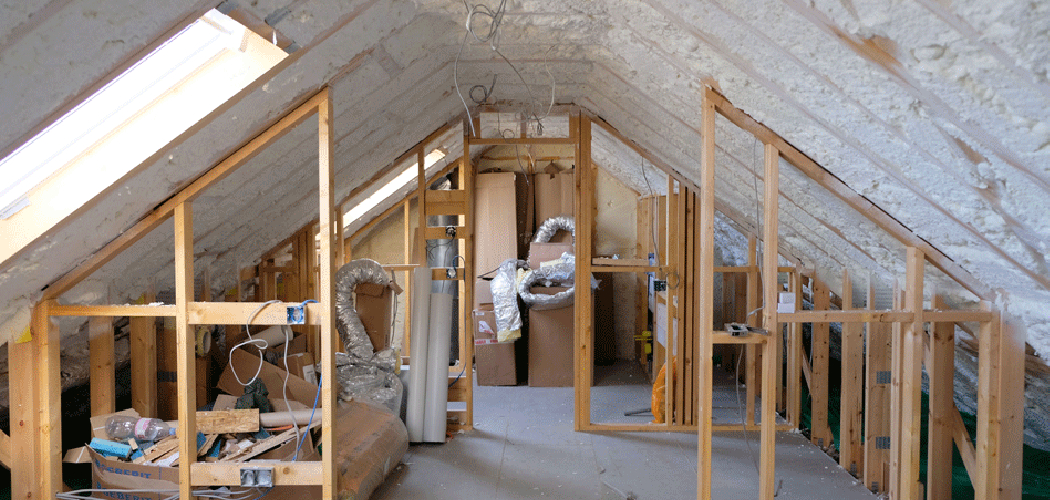
Removing old insulation from your attic can seem like a daunting task, but it is an important step for maintaining the energy efficiency and safety of your home. Over time, insulation can become damaged, compressed, or contaminated, leading to reduced effectiveness and potential health hazards.
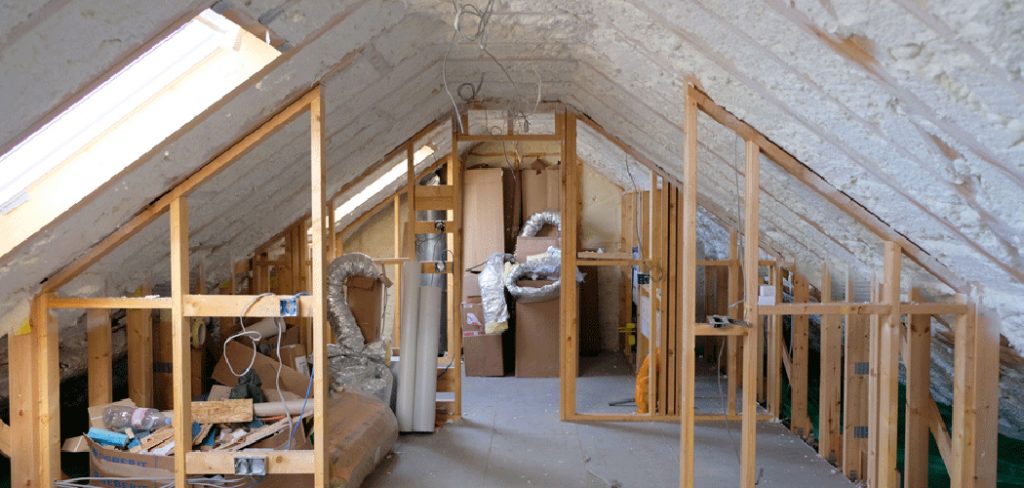
In this guide, we will walk you through how to remove old insulation from attic, ensuring that your attic space is prepared for a fresh installation or other improvements. With the right tools and precautions, you’ll find that this task not only enhances your home’s comfort but also contributes to better air quality and energy savings.
Understanding the Need for Removal
Before diving into the removal process, it is crucial to understand why old insulation may need to be taken out. Insulation can deteriorate over time due to factors such as moisture, pest infestations, or simply age.
Moisture can lead to mold growth, which poses health risks to occupants and can damage the structure of your home. Additionally, pests like rodents can compromise insulation, either by nesting within it or by contaminating it with droppings.
Old insulation that has become compressed or settled may no longer provide adequate thermal resistance, resulting in increased energy costs and discomfort in your living spaces. By recognizing these issues, you can ensure that the removal not only improves your attic’s condition but also enhances the overall efficiency of your home.
Types of Insulation Commonly Found in Attics
When addressing old insulation in your attic, it’s essential to identify the types commonly found in these spaces. Understanding the material will aid in safe removal and replacement.
- Fiberglass Batts: One of the most common forms of insulation, fiberglass batts are pre-cut panels that are placed between rafters. They are lightweight and effective at reducing heat transfer but can lose their insulation properties if they become wet or compressed.
- Blown-In Fiberglass or Cellulose: These loose-fill materials are typically blown into the attic using a machine. Blown-in insulation can fill in gaps and spaces more effectively than batts, providing better coverage. Cellulose is often made from recycled paper, making it an eco-friendly option.
- Spray Foam Insulation: This type is applied as a liquid that expands upon contact, filling small gaps and creating an airtight seal. Spray foam offers excellent thermal resistance and can also act as a moisture barrier, but it can be more expensive than traditional materials.
- Mineral Wool (Rock Wool): Known for its fire-resistant properties, mineral wool is often used in attics and construction. It provides good acoustic insulation as well and is resistant to moisture and pests, making it a durable option.
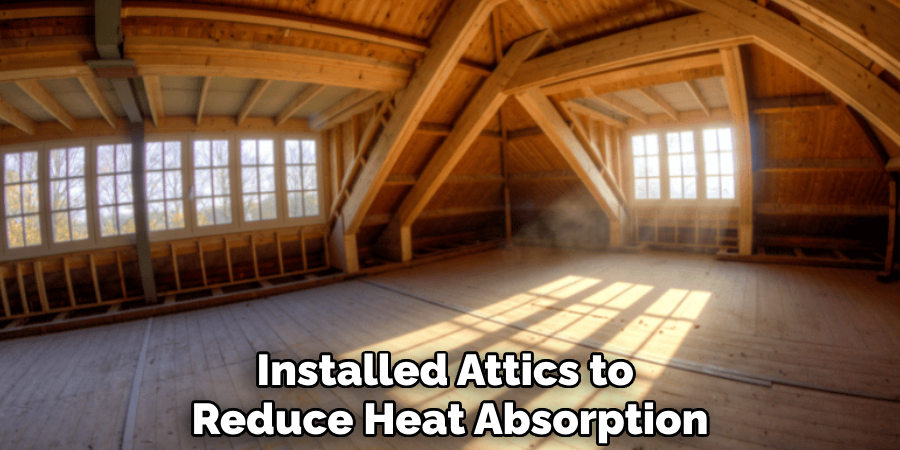
- Reflective or Radiant Barrier: Often found in warmer climates, radiant barriers consist of reflective materials that are installed in attics to reduce heat absorption. These barriers are typically used in conjunction with traditional insulation to enhance energy efficiency.
By recognising these various types of insulation, you can better assess what needs to be removed or replaced, ensuring a more efficient attic environment.
10 Methods How to Remove Old Insulation from Attic
1. Prepare the Attic
Before starting the removal process, it is essential to prepare the attic for safe and efficient work. Clear out any stored items or obstructions from the attic space to create a clean work area. Ensure that the attic has adequate lighting, either through permanent fixtures or portable work lights.
Wear appropriate safety gear, including gloves, a dust mask or respirator, goggles, and protective clothing, to protect yourself from dust and insulation particles. Preparing the attic ensures that you have a safe and organized environment to work in.
2. Inspect the Existing Insulation
Examine the existing insulation to determine its type and condition. Common types of insulation include fiberglass batt, cellulose, and spray foam. Understanding the type of insulation will help you choose the appropriate removal method and tools.
Check for any signs of contamination, such as mold, mildew, or rodent droppings, which may require special handling and disposal procedures. Inspecting the insulation provides insight into the best approach for removal and any additional precautions you may need to take.
3. Remove Insulation in Small Sections
Begin the removal process by working in small, manageable sections of the attic. This approach allows you to focus on one area at a time and prevents the insulation from becoming overwhelming. Use a utility knife or scissors to cut the insulation into smaller pieces if necessary.
Gently pull the insulation away from the areas it is covering, taking care not to damage the underlying structures or components. Removing insulation in sections helps you maintain control over the process and ensures a more organized removal.
4. Use a Shop Vac for Fiberglass Insulation
For fiberglass batt insulation, using a shop vacuum is an effective method for removal. A shop vac equipped with a hose and attachments can help you collect the loose fiberglass insulation quickly and efficiently. Begin by using the hose to suction up the insulation as you pull it away from its installation area.
The shop vac helps minimize the amount of dust and debris that becomes airborne during the removal process. Ensure that the shop vac is properly sealed and equipped with a filter to prevent dust from escaping.

5. Handle Cellulose Insulation with Care
Cellulose insulation, which is typically made from recycled paper products, can be more challenging to remove due to its loose and fluffy nature. Use a combination of manual removal and a shop vac to handle cellulose insulation. Start by wearing a dust mask and gloves to protect yourself from dust and fibers.
Use a rake or broom to loosen the cellulose insulation, and then use the shop vac to collect the loose material. Cellulose insulation may also require periodic emptying of the shop vac to prevent clogs.
6. Dispose of Insulation Properly
Proper disposal of old insulation is essential for environmental and safety reasons. Check with local regulations and guidelines for disposal methods, as some types of insulation may be classified as hazardous waste. For fiberglass and cellulose insulation, place the removed material in heavy-duty trash bags or plastic sheeting to contain the dust and debris.
Seal the bags tightly and dispose of them according to local waste management regulations. If you are dealing with contaminated or hazardous insulation, such as asbestos, contact a professional removal service for proper handling and disposal.
7. Inspect and Clean the Attic
After removing the old insulation, thoroughly inspect the attic for any remaining debris, dust, or contamination. Clean the attic space by sweeping or vacuuming the floor and any exposed surfaces.
Check for signs of mold, mildew, or pest infestations that may need to be addressed before installing new insulation. Proper cleaning ensures that the attic is ready for new insulation and helps maintain a healthy environment within your home.
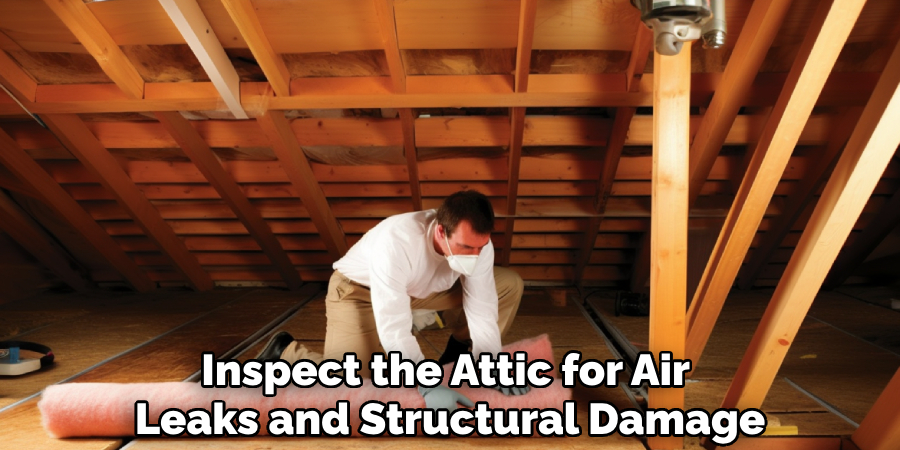
8. Check for Air Leaks and Damage
While the old insulation is removed, take the opportunity to inspect the attic for air leaks and structural damage. Check for gaps or cracks around vents, ducts, and electrical wires that may need to be sealed to improve energy efficiency.
Inspect the attic’s structural elements, such as the roof deck, rafters, and insulation supports, for any signs of damage or wear. Addressing air leaks and damage before installing new insulation ensures that your home remains energy-efficient and comfortable.
9. Ensure Proper Ventilation
Proper ventilation is crucial in an attic to prevent moisture buildup and maintain effective insulation performance. Check the attic’s ventilation system, including soffit vents, ridge vents, and gable vents, to ensure they are functioning correctly.
Clean or repair any ventilation components as needed. Proper ventilation helps prevent issues such as mold growth and ice dams, contributing to a healthier attic environment and more effective insulation.
10. Consult a Professional if Needed
If you encounter difficulties or if the insulation removal involves hazardous materials, such as asbestos, it is advisable to consult a professional insulation removal service. Professionals have the expertise, equipment, and safety protocols necessary to handle complex or hazardous insulation removal tasks.
They can also provide guidance on proper disposal and ensure that the attic is prepared correctly for new insulation. Consulting a professional ensures that the removal process is handled safely and effectively, providing peace of mind and quality results.
Common Mistakes to Avoid
When removing insulation, several common mistakes can hinder the process or compromise safety. Firstly, skipping protective gear such as gloves, masks, and goggles can expose you to harmful dust and fibres; always prioritise safety equipment.
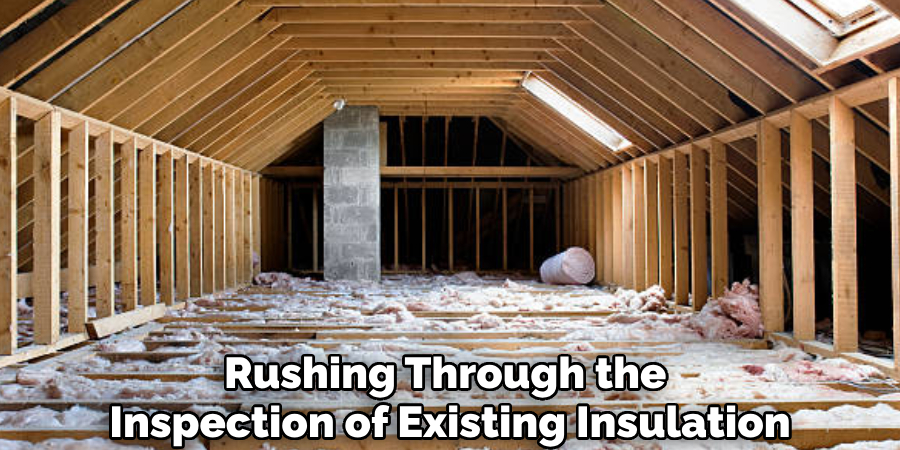
Secondly, rushing through the inspection of existing insulation can lead to overlooking signs of contamination or damage that require special handling. Additionally, not properly sealing disposal bags can result in a messy clean-up and potential health hazards. It’s also crucial to avoid neglecting ventilation checks; overlooking ventilation can lead to moisture accumulation and subsequent issues.
Conclusion
Removing old insulation is a vital step in maintaining the energy efficiency and overall health of your home. By understanding the types of insulation, employing suitable removal techniques, and ensuring proper disposal, you can effectively prepare your attic for new insulation.
Additionally, addressing air leaks, checking for structural damage, and ensuring adequate ventilation will further enhance your home’s comfort and efficiency. If challenges arise or hazardous materials are involved, seeking professional assistance is recommended. Thanks for reading, and we hope this has given you some inspiration on how to remove old insulation from attic!

