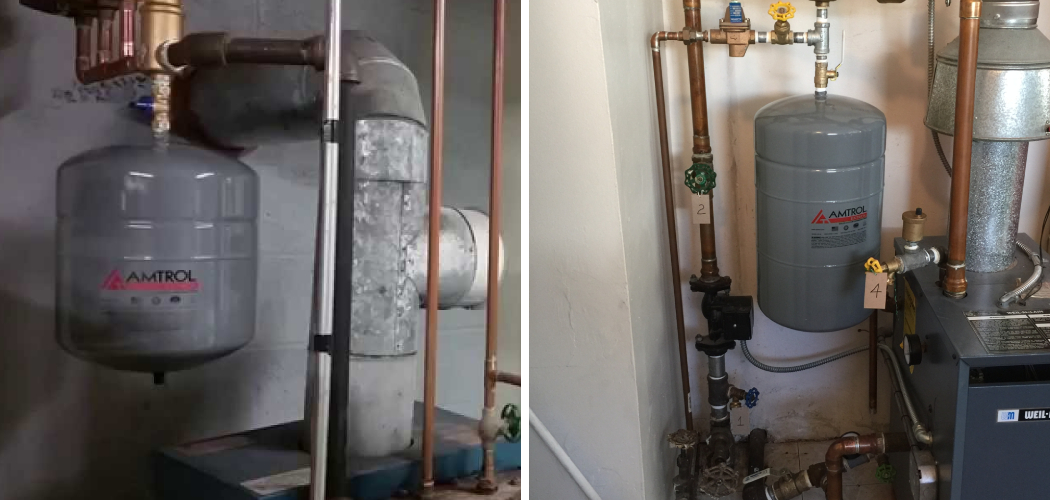
Are you having trouble with your closed-loop system? Do you notice a lot of air bubbles or noise in it?
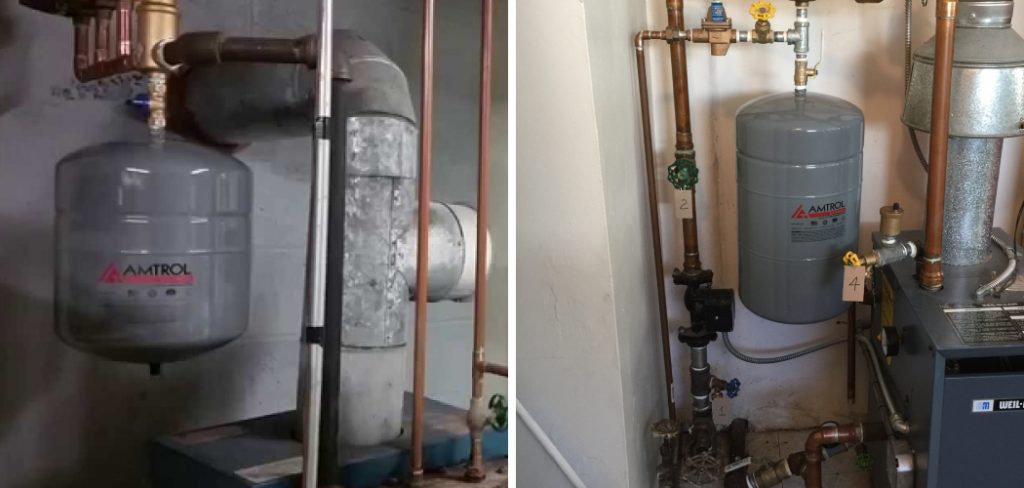
In a closed-loop system, the presence of air can disrupt its efficient operation and performance, leading to issues such as noise, reduced heat transfer, or even component damage over time. Properly removing air from such systems is crucial to maintaining their functionality and longevity. This process involves identifying the presence of air within the system and using the appropriate tools and techniques to purge it successfully.
In this guide on how to remove air from a closed loop system, we will explore the steps and best practices to effectively remove air from a closed loop system, ensuring optimal performance and stability.
What Will You Need?
Before getting started, gathering the necessary tools and materials for the air removal process is essential. Here is a list of items you will need:
- A closed-loop system
- Appropriate valves, such as vent or purge valves
- A vacuum pump or compressed air source
- Tubing or hoses
- A container to collect purged air and debris
It’s crucial to ensure that all these items are in good working condition before starting the process.
10 Easy Steps on How to Remove Air From a Closed Loop System
Step 1: Turn Off the System
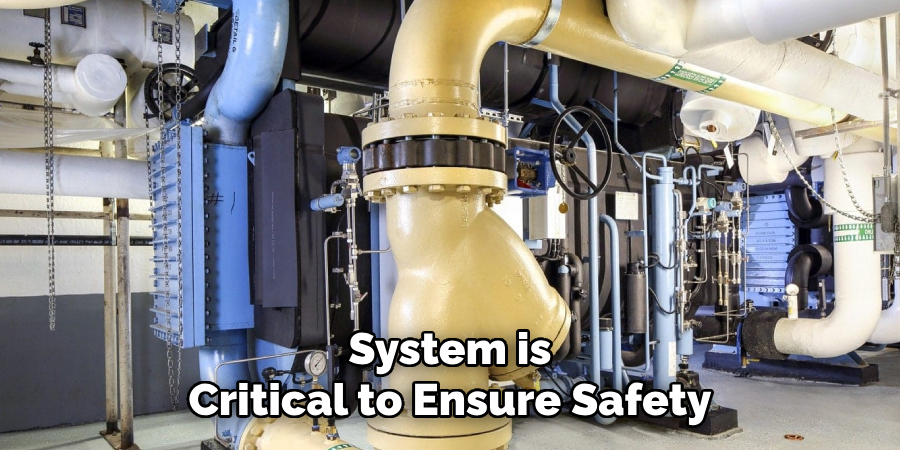
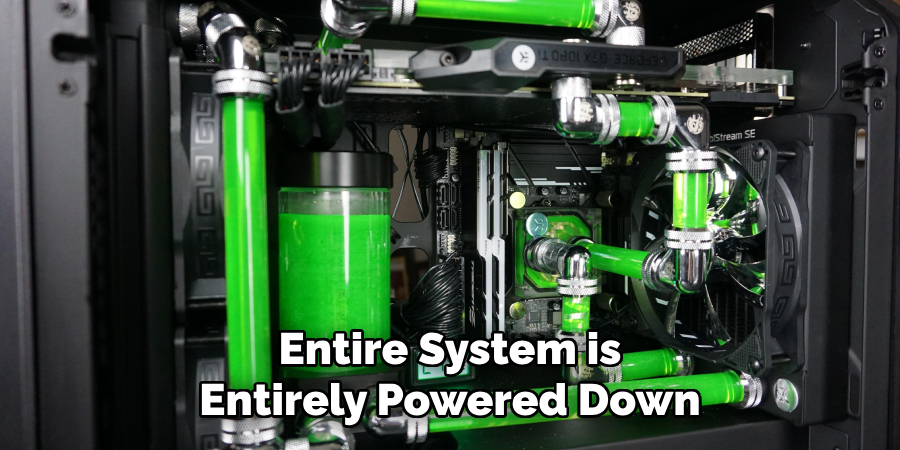
To begin the air removal process, safely turn off the closed loop system. Shutting down the system is critical to ensure safety and stability while performing maintenance activities. First, verify that the entire system is entirely powered down, including any connected devices and components. Depending on the complexity of the closed loop system, this may involve disconnecting it from its power source or using a dedicated shutdown procedure that ensures all parts of the system are inactive.
This step is vital for preventing potential hazards or damages from working on a live system, such as leaks or malfunctions. It’s also advisable to allow the system to cool down if operating at high temperatures, as this will make handling various elements safer and more comfortable.
Step 2: Locate the Vent or Purge Valves
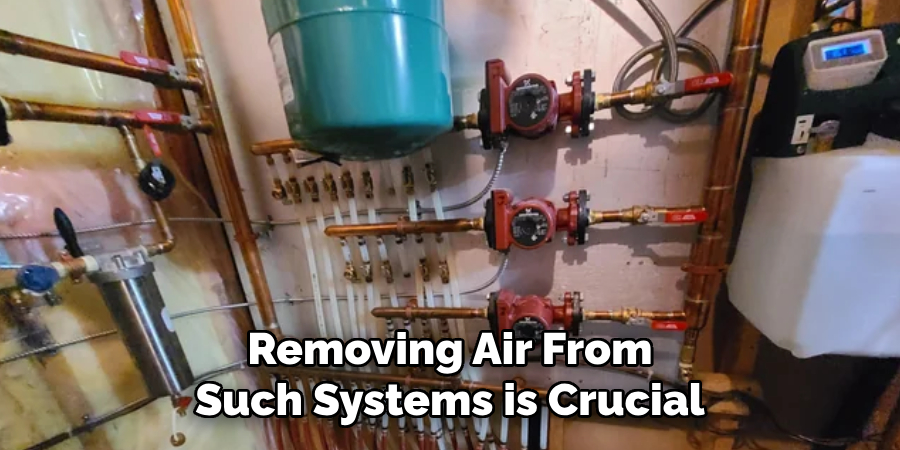
Once the system is safely turned off, the next step involves locating the vent or purge valves installed within the closed loop system. These valves are critical components that allow for the controlled release of trapped air from the system. Typically, they are strategically positioned at high points in the system where air tends to accumulate.
Carefully identify each valve, ensuring easy access to the air removal process. Consult the system’s manual or schematics if necessary to confirm the exact locations of the valves, as their positions can vary depending on the system design and manufacturer. Ensuring you have accurately identified the vent or purge valves is essential for successfully purging air and maintaining the system’s optimal operation.
Step 3: Prepare the Equipment
Before releasing the trapped air, prepare the necessary equipment to facilitate the process. Begin by assembling the vacuum pump or compressed air source, tubing, and collection container. Connect the tubing securely to the outlet of the vacuum pump, ensuring no leaks are possible. Then, position the other end of the tubing near the vent or purge valve.
If using a container to capture purged air and debris, place it in a stable position to prevent spills. Double-check all connections for tightness and integrity, as loose fittings could cause failure during air removal. Preparing the equipment meticulously ensures a smooth and efficient air purging operation, minimizing the risk of mishaps or incomplete air removal from the closed loop system.
Step 4: Open the Vent or Purge Valves
With the equipment prepared, it’s time to open the vent or purge valves to initiate the air purging process. Gradually open each valve to avoid sudden pressure changes that could disturb the system. Observing caution during this step ensures that any trapped air is released in a controlled manner.
As the air begins to escape, listen for a hissing sound indicating that the pressure is being relieved. Monitor the process closely, and be prepared to make adjustments if necessary. If using a vacuum pump, activate it to draw out the air more effectively. Opening the valves with care establishes a balanced release, contributing to the efficient removal of air and supporting the system’s performance and longevity.
Step 5: Monitor Air Removal
As the purging process continues, monitoring the system is crucial to ensure that air is effectively removed. Keep an eye on the vent or purge valves, and listen for any changes in the sound of escaping air, as this can indicate the progress of air evacuation. If using a vacuum pump, observe its pressure gauge for any fluctuations that reveal the reduction of air within the system.
Simultaneously, check for any signs of liquid coming out along with the air, as this could indicate a potential issue like a leak that may require attention. Stay vigilant throughout the operation to detect any anomalies early, ensuring that the system returns to an optimal, air-free condition. This careful monitoring will support the seamless continuation of the process until air is thoroughly removed from the closed-loop system.
Step 6: Close the Vent or Purge Valves
Once you are confident that the air has been effectively purged from the system, it’s time to close the vent or purge valves. Close each valve gradually to avoid any abrupt pressure changes that could disrupt the system’s balance.
Ensuring that the valves are properly sealed will prevent air re-entry into the system. Double-check each valve to confirm they are secure, and no air can seep back in. Closing the valves correctly is essential for maintaining the system’s efficiency and preventing future issues related to trapped air.
Step 7: Inspect the System for Leaks
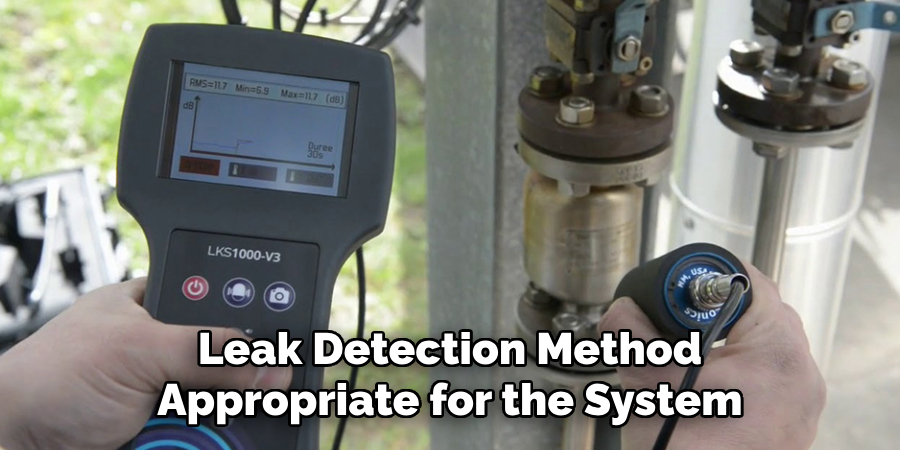
After closing the vent or purge valves, conduct a thorough inspection of the closed-loop system for potential leaks. Utilize a leak detection method appropriate for the system, such as applying a soapy water solution to joints and connections and observing for bubbles that indicate escaping air or fluid.
Pay special attention to the areas around the valves and any system segments manipulated during air purging. Address leaks immediately to ensure system integrity and prevent operational inefficiencies or damage. Regular inspections can help maintain the system’s performance and longevity, thus providing reliable operation over time.
Step 8: Restore the System to Operation
After confirming that there are no leaks and the system is in good condition, the final step is to restore the system to regular operation. Begin by reconnecting the system to its power source or activating the main control switch according to its startup procedure. Allow the system to reach its standard operating conditions gradually.
During this phase, monitor the system’s performance to ensure it functions efficiently without unusual noises or malfunctions. Additionally, recheck that the temperature and pressure levels remain within the recommended ranges. Restoring the system with care ensures it operates effectively, reinforcing its reliability and extending its service life after the air purging.
Step 9: Document the Process
Once the system has been restored to its normal operating conditions, it’s important to document the entire air purging process. This documentation should include detailed records of the steps performed, any challenges encountered, and the measures taken to resolve them. Note the date and time of the operation, as well as the personnel involved.
Additionally, record the equipment used, including any necessary settings or adjustments. This documentation serves as a valuable reference for future maintenance activities, helping to track the system’s history and ensure consistent operational practices. Maintaining thorough records supports ongoing system performance and facilitates troubleshooting and optimization in the future.
Step 10: Conduct Routine Maintenance
Establish a routine maintenance schedule to preserve the closed-loop system’s efficiency and longevity. Regularly inspect all components for wear and tear, including valves, tubing, and other critical parts. Replace any deteriorated parts promptly to prevent unexpected failures.
Conduct scheduled air purging to ensure air does not accumulate over time, impairing system performance. Keep detailed logs of all maintenance activities, noting any issues found and corrective actions taken. Consistently practicing preventative maintenance reduces the risk of system downtime and enhances overall operational reliability, securing the system’s optimal functioning.
By following these ten steps, you can effectively and safely purge air from a closed-loop system. Proper air purging ensures that the system operates efficiently, maintains its integrity, and extends its service life.
Conclusion
How to remove air from a closed loop system is essential to maintain its optimal performance and longevity.
By following a structured process involving preparation, air evacuation, monitoring, and final system checks, you can ensure the system functions without the inefficiencies caused by trapped air. Each step, from providing secure valve closures to rigorously checking for leaks, maintains the system’s integrity. Furthermore, documenting the procedure and establishing regular maintenance can prevent future issues, securing a smooth and efficient operation.
Adherence to these guidelines comprehensively enhances system reliability and extends its serviceable life, safeguarding your investment and assuring consistent performance.

