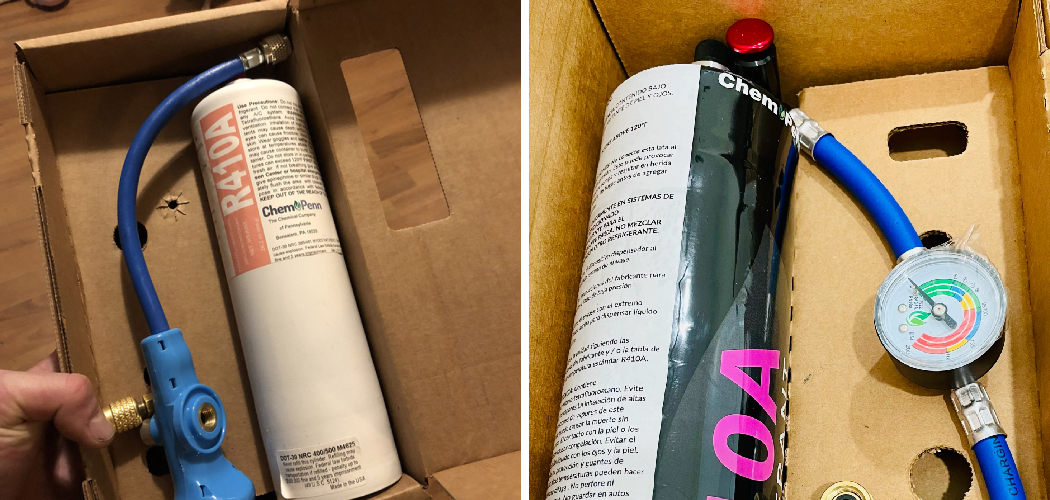
Adding Freon to a mini split system is a crucial maintenance task that ensures the efficient operation and longevity of the air conditioning unit. As the refrigerant that cools the air, Freon plays a vital role in the cooling cycle, and its depletion can lead to poor performance, increased energy bills, and potential damage to the system. In this guide, we will walk you through how to add freon to mini split, helping you maintain optimal comfort in your indoor environment.
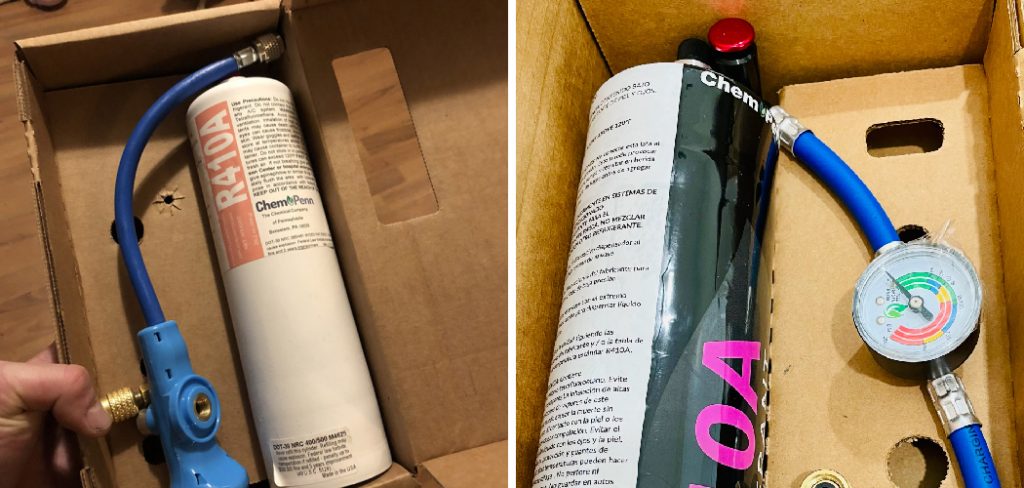
Whether you’re a seasoned DIY enthusiast or new to HVAC maintenance, following these straightforward instructions will empower you to take control of your air conditioning needs.
Signs That Your Mini Split Needs More Freon
Identifying when your mini split system requires additional Freon is essential for maintaining its efficiency and performance. Here are some common signs to watch for:
- Reduced Cooling Capacity: If you notice that your mini split is struggling to cool your space effectively, it may indicate low refrigerant levels. Rooms may remain uncomfortably warm, or the unit may not reach the desired temperature.
- Ice Formation: The presence of ice on the evaporator coils or refrigerant lines is a clear indicator that the system is not functioning properly. Low Freon can cause the coils to freeze, disrupting the cooling process.
- Hissing or Bubbling Sounds: Unusual noises such as hissing or bubbling could signal a refrigerant leak. If you hear these sounds coming from your mini split, it’s time to investigate further.
- Increased Energy Bills: A noticeable spike in your energy costs without a change in usage habits can suggest that your mini split is working harder to compensate for low refrigerant levels.
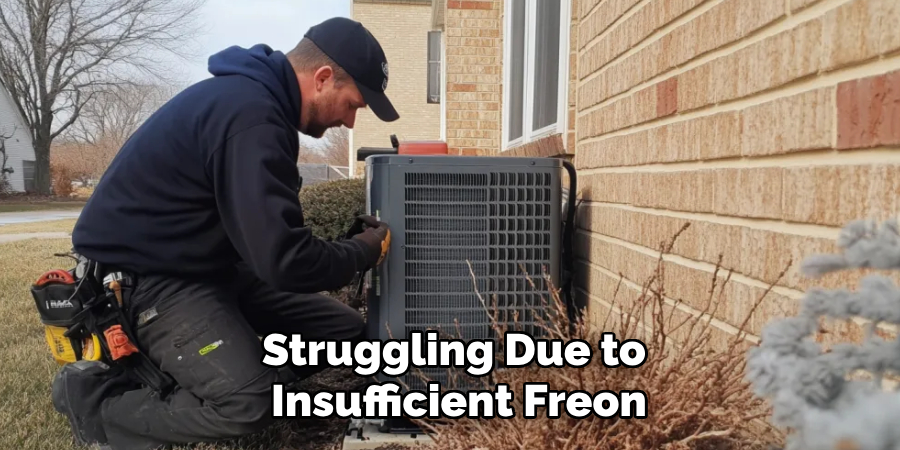
- Longer Running Times: If your air conditioning unit is running for extended periods without achieving satisfactory cooling, it may be struggling due to insufficient Freon.
By being attentive to these signs, you can address issues early and keep your mini split operating at peak efficiency.
10 Methods How to Add Freon to Mini Split
1. Identify the Correct Type of Refrigerant
Before adding any refrigerant to your mini-split, it’s crucial to identify the correct type of refrigerant your system uses. Most modern mini-split systems use R-410A, while older units may use R-22. Adding the wrong type of refrigerant can cause severe damage to the system and void any warranties. The type of refrigerant is typically indicated on the manufacturer’s label located on the outdoor unit of the mini-split.
Always ensure you have the correct refrigerant on hand before proceeding, as mixing different types can lead to expensive repairs and system failure.
2. Turn Off the System and Disconnect the Power Supply
Safety is paramount when working with refrigerants, as they can be harmful if handled incorrectly. The first step in adding Freon to your mini-split is to turn off the system completely and disconnect it from the power supply. This will prevent any electrical accidents and protect you from injury while working on the unit. Double-check to ensure that all power to the system is off before proceeding.
Never attempt to add refrigerant while the system is running or connected to power, as this can result in serious injury or damage to the unit.
3. Gather the Necessary Tools and Equipment
To add Freon to your mini-split, you’ll need several specialized tools, including a set of refrigerant gauges (manifold gauge set), a refrigerant scale, the appropriate refrigerant (R-410A or R-22), safety goggles, gloves, and possibly a vacuum pump if the system needs to be evacuated. These tools are essential for measuring pressure, adding the correct amount of refrigerant, and ensuring the system is operating within safe parameters.
Having all the necessary equipment on hand before starting the job will make the process smoother and prevent delays.
4. Locate the Low-Pressure Service Port
The low-pressure service port is where you will connect the refrigerant gauges to add Freon to your mini-split system. This port is usually located on the outdoor unit, near the refrigerant lines. Refer to the system’s manual to locate the service ports if they are not clearly marked. Once you’ve identified the correct port, remove the protective cap.
It’s important to ensure you are connecting to the low-pressure side, as connecting to the wrong port can result in incorrect pressure readings and damage to the system.
5. Attach the Manifold Gauges
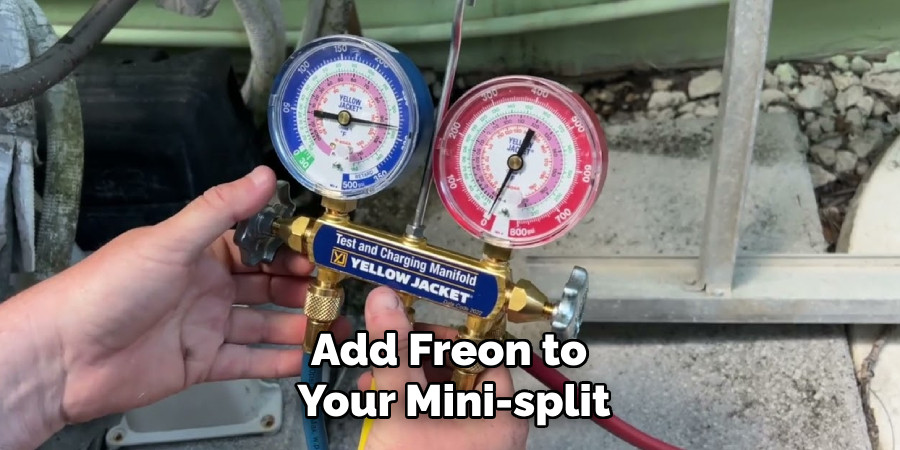
With the low-pressure service port located, you can now attach your manifold gauges. The blue hose on the manifold gauge set is typically connected to the low-pressure side, while the red hose is for the high-pressure side (which you won’t be using in this process). Connect the blue hose to the low-pressure service port on your mini-split and ensure the connection is secure.
The yellow hose will be connected to the refrigerant canister later. Once the gauges are connected, open the low-pressure valve on the manifold to allow the system’s current pressure to be read.
6. Check System Pressure
Before adding refrigerant, you need to check the system’s pressure using the manifold gauges. The correct pressure for your mini-split system will depend on the type of refrigerant and the ambient temperature. Refer to the manufacturer’s specifications or a pressure-temperature chart to determine the correct pressure for your unit. If the system’s pressure is lower than the recommended level, it’s a clear indication that the unit is low on refrigerant and requires recharging.
Be cautious not to overcharge the system, as excessive pressure can damage the compressor.
7. Purge the Air from the Refrigerant Hose
Air and moisture can contaminate the refrigerant and cause damage to the system. Before adding Freon, you need to purge any air from the refrigerant hose. To do this, briefly open the valve on the refrigerant canister to release a small amount of refrigerant into the hose. This will push out any trapped air and ensure that only pure refrigerant enters the system.
After purging the hose, you can close the valve and prepare to start adding the refrigerant to the mini-split system.

8. Begin Adding Refrigerant Slowly
Once the air is purged from the hose, you can begin adding refrigerant to the system. Open the valve on the refrigerant canister and allow the Freon to slowly flow into the system. Keep a close eye on the manifold gauges to monitor the pressure as the refrigerant is being added. It’s important to add the refrigerant slowly to avoid overcharging the system.
Add Freon in small increments, checking the pressure regularly to ensure it stays within the recommended range for your mini-split model. Overcharging can lead to reduced efficiency or even compressor failure.
9. Monitor the Refrigerant Levels Using a Scale
To avoid adding too much or too little refrigerant, it’s a good idea to use a refrigerant scale. This tool measures the amount of Freon added to the system by tracking the weight of the refrigerant canister. Before starting, weigh the canister to determine how much refrigerant is in it. As you add Freon to the mini-split, keep track of the amount by weighing the canister periodically.
Most mini-split systems require specific refrigerant amounts, so carefully monitoring the scale will help ensure you don’t overcharge or undercharge the unit.
10. Seal the System and Test for Leaks
After adding the correct amount of refrigerant, it’s crucial to ensure the system is properly sealed to prevent future leaks. Close the refrigerant valve on the canister, and disconnect the manifold gauges from the service port. Replace the protective cap on the low-pressure service port to secure it. Once the system is sealed, turn the mini-split back on and allow it to run for a while to check for proper operation.
Use a leak detector or soapy water to check the service ports and refrigerant lines for any leaks. If bubbles form, there is a leak that needs to be addressed before the system can operate efficiently.
Things to Consider When Adding Refrigerant to Your Mini-Split System
- Environmental Safety: Always prioritise safety by wearing appropriate personal protective equipment (PPE) such as gloves and safety goggles. Ensure you are working in a well-ventilated area to avoid inhaling any harmful chemicals.
- Regulatory Compliance: Be aware of local regulations regarding refrigerant handling and disposal. Many regions require certification to legally handle refrigerants such as R-410A or R-22, and it is essential to comply with these laws to avoid fines.
- System Compatibility: Verify that the type of refrigerant you are adding is compatible with your specific mini-split model. Using the wrong type can lead to system inefficiency or serious damage.
- Pressure Monitoring: Regularly check the system pressure during the refrigerant addition process. It’s crucial to prevent both undercharging and overcharging, which can lead to reduced performance or equipment failure.

Conclusion
In conclusion, properly adding refrigerant to your mini-split system is essential for maintaining optimal performance and efficiency. By following the outlined steps—locating the service ports, checking the system pressure, purging the air from hoses, and monitoring refrigerant levels—you can mitigate the risk of overcharging or undercharging your unit.
Thanks for reading, and we hope this has given you some inspiration on how to add freon to mini split!

