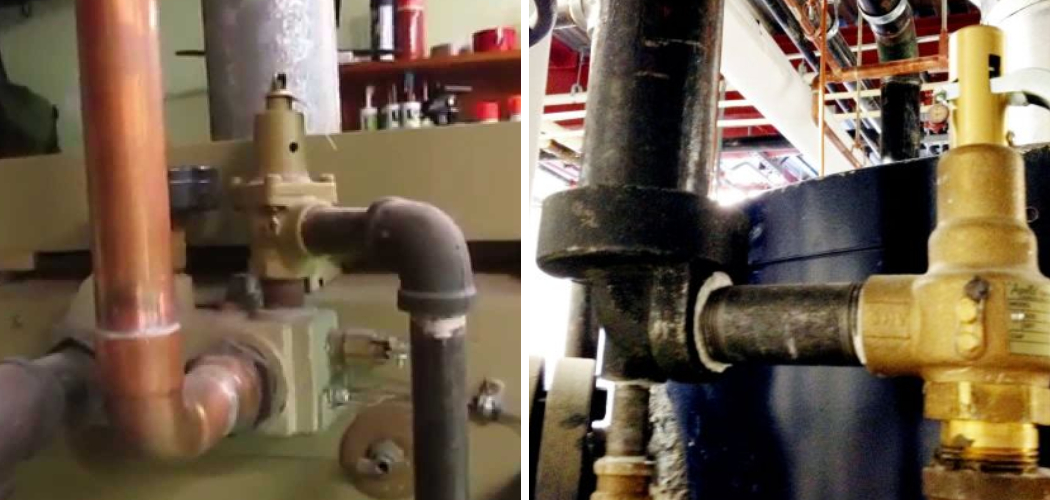
The pressure relief valve (PRV) maintains boiler safety by preventing dangerous over-pressurization incidents. By releasing excess pressure, the PRV ensures that the boiler operates within safe limits, averting potential damage and ensuring efficient functioning. Several common indicators indicate that a PRV may require replacement, including persistent leaks, the boiler’s inability to maintain proper pressure levels, and visible signs of wear, such as rust or corrosion.
Addressing these issues promptly can prevent more severe complications. This guide provides a comprehensive overview of the entire replacement process, encompassing the preparation steps, safely removing the old valve, and properly installing a new one. By following these detailed instructions on how to replace a pressure relief valve on boiler systems, homeowners can uphold their boiler’s safety and functionality, thereby extending its service life and ensuring optimal performance.
Understanding the Pressure Relief Valve and Its Role
Function of the Pressure Relief Valve
The pressure relief valve is an essential safety component in a boiler system designed to prevent over-pressurization. When the boiler’s pressure exceeds a predetermined limit, the valve automatically opens to release the excess pressure. This critical action helps avert potential damage, infrastructure failure, or even explosions that could occur if the boiler operates under excessive pressure.
By maintaining the pressure within safe operating parameters, the pressure relief valve ensures the continued efficiency and safety of the boiler system.
Signs of a Faulty Valve
Several telltale signs indicate a pressure relief valve may be faulty and need replacement. One common indicator is continuous dripping or leaking from the valve, suggesting it might not be sealing adequately. Additionally, if the boiler pressure consistently rises above safe limits despite valve regulation, this could signal valve malfunction.
Visible signs of wear, such as rust, corrosion, or any structural damage on the valve body, indicate that the valve might no longer function properly. Addressing these signs promptly is essential to maintaining the overall safety and functionality of the boiler system.
Preparing for the Replacement
Gathering Tools and Materials
Before beginning the replacement process, ensure you have the necessary tools and materials. You’ll need an adjustable wrench, Teflon tape, a bucket, and a pipe wrench. These tools are essential for loosening, removing, and securely installing the new pressure relief valve. Additionally, obtain a replacement pressure relief valve (PRV) that is compatible with your specific boiler specifications.
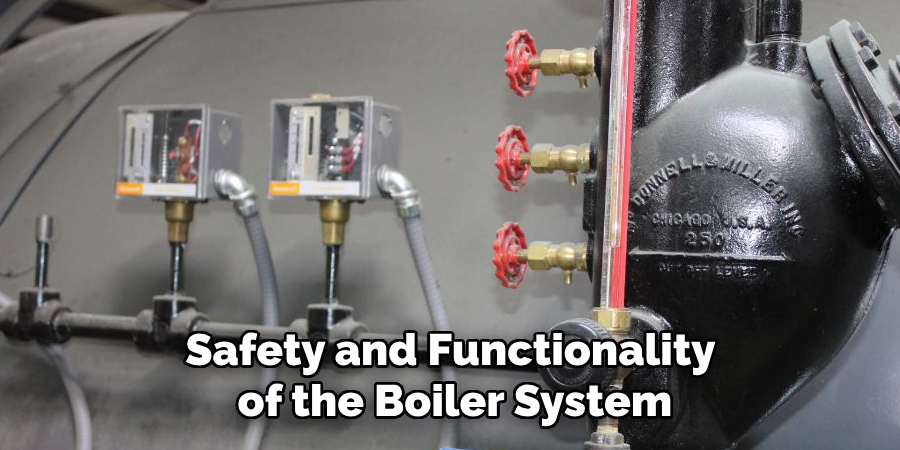
Checking compatibility is crucial to ensure proper function and prevent potential malfunctions or inefficiencies in the boiler system.
Ensuring Safety
Safety should be your top priority when preparing for a pressure relief valve replacement. Start by turning off the boiler system and allowing it to cool completely to prevent any accidental burns or injury. Next, shut off the water supply to halt the flow into the system. To further safeguard the process, relieve any remaining pressure from the system using the existing valve.
This step is critical for protecting both the operator and the equipment from sudden pressure releases or water discharge during the replacement process. Following these precautions will facilitate a safe and efficient valve replacement.
How to Replace a Pressure Relief Valve on Boiler: Removing the Old Pressure Relief Valve
Locating the Valve
The pressure relief valve is usually located on the top or side of the boiler and is connected directly to the discharge pipe. This placement allows it to efficiently release excess pressure and prevent any dangerous buildup within the system. To locate the valve, look for a small, typically brass or bronze component that connects to a pipe leading outward.
The discharge pipe is a giveaway sign since it allows the released water or steam to be safely directed away from the boiler. Ensuring you’ve correctly identified the valve is crucial for a smooth replacement process.
Draining the Boiler
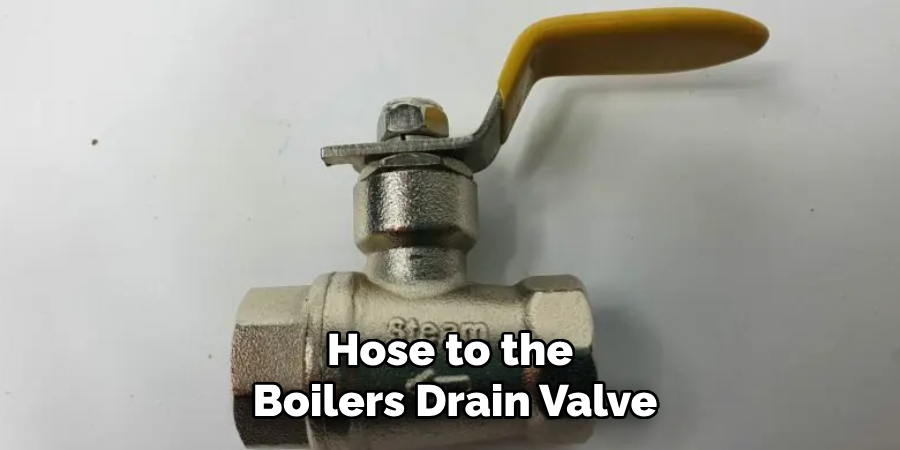
Before removing the old pressure relief valve, it’s essential to drain some water from the boiler to reduce the system’s pressure. Start by attaching a hose to the boiler’s drain valve, a component generally located near the bottom of the system. Ensure the hose is directed to a safe location, such as a floor drain or outside area, to manage the water discharge properly.
Once securely attached, open the drain valve to allow enough water to flow out, lowering the internal pressure to a safe level for the replacement process. Monitoring the draining process helps prevent unnecessary mess or overflow.
Disconnecting the Old Valve
With the pressure reduced, you can disconnect the old pressure relief valve. Use a pipe wrench to carefully unscrew the valve from its fitting. Take care to remove any attached discharge piping without causing damage to the surrounding components. Handling the parts gently and methodically ensures the system’s integrity and facilitates the subsequent installation of the new valve.
How to Replace a Pressure Relief Valve on Boiler: Installing the New Pressure Relief Valve
Preparing the New Valve
Before installing the new pressure relief valve, inspect it thoroughly for any defects or damage. Look for visible issues such as cracks, dents, or manufacturing flaws that could compromise its functionality. Once confirmed to be in good condition, apply Teflon tape to the new valve’s threads. The Teflon tape acts as a sealant, ensuring a secure and leak-proof connection by filling any micro-gaps between the threads when the valve is screwed into place.
This precaution is essential for preventing leaks and maintaining a stable pressure system.
Attaching the Valve
Begin by carefully screwing the new pressure relief valve into the designated port on the boiler by hand. This initial hand-tightening ensures the threads are properly aligned and reduces the chance of cross-threading, which can cause damage. Once the valve is seated correctly, use a wrench to tighten it further. Be cautious not to over-tighten, as excessive force can strip the threads or damage the valve body.
Tighten it just enough to create a snug fit that will maintain the seal without compromising the integrity of the valve or boiler system.
Reconnecting the Discharge Pipe
After securely installing the valve, reattach the discharge pipe to the new pressure relief valve. Make sure the pipe is properly aligned with the valve opening to facilitate correct functioning upon pressure release. Tighten the connection, ensuring it is secure without causing undue stress or misalignment. This step ensures that any excess pressure released by the valve is safely directed away from the boiler, maintaining the efficiency and safety of the overall system.
Testing the Replacement
Refilling the Boiler
To begin refilling, open the water supply valve to allow water back into the boiler system. As the boiler refills, closely monitor the pressure gauge to ensure that it rises steadily and stays within the recommended operating range. Maintaining pressure levels is crucial to avoid underperformance or damage to the system when restarted.
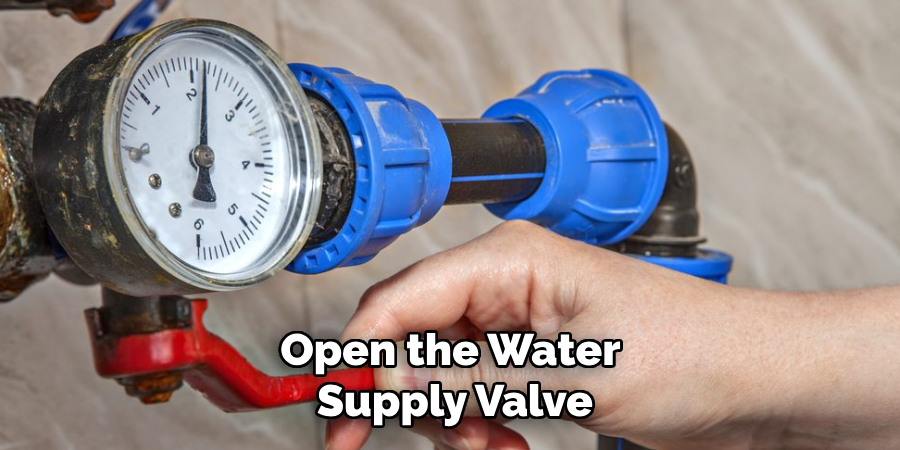
During this process, also check for any moisture around connections that may indicate a leak. Ensuring the boiler is refilled correctly will set the stage for safe and efficient operation once the system is back online.
Testing the New Valve
With the boiler refilled, turn the system back on, allowing it to gradually reach its normal operating pressure. Observe the unit carefully, looking for any leaks around the newly installed pressure relief valve. This is a critical step to verify that the valve maintains a leak-proof seal. Also, test the valve by briefly allowing the pressure to exceed the normal range, ensuring it activates and releases excess pressure effectively.
Confirming the correct function of the valve and the absence of leaks ensures the boiler system operates safely and efficiently, protecting both the equipment and the users.
Troubleshooting Common Issues
Leaks Around the Valve
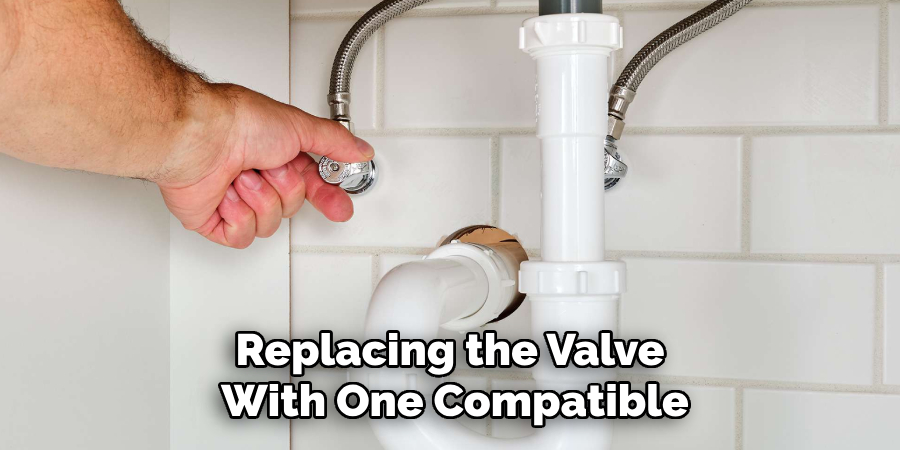
Leaks around the pressure relief valve are often due to improper installation, damaged threads, or incompatible parts. If you observe moisture or water droplets forming around the valve connection, start by reapplying Teflon tape to the valve threads. This can help to ensure a more secure and leak-proof seal. Next, check all connections and tighten them where necessary, being cautious not to overtighten, which can damage the valve or the connections.
If the leak persists, replacing the valve with one compatible with your system’s specifications might be necessary. Selecting the correct type and size of the valve ensures efficient operation and safety.
Pressure Issues Persist
Suppose pressure issues continue after replacing the pressure relief valve. In that case, it might be due to other system components, such as a faulty expansion tank, an improperly functioning pressure-reducing valve, or issues with the boiler controls. These components play critical roles in maintaining the right pressure levels within the system. Persistent pressure problems should prompt a deeper inspection of these parts.
As some of these issues may require specialized knowledge or tools to resolve, it is recommended to consult a professional HVAC technician to diagnose and address the problem effectively. Inspecting and addressing related components can prevent further damage and ensure the system functions efficiently.
Maintenance Tips for a Long-Lasting Boiler System
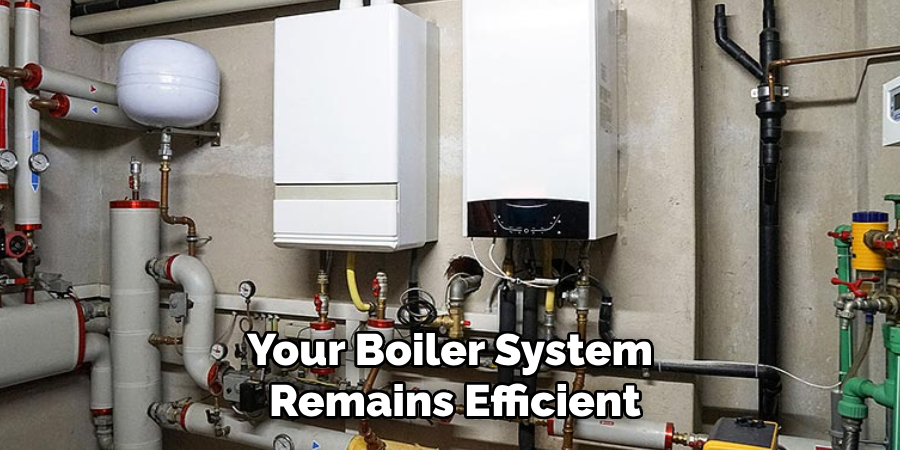
Regular maintenance is crucial to ensure your boiler system remains efficient and reliable. Begin by frequently inspecting the pressure relief valve for any signs of leaks or corrosion, which can compromise safety and performance. Routine maintenance should involve checking system pressure and flushing the boiler to remove any sediment build-up, as these deposits can hinder heat transfer and increase pressure.
Moreover, it’s important to routinely test control mechanisms and ensure all safety features are operational. Conducting these regular checks can help identify potential issues before they escalate, preventing costly repairs and extending the lifespan of your boiler system. Additionally, ensure that the boiler room is well-ventilated and free from clutter, as adequate air circulation aids in the efficient operation of the equipment.
Engaging a professional for thorough annual inspections is also recommended to address any technical concerns and maintain an optimal performance level throughout the year.
Conclusion
A functional pressure relief valve is crucial for maintaining boiler safety and efficiency. This vital component prevents overpressure, protecting the system from potential damage. Replacing the valve is a straightforward process when done correctly, as detailed in “how to replace a pressure relief valve on boiler.” Regular checks ensure everything functions smoothly and homeowners can easily address minor issues.
However, for complex problems, consulting with professionals is advisable. Routine maintenance not only prolongs the life of the equipment but also ensures a safe and reliable operation, giving peace of mind and cost savings in the long run.

