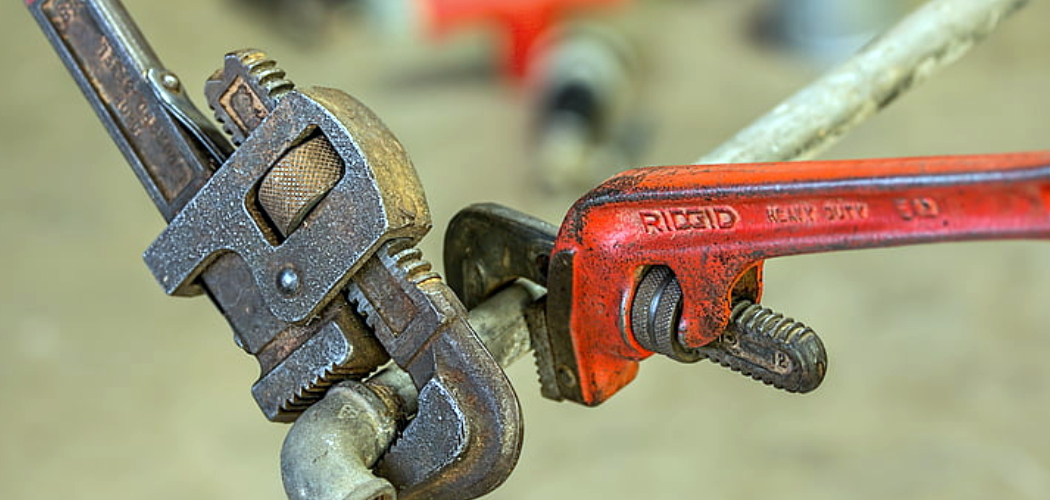
Galvanized steel pipes are widely used for plumbing and water supply systems due to their durability and resistance to corrosion. However, over time, these pipes can develop leaks, rust, or other damage that requires repair. Learning how to effectively repair galvanized steel pipes can save time and money while extending the lifespan of your plumbing system.
This guide on how to repair galvanized steel pipe will walk you through the tools, materials, and steps needed to address common issues with galvanized steel pipes.
What is a Galvanized Steel Pipe?
A galvanized steel pipe is a type of metal pipe that has been coated with zinc to protect it from corrosion. This coating also gives the pipe a shiny, silver appearance. Galvanized steel pipes are commonly used for water supply and distribution systems, as well as in outdoor applications such as fences, railings, and scaffolding.
You can identify galvanized steel pipes by their distinctive silver color and the presence of small, raised bumps on the surface. These bumps are a result of the galvanization process and can help distinguish galvanized pipes from other types of metal pipes.
Tools and Materials Needed
Before you begin repairing your galvanized steel pipes, gather all the necessary tools and materials. These may include:
Wire Brush or Sandpaper:
Remove any rust, corrosion, or debris from the surface of the pipe.
Galvanized Pipe Repair Kit:
This typically includes a repair clamp, rubber gasket, and bolts to seal leaks in galvanized pipes.
Epoxy Putty:
For small holes or cracks in the pipe, epoxy putty can be used as a temporary fix until a more permanent solution can be implemented.
Pipe Cutter:
If you need to replace a section of damaged pipe, you will need a pipe cutter to cut out the old section and install a new one.
Safety Gear:
Always wear gloves and eye protection when working with galvanized steel pipes to protect yourself from sharp edges and metal shavings.
8 Steps on How to Repair Galvanized Steel Pipe
Step 1: Clean the Pipe Surface
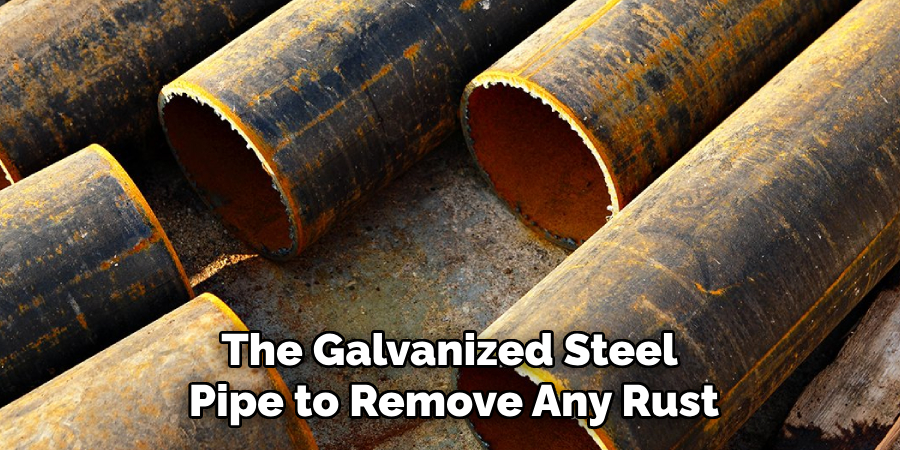
Begin by thoroughly cleaning the surface of the galvanized steel pipe to remove any rust, debris, or corrosion. Use a wire brush or sandpaper to scrub the damaged area gently, ensuring that you expose clean metal.
This step is crucial as it creates a smooth surface for the repair materials to adhere properly. Wipe down the pipe with a clean, dry cloth to remove dust or residue from the cleaning process before moving on to the next step.
Step 2: Determine the Extent of Damage
Inspect the pipe closely to determine the extent of the damage. For minor leaks or small holes, epoxy putty can be used as a temporary solution until a more permanent fix can be applied. However, if the damage is severe or widespread, it may be best to replace the affected section of the pipe entirely.
The type of repair needed will also depend on the location of the damaged area. If it is in a hard-to-reach spot or near a joint, a different approach may be required.
Step 3: Apply Epoxy Putty (Optional)
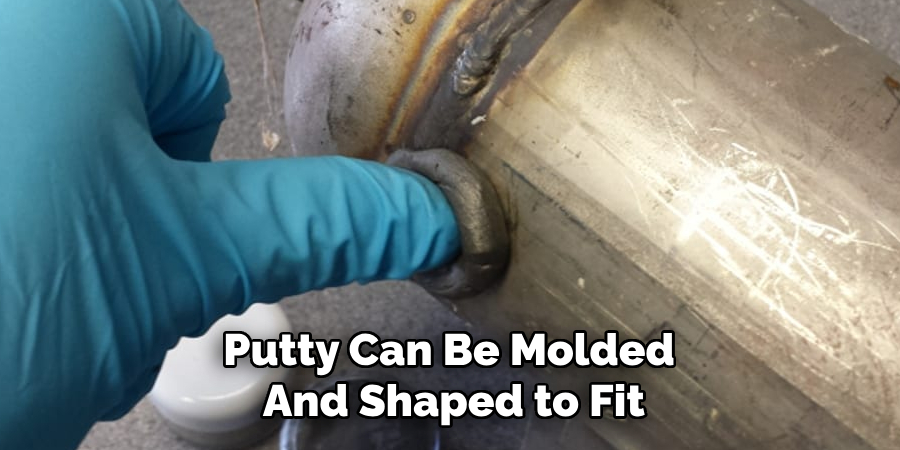
If you are using epoxy putty, follow the manufacturer’s instructions to mix and apply it to the damaged area. This putty can be molded and shaped to fit any hole or crack in the pipe of any size. Ensure that you cover the entire damaged area with a thick layer of epoxy putty and smooth out any excess before allowing it to dry completely.
The putty will harden and act as a temporary seal for the damaged area.
Step 4: Measure and Cut Replacement Pipe (If Needed)
For more significant damage, you may need to replace a section of the galvanized steel pipe. Use a pipe cutter to cut out the damaged section, ensuring that your cuts are clean and straight.
Measure the length of the replacement pipe needed and cut it accordingly with the pipe cutter.
Step 5: Prepare the Repair Clamp from the Kit
If you are using a repair clamp from your galvanized pipe repair kit, start by inspecting the clamp components, including the rubber gasket and bolts, to ensure they are in good condition. Position the rubber gasket over the damaged area of the pipe, making sure it fully covers the hole or crack.
Next, align the repair clamp with the gasket, placing it securely over the damaged area. The clamp should fit snugly around the pipe without gaps. Prepare the bolts included in the kit, ensuring they are threaded correctly and ready to be tightened once the clamp is in place. This preparation ensures a smooth and efficient application when securing the clamp to the pipe in the next step.
Step 6: Install Repair Clamp
With the repair clamp in place, begin tightening the bolts using a screwdriver or wrench. Start from one side and work your way across to evenly distribute pressure on the gasket and secure the clamp tightly onto the pipe. Be careful not to over-tighten as this may cause damage to the pipe or clamp.
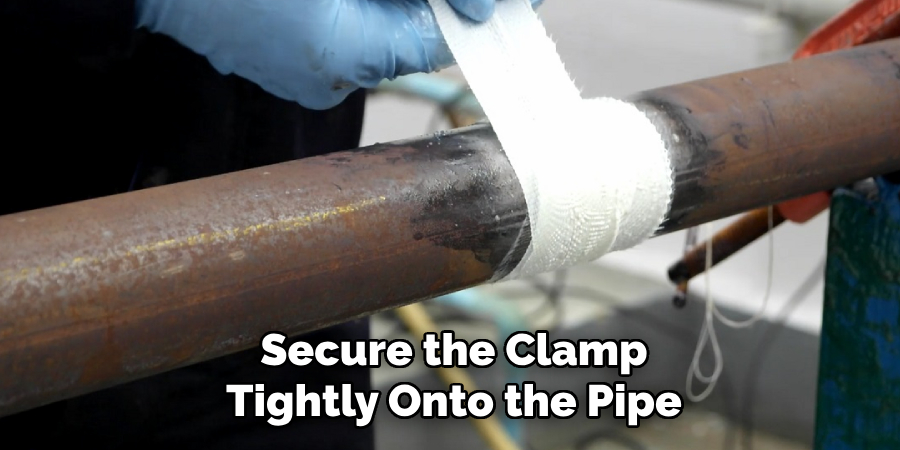
You should see the gasket compressing and creating a tight seal over the damaged area as you tighten the bolts. Once fully tightened, check for any gaps or leaks around the clamp and make any necessary adjustments.
Step 7: Test for Leaks
Turn on your water supply to test for any remaining leaks. If there are no signs of leaking, you have successfully repaired your galvanized steel pipe.
However, if there are still minor leaks present, these can be fixed using additional layers of epoxy putty or by re-tightening the repair clamp bolts slightly. For more severe leaks, it may be necessary to seek professional help or replace the affected section of the pipe entirely.
Step 8: Clean Up and Maintain
After completing the repair, clean up any tools or materials used and dispose of them properly. It is also important to check the repaired area regularly for any signs of corrosion or damage, as well as to maintain your galvanized steel pipes by keeping them clean and free of debris.
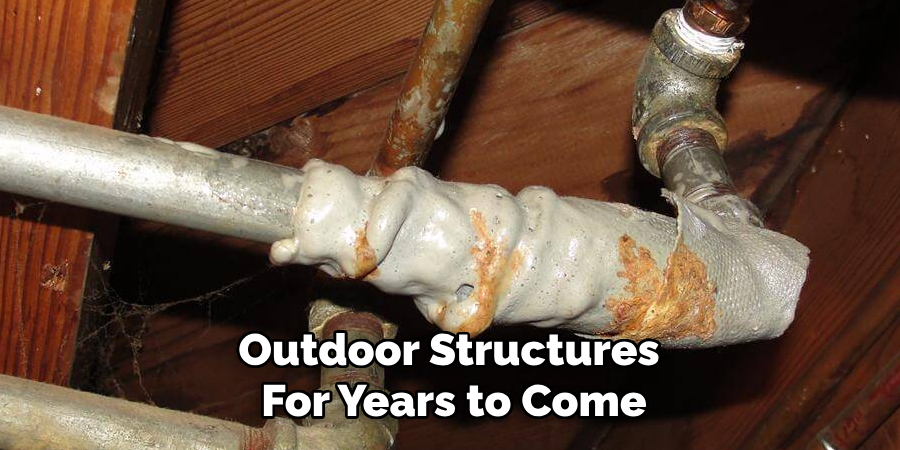
With these steps on how to repair galvanized steel pipe, you can successfully repair galvanized steel pipes and ensure efficient water supply and distribution in your home or outdoor structures for years to come. Remember to always take proper safety precautions when working with metal pipes and consult a professional if you are unsure about the extent of the damage or how to fix it. Prevention is key in maintaining healthy plumbing systems, so regular maintenance and inspections are recommended to catch any potential issues before they become larger problems. Happy repairing!
Do You Need to Use Professionals and How Much Will It Cost?
Whether you need to hire professionals to repair galvanized steel pipes depends on the complexity and severity of the damage, as well as your comfort level with DIY repairs. Minor leaks or small cracks can often be addressed using tools and materials from a galvanized pipe repair kit, such as epoxy putty and repair clamps. If you’re confident in your ability to follow the necessary steps and safety precautions, a DIY approach can be cost-effective.
However, for more extensive repairs, such as replacing large sections of pipe, addressing severe corrosion, or dealing with hard-to-reach areas, hiring a professional plumber is highly recommended. Professionals have the experience, tools, and expertise to accurately assess the condition of your plumbing and ensure a long-lasting repair. They can also identify underlying issues or potential risks that may not be apparent during a DIY project.
The cost of hiring a professional can vary depending on factors such as the extent of the damage, the location of the repair, and your region. On average, a plumber’s hourly rate ranges from $50 to $150, with additional charges for materials and replacement parts if needed. Repairing or replacing a section of galvanized pipe typically costs between $150 and $500, but the price could be higher for complex or larger repairs. While this may represent a higher upfront cost than a DIY solution, professional repairs often provide better long-term results and peace of mind.
Frequently Asked Questions
Q: Can I Use PVC Glue to Repair Galvanized Steel Pipes?
A: No, PVC glue is not suitable for repairing galvanized steel pipes. It is designed specifically for PVC pipes and will not create a strong enough bond on metal. It is important to use the appropriate materials and methods when repairing different types of piping.
Q: How Long Will a Repair Clamp Last on a Galvanized Steel Pipe?
A: The lifespan of a repair clamp will vary depending on factors such as the extent of damage, quality of materials used, and environmental conditions. However, with proper installation and maintenance, a repair clamp can last for several years. It is always best to regularly check and replace any aging or damaged clamps to ensure the longevity of your galvanized steel pipes.
Q: Can I Paint Over the Repaired Area on My Galvanized Steel Pipe?
A: Yes, once the repaired area is completely dry and free of leaks, it can be painted over to blend in with the rest of the pipe. Just be sure to use a paint specifically designed for metal surfaces and follow the manufacturer’s instructions for proper application.
Conclusion
Repairing galvanized steel pipes may seem challenging, but with the right tools and step-by-step guidance, it is a manageable task for most homeowners. Whether using a temporary solution like epoxy putty, a repair clamp, or replacing a damaged pipe section entirely, each method provides effective ways to address leaks and prolong the life of your plumbing system.
Consistent maintenance, regular inspections, and timely repairs are essential to preventing more significant issues down the line. By following these instructions on how to repair galvanized steel pipe carefully, you can ensure that your galvanized steel pipes remain functional and reliable for years to come.

