Unite Pipes are a versatile and durable solution for various plumbing and irrigation needs. Installing them correctly is essential to ensure efficiency and long-term reliability. This guide will walk you through how to install unite pipes to achieve a smooth and successful installation process. Whether you’re a professional or a DIY enthusiast, following these instructions will make the task straightforward and hassle-free.
What Are Unite Pipes?
Unite Pipes are high-quality piping systems designed for both residential and commercial applications. They are made from robust materials that provide excellent durability, resistance to corrosion, and adaptability to various environmental conditions. These pipes are commonly used in plumbing, irrigation, and industrial systems due to their ability to handle high-pressure fluids effectively. Additionally, Unite Pipes are easy to install and maintain, making them a popular choice for professionals and DIY users alike. Their innovative design ensures a reliable and efficient solution for distributing water or other liquids in a wide range of settings.
Benefits of Using Unite Pipes
Unite Pipes offer several advantages that make them a superior choice for plumbing and irrigation systems. Here are some of the key benefits:
- Durability – Made from high-quality materials, Unite Pipes are designed to withstand extreme temperatures, pressure, and environmental conditions, ensuring a long service life.
- Corrosion Resistance – Unlike traditional metal pipes, Unite Pipes are resistant to rust and corrosion, making them ideal for both indoor and outdoor installations.
- Ease of Installation – With a simple and user-friendly assembly process, Unite Pipes can be installed quickly and efficiently, saving time and labor costs.
- Versatility – Suitable for various applications, including residential, commercial, and industrial projects, Unite Pipes are adaptable to a wide range of needs.
- Cost-Effectiveness – Their long-lasting performance and low maintenance requirements make Unite Pipes a cost-efficient option over time.
- Eco-Friendliness – Unite Pipes are made from recyclable materials, contributing to sustainable and environmentally friendly solutions.
By choosing Unite Pipes, you not only invest in a reliable and efficient system but also ensure a hassle-free and long-lasting infrastructure for your project.
Tools and Materials Needed
Before beginning the installation of Unite Pipes, it’s important to gather all the necessary tools and materials to ensure a smooth and efficient process. Here’s a list of what you’ll need:
Tools:
- Pipe Cutter – To cut the pipes to the desired length with precision.
- Measuring Tape – For accurate measurements to ensure proper fitting.
- Pipe Wrench – To tighten and secure connections.
- Deburring Tool – To remove sharp edges or burrs after cutting the pipe.
- Marker or Pencil – For marking measurements and alignment points.
- Level – To ensure the pipes are properly aligned and level.
Materials:
- Unite Pipes – The main piping system for your project.
- Pipe Fittings – Couplings, elbows, tees, and other connectors to join pipes.
- Thread Seal Tape (Teflon Tape) – To prevent leaks at threaded connections.
- Pipe Clamps and Brackets – To secure the pipes in place.
- Adhesive or Solvent Cement (if applicable) – To join pipes and fittings securely, depending on the type of Unite Pipes being used.
- Protective Gear – Gloves and safety goggles to ensure safe handling of tools and materials.
Having these tools and materials ready will help streamline the installation process and minimize interruptions.
10 Methods How to Install Unite Pipes
1. Plan the Layout
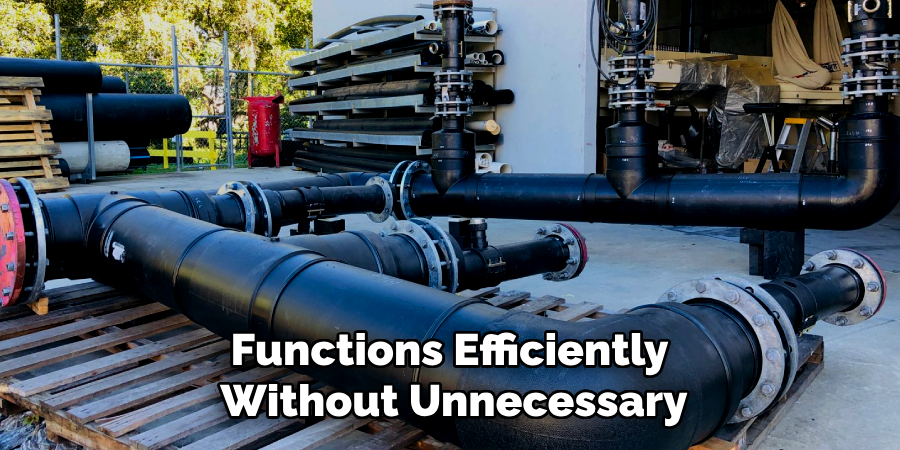
Before starting the installation, plan the pipe layout thoroughly. Create a detailed diagram showing the pipe routes, connections, and components such as valves, elbows, and unions. Consider factors like accessibility, flow direction, and potential obstructions. Proper planning minimizes errors and ensures the system functions efficiently without unnecessary modifications.
2. Choose the Right Pipe Material
Selecting the correct pipe material is crucial for the application. Unite pipes come in various materials, including PVC, CPVC, stainless steel, and copper. Consider factors such as the fluid type, pressure, temperature, and environmental conditions. Using the appropriate material ensures the longevity and reliability of the system.
3. Measure and Cut Pipes Accurately
Accurate measurements are vital to avoid waste and ensure a perfect fit. Use a measuring tape to determine the exact pipe lengths needed for each section. Mark the cutting points clearly, and use a pipe cutter or saw designed for the specific pipe material. Ensure clean, straight cuts to facilitate proper connections and avoid leaks.
4. Deburr and Clean the Pipe Ends
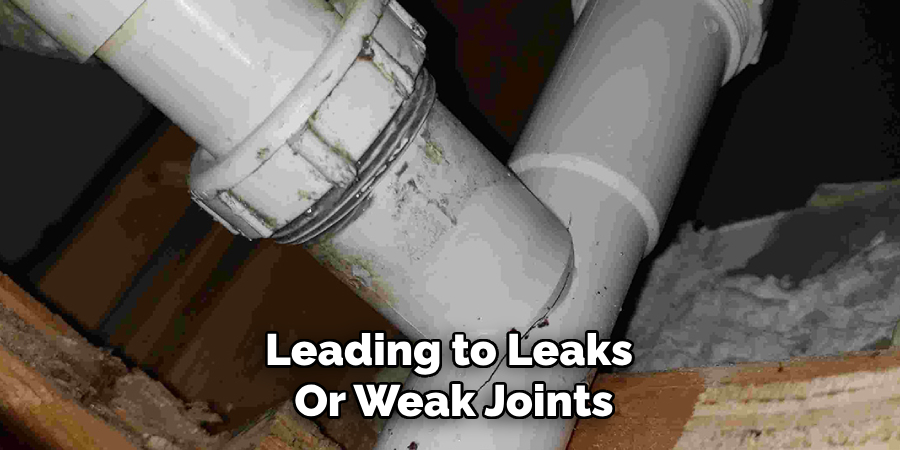
After cutting the pipes, remove burrs and sharp edges using a deburring tool or file. Burrs can interfere with the sealing and connection process, leading to leaks or weak joints. Clean the pipe ends thoroughly to remove dust, grease, or debris that could compromise the adhesive or sealing elements.
5. Prepare the Fittings
Inspect all fittings before installation to ensure they are free of damage or defects. For threaded fittings, apply thread sealant or Teflon tape to the threads to create a leak-proof seal. For slip fittings, use the recommended adhesive or solvent cement to secure the connection. Proper preparation of fittings ensures a tight and durable joint.
6. Assemble the Pipes and Fittings
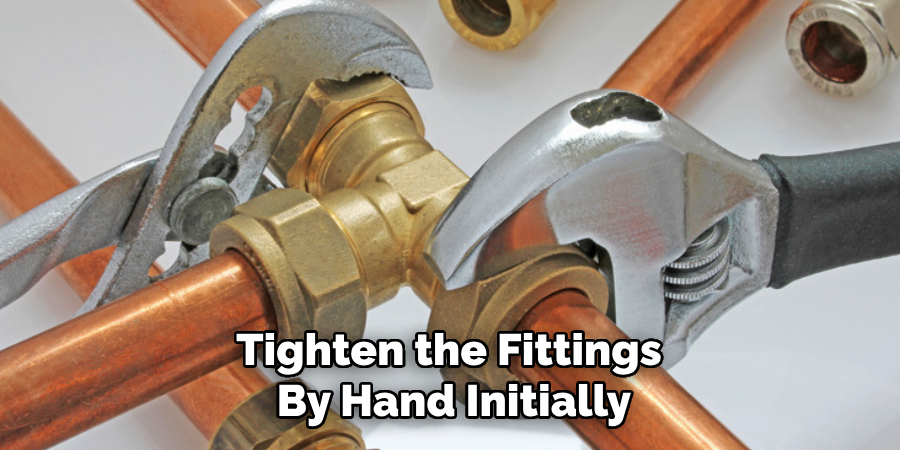
Begin assembling the pipes and fittings according to the planned layout. Insert the pipe ends into the fittings fully to ensure proper engagement. For threaded connections, tighten the fittings by hand initially and then use a wrench for the final turn. Avoid overtightening, as it can damage the threads or fittings. For solvent-welded connections, allow the adhesive to cure according to the manufacturer’s guidelines before applying pressure.
7. Secure the Pipes
Use pipe clamps, brackets, or hangers to secure the pipes along the installation route. Ensure proper spacing between supports to prevent sagging or excessive stress on the joints. For vertical installations, use additional anchors to support the weight of the pipes and maintain alignment. Securing the pipes prevents movement and vibration that could lead to joint failure.
8. Test the System for Leaks
After assembling and securing the pipes, perform a pressure test to check for leaks. Fill the system with water or air and gradually increase the pressure to the recommended level. Inspect all joints and connections for signs of leakage. If any leaks are detected, identify the source, disassemble the connection, and reassemble it using the appropriate sealing method.
9. Insulate the Pipes
In applications where temperature control is critical, insulate the pipes to prevent heat loss, condensation, or freezing. Use pipe insulation materials such as foam or fiberglass sleeves, and secure them with adhesive tape or clamps. Proper insulation enhances the efficiency and durability of the piping system, especially in extreme temperature conditions.
10. Document the Installation
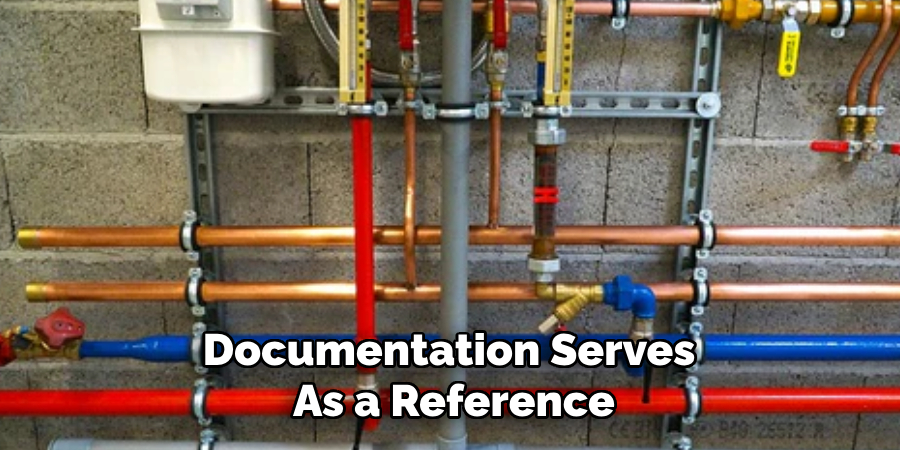
Maintain detailed records of the installation process, including the layout diagram, material specifications, and pressure test results. Documentation serves as a reference for future maintenance, repairs, or system expansions. It also ensures compliance with building codes and industry standards, providing peace of mind and accountability.
Maintenance and Upkeep
Proper maintenance and regular upkeep of Unite Pipes are essential to ensure the longevity and efficiency of the system. Follow these guidelines to keep your piping system in top condition:
Perform Regular Inspections
Conduct periodic visual inspections of the entire piping system to check for signs of wear, leaks, corrosion, or damage. Pay close attention to joints, fittings, and any areas under stress or exposed to harsh environmental conditions.
Clean the System Periodically
Flush the piping system regularly to remove any debris, sediment, or build-up that could obstruct flow. For pipes carrying chemicals or other specialized fluids, follow the manufacturer’s recommendations for cleaning agents and procedures.
Tighten Connections if Necessary
Over time, vibrations or thermal expansion may cause connections to loosen. Check all threaded and slip connections, and tighten them as needed to ensure no leaks develop.
Check Insulation Integrity
If the pipes are insulated, inspect the insulation material for wear, tears, or degradation. Replace damaged insulation promptly to maintain temperature control and protect the system from external conditions.
Protect Against Corrosion and Wear
Apply protective coatings or paint to metal pipes to guard against corrosion, especially in outdoor or humid environments. For areas prone to abrasion, consider using protective sleeves or additional reinforcements.
Monitor Operating Conditions
Regularly review the system’s operational parameters, such as fluid pressure, temperature, and flow rate. Ensure these conditions remain within the specifications for your piping material and application.
Address Issues Promptly
If you detect any leaks, damage, or anomalies, resolve them immediately to prevent further complications. Ignoring minor issues could lead to more significant repairs and higher costs in the future.
Schedule Professional Maintenance
For intensive maintenance tasks or complex piping systems, schedule regular checks by a professional plumber or technician. They can identify hidden issues and perform specialized inspections to ensure the system meets safety and performance standards.
By maintaining a proactive approach to maintenance, you can extend the life of your Unite Pipes and ensure the system remains efficient and reliable for years to come.
Conclusion
Installing unite pipes requires careful planning, precision, and attention to detail. By following these ten methods, you can ensure a reliable and efficient piping system that meets the highest standards of safety and performance. Whether for residential, commercial, or industrial applications, mastering these techniques will help you achieve professional results and long-lasting installations. Now that you know how to install unite pipes, try it yourself today and feel good about completing such a big DIY job!

