Cutting tubing pipes accurately is essential for any plumbing or DIY project, and a tubing pipe cutter is a reliable tool for the job. Whether you’re working with copper, aluminum, or plastic pipes, this tool ensures clean and precise cuts without much effort. By learning the proper technique to use a tubing pipe cutter, you can improve efficiency and ensure professional results in your work. This guide will walk you through the steps of how to use a tubing pipe cutter effectively and safely.
What is a Tubing Pipe Cutter?
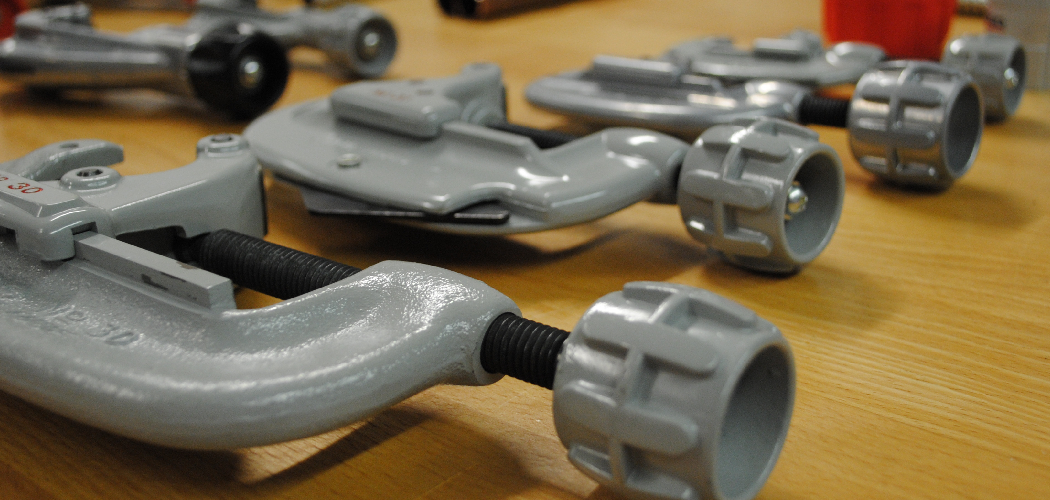
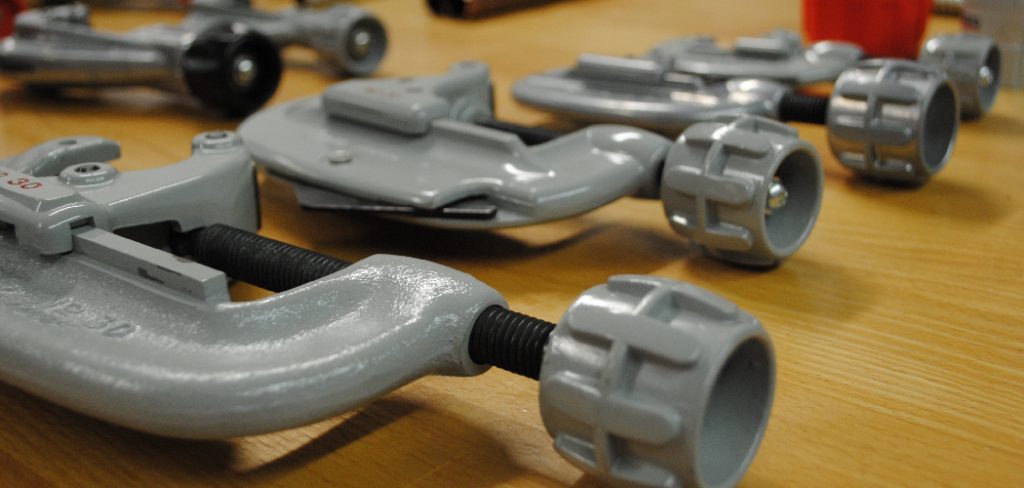
A tubing pipe cutter is a specialized tool designed specifically for cutting various types of pipes with precision and ease. It typically consists of a circular cutting blade and adjustable rollers to securely hold the pipe in place during the cutting process. Tubing pipe cutters are commonly used for materials like copper, aluminum, brass, and plastic, making them a versatile tool in both plumbing and DIY projects.
Unlike manual saws, which can leave jagged edges, tubing pipe cutters provide clean, smooth cuts that require little to no additional finishing. Their compact design also allows for easy use in tight spaces, making them an essential addition to any toolkit.
Types of Tubing Pipe Cutters
There are several types of tubing pipe cutters available, each designed for specific materials and tasks. Understanding the different types will help you choose the right tool for your project:
Standard Pipe Cutter
Standard pipe cutters are ideal for cutting soft metals like copper and aluminum. These cutters feature a sharp blade and adjustable rollers, allowing you to make precise cuts with minimal effort. They are commonly used in plumbing applications for their reliability and ease of use.
Mini Pipe Cutter
Mini pipe cutters are compact and designed for use in tight or confined spaces where a standard pipe cutter may not fit. Despite their small size, they deliver the same level of accuracy and are perfect for working on pipes in corners or behind walls.
PVC Pipe Cutter
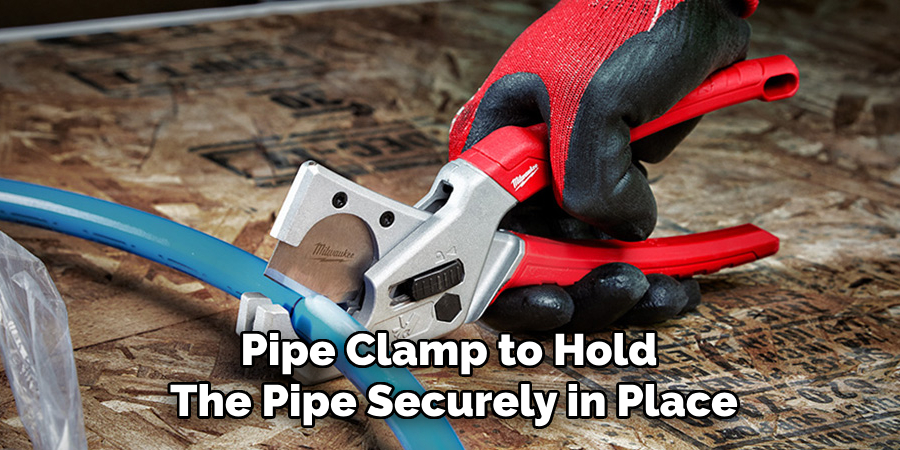
Specifically designed for cutting plastic pipes, PVC pipe cutters use a scissor-like action to slice through the material cleanly. These are ideal for use on PVC, CPVC, or other plastic piping and make quick work of cutting softer materials.
Ratcheting Pipe Cutter
A ratcheting pipe cutter is a step above a standard pipe cutter, as it allows you to apply gradual pressure through a ratchet mechanism. This makes cutting easier, especially for tougher materials like steel or thick-walled pipes, as the tool does most of the work for you.
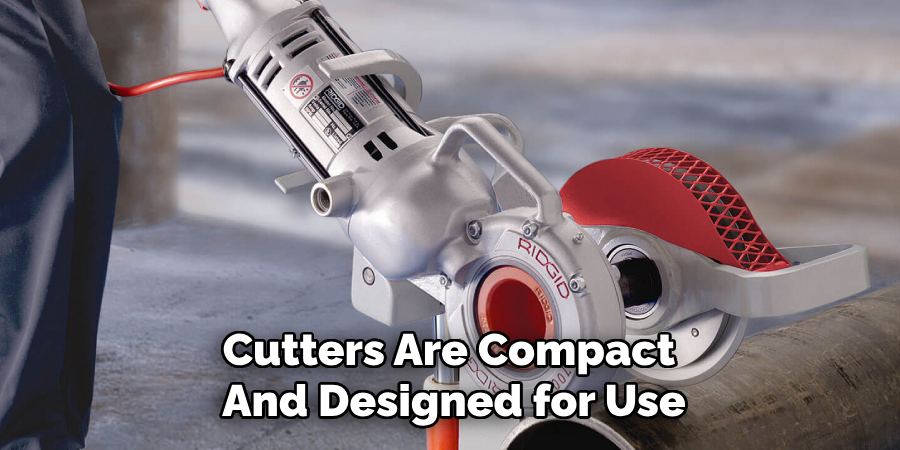
Electric Pipe Cutter
Electric pipe cutters are motorized tools designed for high-efficiency cutting in professional or industrial settings. They can handle a wide range of materials and sizes, offering speed and convenience when working on large projects. These cutters are best suited for tasks that require multiple or repetitive cuts.
Tools and Materials Needed
Before you begin cutting pipes with a tubing pipe cutter, it’s essential to gather the necessary tools and materials to ensure a smooth and efficient workflow. Here’s a list of what you’ll need:
- Tubing Pipe Cutter – Choose the appropriate type of pipe cutter based on the material and size of the pipe you’ll be working with (e.g., standard, mini, PVC, ratcheting, or electric pipe cutter).
- Measuring Tape – To measure and mark the precise length of pipe to be cut.
- Marker or Pencil – For marking the cutting line on the pipe.
- Deburring Tool or File – To smooth out any rough edges or burrs left after cutting, ensuring a clean finish.
- Safety Glasses – To protect your eyes from potential debris or sharp edges during the cutting process.
- Gloves – To protect your hands and maintain a secure grip on tools and pipes.
Having all these tools and materials on hand before starting your project will save time and help you achieve the best possible results.
10 Methods How to Use a Tubing Pipe Cutter
1. Choose the Right Pipe Cutter for the Job
Selecting the correct tubing pipe cutter is crucial to achieving a clean and precise cut. Pipe cutters are available in various designs tailored to specific applications. Mini pipe cutters are ideal for tight spaces, while ratcheting cutters handle larger diameters effortlessly. Additionally, some cutters are material-specific, such as those designed for PVC or metal. Using the right tool not only ensures accurate results but also prevents unnecessary wear on the cutter or damage to the pipe.

2. Inspect and Prepare the Pipe
Before beginning the cutting process, inspect the pipe thoroughly for any defects, such as dents, deformities, or accumulated debris. A damaged or dirty pipe can compromise the quality of the cut. Clean the pipe surface with a damp cloth or mild cleaner to remove any grease, dirt, or residue. This ensures the cutter operates smoothly and reduces friction, minimizing the risk of uneven edges or tool slippage.
3. Mark the Cutting Point Accurately
Precision is key to achieving a proper fit. Use a measuring tape to determine the exact length needed for the pipe, then mark the cutting point clearly with a pencil, marker, or scoring tool. Double-check the measurements to avoid mistakes. A well-defined mark acts as a guide for the pipe cutter, ensuring the cut is made at the correct location without wasting material.
4. Secure the Pipe Firmly
A stable pipe is essential for safety and precision during cutting. If available, use a vise or pipe clamp to hold the pipe securely in place. For smaller pipes, you can stabilize them with one hand while operating the cutter with the other. Avoid applying excessive force when securing the pipe, especially with softer materials like copper or PVC, as this can lead to deformation.
5. Align the Pipe Cutter Correctly
Open the pipe cutter’s jaws and align the cutting wheel precisely with the marked line on the pipe. Ensure the cutter is positioned perpendicular to the pipe to achieve a square and uniform cut. Misalignment can result in uneven edges, which may require additional trimming or deburring later. A steady alignment is a cornerstone of a clean cut.
6. Adjust the Cutter’s Tension Gradually
Tighten the adjustment knob on the pipe cutter until the cutting wheel lightly contacts the pipe surface. Avoid overtightening, as excessive pressure can damage the pipe, especially if it’s made of softer materials. Once the initial contact is made, proceed with gradual adjustments after each rotation. This ensures smooth cutting without straining the tool or creating unnecessary resistance.
7. Rotate the Pipe Cutter Smoothly and Consistently
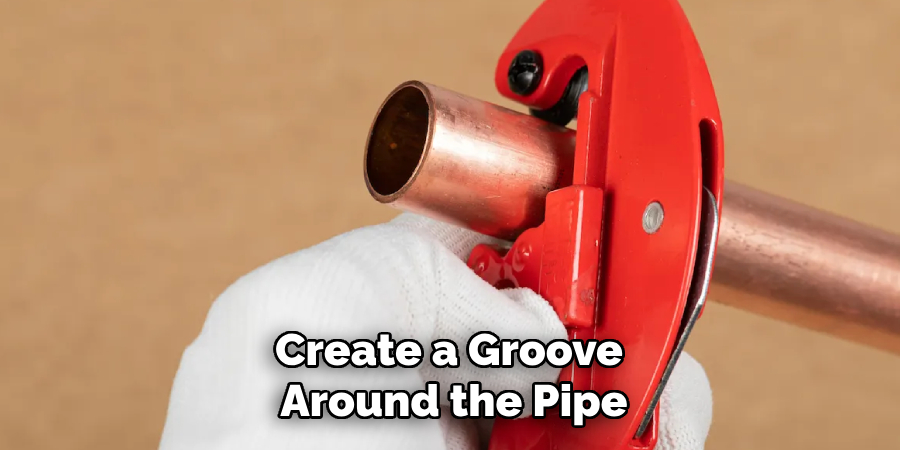
Begin cutting by rotating the pipe cutter around the pipe in a continuous, smooth motion. Apply consistent pressure throughout each rotation to create a groove around the pipe. After every complete turn, slightly tighten the adjustment knob to deepen the groove. Repeat this process until the pipe is fully severed. Maintaining a steady rhythm prevents irregularities and ensures a precise cut.
8. Deburr and Smooth the Edges
After the pipe is cut, inspect the edges for burrs or sharp fragments, which can hinder proper fitting connections or pose a safety hazard. Use a deburring tool, file, or fine sandpaper to remove these imperfections. Smooth edges not only enhance the pipe’s appearance but also improve its functionality by ensuring a secure and leak-free connection.
9. Verify the Fit of the Cut Pipe
Before proceeding to the installation phase, test the fit of the cut pipe with its intended connector, coupling, or fitting. Ensure the length and alignment meet the project’s specifications. If any adjustments are necessary, carefully trim the pipe further using the same cutting procedure. Verifying the fit beforehand eliminates potential issues during assembly.
10. Maintain and Store the Pipe Cutter Properly
Regular maintenance is essential to keep your pipe cutter in optimal condition. After each use, clean the cutter to remove dirt, debris, and metal shavings that could affect its performance. Lubricate the moving parts periodically to ensure smooth operation. Store the tool in a dry, secure location to prevent rust or damage. Proper care extends the cutter’s lifespan and ensures it remains reliable for future projects.
Safety Considerations
When using a tubing pipe cutter, safety should always be a priority to prevent accidents and injuries. Here are essential safety tips to follow:
- Wear Proper Protective Gear – Always use safety glasses to protect your eyes from flying debris and gloves to shield your hands from sharp edges or accidental cuts.
- Ensure a Stable Work Surface – Perform all cutting tasks on a stable, level surface to avoid slips or unexpected movements during operation. If using a vise or clamp, verify it is securely fastened.
- Inspect Tools Before Use – Check the pipe cutter for any visible damage, such as cracks or blunt cutting wheels, to ensure it functions properly. Damaged tools can lead to inefficient cuts and potential hazards.
- Cut Away from Your Body – Always position your hands and body away from the cutting area to reduce the risk of injury if the cutter slips or the pipe moves unexpectedly.
- Avoid Excessive Force – Over-tightening the cutter or applying too much pressure can cause parts of the pipe or tool to snap, which may lead to sharp fragments or debris.
Conclusion
Using a tubing pipe cutter effectively requires attention to detail, proper technique, and a commitment to tool maintenance. By following these ten methods, you can achieve clean, accurate cuts that enhance the quality of your work, whether in plumbing, construction, or DIY projects. Thanks for reading, and we hope this has given you some inspiration on how to use a tubing pipe cutter!

