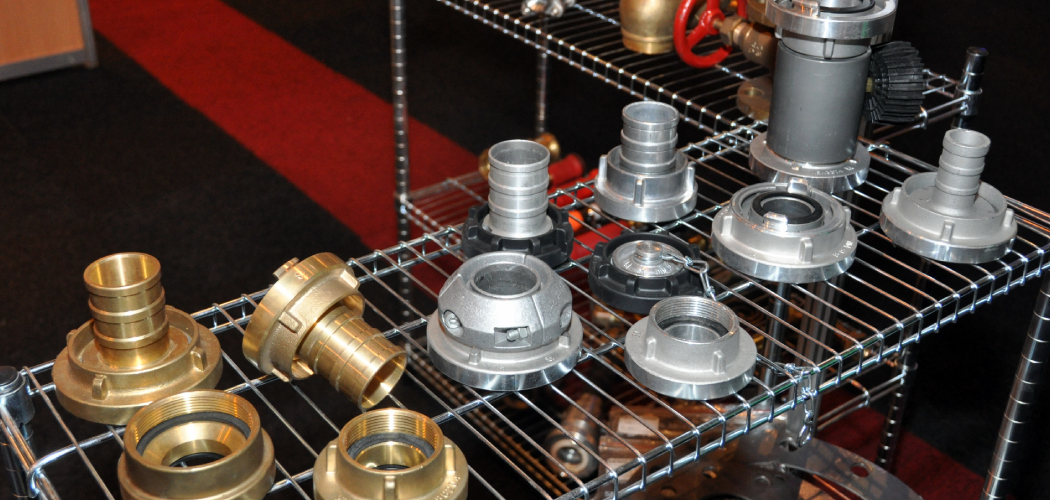
Proper maintenance of rigid couplings is essential to ensure their efficient performance and longevity. Regular cleaning prevents the buildup of dirt, grease, and debris, which can lead to misalignment or damage over time. This guide will walk you through how to clean a couplings rigid effectively and keep it in optimal working condition.
Why Proper Cleaning of Rigid Couplings is Essential
Proper cleaning of rigid couplings is crucial for maintaining the reliability and efficiency of mechanical systems. Over time, contaminants such as dust, grime, and grease can accumulate on the coupling’s surface, potentially leading to corrosion or wear. This buildup can also affect the coupling’s alignment, causing vibrations or unnecessary stress on connected components.
Regular cleaning not only extends the lifespan of the coupling but also reduces the risk of unexpected failures, ensuring the smooth operation of machinery. By prioritizing maintenance, you can avoid costly repairs and downtime, ultimately improving the overall performance of your system.
Understanding Rigid Couplings
Rigid couplings are a vital component in mechanical systems, designed to connect two shafts and create a secure, fixed connection. Unlike flexible couplings, rigid couplings do not allow for any misalignment or movement between the connected shafts, making them ideal for systems where precise alignment is crucial.
They are commonly used in applications where high torque and accuracy are required, such as in conveyors, machine tools, and industrial equipment. Rigid couplings come in various types, including sleeve-style and clamp-style, each tailored to specific needs and uses. Understanding the role and constraints of rigid couplings is key to ensuring their proper selection and maintenance for optimal system performance.
10 Methods How to Clean a Couplings Rigid
1. Disassemble the Coupling Properly
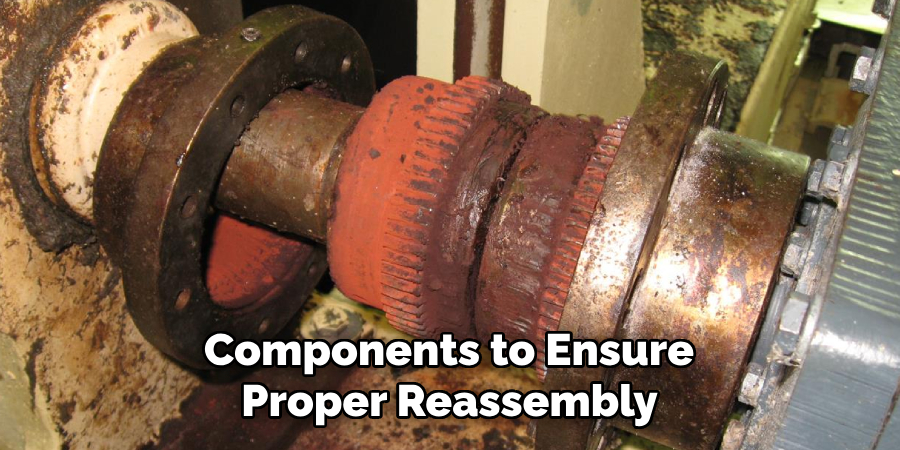
Before cleaning, disassemble the rigid coupling according to the manufacturer’s instructions. Use the appropriate tools, such as wrenches or screwdrivers, to carefully remove the bolts or screws. Separate the coupling halves and any inserts or keys. Label or organize the components to ensure proper reassembly. Disassembly allows for thorough cleaning of all parts and prevents damage to the coupling during the process.
2. Remove Loose Debris
Start by removing loose dirt, dust, and debris from the coupling. Use a soft-bristle brush or compressed air to clean the surface gently. Pay special attention to grooves, threads, and crevices where debris can accumulate. Removing loose debris at the beginning prevents it from mixing with cleaning agents and simplifies the cleaning process.
3. Soak in a Degreasing Solution
Prepare a degreasing solution specifically designed for mechanical components. Submerge the coupling parts in the solution and let them soak for 15-30 minutes. This step helps dissolve grease, oil, and stubborn residues. Use a container that accommodates the size of the coupling and ensures all parts are fully submerged. After soaking, rinse the parts with warm water to remove the degreaser.
4. Scrub with a Nylon Brush
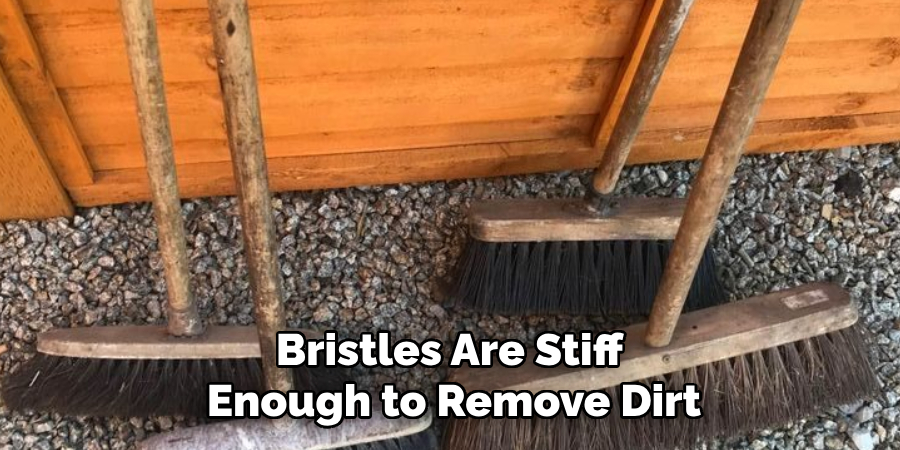
For a more thorough clean, use a nylon brush to scrub the coupling components. Nylon bristles are stiff enough to remove dirt and grease without scratching the metal surface. Focus on areas with heavy buildup, such as bolt holes and mating surfaces. Avoid using metal brushes, as they can damage the coupling and compromise its performance.
5. Clean Threads and Grooves with a Wire Tool
Threads and grooves in rigid couplings often collect grease and debris, which can affect their fit and function. Use a wire tool or a thread-cleaning brush to clean these areas. Rotate the tool gently to avoid damaging the threads. Ensure all grooves are free of contaminants to maintain proper alignment and torque.
6. Use Ultrasonic Cleaning for Precision
For a more advanced cleaning method, consider using an ultrasonic cleaner. This device uses high-frequency sound waves to create microscopic bubbles that remove dirt and grease from the coupling’s surface. Place the disassembled components in the cleaner’s tank, fill it with a cleaning solution, and run the machine according to the manufacturer’s instructions. Ultrasonic cleaning is especially effective for intricate designs and hard-to-reach areas.
7. Apply a Solvent for Tough Stains
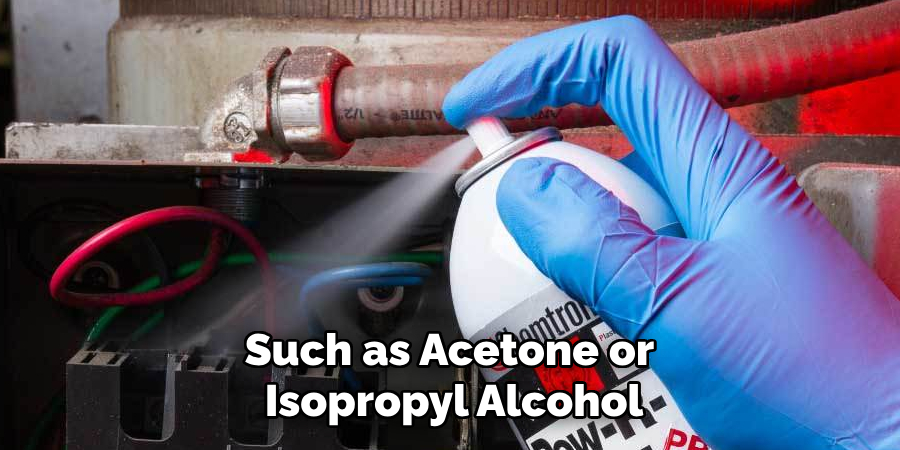
If stubborn stains or residues remain after soaking and scrubbing, apply a specialized solvent, such as acetone or isopropyl alcohol, to the affected areas. Use a lint-free cloth or cotton swab to apply the solvent and rub gently until the stain is removed. Ensure proper ventilation when using solvents and wear protective gloves to avoid skin irritation.
8. Inspect for Wear and Damage
While cleaning, inspect the coupling components for signs of wear, corrosion, or damage. Look for cracks, deformities, or excessive wear on mating surfaces and bolts. Identifying and addressing these issues during the cleaning process can prevent future failures and maintain the coupling’s performance. Replace any damaged parts before reassembling the coupling.
9. Dry the Components Thoroughly
After cleaning, dry all coupling components completely to prevent rust and corrosion. Use a clean, lint-free cloth to wipe down each part, or use compressed air to remove moisture from grooves and threads. Ensure that no water or cleaning solution remains on the components before proceeding to lubrication or reassembly.
10. Reassemble and Lubricate
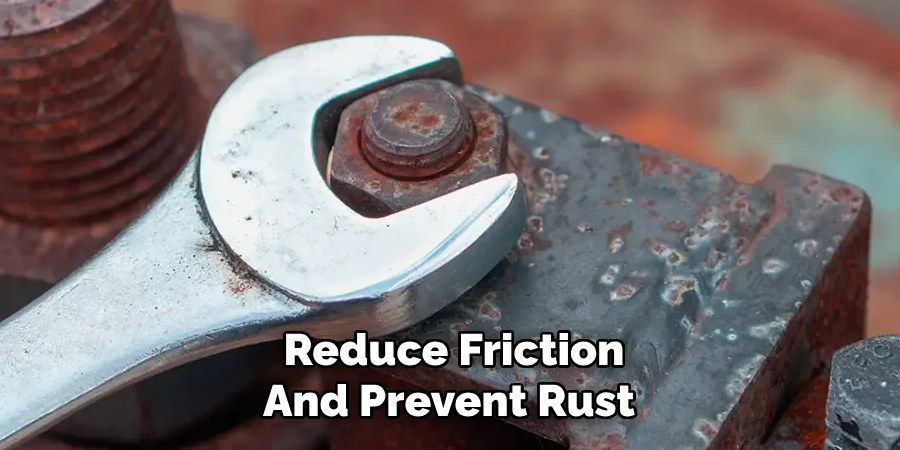
Once the components are clean and dry, reassemble the rigid coupling following the manufacturer’s guidelines. Apply a thin layer of appropriate lubricant to mating surfaces, threads, and bolts to reduce friction and prevent rust. Tighten all bolts and screws to the specified torque to ensure proper alignment and functionality. Regular lubrication complements cleaning efforts and prolongs the coupling’s lifespan.
Maintenance and Upkeep
Routine maintenance and proper upkeep of rigid couplings are essential to ensure optimal performance and extend their service life. Establishing a regular inspection schedule is the first step in maintaining the coupling’s functionality. Check for signs of wear, misalignment, or loose bolts, and address these issues promptly to avoid costly downtime. Always follow the manufacturer’s recommendations for proper lubrication intervals, as insufficient or excessive lubrication can impact the coupling’s efficiency and longevity.
Additionally, environmental factors such as temperature, moisture, and exposure to corrosive substances should be monitored, as these can accelerate wear and degradation. For couplings operating in harsh conditions, consider protective coatings or specialized materials to enhance durability. Periodic testing and alignment verification also ensure that the coupling accurately connects the shafts, preventing unnecessary strain on the mechanical system. By adhering to a consistent maintenance regimen, you can maximize the reliability and performance of your rigid couplings, reducing the risk of unexpected failures.
Troubleshooting Common Issues
When working with rigid couplings, occasional issues may arise that can affect their performance. Addressing these problems promptly is critical to maintaining the integrity of the mechanical system. Below are common issues and their solutions:
1. Misalignment
Misalignment occurs when the coupling does not properly connect the shafts, leading to vibration, noise, and uneven wear. To resolve this, inspect the alignment using a dial indicator or laser alignment tool. If misalignment is detected, loosen the bolts and carefully adjust the coupling to realign the shafts. Ensure proper torque is applied to maintain alignment during operation.
2. Loose Bolts
Vibration and continuous use may cause bolts to loosen over time, reducing the coupling’s clamping force. Regularly check all fasteners and tighten them to the manufacturer’s specified torque settings. If bolts continue to loosen, consider using thread-locking compounds or replacing damaged bolts to secure the connection.
3. Excessive Vibration
Excessive vibration may result from misalignment, unbalanced shafts, or improper installation. First, check for misalignment and correct it as needed. Inspect the shafts for balance and straightness, as uneven or bent shafts can contribute to vibration. Reinstall the coupling carefully, following the manufacturer’s instructions to ensure proper fit.
4. Corrosion or Rust
Environmental factors, such as exposure to moisture or corrosive substances, can lead to rust or corrosion on the coupling components. Address this by thoroughly cleaning the coupling and applying a corrosion-resistant coating or lubricant. For operations in harsh environments, consider using couplings made from stainless steel or coated materials to enhance resistance.
5. Cracks or Damage
Cracks, deformities, or excessive wear on the coupling’s surface can compromise its functionality and lead to failures. During routine inspections, closely examine the coupling for visible signs of damage. Replace any damaged components immediately to prevent further issues and ensure system safety.
6. Overheating
Overheating may result from improper lubrication or excessive friction between the coupling components. Check the lubrication levels and ensure the correct type of lubricant is applied. Verify that the coupling parts are properly assembled and aligned to minimize friction. If overheating persists, inspect the system for excessive loads or operational stress that may require adjustments.
Conclusion
Cleaning rigid couplings is a critical maintenance task that ensures their efficient performance and durability. By following these ten methods, you can effectively remove dirt, grease, and debris while inspecting for potential issues. Regular cleaning and proper care not only extend the life of the coupling but also contribute to the overall reliability of the mechanical system. Now that you know how to clean a couplings rigid, try it yourself today and feel good about completing such a big DIY job!

