Painting metal pipes is essential in preserving their longevity and maintaining their appearance. When exposed to environmental elements, metal pipes are prone to rust, corrosion, and general wear, but a proper paint coating can act as a protective barrier.
Additionally, painting enhances the aesthetics of exposed pipes, whether in industrial settings, indoor plumbing, or decorative metalwork, allowing them to blend seamlessly with the surrounding design.
This process is commonly used for indoor and outdoor plumbing systems, industrial pipelines, and artistic metal features. Understanding how to paint a metal pipe correctly ensures that the results are both functional and visually appealing.
The process typically involves cleaning the pipe to remove dirt and rust, applying a suitable primer to ensure strong adhesion, carefully painting with the right type of paint, and sealing the surface for added durability. These steps collectively ensure professional, long-lasting finishes for any metal pipe project.
Choosing the Right Paint and Materials
Types of Paint Suitable for Metal Pipes
Selecting the right type of paint is crucial for the durability and effectiveness of your project. Oil-based paints and epoxy paints are excellent choices for metal pipes as they provide superior rust resistance, ensuring longevity even in challenging environmental conditions.
Using high-temperature paint is essential for pipes exposed to high temperatures, such as heating or exhaust pipes. These specialized paints are designed to withstand extreme heat without deteriorating or losing their protective properties.
Essential Materials and Tools
Gathering the appropriate materials and tools will streamline the painting process and produce professional results.
Key items include sandpaper for smoothing the surface, a degreaser to clean off dirt and grease, metal primer to enhance adhesion and prevent rust, paintbrushes for precision, and spray paint for quick, even coverage. Ensuring that these materials are of good quality will make the task more efficient and reliable.
Importance of Using a Metal Primer
Using a metal primer is a vital step for painting metal pipes. Primers are specially formulated to bond with metal surfaces, promoting better paint adhesion and extending the lifespan of the applied paint.
Furthermore, a primer creates an additional layer of protection, preventing rust and corrosion from forming over time. Skipping this step can compromise the durability and appearance of the final finish.
Preparing the Pipe Surface
Cleaning the Pipe Thoroughly
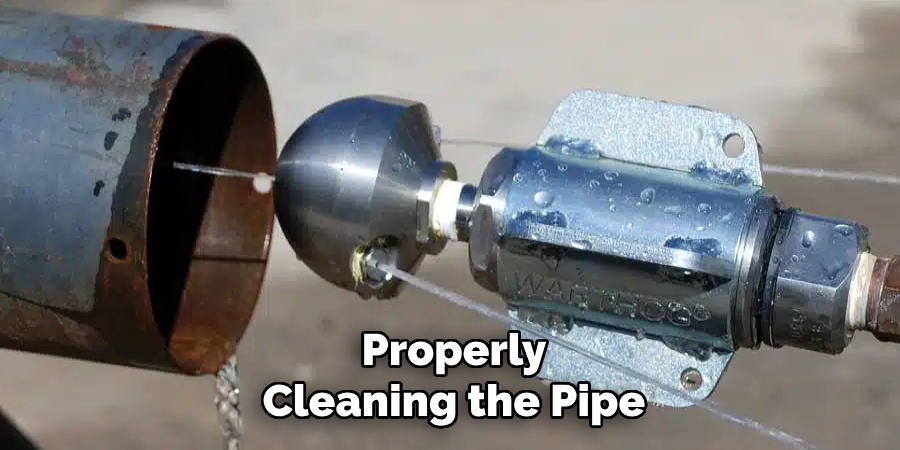
Properly cleaning the pipe is the first step to ensure a smooth and long-lasting paint finish. Begin by removing any grease, dirt, or old paint that may be present on the surface. A clean surface helps the paint adhere better and prevents imperfections in the final result.
Use a rag or sponge along with a mild detergent to scrub the pipe, ensuring every inch is free from contaminants. Consider using a heavy-duty cleaner or solvent designed for stubborn grime or greasy residues for metal surfaces.
Removing Rust and Corrosion
Rust and corrosion can significantly affect the durability of a painted pipe. Before painting, scrutinize the pipe for any signs of rust or corroded patches.
Use sandpaper, a wire brush, or a power sander to remove rust and create a smooth, even surface. Thoroughly sanding the metal also helps the primer and paint adhere more effectively, improving the overall quality of the finish.
Applying a Degreaser or Solvent
After cleaning and sanding, apply a degreaser or solvent to the pipe to further ensure that the surface is entirely free of oils or residues. This step is crucial for preventing peeling or flaking paint after application.
Wipe down the pipe with a clean cloth to dry it thoroughly before proceeding to the next stages of the painting process. Proper preparation guarantees superior adhesion and a professional-quality result.
Priming the Metal Pipe
Choosing the Right Primer
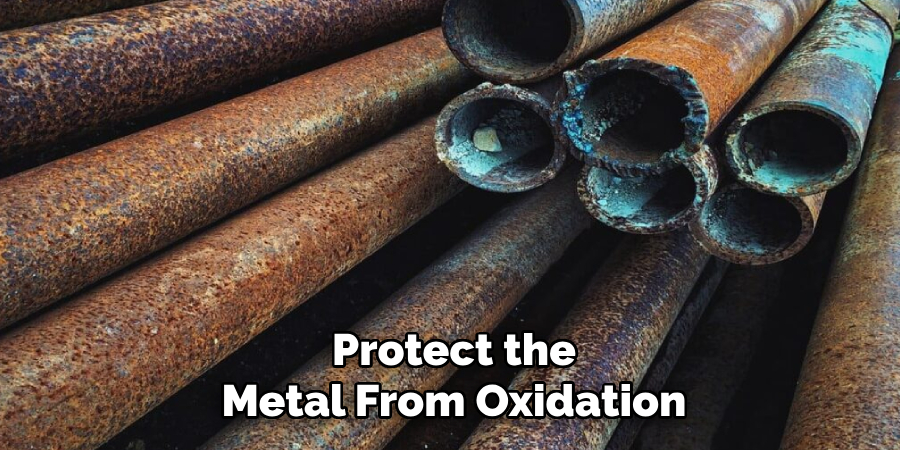
Priming the metal pipe is critical in ensuring a durable and long-lasting paint finish. Selecting the right type of primer depends on the pipe’s intended use and environmental conditions. For outdoor pipes, a rust-inhibiting primer is essential to protect the metal from oxidation and corrosion, especially if the pipe is exposed to moisture or fluctuating weather.
A high-adhesion primer is recommended for pipes with smooth, untreated metal surfaces to ensure the paint adheres properly and resists peeling over time. Paying attention to the specific characteristics of the primer will help achieve the best possible result for your project.
Applying the Primer
You can begin the application process once the appropriate primer has been selected. Primer can be applied using a spray method or with a brush, depending on preference and the size of the pipe. Spraying offers a more even coating, particularly for pipes with complex shapes or hard-to-reach areas.
However, a brush may provide greater precision and control for smaller pipes or minor touch-ups. Be sure to apply the primer in thin, even layers, fully covering the metal surface without excessive buildup. Multiple coats may be necessary for optimal coverage—allow each coat to dry before applying the next.
Drying and Curing Time
After applying the primer, allowing adequate drying and curing time is crucial to ensure a sturdy bond between the metal and the future layers of paint. Refer to the manufacturer’s guidelines for specific drying times, as these can vary depending on the product.
Typically, it is best to wait at least 24 hours to ensure the primer is fully set, especially if the pipe is subjected to tough conditions. Skipping or rushing this step can result in poor adhesion, compromising the durability and appearance of the paint. Taking the time to prime the pipe properly will set a strong foundation for a professional quality and long-lasting finish.
How to Paint a Metal Pipe: Painting the Metal Pipe
Using a Spray Paint vs. Brush-On Method
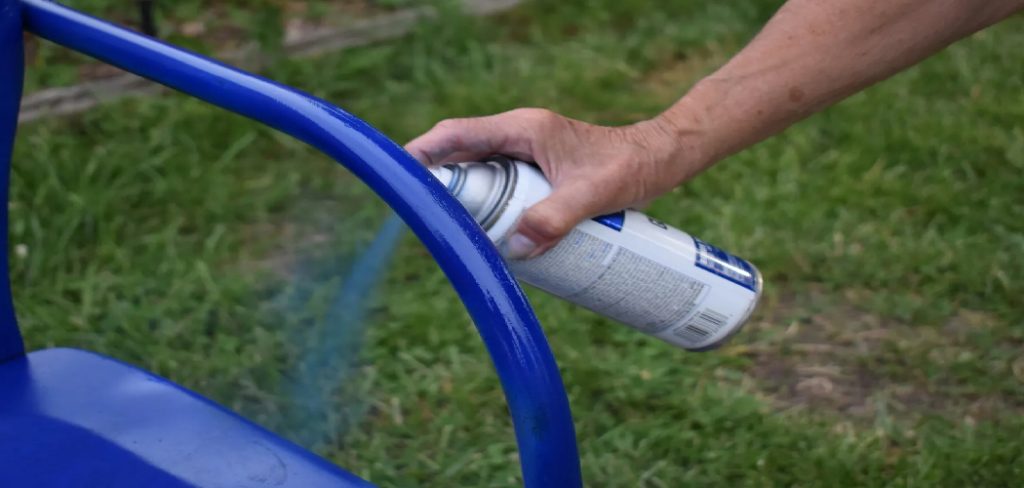
When it comes to painting a metal pipe, choosing between spray paint and a brush-on method depends on the nature of the project. Spray paint is ideal for achieving even, seamless coverage, especially on larger or more intricate pipes.
It allows paint to reach crevices and curves efficiently, making it a popular choice for projects requiring a smooth, uniform finish. On the other hand, the brush-on method offers greater precision and control, making it suitable for detail work or in areas where overspray from a can might be problematic.
Brushes also allow you to work slower, producing consistent results without the risk of missing spots.
Regardless of the method chosen, it’s important to ensure the paint is compatible with the primer and specifically formulated for metal surfaces. High-quality paint designed for durability will protect the pipe from rust, corrosion, and wear over time while enhancing its visual appeal.
Applying Multiple Coats
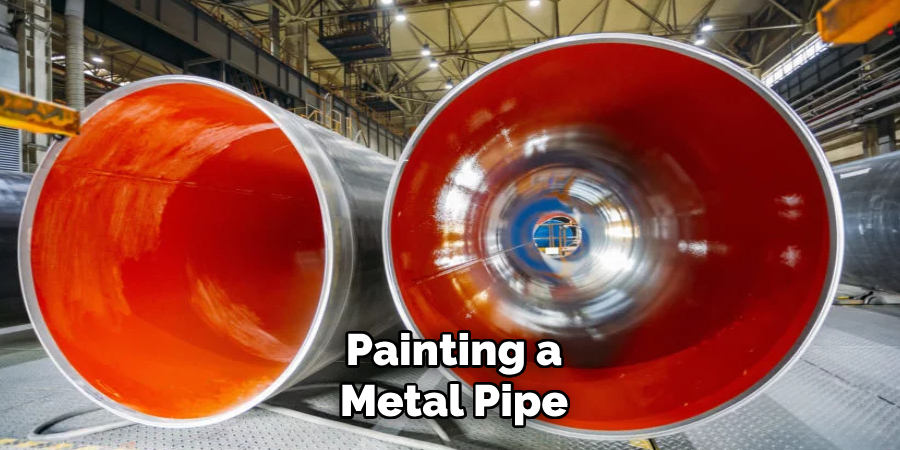
Applying paint in thin, even layers is critical to achieving a professional finish while minimizing common issues like drips, runs, or uneven textures. Begin by applying a light first coat as a base layer, covering the primer without excessive buildup.
Once the first coat has been applied, inspect the surface for any areas needing additional attention. Proceed with subsequent coats using the same technique, ensuring that each layer is consistent.
A general rule of thumb is to apply two to three coats of paint for optimal coverage and durability. This not only enhances the visual uniformity of the finish but also provides extra protection against environmental factors that may cause damage over time.
Allowing Proper Drying Between Coats
Allowing adequate drying time between each coat is just as essential as the application process. Follow the paint manufacturer’s recommendations for drying times, which can vary based on the type of paint and environmental conditions such as humidity and temperature.
Rushing this step can lead to issues like poor adhesion, cracking, or peeling later on. Waiting for each layer to dry thoroughly ensures a robust and long-lasting finish.
By taking the time to use the proper tools and techniques, applying paint thoughtfully in even coats, and allowing each layer to dry fully, you can achieve a high-quality result that stands the test of time.
Sealing and Protecting the Paint
Once the paint has been applied and dried thoroughly, the next step is sealing and protecting the finish. A clear coat or sealant is highly recommended, as it protects against wear, scratches, and weather-related damage. A clear coat not only enhances the durability of the paint but also gives it a polished, professional appearance.
Using heat-resistant or waterproof sealants is essential for projects involving pipes or surfaces exposed to extreme conditions, such as high heat or constant moisture. These specialized sealants help prevent the paint from degrading over time and ensure the longevity of the finish even in challenging environments.
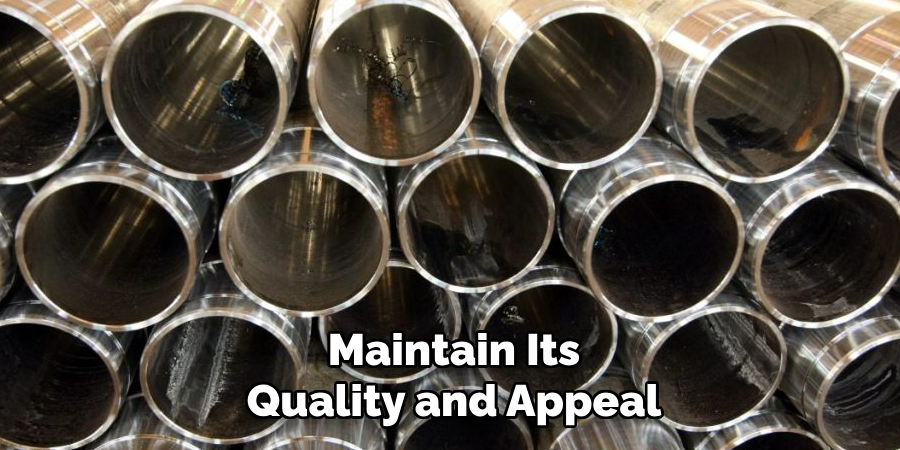
Be sure to select a product that matches the specific needs of your surface and follow the manufacturer’s guidelines for application. By sealing the paint properly, you can extend the lifespan of your work and maintain its quality and appeal for years to come.
Common Mistakes to Avoid
Skipping Surface Preparation
One of the most common mistakes is neglecting proper surface preparation. Failing to clean, sand, or prime the metal surface can result in poor paint adhesion.
This often leads to peeling, chipping, or an uneven finish, compromising the durability and appearance of your project. Always dedicate time to prepare the surface before painting thoroughly.
Using the Wrong Type of Paint
Using regular paint instead of paint formulated for metal can cause cracks, flaking, or other damage over time. Metal-specific paints are designed to withstand the surface’s unique characteristics, including temperature changes and moisture exposure, making them essential for long-lasting results.
Not Allowing Proper Drying Time
Rushing the drying process or failing to wait until each layer is fully dry can result in smudges, uneven textures, and a poor finish overall. Always follow the recommended drying times between coats to ensure a smooth, professional-looking result.
Conclusion
Painting a metal pipe requires careful attention to detail and the right approach to ensure a durable and appealing finish.
Key steps include cleaning the surface thoroughly, priming it properly, applying suitable metal-specific paint, and sealing it for long-lasting results. Using the right materials is vital to enhance durability and protect against rust, ensuring your project stands the test of time.
For the best results, always work in a well-ventilated area, follow the recommended drying times, and handle each step with care. By following these guidelines on how to paint a metal pipe, you’ll achieve professional and lasting results.

