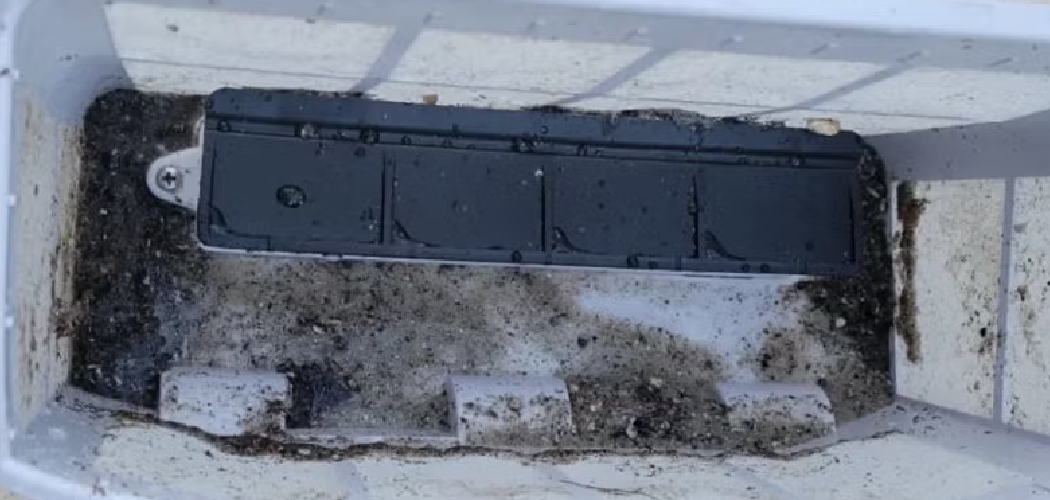
Maintaining a clean and sanitized water tank in your RV is essential for ensuring safe and healthy water usage during your travels.
Over time, contaminants such as bacteria, algae, and sediment can accumulate in the tank, affecting the quality of your water and potentially posing health risks. Regular cleaning and sanitization not only keep your water fresh but also extend the lifespan of your RV’s water system.
This guide will provide you with clear and simple steps on how to sanitize water tank in rv effectively for your next adventure.

Why Sanitizing an RV Water Tank is Important
Sanitizing your RV water tank is crucial to ensure the safety and quality of the water you use on your trips. Over time, water tanks can become breeding grounds for harmful microorganisms like bacteria and mold, which can contaminate your water supply and lead to health issues such as gastrointestinal problems.
Additionally, accumulated sediment and debris can impact the taste and odor of the water, making it unpleasant to drink or use for cooking. Regular sanitization helps eliminate these contaminants, ensuring clean and safe water for your needs.
Understanding the RV Water System
Before you begin sanitizing your RV water tank, it’s helpful to understand the basic components of your RV water system. Typically, the system consists of three main parts: the fresh water tank, the gray water tank, and the black water tank.
The fresh water tank is where you store clean, potable water for drinking, cooking, and washing. This tank is connected to your faucets, shower, and appliances, delivering water throughout your RV when needed.
The gray water tank collects used water from sinks and showers, while the black water tank stores waste from the toilet.
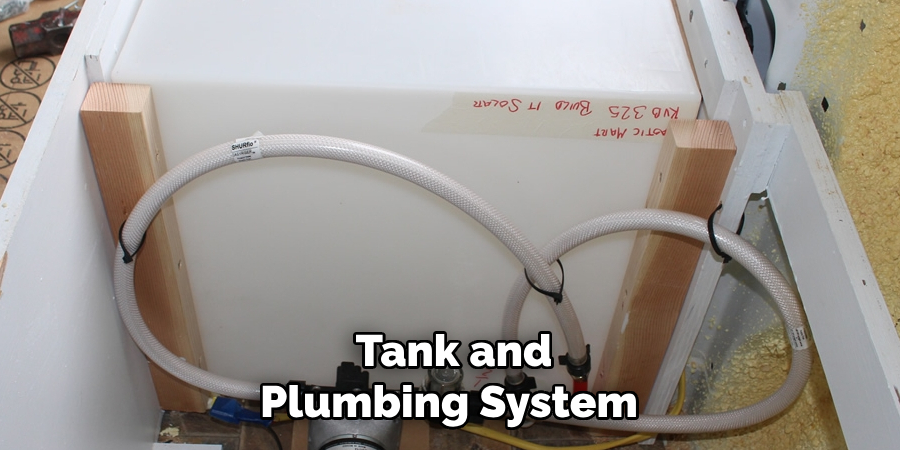
The fresh water system also includes a water pump that helps pressurize the water for consistent flow, as well as hoses and connections to fill or drain the tank. It’s critical to keep the fresh water tank and its related components clean to avoid any cross-contamination with the gray or black water tanks.
Understanding how these elements work together will make the process of sanitizing your water tank more efficient and ensure the entire system operates smoothly during your travels.
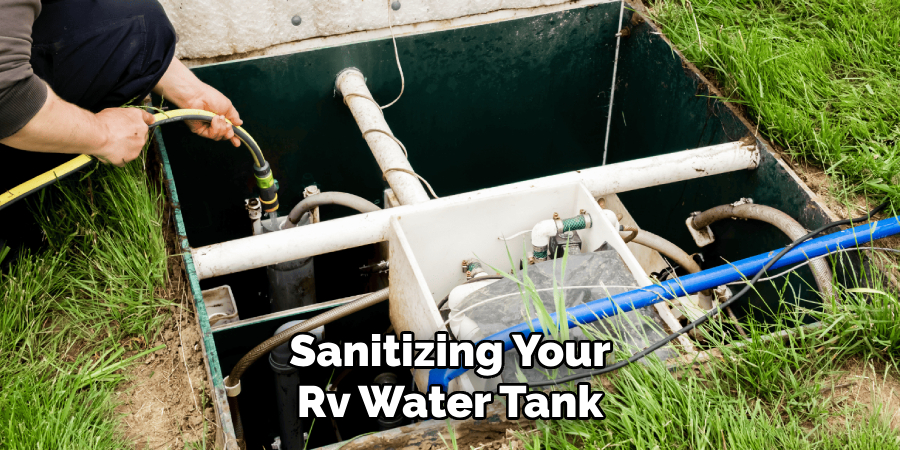
10 Methods How to Sanitize Water Tank in Rv
1. Using Household Bleach for Complete Disinfection
Household bleach is one of the most commonly used and effective methods for sanitizing an RV water tank. Start by emptying the tank completely, then mix a solution of bleach and water at a ratio of one-quarter cup of bleach per fifteen gallons of water.
Pour the solution into the tank, fill it with fresh water, and allow it to sit for at least four hours or overnight. Finally, flush the system thoroughly by draining and refilling with clean water multiple times until the chlorine smell is gone.
2. White Vinegar Solution for a Natural Approach
White vinegar is an excellent alternative for those who prefer a natural cleaning method. It effectively removes mineral deposits and bacterial buildup.
Mix one gallon of white vinegar with four gallons of water and pour the solution into the tank. Allow it to sit for at least four hours, then flush the system thoroughly with fresh water. This method is especially useful for removing hard water deposits.
3. Hydrogen Peroxide for Odor Control and Disinfection
Hydrogen peroxide is a safe and effective alternative to bleach for sanitizing an RV water tank. Use food-grade hydrogen peroxide (3%) and mix one cup per ten gallons of water. Let the solution sit for several hours, then drain and rinse thoroughly. Hydrogen peroxide helps eliminate bacteria and neutralize foul odors without leaving a strong chemical taste.
4. Baking Soda Solution for Neutralizing Odors
Baking soda is effective for removing unpleasant smells from the water tank. Mix one cup of baking soda with a gallon of warm water and pour it into the tank.
Fill the tank with water and let the solution sit for a few hours before flushing it out. This method is particularly useful when combined with other cleaning agents to maintain freshness.
5. Commercial RV Water Tank Cleaners for Easy Maintenance
Several RV-specific water tank cleaning products are available on the market, designed to break down bacteria, algae, and mineral buildup. These products are formulated to be safe for drinking water systems and come with clear instructions for use. Simply follow the manufacturer’s recommendations to sanitize and maintain your RV water tank efficiently.
6. Lemon Juice for a Fresh and Natural Clean
Lemon juice is a natural cleaning agent that helps eliminate bacteria and leaves a fresh citrus scent. Mix a cup of lemon juice with a few gallons of water and pour it into the tank. Allow it to sit for several hours, then flush the system with fresh water. This method is ideal for those who prefer non-toxic cleaning solutions.
7. Using Chlorine Dioxide Tablets for Long-Term Sanitation
Chlorine dioxide tablets are widely used for disinfecting water in outdoor and emergency situations. These tablets effectively kill bacteria, viruses, and protozoa. Simply drop the recommended number of tablets into the tank based on the water volume and let them dissolve. Wait for the specified time before draining and rinsing the system thoroughly.
8. Steam Cleaning for Chemical-Free Sanitation
For those who prefer to avoid chemicals entirely, steam cleaning is a viable option. A high-temperature steam cleaner can effectively kill bacteria and loosen debris inside the water tank. Direct the steam nozzle into the tank’s openings and allow the heat to work for a few minutes before rinsing with fresh water.
9. Using Iodine Drops for Emergency Disinfection
Iodine is a reliable disinfectant often used for treating drinking water in outdoor survival scenarios. Add five drops of 2% iodine per quart of water and let it sit for at least 30 minutes before use. While not recommended as a primary method, iodine can be useful in emergencies or when other sanitizing agents are unavailable.
10. Flushing with Hot Water for Routine Maintenance
A simple yet effective way to maintain a clean water tank is to periodically flush it with hot water. Fill the tank with hot water, let it circulate through the plumbing, and then drain it completely. This method helps remove minor bacterial buildup and prevents sediment accumulation over time.
Things to Consider When Sanitizing Your RV Water Tank
When sanitizing your RV water tank, there are several important factors to consider to ensure the process is effective and safe:
- Type of Cleaning Solution
Choose a cleaning solution that suits your needs and preferences. Natural options like vinegar or lemon juice are great for avoiding harsh chemicals, while bleach or hydrogen peroxide can offer a more thorough disinfection. Always follow the recommended proportions to avoid damaging the tank or its components.
- Frequency of Cleaning
Regular maintenance is key to keeping your water system safe and functional. Consider sanitizing your RV water tank at least every six months or before and after long periods of storage. Regular cleaning also helps prevent bacterial growth and unpleasant odors.
- Water Safety Standards
Make sure the cleaning agents you use are safe for drinking water systems. If using a commercial cleaner, verify that it is approved for potable water systems and follow the instructions carefully.
- Rinsing Thoroughly
After sanitizing, always rinse the tank and plumbing system thoroughly with fresh water to remove any residues of the cleaning solution. This step is crucial to avoid unpleasant tastes or potential health risks.
Common Mistakes to Avoid
When sanitizing your RV water tank, it’s important to be mindful of common mistakes that could compromise the effectiveness of the process or damage your system. Here are some key errors to avoid:
Using Incorrect Cleaning Solutions
Avoid using cleaning agents that are not intended for water systems, as they can damage the tank, hoses, or plumbing components. Stick to recommended solutions that are safe for potable water systems.
Overusing Cleaning Agents
While it may be tempting to use extra cleaning agents for a more thorough clean, excessive amounts can damage your tank or leave strong residues that are difficult to rinse out.
Neglecting Routine Maintenance
Waiting until there is a noticeable issue, such as a foul odor or cloudy water, to clean your tank can lead to serious buildup of bacteria or debris. Regular cleaning is essential for preventing these problems before they occur.
Ignoring Proper Rinsing
Failing to rinse the tank thoroughly after using cleaning solutions can leave behind unpleasant aftertastes, odors, or even harmful substances in your drinking water.
Skipping Ventilation and Drying
After sanitizing, some RV owners forget to allow the tank and plumbing system to dry properly. Moist environments can encourage bacterial and mold growth if the system is not adequately aired out.
Conclusion
Sanitizing your RV’s water tank is essential for ensuring safe and clean drinking water. Whether using bleach, vinegar, hydrogen peroxide, or commercial cleaners, regular maintenance helps prevent contamination and keeps the water fresh.
Choosing the right method depends on personal preference and the severity of the contamination. By incorporating these sanitation practices into your RV routine, you can enjoy safe water throughout your travels.

