Pipe bussing, a term often used to describe the persistent noise or vibration within plumbing systems, can be more than just an annoyance—it may signal underlying issues that require immediate attention.
This phenomenon typically arises from factors such as water hammer, which occurs when the flow of water abruptly stops or changes direction, causing a pressure surge. Other common causes include fluctuations in water pressure and improperly supported pipes that are prone to movement during use.
Understanding how to cover a pipe bussing is crucial in preventing potential damage to your plumbing system while maintaining its overall efficiency. This article will serve as a step-by-step guide to address the issue, highlighting practical solutions such as securing pipes, insulating them, and optimizing water pressure. By following these recommendations, homeowners can protect their plumbing systems, promote long-term functionality, and eliminate disruptive sounds caused by bussing.
Understanding Pipe Bussing and Its Causes
What is Pipe Bussing?
Pipe bussing refers to the distinctive noise or vibration produced by pipes, often sounding like a rattle, hum, or even a loud bang. This noise is primarily caused by pipes vibrating due to changes in water pressure or flow within the plumbing system. Though sometimes subtle, these sounds can serve as indicators of potential plumbing issues that require attention.
Common Causes of Pipe Bussing
- Water Hammer: One of the most frequent causes of pipe bussing, the water hammer occurs when water flow is abruptly stopped or redirected due to valves closing too quickly. This sudden pressure change sends shockwaves through the pipes, creating loud noises and vibrations.
- Loose Pipes: Pipes that are improperly secured or lack sufficient support tend to move or vibrate when subjected to water flow or pressure changes, resulting in persistent bussing or rattling sounds.
- Air in Pipes: The presence of trapped air pockets within pipes can disrupt the steady flow of water, leading to erratic movement and vibration that produces noise.
Potential Consequences of Unaddressed Bussing
If left unresolved, pipe bussing can result in significant problems. Excessive vibration may cause structural damage to pipes, leading to leaks or even bursts, which can result in costly repairs. Additionally, the vibrations and pressure surges can accelerate wear and tear on pipe fittings, valves, and other plumbing components, reducing the overall lifespan and efficiency of the system. Addressing bussing promptly is essential to avoid long-term damage and maintain a quieter, more reliable plumbing setup.
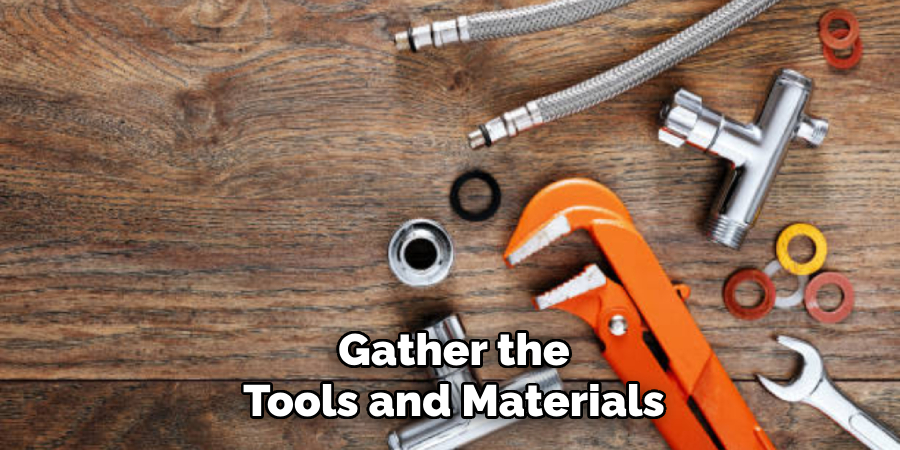
Tools and Materials Needed to Cover Pipe Bussing
Essential Tools
- Wrenches or Pliers: Useful for tightening loose fittings and connections to reduce movement.
- Pipe Clamps or Straps: These are critical for securing pipes firmly in place, preventing unnecessary vibrations.
- Pressure Gauge: A device to monitor and regulate water pressure levels that could be causing the noise.
- Pipe Insulation: Designed to minimize vibrations and dampen noise by adding a protective barrier.
- Check Valve: Helpful when installing to prevent water hammer issues and maintain steady flow.
Materials
- Rubber or Foam Padding: Ideal for reducing vibration; these materials can be wrapped around pipes to dampen noise.
- Pipe Insulation Wraps or Sleeves: Provides thermal and acoustic insulation, effectively cutting down noise and protecting the pipes.
- Teflon Tape: Essential for sealing pipe threads and ensuring leak-free connections.
- Pipe Hangers or Supports: These are used to ensure proper pipe alignment and reduce stress on the piping system.
Equipping yourself with the right tools and materials ensures that addressing pipe bussing is both efficient and long-lasting, helping to maintain a quieter and more effective plumbing system.
Preparing the Area Before Covering the Bussing
Shutting Off Water Supply
Always turn off the water supply before beginning any work to avoid leaks or the risk of accidents. This ensures a safer working environment and prevents unnecessary water loss during the repair or insulation process.
Locating the Source of the Bussing
Carefully inspect the plumbing system to identify the source of the bussing noise. Look for visible signs of pressure fluctuations, loose pipe supports, or areas where pipes may be rubbing against solid surfaces. Sometimes, the noise may originate from valves or fittings, so pay special attention to those components as well.
Clearing the Area Around the Pipe
Before starting the repair or insulation process, clear any obstacles around the affected pipe sections. Move any furniture, boxes, or other items that could interfere with your ability to access and work on the pipes effectively. Having an unobstructed workspace is essential for a smooth and efficient repair process.
Checking Pipe Condition
Thoroughly inspect the condition of the pipes to identify potential damage or signs of wear and tear. Look for rust, cracks, or other structural issues that might compromise the effectiveness of repairs. Addressing these issues beforehand will ensure a longer-lasting and more effective solution to the bussing noise.
How to Cover a Pipe Bussing: Step-by-Step Guide
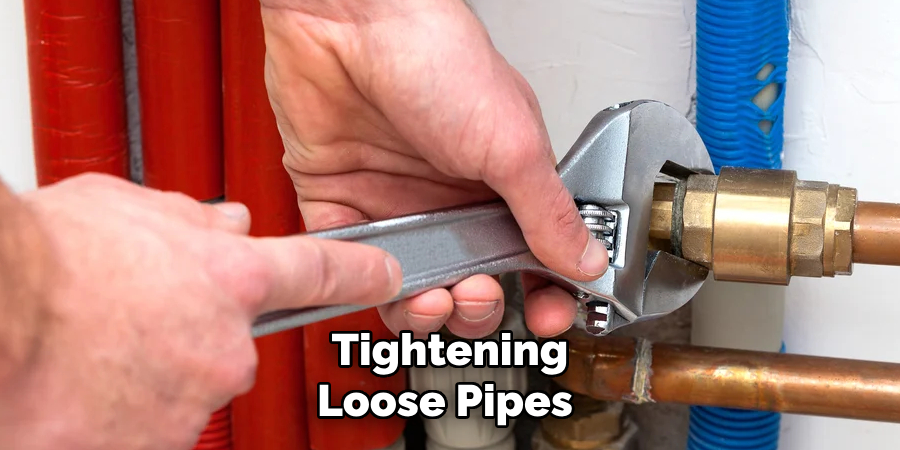
Step 1: Tightening Loose Pipes
Begin by identifying any loose connections or fittings in the piping system. Using a wrench, securely tighten these connections to reduce unnecessary movement. For added stability, use pipe clamps or hangers to ensure the pipes are properly supported and aligned. These tools prevent the pipes from shifting and contribute to minimizing vibrations that may cause bussing noises.
Step 2: Installing Pipe Insulation or Padding
Apply foam or rubber insulation around the pipes to dampen vibrations and absorb potential noise. Cut the insulation material to the appropriate length, ensuring it fits snugly around the pipe. Wrap the insulation tightly, making sure there are no gaps that could allow movement or sound to travel through. Secure the insulation with zip ties or tape to keep it firmly in place, maintaining a clean and efficient setup.
Step 3: Installing a Check Valve (for Water Hammer)
To address the water hammer, install a check valve to prevent sudden pressure changes in the plumbing system. Begin by determining the ideal location for the valve, typically near areas prone to high-pressure fluctuations. Shut off the water supply and carefully cut the pipe where the valve will be inserted. Attach the check valve according to the manufacturer’s instructions, ensuring it is securely fitted. Once installed, turn the water supply back on and test the system to confirm the problem has been resolved.
Step 4: Securing the Pipes to Prevent Future Bussing
To prevent future bussing, thoroughly check the pipes for any remaining loose areas and secure them using additional pipe straps or hangers. Position the supports evenly along the length of the pipe to distribute weight and reduce strain. Confirm that all pipes are firmly held in place and that no sections are prone to excess movement or vibration. This step ensures the system remains stable, minimizing the likelihood of recurring bussing noises.
Preventing Future Pipe Bussing
Adjusting Water Pressure
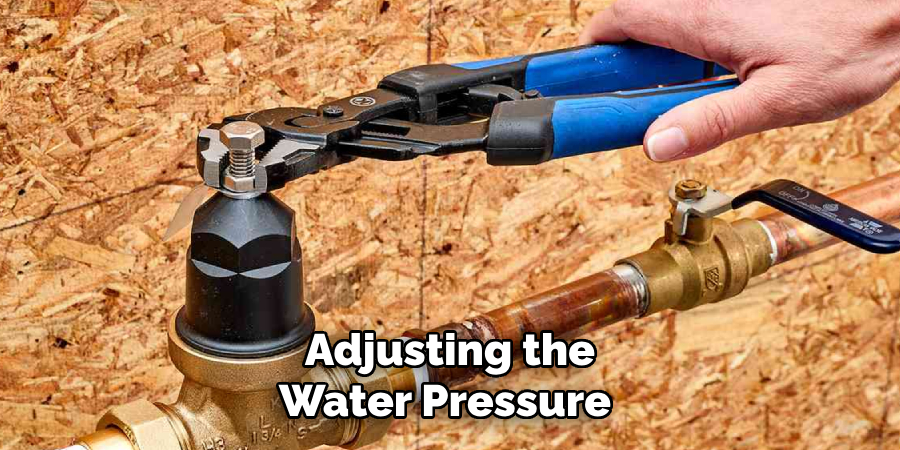
A pressure regulator is one of the most effective ways to avoid over-pressurizing your pipes. Excessive water pressure can strain your plumbing system and lead to bussing or other issues. To adjust the pressure, locate the regulator—usually near your main water supply—and turn the adjustment screw to achieve an optimal pressure level, typically between 40-60 psi. Monitoring pressure levels regularly ensures your pipes remain within safe limits.
Proper Pipe Alignment and Support
Secure pipe alignment and support are crucial to preventing unwanted movement and vibration. Use sturdy pipe brackets or clamps, ensuring they are placed at regular intervals along the pipe’s length for even weight distribution. Proper mounting not only reduces strain but also minimizes the likelihood of noise. For best results, consult guidelines for the specific pipe material being used to determine the recommended spacing for supports.
Install Air Chambers
Air chambers act as cushions within your system, absorbing sudden pressure changes that can cause water hammer and pipe bussing. These can be installed at key locations, such as near faucets or valves prone to abrupt water flow changes. Properly sized and maintained air chambers reduce stress on your pipes, extending the system’s longevity.
Routine Maintenance
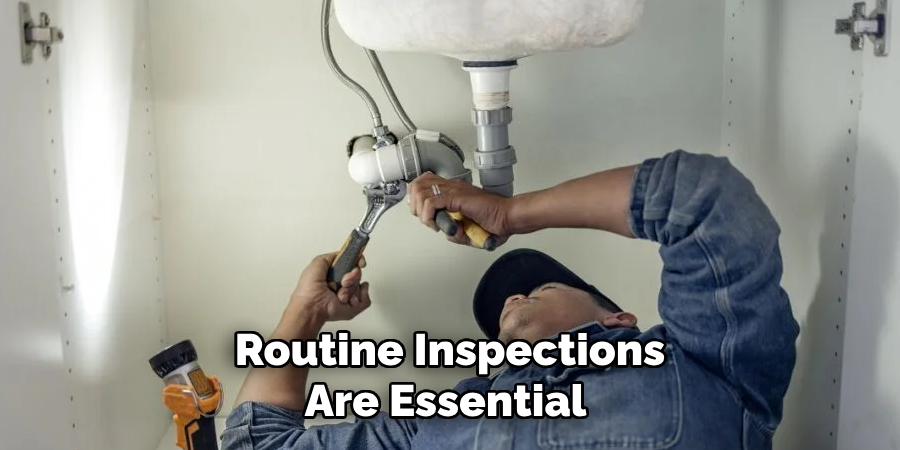
Routine inspections are essential for the early detection of potential pipe issues. Check for loose fittings, worn-out pipe supports, and unusual vibrations. Addressing these minor concerns before they escalate can save time and money while preventing future bussing. Incorporate plumbing maintenance into your household routine to maintain a quiet, efficient water system.
Common Mistakes to Avoid When Covering Pipe Bussing
When addressing pipe bussing noise, certain mistakes can undermine the effectiveness of your repair efforts. One common error is neglecting to properly clean the surface of the pipes before applying insulation or repairing materials. Dirt, grease, or debris on the pipe can prevent adhesives or insulating materials from bonding effectively. Another mistake is using low-quality or inappropriate insulation materials, which may not adequately dampen the noise or withstand extreme temperatures.
Failing to measure the pipes accurately is another frequent issue. Insufficient or improperly cut insulation can leave gaps, reducing its effectiveness and allowing the bussing noise to persist. Additionally, overlooking the root cause of the bussing, such as loose clamps or structural vibrations, can result in temporary fixes that don’t solve the underlying problem.
Lastly, over-tightening pipe supports or clamps during the repair process can damage the pipe or restrict proper thermal expansion, potentially leading to further noises or system stress. Avoid rushing the process, take the time to diagnose the issue thoroughly, and use high-quality materials to ensure a durable fix. By sidestepping these common pitfalls, you can achieve a more efficient and long-lasting solution to pipe bussing.
Maintaining a Bussing-Free Plumbing System
Ensuring that your plumbing system remains free of bussing noises requires regular maintenance and attention. By following a few key practices, you can prevent issues before they escalate into costly repairs.
Regular System Inspections
One of the best ways to maintain a quiet plumbing system is through regular inspections. Check for changes in water pressure and inspect areas where bussing sounds could potentially begin. Look out for signs of wear, loose fittings, or vibrations around joints and clamps, as these can be early indicators of problems.
Upgrading Plumbing Components
Outdated or worn pipes, fittings, and valves can contribute significantly to bussing noises. Replacing these with modern, more durable components can help to reduce vibrations and improve the overall efficiency of your plumbing system. Upgrades like flexible piping or higher-quality insulation materials can also extend the system’s lifespan.
Testing Water Pressure
Monitoring your water pressure regularly using a reliable pressure gauge is another vital step in maintaining your plumbing system. High or fluctuating pressure levels can cause pipes to vibrate, leading to bussing noises. If pressure exceeds recommended levels, consider installing a pressure-reducing valve to stabilize it.
Implementing Professional Help When Necessary
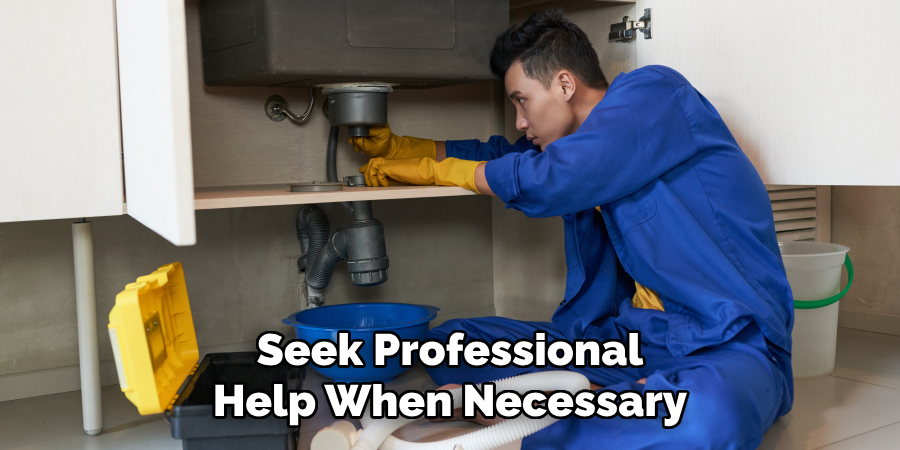
While DIY efforts can resolve some minor issues, persistent bussing may require professional attention. If your attempts to address the problem are unsuccessful, consult a licensed plumber. With their expertise, they can diagnose complex underlying issues and provide a long-term solution to ensure your plumbing system remains silent and efficient.
Conclusion
Addressing pipe bussing is essential to maintaining a quiet and efficient plumbing system. Key steps include proper insulation, securely fastening pipes, and incorporating check valves where needed. These measures can significantly minimize vibrations and noise. Regular maintenance plays a crucial role in preventing future issues and ensuring your system remains in top condition. Periodically monitor your plumbing system and swiftly address minor concerns before they escalate. By following these guidelines on how to cover a pipe bussing, you can ensure a longer-lasting and more reliable system, bringing peace of mind to your home or workspace.

