When it comes to fixing common toilet issues, understanding the size of your toilet flapper is essential. The flapper plays a crucial role in controlling the flow of water from the tank to the bowl during a flush. Using the wrong size flapper can lead to wasted water and inefficient flushing. This guide will help you with how to determine toilet flapper size to ensure optimal performance and water savings.
Importance of Selecting the Correct Flapper Size
Choosing the correct toilet flapper size is vital for maintaining the efficiency of your toilet’s flushing system. A properly fitted flapper ensures a tight seal, preventing water from leaking from the tank into the bowl. This not only helps conserve water but also reduces your utility bills over time. An incorrect size, on the other hand, may cause issues such as weak flushes, constant running water, or even damage to other components of the toilet. By selecting the right flapper size, you can prolong the life of your toilet and contribute to a more sustainable use of water resources.
Understanding Toilet Flapper Sizes
Toilet flappers generally come in two standard sizes: 2-inch and 3-inch. The size refers to the diameter of the opening at the bottom of the tank where the flapper sits. Most toilets manufactured before 2000 tend to have 2-inch flappers, while newer, high-efficiency toilets often use 3-inch flappers to allow for a higher volume of water to pass through more quickly, resulting in powerful yet water-conserving flushes.
To determine the size of your flapper, you can measure the diameter of the flush valve opening or check the specifications of your toilet model. Identifying the correct size is an essential first step in ensuring your toilet operates efficiently and effectively.
10 Methods How to Determine Toilet Flapper Size
1. Measure the Flush Valve Opening
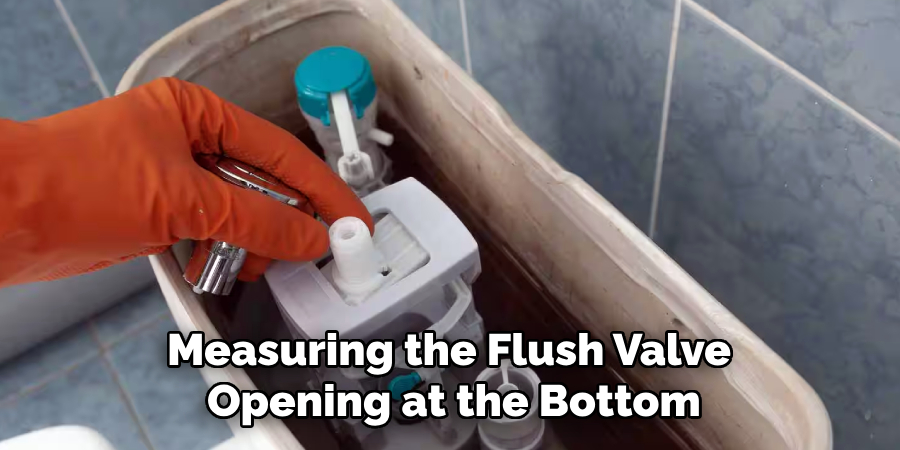
One of the most reliable ways to determine the flapper size is by measuring the flush valve opening at the bottom of the toilet tank. First, turn off the water supply and flush the toilet to drain the tank. Once the tank is empty, use a ruler or measuring tape to measure the diameter of the opening. A 2-inch opening is standard for older toilets, whereas newer, high-efficiency toilets typically have a 3-inch opening. If the opening measures more than 3 inches, you may need a specialized 4-inch flapper.
2. Check the Current Flapper’s Size
If the existing flapper is still intact, removing and measuring it can provide a quick and accurate way to determine the size needed. Detach the flapper from the overflow tube and lay it flat on a surface. Use a ruler to measure the flapper’s widest diameter. A flapper measuring around 3 inches is for a 3-inch flush valve, while a 2-inch flapper corresponds to a 2-inch valve. Avoid measuring any extensions or rubber attachments, as they may not reflect the actual size.
3. Compare with a New Flapper at a Store
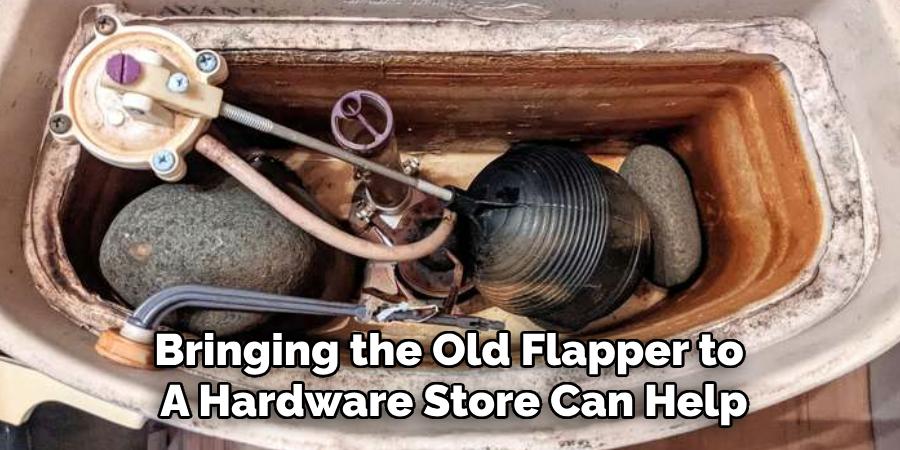
If you are unsure about your measurements, bringing the old flapper to a hardware store can help. Most stores have a variety of replacement flappers available, and you can compare your old flapper with new ones to find a match. This method is particularly useful for those who prefer a visual comparison over taking measurements.
4. Look for Manufacturer Specifications
Toilets often have labels or imprints inside the tank or on the underside of the lid that specify the required flapper size. Check for a model number or any printed information related to flushing components. If you find a model number, searching for it on the manufacturer’s website can provide details on the correct flapper size.
5. Determine the Gallons Per Flush (GPF) Rating
The GPF rating of your toilet can provide a clue about the flapper size. Toilets manufactured before 1994 generally have a 2-inch flapper and use 3.5 GPF or more. Modern toilets that use 1.6 GPF often have 3-inch flappers, while ultra-high-efficiency toilets with 1.28 GPF may require specialized flappers. Though not a direct measurement, this method helps narrow down possible sizes.
6. Identify the Flapper Type and Shape
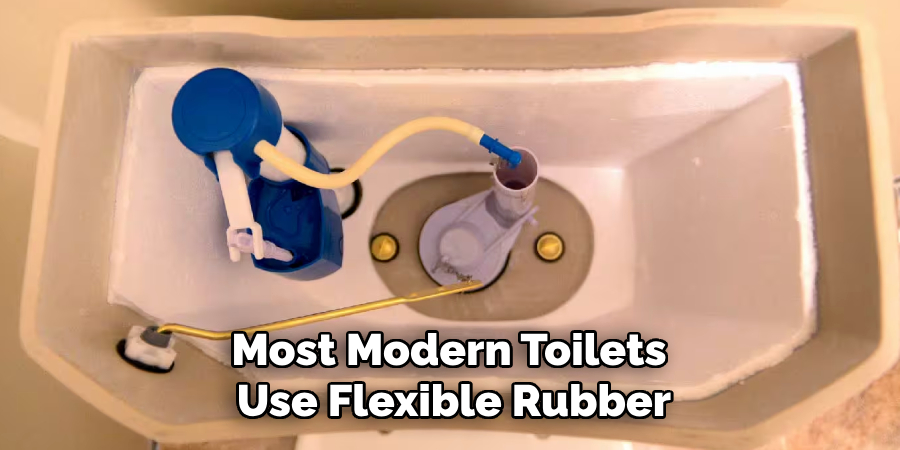
Flappers come in different shapes, such as standard cup-style, rubber seat disc, and tank ball designs. Most modern toilets use flexible rubber flappers, which can be either 2-inch or 3-inch in size. Older commercial toilets may use large rubber disc flappers, often for 4-inch flush valves. If your toilet has a cup-style flapper, it is most likely either 2-inch or 3-inch.
7. Test a Universal Flapper
If you are unable to determine the exact size, purchasing a universal flapper may be a convenient solution. Universal flappers are designed to fit both 2-inch and 3-inch flush valves and typically come with an adjustable setting. By installing a universal flapper and observing its performance, you can determine whether a standard-sized or specialty flapper is necessary for your toilet.
8. Contact the Manufacturer for Guidance
If the model number of your toilet is available, contacting the manufacturer can help confirm the correct flapper size. Most manufacturers have customer support services that can provide details about replacement parts. This method ensures you get an exact match without the risk of buying the wrong size.
9. Observe the Toilet’s Flush Performance
The way your toilet flushes can indicate whether the flapper size is correct. A weak or incomplete flush might suggest that the flapper is too small, restricting water flow. Conversely, an overly forceful flush or excessive water usage may indicate a flapper that is too large. A continuously running toilet may also be a sign that the flapper is not sealing properly.
10. Seek Assistance from a Plumber
If you are still uncertain about the correct flapper size, a plumber can quickly determine the appropriate fit. Plumbers have experience with various toilet models and can recommend the best replacement. While this method may involve a small service fee, it guarantees accuracy and prevents potential leaks or inefficiencies.
Maintenance and Upkeep
Proper maintenance and upkeep of your toilet flapper can extend its lifespan and ensure optimal toilet performance. Regularly inspect the flapper for signs of wear and tear, such as cracks, warping, or mineral buildup, which can prevent it from sealing properly. Cleaning the flapper and the area around the flush valve can help eliminate debris and improve its functionality. If you notice water continuously running into the toilet bowl, check if the flapper is correctly aligned and seated. Replace the flapper immediately if it appears damaged or fails to seal properly to avoid water wastage and high utility bills.
Additionally, periodically clean the toilet tank to reduce the accumulation of sediment and residue that can interfere with the flapper’s operation. RoutineAn error occurred during generation. Please try again or contact support if it continues.
Troubleshooting Common Issues
Even with proper flapper maintenance, issues can occasionally arise, affecting your toilet’s functionality. Below are some common problems and their potential solutions:
1. Toilet Keeps Running
A running toilet is often caused by a flapper that does not seal properly. Check to ensure the flapper is aligned correctly over the flush valve opening. Mineral buildup on the flush valve seat can also prevent a proper seal. Clean the area thoroughly and verify that the chain attached to the flapper is not too tight or too loose. If the issue persists, replacing the flapper with a new one may resolve the problem.
2. Weak or Partial Flush
If the toilet delivers a weak or incomplete flush, the flapper might not be opening fully. Ensure the chain connecting the flapper to the flush handle has the correct length—too short, and the flapper may not lift high enough to allow sufficient water flow. Additionally, confirm that there are no obstructions in the flush valve or tank components that could be restricting water release.
3. Flapper Closes Too Quickly
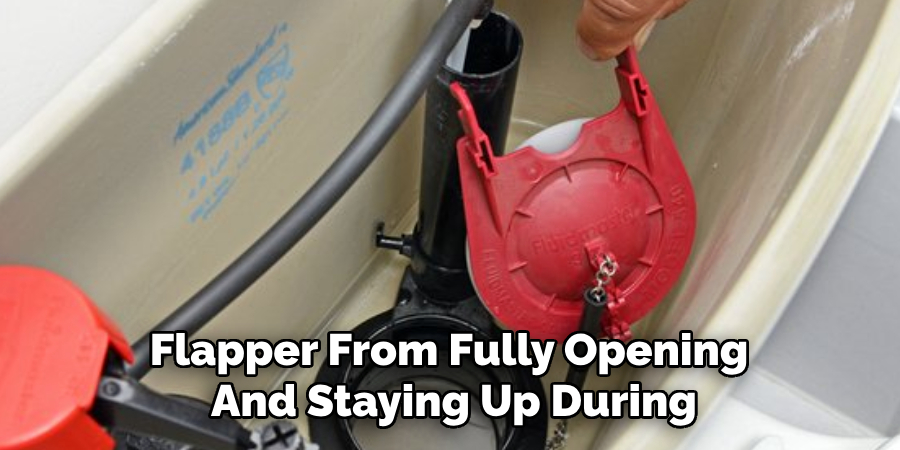
If the flapper closes before the tank can fully empty, the chain length may need adjustment. A chain that is too short can prevent the flapper from fully opening and staying up during the flush cycle. Adjust the chain so there is a slight slack when the handle is at rest to help resolve this issue.
4. Water Leaking into the Bowl
Constant water leakage into the bowl is usually a sign of a worn or warped flapper. Inspect the flapper for any visible damage, such as cracks or deformation, and replace it if necessary. If replacing the flapper does not fix the problem, the flush valve seat may be damaged and could require repair or replacement.
5. Flush Handle Feels Loose or Stuck
A malfunctioning flush handle can affect the flapper’s operation. Check the handle and its connecting components for damage or buildup. Tighten any loose nuts and ensure the lever arm inside the tank moves freely without obstruction. If the handle is corroded or broken, replacing it is the best solution.
Conclusion
Choosing the correct toilet flapper size is essential for maintaining an efficient flush and preventing water waste. By using these ten methods—measuring the flush valve, checking manufacturer specifications, or even consulting a plumber—you can confidently identify the right flapper size for your toilet. Ensuring a proper fit will optimize your toilet’s performance and help you conserve water in the long run. Thanks for reading, and we hope this has given you some inspiration on how to determine toilet flapper size!

