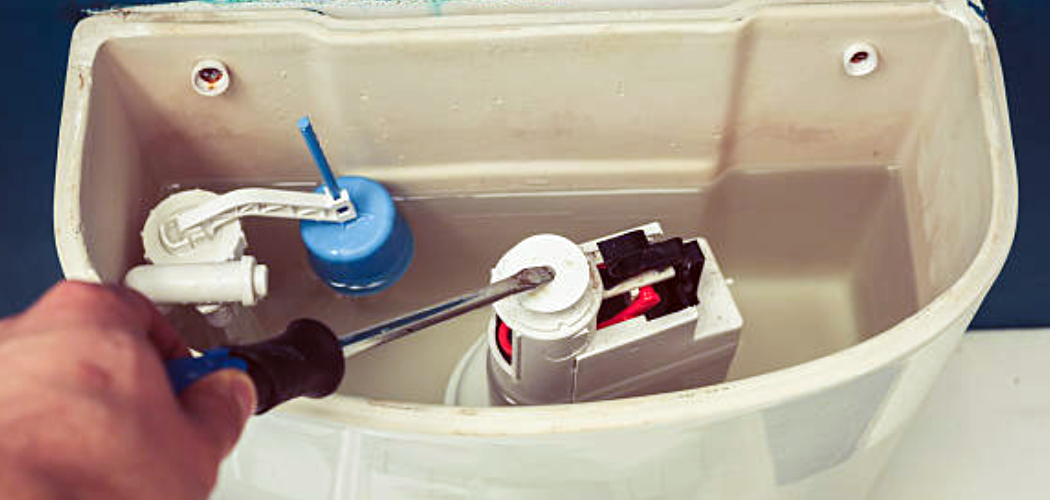
Replacing the guts of a toilet may seem like a daunting task, but it’s a straightforward process that can save you money on water bills and prevent leaks. With the right tools and a bit of patience, you can restore your toilet to optimal working condition in no time. This guide will walk you through the essential steps of how to replace guts of toilet, ensuring it flushes smoothly and efficiently.
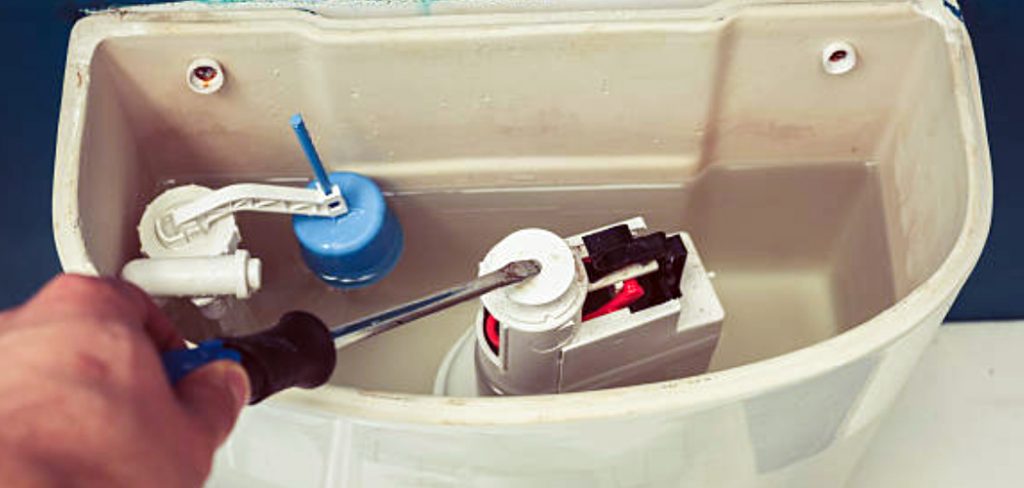
Common Reasons for Replacing Internal Toilet Components
There are several reasons why you might need to replace the internal components of your toilet. One of the most common issues is a constantly running toilet, which can lead to higher water bills and waste significant amounts of water. Another frequent problem is a weak or incomplete flush, often caused by worn-out flappers or clogged fill valves. Leaks around the base of the toilet or inconsistent water levels in the tank may also indicate that internal parts need to be replaced.
Over time, wear and tear from regular use can degrade components like the fill valve, flush valve, or flapper, making replacement necessary to maintain proper functionality. Regular maintenance and timely repairs can help prevent these issues from escalating.
Tools and Materials Needed
Before you begin replacing the internal components of your toilet, it’s important to gather the necessary tools and materials to complete the task efficiently. Here’s a list of what you’ll need:
- Adjustable Wrench: For loosening and tightening nuts and bolts.
- Sponge or Towel: To soak up any remaining water in the tank.
- Bucket: To catch excess water when draining the tank.
- Screwdriver: Depending on your toilet model, you may need a flathead or Phillips screwdriver.
- Replacement Toilet Kit: This typically includes a new flapper, flush valve, and fill valve. Make sure the kit is compatible with your toilet model.
- Rubber Gloves: To keep your hands clean and protect them from possible residue.
- Plumber’s Tape (optional): Useful for creating a watertight seal if necessary.
Having these tools and materials ready will help ensure a smooth and hassle-free replacement process.
10 Methods How to Replace Guts of Toilet
1. Turn Off the Water Supply and Drain the Tank
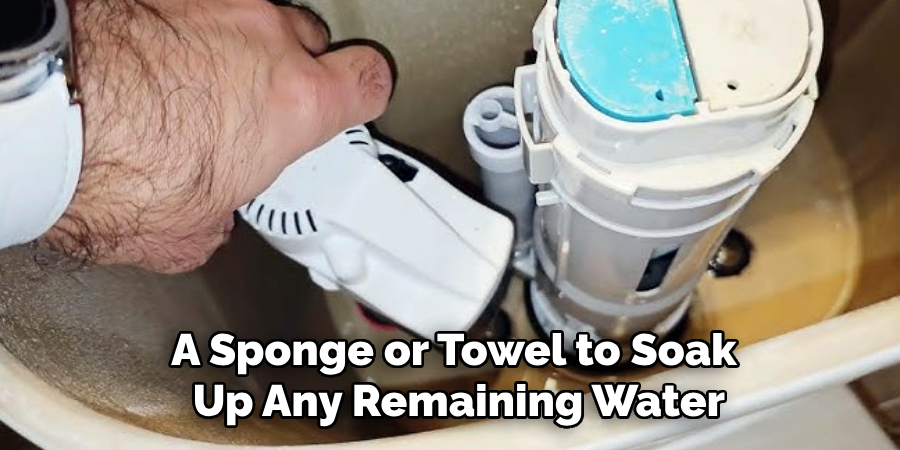
Before you begin any work on your toilet, the first step is to turn off the water supply to the toilet. This can usually be done by locating the shut-off valve behind or beside the toilet and turning it clockwise. Once the water is shut off, flush the toilet to drain as much water as possible from the tank. You can use a sponge or towel to soak up any remaining water in the tank. Draining the tank ensures that you won’t make a mess when you begin removing the old parts.
2. Remove the Toilet Tank Lid and Inspect the Guts
The next step is to remove the tank lid carefully and set it aside. Inspect the existing components, such as the fill valve, flush valve, flapper, and overflow tube. Take note of how the parts are connected so you can properly install the new components. If you’re unsure about the specific parts that need to be replaced, you can always take a picture of the existing setup for reference when installing the new parts.
3. Disconnect the Water Supply Line
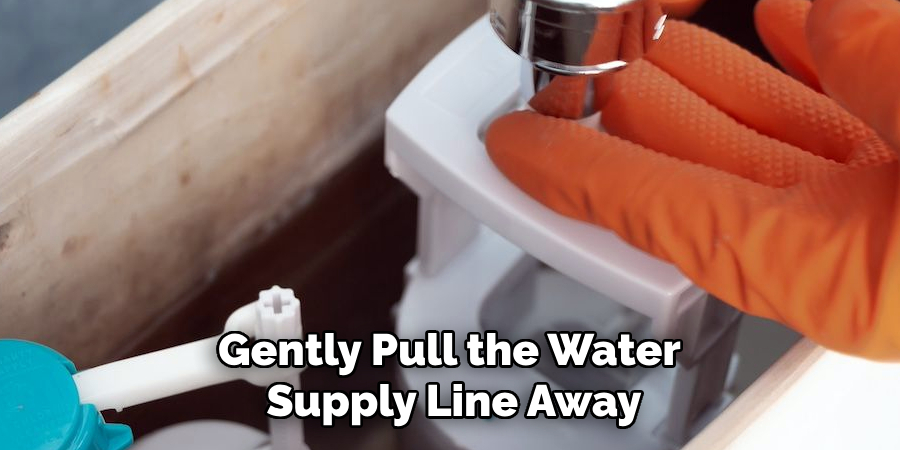
The water supply line, which connects the tank to the water supply valve, needs to be disconnected before removing the internal components. Use a wrench to loosen the nut that attaches the water supply line to the fill valve. After the nut is loosened, gently pull the water supply line away from the valve. It’s a good idea to place a towel or rag under the connection to catch any remaining water that might spill out during this process.
4. Remove the Old Fill Valve
The fill valve controls the flow of water into the tank. To replace it, start by loosening the locknut that holds the valve in place at the base of the tank. Depending on your toilet model, the fill valve may also be connected to the overflow tube. Once the locknut is loosened, remove the fill valve by pulling it out from the tank. Be careful not to damage the overflow tube or any other surrounding components. If your new fill valve requires a specific installation technique, follow the manufacturer’s instructions to ensure proper placement.
5. Remove the Old Flush Valve and Flapper
The flush valve is responsible for releasing water from the tank into the bowl when you flush the toilet. To remove the flush valve, unscrew any bolts or screws that secure it to the tank. Depending on the design, the flush valve may be connected to the tank with a rubber gasket that may require a little extra effort to remove. Once the flush valve is free, carefully lift it out of the tank. You’ll also need to remove the old flapper, which is usually attached to the flush valve. Simply unhook the flapper from the valve and set it aside for replacement.
6. Install the New Fill Valve
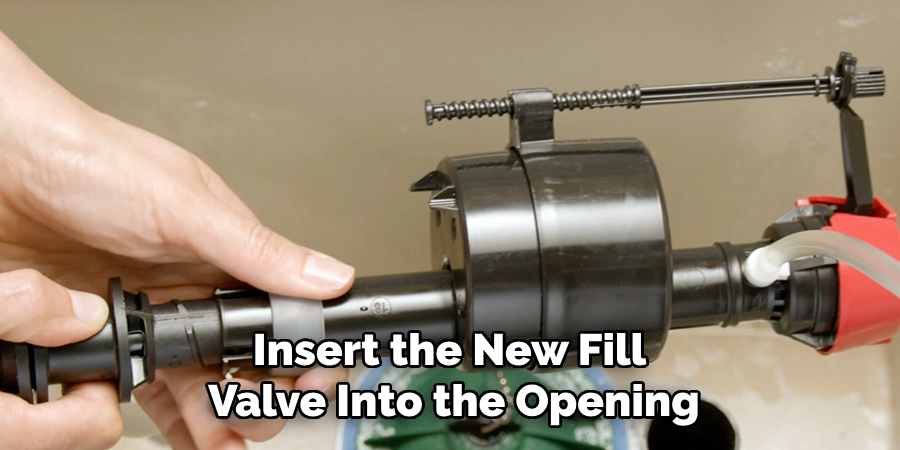
Once the old fill valve has been removed, it’s time to install the new one. Insert the new fill valve into the opening at the bottom of the tank, making sure the valve is securely positioned. Tighten the locknut to hold the valve in place. Be careful not to overtighten, as this could damage the tank or the valve itself. Once the fill valve is installed, connect the water supply line back to the valve, ensuring it’s tightened securely but not too tight.
7. Install the New Flush Valve
Next, install the new flush valve into the tank. Slide the valve into the opening, ensuring that it fits snugly and aligns with the bolt holes in the tank. Use the provided screws or bolts to secure the flush valve to the tank. Tighten the screws evenly to ensure that the valve is held firmly in place. It’s also a good idea to apply a small amount of plumber’s tape to the threads of the bolts to prevent leaks. If your new flush valve includes a rubber gasket, be sure to place it correctly to create a watertight seal.
8. Attach the New Flapper
After the flush valve is installed, the next step is to attach the new flapper. The flapper is usually connected to the flush valve by two hooks or a chain. Position the flapper so that it sits securely over the flush valve, ensuring that it can lift freely when the toilet is flushed. Adjust the chain length if necessary, making sure the flapper closes completely when the flush cycle is complete. A properly positioned flapper is essential for preventing leaks and ensuring efficient flushing.
9. Check and Adjust the Overflow Tube
The overflow tube is an important component that prevents the toilet tank from overflowing in case the fill valve malfunctions. When installing a new fill valve, you may need to adjust the height of the overflow tube to ensure the correct water level in the tank. The overflow tube should be positioned just below the top of the fill valve. If necessary, trim the tube to the correct height or adjust its placement to ensure proper operation.
10. Turn On the Water Supply and Test the Toilet
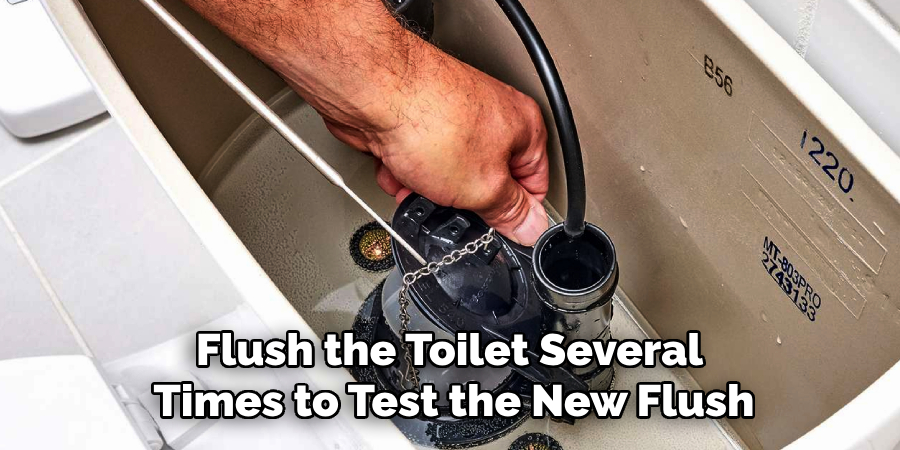
After all the new components are installed, it’s time to turn the water supply back on. Slowly open the shut-off valve and allow the tank to refill. Watch closely to ensure that the fill valve is working correctly and that water stops flowing when the correct water level is reached. Flush the toilet several times to test the new flush valve and flapper. If everything is functioning correctly, the toilet should flush properly, and the water level should remain stable. If you notice any leaks or issues, turn off the water supply and check the connections to ensure they are secure.
When to Contact a Professional
While replacing toilet components can often be a straightforward DIY task, there are situations where it’s wise to call a professional plumber. If you encounter persistent leaks after installing the new parts, despite checking and tightening all connections, professional assistance may be needed to identify and fix the issue. Additionally, severe corrosion, cracks, or damage to the toilet tank or bowl could require expert evaluation and possibly a full replacement. If you are unsure about the specific parts needed for your toilet model, a plumber can guide you and ensure compatibility.
Lastly, if you are uncomfortable with plumbing work or lack the necessary tools, a professional can complete the job efficiently and safely. Calling a plumber can save time, stress, and prevent further damage to your fixtures.
Conclusion
Replacing the guts of a toilet can seem like a daunting task, but with the right tools and instructions, it is a manageable DIY project. By following the steps outlined above, you can replace the fill valve, flush valve, flapper, and other internal components, restoring your toilet to optimal performance. Regular maintenance of these parts can help prevent leaks, improve flushing efficiency, and extend the life of your toilet. Thanks for reading, and we hope this has given you some inspiration on how to replace guts of toilet!

