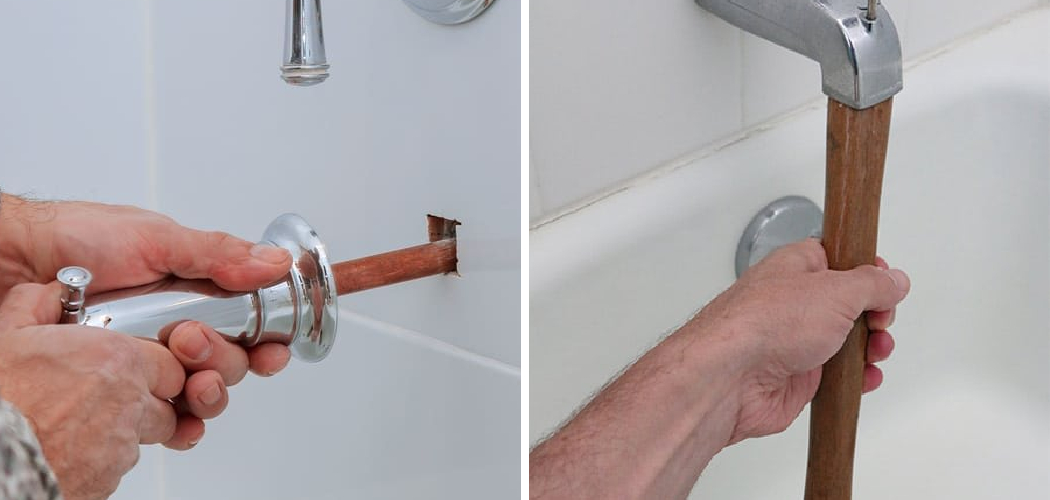
Are you tired of dealing with a faulty shower diverter pull-up? Don’t worry. It’s a common problem that can be easily fixed.
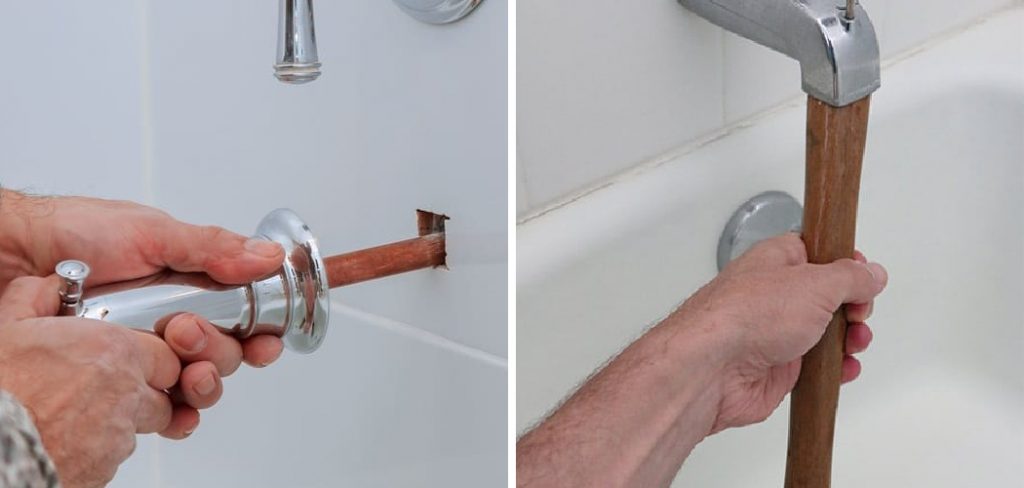
How to replace shower diverter pull-up seems like a daunting task, but with the right tools and guidance, it can be a straightforward process. The diverter is a critical component of your shower system, allowing you to direct water between the tub spout and the showerhead. Over time, wear and tear can cause it to malfunction, leading to leaks or reduced water pressure. By learning how to replace it yourself, you can save both time and money while restoring your shower’s functionality.
This guide will walk you through the steps to safely and efficiently replace your shower diverter pull-up, ensuring a hassle-free experience.
What Are the Causes of a Faulty Shower Diverter Pull-Up?
Before we dive into the steps for replacing your shower diverter pull-up, let’s first understand what can cause it to malfunction. Here are some common reasons why your shower diverter may not be working correctly:
- Buildup of Mineral Deposits or Debris: Over time, water minerals and debris can accumulate in the diverter, causing it to clog and restrict water flow. This buildup is more likely to occur if you have hard water.
- Wear and Tear: Constant use of the pull-up handle can eventually wear down its components, leading to a loose or broken connection.
- Age: Like any other plumbing component, shower diverters have a lifespan and may need to be replaced after several years of use.
Now that you know what can cause your shower diverter pull-up to malfunction, let’s dive into the replacement steps.
What Will You Need?
Before starting the replacement process, make sure you have the following tools and materials on hand:
- Replacement shower diverter pull-up
- Adjustable wrench
- Screwdriver (Phillips or flathead, depending on your shower system)
- Pipe thread tape (also known as Teflon tape)
- Towel or rag to catch any excess water
You can begin the replacement process once you have all the necessary items.
8 Easy Steps on How to Replace Shower Diverter Pull-up
Step 1. Turn Off the Water Supply:
Before starting any plumbing work, turning off the water supply is crucial to avoid leaks and spills. Locate the main water supply valve in your home, or if your shower system has a dedicated valve, shut it off there. Turn the valve clockwise to stop the flow of water completely. Once you’ve done this, double-check by turning on the shower to ensure no water comes out. This step ensures a clean and dry work environment, making the replacement process smoother and safer. If water’s still flowing, you may need to recheck the valve or turn off the main water supply.

Step 2. Plug the Drain:
Before proceeding with the replacement process, it’s essential to plug the drain to prevent small parts, screws, or debris from falling into it. Use a drain stopper, a rag, or tape to block the drain opening securely. This precaution can save you from the hassle of retrieving lost parts and will keep the work area clean and organized. Ensure the drain is fully covered and well-sealed, as this will prevent water or cleaning solutions from entering while you work. This simple step at the beginning can save time and effort later in the process.
Step 3. Remove the Old Shower Handle:
With the water flow stopped and the drain plugged, the next step is to remove the old shower handle carefully. Begin by locating the screw holding the handle in place, which is often hidden beneath a decorative cover or cap. Use a flathead screwdriver to pry off the cover if necessary gently. Once exposed, use the appropriate screwdriver to unscrew the handle, turning counterclockwise. After removing the screw, gently pull the handle away from the wall. If it’s stuck due to mineral buildup or age, apply a bit of wiggling or use a handle puller tool to loosen it. Be cautious not to use excessive force, as this could damage the underlying valve or surrounding tiles.
Step 4. Inspect and Prepare the Valve:
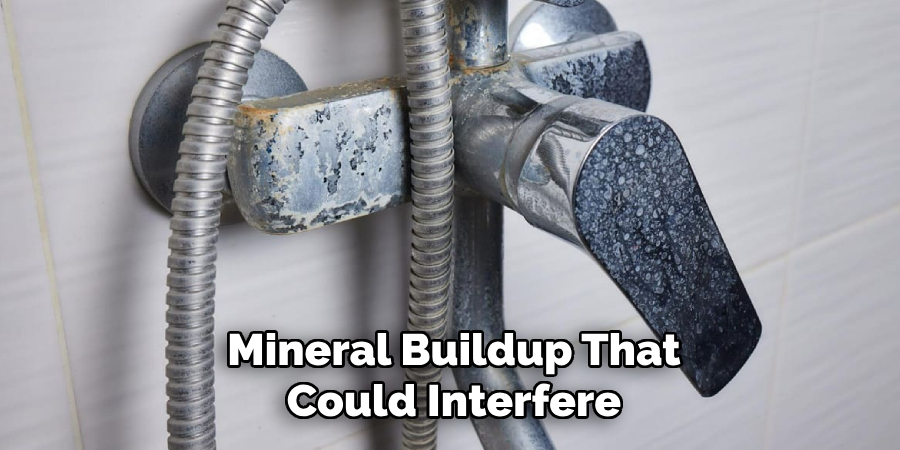
After removing the shower handle, look closely at the valve to ensure it is in good condition. Check for any signs of damage, corrosion, or leaks. If you notice any issues, you may need to replace the valve before proceeding. Clean the area around the valve using a cloth to remove any debris, dirt, or mineral buildup that could interfere with installing the new handle. Additionally, if the valve is equipped with a cartridge, now is a good time to inspect it for wear and replace it if needed. Proper preparation at this stage ensures a smooth and secure installation of the new shower handle.
Step 5. Install the New Shower Handle:
Align the new shower handle with the valve stem, ensuring it fits securely. If the handle comes with a set screw, insert and tighten it using a screwdriver or Allen wrench. Be careful not to overtighten, as this could strip the screw or damage the handle. Test its movement once the handle is securely attached to confirm it rotates or adjusts appropriately. Make adjustments to ensure smooth operation before proceeding to the next step.
Step 6. Test for Leaks:
Turn the water supply back on and carefully inspect the connection for any leaks. Gradually turn on the shower to ensure the handle operates correctly and controls the water flow as intended. If you notice any leaks, check the connections to ensure they are tight and secure. Address any issues promptly to prevent potential water damage. Your new shower handle installation is complete once you are satisfied with the results.
Step 7. Clean the Work Area:
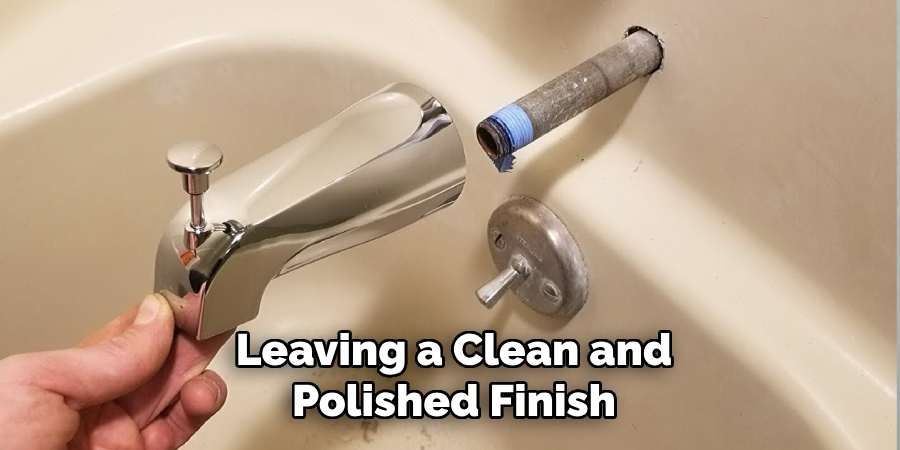
Once the installation is complete and the handle is functioning correctly, take a moment to clean up your work area. Remove any tools, packaging, or debris accumulated during the process. Wipe down the shower handle and surrounding area to remove smudges or fingerprints, leaving a clean and polished finish. A tidy workspace ensures a professional appearance and helps maintain the longevity of your new shower handle.
Step 8. Maintenance Tips
Perform routine maintenance to ensure your new shower handle remains in good working condition. Periodically check for any signs of wear, such as looseness or corrosion, and tighten or clean as needed. Use gentle cleaning solutions to avoid damaging the finish and ensure the handle stays shiny and rust-free. Regular care will keep your shower handle functioning smoothly and looking its best for years.
By following these simple steps, you can easily replace your shower diverter pull-up and have a functioning handle in no time.
5 Things You Should Avoid
- Skipping the Water Shut-Off: Before starting the replacement process, always turn off the water supply to avoid accidental leaks or water damage. Working without shutting off the water can lead to unnecessary mess and complications.
- Using the Wrong Tools: Ensure you have the proper tools, such as a wrench or screwdriver, specifically suitable for the job. Using incorrect or makeshift tools can damage the diverter or surrounding fixtures.
- Forgetting to Check for Compatibility: Not all diverters are universal. Installing a diverter that doesn’t match your faucet model or design can cause installation issues or even lead to leaks. Double-check compatibility before purchasing.
- Ignoring Old Sealants or Debris: Failing to clean or remove old sealants, tape, or debris from the threads can prevent the new diverter from sealing correctly, resulting in water leakage or inefficiency.
- Overtightening the Diverter: Excessive force while tightening the diverter can damage the threads, crack the components, or make future maintenance difficult. Tighten securely, but do not overdo it.
How to Clean Shower Diverter Pull-Up?
Cleaning the shower diverter pull-up is essential to maintaining a functioning and efficient shower. Here are some steps to follow when cleaning your shower diverter pull-up:
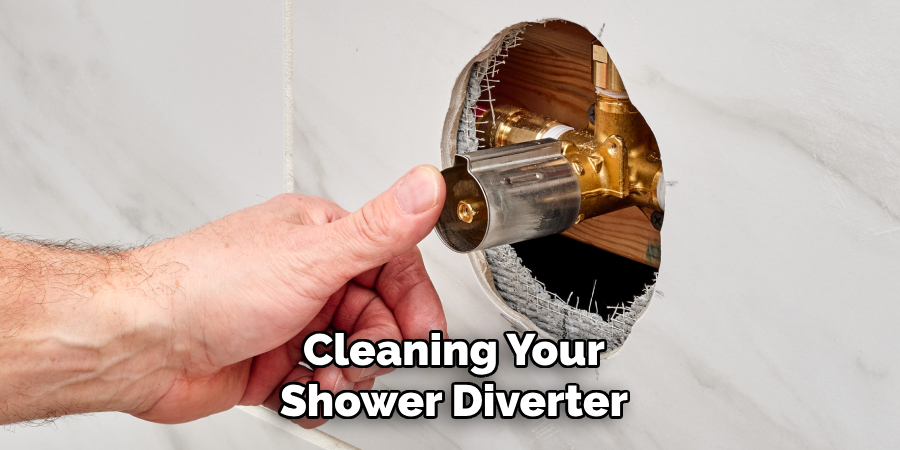
- Turn off the Water Supply: Just like when replacing a shower diverter, it’s crucial to turn off the water supply before cleaning.
- Remove the Shower Head: To access the diverter pull-up, you’ll need to remove the shower head first. Use a wrench or pliers to loosen and unscrew the head from its connecting pipe.
- Disassemble the Diverter Pull-Up: Once you have removed the shower head, you will see a valve body with various parts attached. Carefully disassemble the diverter pull-up by unscrewing and removing each component.
- Clean the Components: Using a toothbrush or cloth, clean any debris, mineral buildup, or old sealants from the valve body and components. You can also use a mild cleaning solution if needed.
- Check for Damage: While cleaning, inspect all parts of the diverter pull-up for damage or wear and tear. Replace any damaged parts before reassembling.
- Reassemble and Reinstall: Once everything is cleaned and inspected, carefully reassemble the diverter pull-up in its proper order. Then reinstall it back onto the connecting pipe.
- Test for Functionality: Turn the water supply back on and test your shower diverter pull-up to ensure it functions correctly. If you notice any leaks or issues, double-check the components and connections.
Conclusion
How to replace shower diverter pull-up may seem challenging initially, but by following these steps carefully, you can restore your shower’s functionality without professional assistance.
Always ensure you have the necessary tools and take your time to clean and inspect the components thoroughly. Proper maintenance and attention to detail will help ensure the durability and performance of your diverter pull-up, saving you both time and money in the long run.
Hopefully, this guide has helped you understand how to replace and clean your shower diverter pull-up. So, be proactive in maintaining your shower diverter pull-up and avoid any unnecessary complications or expenses in the future! Happy cleaning!

