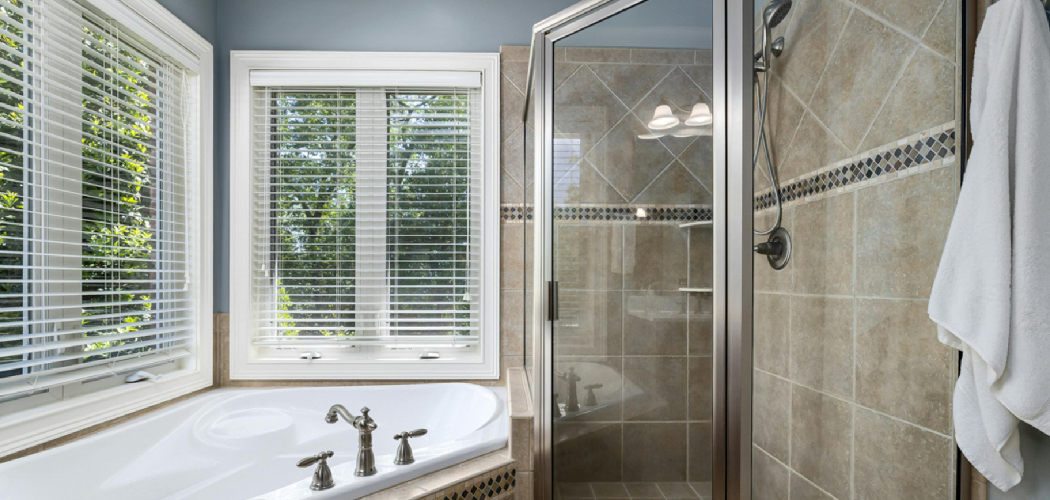
Are you tired of using the same old shower and want to upgrade your bathroom? Installing a corner shower can be a great option for maximizing space and adding a modern touch to your bathroom.

How to install a corner shower can be an excellent way to maximize space in your bathroom while adding a modern and functional feature. This process involves careful planning, precise measurements, and the right tools and materials to ensure a seamless installation. Whether you are remodeling your bathroom or upgrading your shower area, this guide will walk you through the essential steps for installing a corner shower, providing practical tips to achieve a professional-looking result.
With some patience and preparation, you can transform your space into a more efficient and stylish environment.
What Tools and Materials Do You Need?
Before starting the installation process, gather all the necessary tools and materials to ensure a smooth and efficient project. Here are the essential items you will need:
- Corner Shower Kit: This includes the walls, base, door, and additional features such as shelves or built-in seats.
- Measuring Tape: Precise measurements are crucial for a proper fit.
- Level: To ensure accuracy in your installations.
- Drill with Masonry Bit: For installing screws into tiled walls.
- Screwdriver: For tightening screws.
- Caulking Gun: This is for applying silicone caulk around the edges of the shower.
- Silicone Caulk: To seal any gaps and prevent water leaks.
- Shims: For leveling the shower base.
- Screwdriver: For tightening screws.
You can begin the installation process once you have all the necessary tools and materials.
8 Easy Steps on How to Install a Corner Shower
Step 1: Prepare the Area
Before installing your corner shower, ensure you have a clear and clutter-free space. Remove any old fixtures or debris from the area to provide a clean slate for installation.
Next, measure the available space in your bathroom to ensure that your corner shower will fit without obstructing any doorways or other fixtures. Measure the height, width, and depth of the desired location where your shower will be installed. It is crucial to follow these measurements accurately as they will determine which shower kit will best fit your space.

Step 2: Assemble the Shower Kit
Begin by thoroughly unboxing your shower kit’s components and reviewing the manufacturer’s instructions. Lay out all the pieces to ensure that there are no missing parts and that you understand how each element fits together. Start by assembling the shower’s base or pan, which will serve as the foundation. Align it correctly with the pre-measured area where the shower will be installed and ensure it is level to avoid water collection or improper drainage. Use a leveling tool to check and adjust as necessary.
Next, secure the shower walls or panels, following the specific attachment methods detailed in the instructions. This may involve applying adhesive or using screws to fasten the panels to the wall. It is essential to double-check that each panel is flush and fits tightly, as gaps can lead to leaks. For glass enclosures or doors, carefully attach the framing and then mount the glass panels, ensuring all screws and fittings are firmly secured. Take care not to overtighten, which could crack the glass. Once everything is in place, inspect all assembly components to confirm stability and proper alignment.
Step 3: Prepare the Drain Area
To prepare the drain area, carefully inspect the subfloor to ensure it is clean, level, and free of any debris that could obstruct the installation. If necessary, use a leveling compound to correct any uneven surfaces. Once the subfloor is ready, align the shower base or pan over the designated drain location, confirming that the drain hole matches perfectly with the plumbing beneath it. Mark any areas requiring specific modifications or adjustments.
Next, attach the appropriate drain assembly to the shower base. Apply the plumber’s putty or silicone sealant around the drain base to create a watertight seal, then firmly tighten the drain body according to the manufacturer’s instructions. Be cautious not to overtighten, as this can damage the components. After securing the drain, double-check that it is properly aligned and fully sealed to prevent leaks.
Step 4: Install the Shower Base
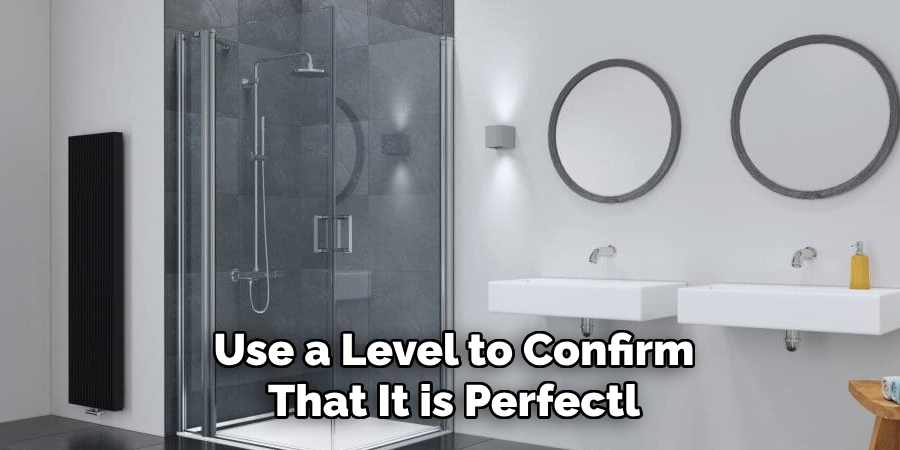
Installing the shower base is a critical step that requires precision to ensure proper function and durability. Begin by carefully positioning the shower base over the prepared subfloor and align it with the drain assembly. Verify that the base sits evenly on all sides, and use a level to confirm that it is perfectly horizontal. If gaps exist between the base and the subfloor, address them by adding shims or appropriate bedding material, such as mortar, to provide support and stability. This will help prevent movement or flexing during use.
Once the base is positioned correctly, secure it according to the manufacturer’s instructions. This may involve fastening the base directly to the subfloor using screws, clips, or adhesives. Be careful not to overtighten fasteners, as doing so can cause cracks or damage to the base. Check that the shower base remains level during the securing process.
Step 5: Install the Backer Board
After the shower base is securely in place, the next step is to install the backer board along the walls. Begin by measuring and cutting the backer board panels to fit the shower area, ensuring precise dimensions for a snug fit. Use a utility knife or a circular saw with a carbide blade to achieve clean, accurate cuts.
Once the boards are ready, attach them to the wall studs using corrosion-resistant screws, placing screws every 6 to 8 inches to provide proper support. Ensure the backer board edges align tightly, leaving no significant gaps between panels. If small gaps occur, they can be sealed later with fiberglass tape and waterproof joint compound.
Step 3: Sealing the Joints
After the backer board is securely installed, the next step is sealing the joints to ensure a watertight surface. Apply fiberglass mesh tape over all seams and press it firmly to adhere to the backer board. Then, use a waterproof joint compound or thin-set mortar to cover the taped joints, smoothing it with a putty knife or trowel. Make sure to spread the compound evenly, ensuring no gaps or air pockets remain. Once completed, allow the joint compound to dry thoroughly as per the manufacturer’s instructions before proceeding to the next steps of your shower wall installation.
Step 4: Waterproofing the Surface
Once the joints are sealed and the compound is dry, the next crucial step is waterproofing the entire surface. Use a waterproofing membrane, such as a liquid-applied or waterproofing sheet, to create a moisture barrier. If using a liquid membrane, apply it evenly across the backer board with a roller or brush, ensuring thorough coverage, especially around seams and corners.
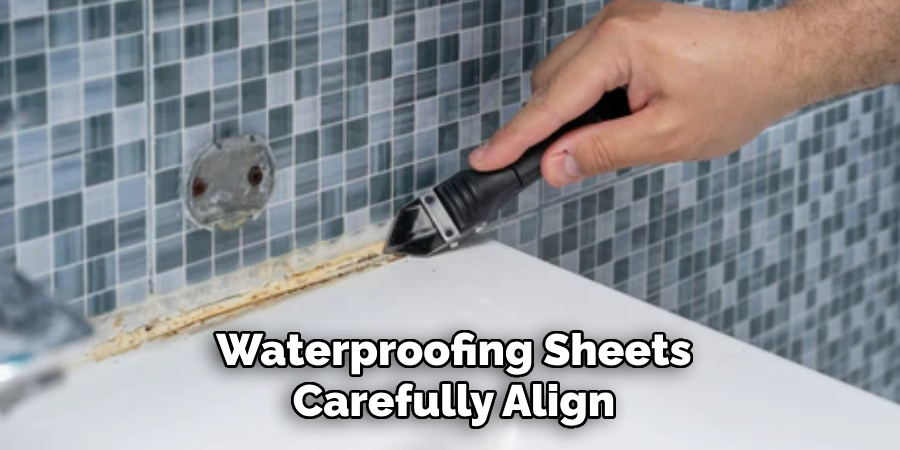
For waterproofing sheets, carefully align them with the wall and use the recommended adhesive to secure them. Overlap the edges slightly to prevent any water seepage. Allow the waterproofing layer to set and cure according to the product’s instructions before tiling or other finishing steps.
Step 5: Installing the Tiles
With the waterproofing layer fully cured, you can proceed to install the tiles. Begin by planning the layout to ensure a balanced and visually appealing design. Apply a layer of thin-set mortar to the wall using a notched trowel, working in small sections to prevent the mortar from drying out. Carefully press each tile into place, using tile spacers to maintain even gaps between them. Regularly check that the tiles are level and aligned as you work across the wall. Continue this process until the entire surface is covered. Allow the tiles to set for the recommended time before removing spacers and preparing for grout application.
Step 6: Applying the Grout
Once the tiles have been set and the spacers are removed, it’s time to apply the grout. Mix the grout according to the manufacturer’s instructions until it reaches a smooth, paste-like consistency. Spread the grout diagonally across the tiles using a rubber grout float, pressing it into the gaps between them.
Work in small sections to ensure even coverage and to prevent the grout from drying too quickly. After filling the gaps, wipe away the excess grout from the tile surfaces with a damp sponge, rinsing the sponge frequently. Allow the grout to cure for the recommended time, then polish the tiles with a soft cloth to remove any haze. Proper grouting will seal the joints and add to the finished look of your shower.
Step 7: Sealing the Grout
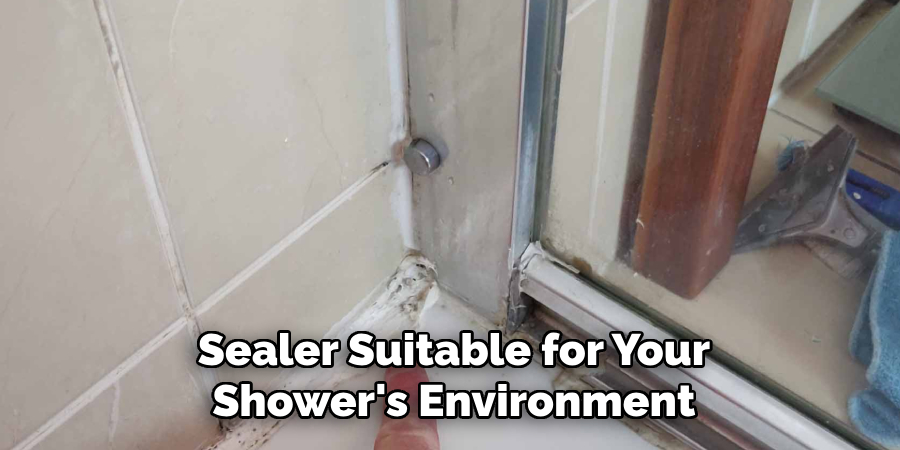
After the grout has fully cured, it is essential to apply a grout sealer to protect it from moisture and stains. Choose a high-quality grout sealer suitable for your shower’s environment. Carefully apply the sealer along the grout lines using a small brush or applicator, ensuring full coverage. Wipe away any excess sealer from the tiles with a clean cloth to prevent a residue from forming. Allow the sealer to dry as per the manufacturer’s recommendations.
Step 8: Final Inspection and Maintenance
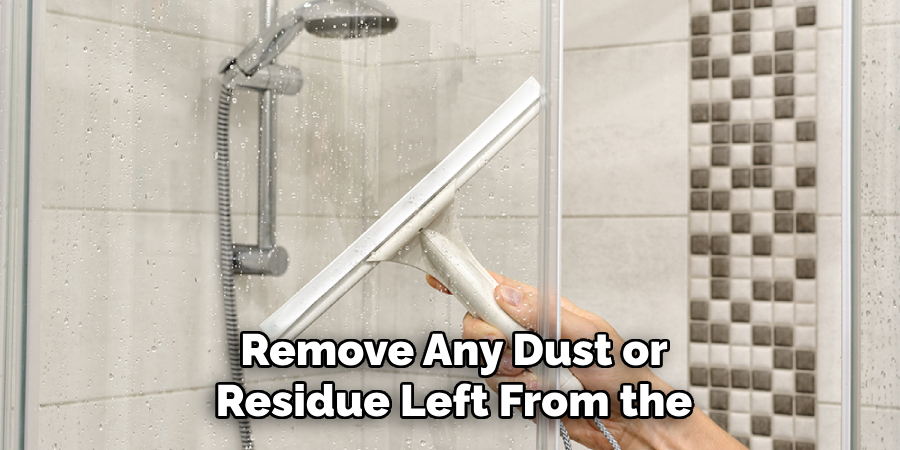
Once the sealing process is complete and the sealer has dried, conduct a final inspection of your shower to ensure everything is in place. Check for any missed grout or sealer application spots and address them promptly. Clean the shower thoroughly to remove any dust or residue left from the installation process. To preserve the tiles and grout, maintain your shower by regularly cleaning it with mild, non-abrasive cleaners. Periodically reapply the grout sealer as needed to keep the grout protected and extend the lifespan of your newly tiled shower. Proper care will ensure your shower remains functional and visually appealing for years.
By following these steps, you can successfully install a shower wall that is both functional and aesthetically pleasing.
Conclusion
How to install a corner shower can seem like a complex task, but with careful preparation and attention to detail, it is entirely achievable.
By following the outlined steps—from planning and gathering materials to tiling, grouting, sealing, and maintaining—you can create a shower space that is practical and visually stunning. Taking the time to ensure each step is done correctly will result in a durable and long-lasting shower. Remember, patience and precision are key to achieving a professional-quality finish.
With your newly installed corner shower, you can enjoy a fresh and functional upgrade to your bathroom for years to come.

