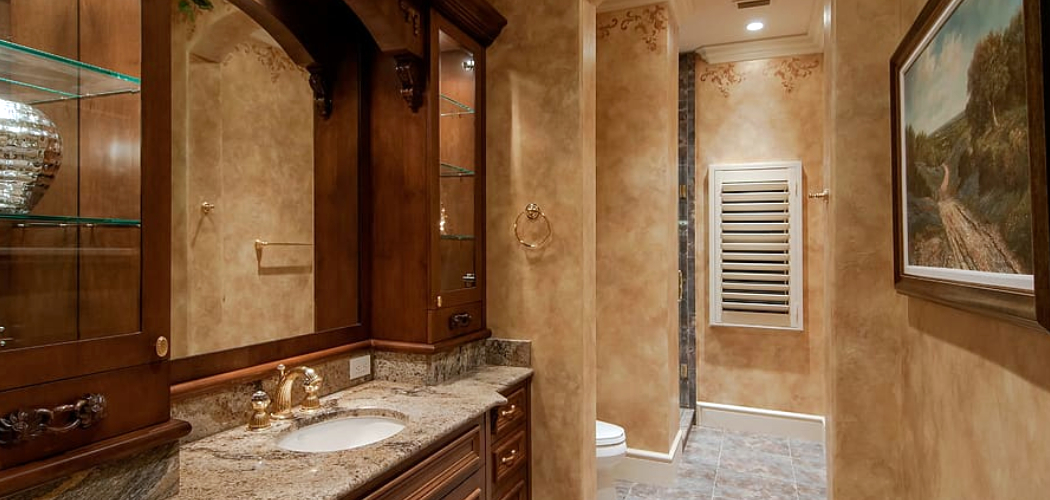
Are you planning to install a shower wall in your bathroom? Before you begin, it’s important to know how to cut shower wall panels properly.
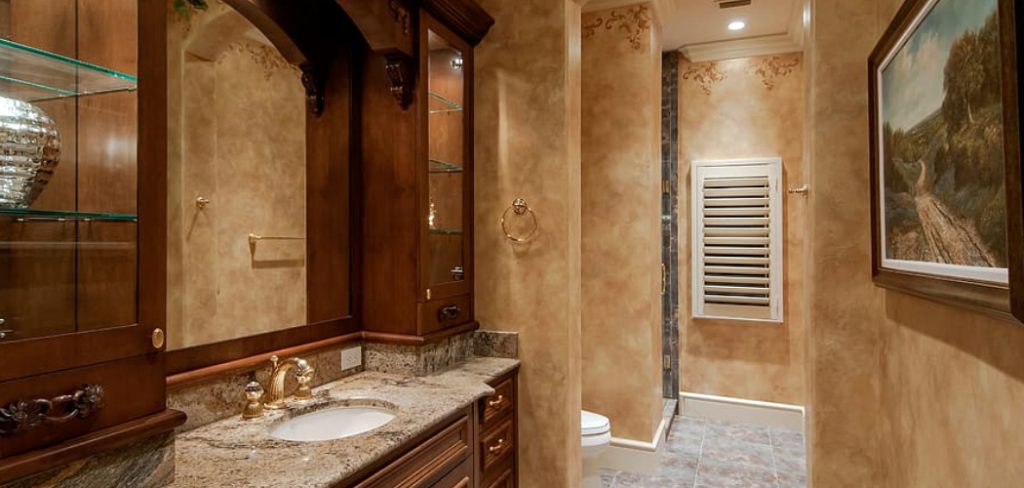
Cutting shower wall panels can seem daunting, but it becomes a straightforward process with the right tools and techniques. Precision is key to achieving a professional look and ensuring a watertight seal, whether installing new panels or customizing them to fit an irregular space. The process involves careful measurement, selecting appropriate cutting tools, and properly handling the materials to avoid damage.
This guide on cutting shower wall panels will walk you through the essential steps to safely and efficiently cut shower wall panels to suit your needs. Let’s get started!
What Are the Benefits of Shower Wall Panels?
Before diving into the cutting process, let’s first understand why shower wall panels are popular for bathroom renovation projects. Here are some benefits of using shower wall panels:
- Easy to Install: Unlike tiles that require grouting and specialized skills, shower wall panels can be easily installed by anyone with basic DIY knowledge.
- Low Maintenance: Shower wall panels do not absorb moisture, making them resistant to mold and mildew growth. They also don’t require regular sealing or cleaning products, saving you time and money in maintenance.
- Versatility: Shower wall panels come in various colors, patterns, and textures, giving you endless options to customize your bathroom design.
- Cost-Effective: Compared to tiles and other materials, shower wall panels are cost-effective for bathroom renovations. They also have a long lifespan, reducing the need for frequent replacements.
What Will You Need?
Before you start cutting shower wall panels, ensure that you have the following tools and materials:
- Shower Wall Panels: Purchase high-quality shower wall panels in the desired size and design.
- Measuring Tape: This tool is essential for accurately measuring your installation area.
- Pencil or Marker: Use these to mark your cutting lines on the panels.
- Straight Edge/Laser Guide: These help ensure straight and precise cuts.
- Utility Knife/Stanley Knife: A sharp utility knife is your go-to tool for scoring and cutting shower wall panels.
- Jigsaw/Saber Saw/Circular Saw (with fine tooth blade): Depending on the thickness of your panels, you may need a power saw to make the final cuts.
- Protective Gear: Safety glasses and gloves are essential for protecting yourself against flying debris and sharp edges.
Once you have all the necessary tools and materials, it’s time to start cutting your shower wall panels.
8 Easy Steps on How to Cut Shower Wall Panels
Step 1: Measure and Mark Your Panels

Accurate measurements are critical for ensuring that your shower wall panels fit perfectly into place. Begin by using a tape measure to carefully measure the dimensions of the area where the panels will be installed. Take note of any irregularities, such as corners or cutouts for fixtures like faucets or showerheads. Once you have your measurements, transfer them onto the panel using a pencil or marker. Make sure to double-check your markings to avoid any costly mistakes. A straightedge or a ruler can help you create precise, straight lines for your cuts. Consider using a template for curved or irregular cuts—this will allow you to accurately trace the desired shape onto the panel.
Step 2: Secure Your Panels
Once your panels are measured and marked, the next crucial step is to secure them properly before cutting or installation. This step ensures the stability of the panels, reduces the risk of errors, and helps achieve a clean and professional-looking result. Start by laying the panels on a stable, flat surface. If you are preparing to cut them, use clamps or other fastening tools to hold the panels securely in place.
This will prevent any shifting or movement that could result in uneven cuts or damage to the material. If installing the panels directly onto a surface, ensure that the wall or substrate is clean, dry, and free of debris. Use proper adhesive or fasteners as the manufacturer recommends, applying them evenly to avoid gaps or uneven pressure. Double-check alignment before securing the panels into their final position—this ensures a smooth, seamless look once complete.
Step 3: Choose the Right Cutting Tool
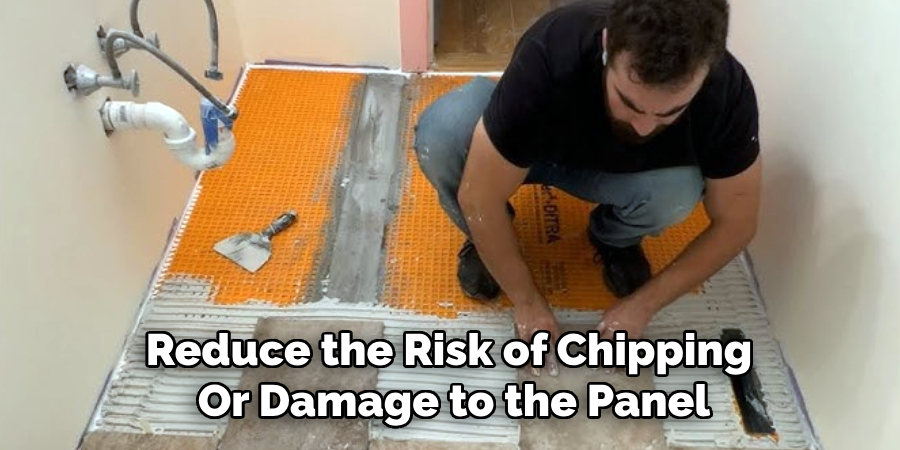
Select a cutting tool appropriate for the material of your shower wall panels. Common tools include a fine-toothed handsaw, a jigsaw with a metal or wood blade, or a utility knife for thinner materials. Ensure the tool is sharp and in good condition to achieve clean, accurate cuts and reduce the risk of chipping or damage to the panel.
Step 4: Measure and Mark for Cutouts
Before making any cuts, carefully measure and mark the locations of any cutouts needed for fixtures such as showerheads, faucets, or handles. Use a measuring tape and a pencil or marker to ensure precision, and double-check your measurements to avoid errors. If needed, create a template using cardboard or paper to ensure the cutouts align perfectly with the fixtures. Accurately marking these areas is crucial to achieving a professional look and ensuring all fittings are appropriately accommodated.
Step 5: Cut the Shower Wall Panels
Using the cutting tool selected in Step 3, carefully follow the marks made in Step 4 to cut the shower wall panels to the correct size and shape. Take time to ensure smooth, precise cuts, as any mistakes could result in improper fitting or visible gaps. If you are making cutouts for fixtures, start by drilling a small pilot hole in the marked area, then use the cutting tool to expand the hole to the required size. Always wear safety goggles and gloves to protect yourself from debris or sharp edges while cutting.
Step 6: Install the Shower Wall Panels
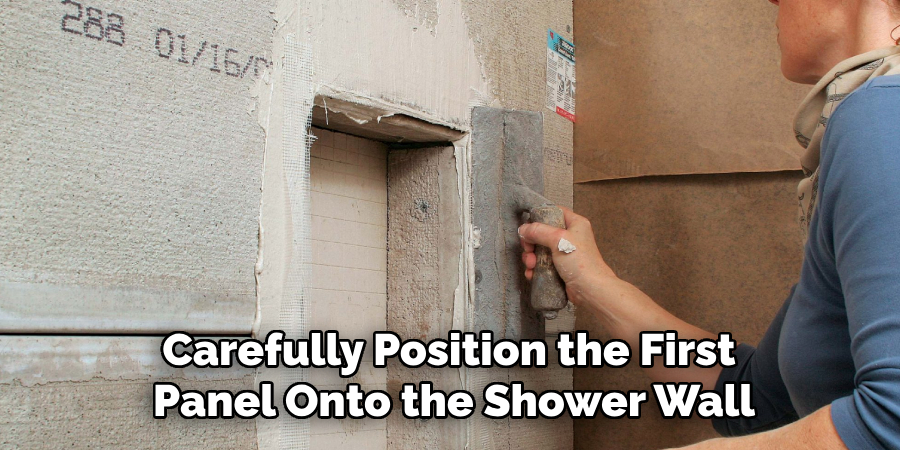
Begin by applying an adhesive to the back of the shower wall panels, following the manufacturer’s instructions for even coverage. Carefully position the first panel onto the shower wall, ensuring it aligns with the edges and any cutouts made for fixtures. Press firmly to ensure a strong bond, smoothing any air bubbles or uneven areas. Repeat this process with the remaining panels, checking alignment frequently to ensure a seamless and professional finish. Adjust before the adhesive sets, and use spacers if required to maintain proper spacing between panels.
Step 7: Seal the Edges and Joints
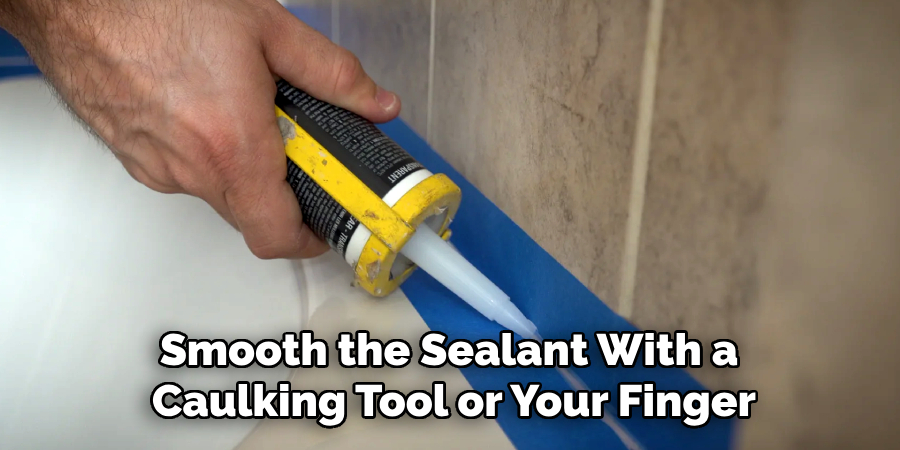
Once all the shower wall panels are securely installed and the adhesive has been set, apply a waterproof sealant to all the edges and joints. Use a caulking gun to evenly distribute the sealant evenly, ensuring no gaps where water could seep through. Smooth the sealant with a caulking tool or your finger for a clean and professional appearance. Allow the adhesive to cure fully per the manufacturer’s recommendations before using the shower. Proper sealing is crucial to prevent water damage and ensure the longevity of your shower wall panels.
Step 8: Clean and Inspect the Finished Installation
After the sealant has cured completely, clean the surface of the shower wall panels to remove any dust, smudges, or excess adhesive. Use a mild, non-abrasive cleaner and a soft cloth or sponge to avoid scratching the panels. Carefully inspect the entire installation for imperfections, gaps, or areas needing touch-ups. Confirm that all panels are securely attached and that the sealant is properly applied. Once everything is cleaned and checked, your shower wall installation is complete and ready for use!
By following these steps and taking your time to ensure accuracy and precision, you can achieve a professional-looking installation of shower wall panels that will enhance the appearance and functionality of your bathroom.
5 Things You Should Avoid
- Using the Wrong Tools: Avoid dull or improper tools such as non-specialized saws or knives that can damage the panels or result in uneven cuts. The right tools make all the difference, like a fine-tooth jigsaw or a circular saw.
- Ignoring Safety Precautions: Never skip safety measures. Forgetting to wear protective gear such as safety goggles and gloves can put you at risk of injury from sharp tools or flying debris.
- Not Measuring Accurately: Failing to measure appropriately can lead to panels that do not fit correctly. Take precise measurements and double-check them before making any cuts.
- Rushing the Process: Avoid cutting too quickly, as this can cause rough edges or cracks in the panels. Take your time to ensure clean, smooth, and accurate cuts.
- Skipping Surface Preparation: Cutting panels without preparing the work surface can lead to instability. Ensure you have a flat, stable surface to work on to avoid mistakes or accidents.
By avoiding these common mistakes, you can ensure a smooth and successful cutting process that results in high-quality panels for your project.
Conclusion
How to cut shower wall panels requires careful planning, precision, and adherence to safety protocols.
By selecting the right tools, preparing your workspace, and taking the time to measure and cut accurately, you can achieve professional results that elevate your project. Avoid common mistakes such as rushing or neglecting safety precautions, and prioritize stability and proper surface preparation. With these key steps in mind, you’ll be well-equipped to cut shower wall panels with confidence and efficiency.
Hopefully, this guide has provided helpful tips and insights to assist you in your project. Thank you for reading, and best of luck with your shower wall panel installation! Happy cutting!

