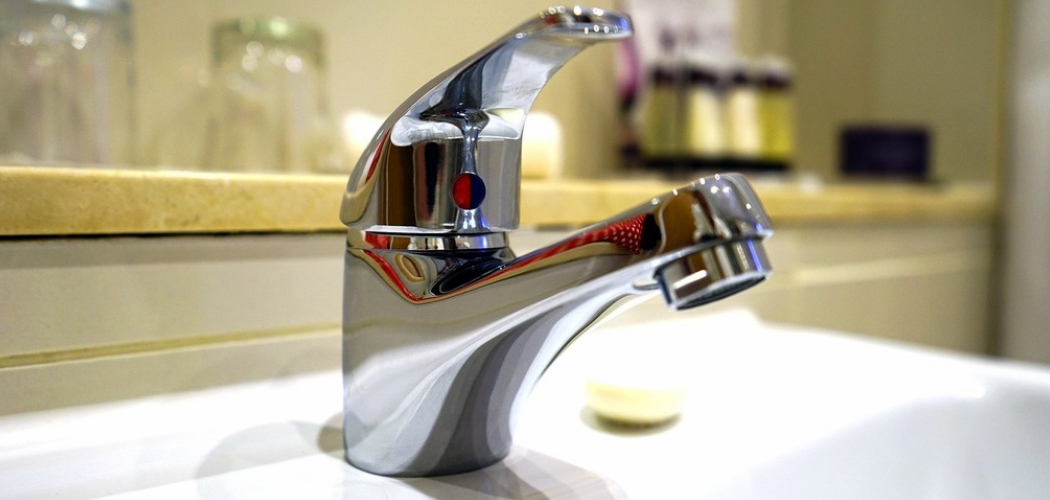
Are you tired of dirty chrome bathroom fixtures that never seem to get truly clean? If you’re frustrated with hard water stains, soap scum, and other grime covering your once-shiny chrome faucets, handles, and showerheads, don’t worry – there are simple ways to get them sparkling again.
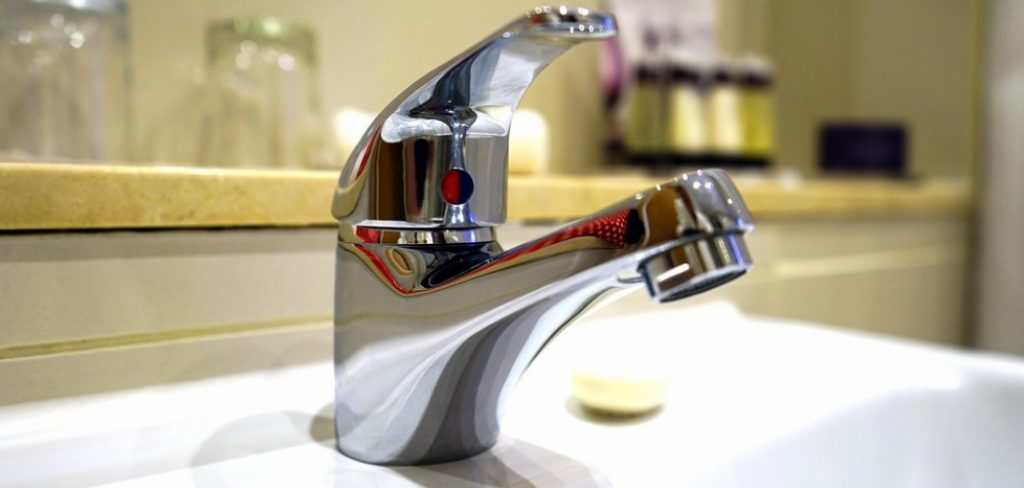
Chrome bathroom fixtures add a sleek and polished touch to any bathroom, but over time, they can become dull or stained due to water spots, soap scum, and general use. Regular cleaning and maintenance are essential to keep them looking shiny and new.
Thankfully, how to clean chrome bathroom fixtures doesn’t require harsh chemicals or expensive products – with the right techniques and a few simple supplies, you can restore their luster and maintain their pristine appearance with ease.
What Are the Benefits of Cleaning Chrome Bathroom Fixtures?
Before diving into the cleaning process, it’s essential to understand why keeping your chrome bathroom fixtures clean is important. Not only does it improve the overall aesthetics of your bathroom, but it also has other benefits:
- Prevents Buildup: Regular cleaning prevents mineral deposits and soap scum from building up on the surface of the chrome fixtures.
- Extends Lifespan: By removing dirt and grime regularly, you can prevent corrosion and damage that can lead to a shorter lifespan for your fixtures.
- Promotes Hygiene: Bathrooms are known to harbor bacteria and germs, especially in areas like faucets and handles. Keeping them clean reduces the risk of illness and promotes better hygiene.
- Saves Money: Cleaning chrome bathroom fixtures regularly can save you money in the long run. By preventing damage and buildup, you won’t have to replace or repair them as often.
What Will You Need?
To clean chrome bathroom fixtures effectively, you’ll need the following supplies:
- White Vinegar: This household staple is an excellent natural cleaner for removing hard water stains and soap scum.
- Baking Soda: This mild abrasive helps to remove tough stains and grime without damaging the chrome finish.
- Microfiber Cloth: These soft cloths are gentle on the chrome surface and won’t leave any lint or residue behind.
- Toothbrush: Soft bristles will help you reach crevices and corners for a thorough cleaning.
9 Easy Steps on How to Clean Chrome Bathroom Fixtures
Step 1. Prepare Your Cleaning Solution:

Begin by creating an effective cleaning solution using common household ingredients. Mix equal parts white vinegar and water in a spray bottle to create a natural cleaner that is perfect for tackling mineral deposits and soap scum. If you’re dealing with tough stains or buildup, sprinkle a small amount of baking soda into the solution, allowing it to form a mild paste when applied. Shake the spray bottle well to ensure the vinegar and water are thoroughly blended, and have your solution ready for use.
Step 2. Apply the Cleaning Solution:
Spray the vinegar and water solution generously onto the surface you wish to clean, ensuring all affected areas are thoroughly coated. For vertical surfaces, such as shower walls or glass doors, start from the top and work your way downward to allow the solution to flow over the stains as it works. If you’ve created a paste using baking soda, apply a thin layer directly onto stubborn spots, allowing it to sit and penetrate for 5-10 minutes before scrubbing. Use a soft sponge or microfiber cloth to gently scrub the surface in circular motions, focusing on areas with heavier mineral deposits or soap scum.
Step 3. Scrub and Wipe Down the Fixtures:
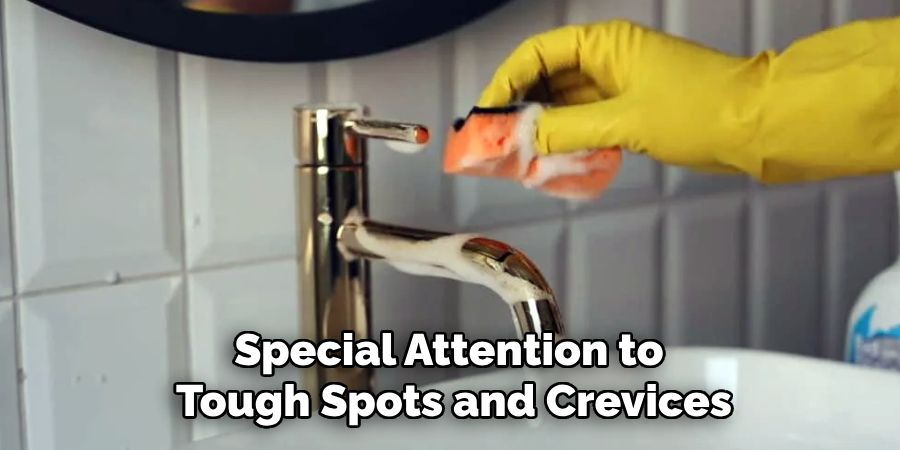
Using a soft sponge or microfiber cloth, gently scrub the chrome fixtures to remove loosened dirt, mineral deposits, and soap scum. Pay special attention to tough spots and crevices, where buildup might be more stubborn. For best results, use a circular motion while scrubbing to avoid scratches and ensure thorough cleaning. Once all areas have been washed, wipe the fixtures down with a clean, damp cloth to remove any remaining residue.
Step 4. Rinse and Dry the Fixtures:
After scrubbing, thoroughly rinse the chrome fixtures using warm water to wash away any cleaning solution and loosened debris. This step is crucial to prevent residue build-up, which can dull the shine of the chrome over time. Ensure that all surfaces, including crevices and intricate details, are fully rinsed to avoid leaving behind any cleaning agents. Once rinsing is complete, use a soft, dry microfiber cloth to buff the fixtures until they are scorched gently. Drying prevents water spots and restores the chrome’s natural luster, leaving it looking polished and sparkling. For an added touch of shine, you can lightly buff the surface in circular motions after drying.
Step 5. Apply a Protective Coating:
Consider applying a small amount of chrome polish or car wax to maintain the shine and protect the chrome fixtures from future buildup. Using a soft cloth, gently rub a thin layer of the polish or wax onto the surface of the fixtures. Allow it to sit for a few minutes, then buff it with a clean, dry cloth until the fixtures gleam. This step helps to create a protective barrier, ensuring your chrome stays clean and lustrous for longer.
Step 6. Inspect for Damage:
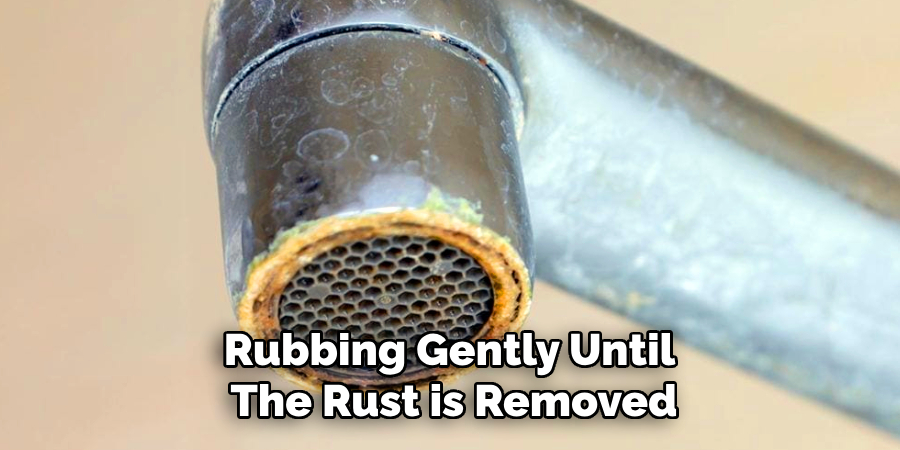
Periodically inspect your chrome fixtures for any signs of damage, such as scratches, rust, or peeling. Addressing these issues early can prevent further deterioration. For minor scratches, try using a non-abrasive chrome polish or metal polish to buff out imperfections gently. If you notice rust spots, apply a small amount of aluminum foil dipped in water to the affected area, rubbing gently until the rust is removed. Regular inspections ensure your chrome fixtures remain in top condition and extend their longevity.
Step 7. Protect the Finish:
Consider applying a thin coat of car wax or a chrome-specific sealant to provide an extra layer of protection for your chrome fixtures. This will help shield the surface from water spots, fingerprints, and tarnishing while enhancing the natural shine of the chrome. After application, buff the surface gently with a clean, dry cloth to achieve a glossy and protective finish. Regularly maintaining this protective layer will help preserve the pristine look of your fixtures over time.
Step 8. Regular Cleaning Routine:
Establishing a regular cleaning routine is essential to keeping your chrome fixtures looking their best. Use a soft microfiber cloth and a mild, soapy solution to clean the surface, removing any dirt or residue gently. Avoid harsh chemicals or abrasive scrubbers that could damage the chrome’s finish. Rinse thoroughly with clean water and dry with a lint-free cloth to prevent water spots. Consistent care will not only maintain the appearance of your Chrome but also help identify and address any potential issues early.
Step 9. Prevention is Key:

Preventing damage to your chrome fixtures is far easier than repairing or replacing them. Avoid placing sharp or heavy objects directly on the chrome surfaces to minimize the risk of scratches. Always use a gentle touch when cleaning, and store cleaning products properly to prevent accidentally spilling harsh chemicals that could corrode the finish. Installing water softeners or regularly descaling your fixtures can help prevent mineral buildup, especially in areas with hard water. Additionally, using mats or protective covers for fixtures that come into frequent contact with heavy or rough objects can help safeguard the surface.
By following these steps, you can keep your chrome fixtures shiny and free of buildup for years to come.
5 Things You Should Avoid
- Using Abrasive Cleaners: Avoid harsh powders, scrubbers, or abrasive cleaning pads, as these can scratch the chrome surface and leave permanent damage.
- Applying Bleach or Harsh Chemicals: Harsh chemical cleaners, especially those containing bleach, can cause discoloration and erosion of the chrome finish over time.
- Skipping Regular Cleaning: Allowing grime, soap scum, or hard water stains to build up can make future cleaning more complex and may damage the chrome’s luster.
- Using Hard Water: Cleaning with hard water may leave mineral deposits on the chrome surface. Always dry the fixtures after cleaning to prevent water spots or residue.
- Forgetting to Test New Cleaners: When using a new cleaning product, failing to test it on a small, inconspicuous area of the chrome can lead to unforeseen damage if the product isn’t suitable.
Does Lemon Clean Chrome?
Yes, lemon can be used to clean chrome surfaces effectively. Lemon contains citric acid, which acts as a natural cleaner and helps remove dirt, grime, and stains from chrome without causing any damage. To use Lemon for cleaning Chrome, you can follow these simple steps:
- Cut a fresh lemon in half and rub the cut side directly onto the chrome surface.
- Allow the juice to sit on the surface for a few minutes.
- Use a soft cloth or sponge to scrub away any stubborn stains or residue gently.
- Rinse with water and dry with a clean cloth.
You can also create a homemade cleaner by mixing equal parts of lemon juice and water in a spray bottle and using it to clean chrome surfaces. However, as with any new cleaner, it is always recommended to test a small area before applying it to the entire surface.
Conclusion
How to clean chrome bathroom fixtures doesn’t have to be a complicated task. By using simple, natural solutions like lemon or other gentle cleaning products, you can effectively remove dirt and stains without causing harm to the chrome surface.
The key is to use soft materials for scrubbing and to avoid abrasive tools or harsh chemicals that can damage the finish. Regular cleaning and care will ensure your chrome fixtures retain their shine and look as good as new for years to come.
Always test any cleaning solution in a small, inconspicuous area before applying it to the entire fixture to avoid unexpected results.

