

tired of struggling with a broken shower handle stem? Don’t worry, you’re not alone.
A broken shower handle stem can be a frustrating problem, leaving your shower either unusable or stuck in one setting. Fortunately, fixing it is a manageable task that doesn’t necessarily require professional plumbing skills. With the right tools and a systematic approach, you can restore your shower handle to working order quickly.
This guide on how to fix a broken shower handle stem will walk you through the essential steps to identify the issue, remove the damaged stem, and install a replacement. By the end, you’ll have a fully functional shower and the satisfaction of tackling a household repair independently. Let’s get started!
What Are the Causes of a Broken Shower Handle Stem?
Before we dive into the repair process, it’s helpful to understand what may have caused your shower handle stem to break. Some common causes include:
- Age and Wear and Tear: Over time, the constant use of your shower handle can cause its internal components to wear down.
- Excessive Force: If you turn your shower handle too forcefully or jerk it in different directions, this can put unnecessary strain on the stem and cause it to break.
- Corrosion: Exposure to hard water or chemicals can cause corrosion, leading to weakened and eventually broken parts.
- Faulty Installation: If the shower handle is not installed correctly or has poor quality materials, it can increase the chances of a broken stem.
- Accidental Damage: Sometimes, accidents happen. The stem may break if something falls on your shower handle or you accidentally hit it with too much force.
What Will You Need?
To fix a broken shower handle stem, you will need the following tools and materials:
- Adjustable Wrench: This tool will be helpful for unscrewing and removing the damaged stem.
- Screwdriver: Depending on your shower handle type, you may need either a flathead or Phillips screwdriver to remove screws holding the handle in place.
- Replacement Stem: It’s essential to have a new stem compatible with your shower handle. Check with your manufacturer or bring the damaged stem to a hardware store for a suitable replacement.
- Plumber’s Grease: Applying a plumber’s grease can help lubricate the internal components of your shower handle and prevent future wear and tear.
- Cloth: A cloth or rag can be used to clean any debris or gunk from the shower handle before and after the repair.
9 Easy Steps on How to Fix a Broken Shower Handle Stem
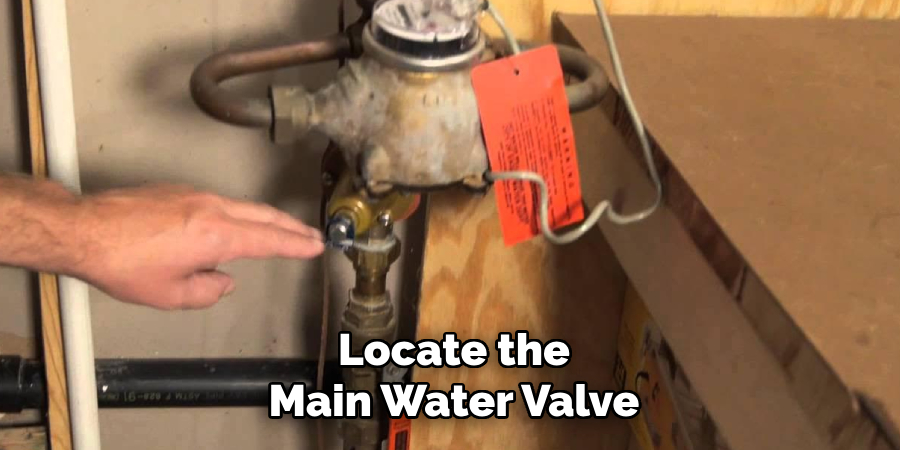
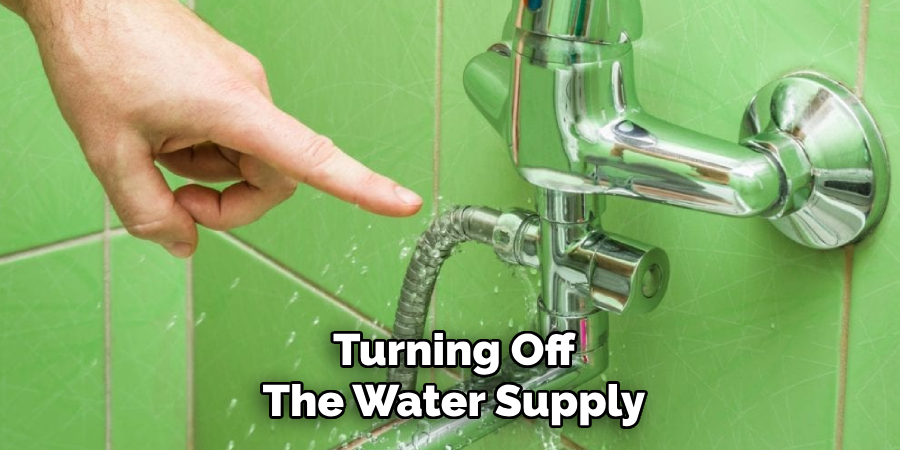
Step 1: Turn Off the Water Supply
Before beginning any repair work, turning off the water supply is crucial to avoid leaks or potential water damage. Locate the main water valve in your home or the valve specifically connected to your shower. Turn the valve clockwise until it is fully closed.
Once you’ve shut off the water, turn on the shower to drain any remaining water from the pipes. This will ensure a dry and safe working environment when disassembling the shower handle. Double-check that the water flow has completely stopped before proceeding to the next step.
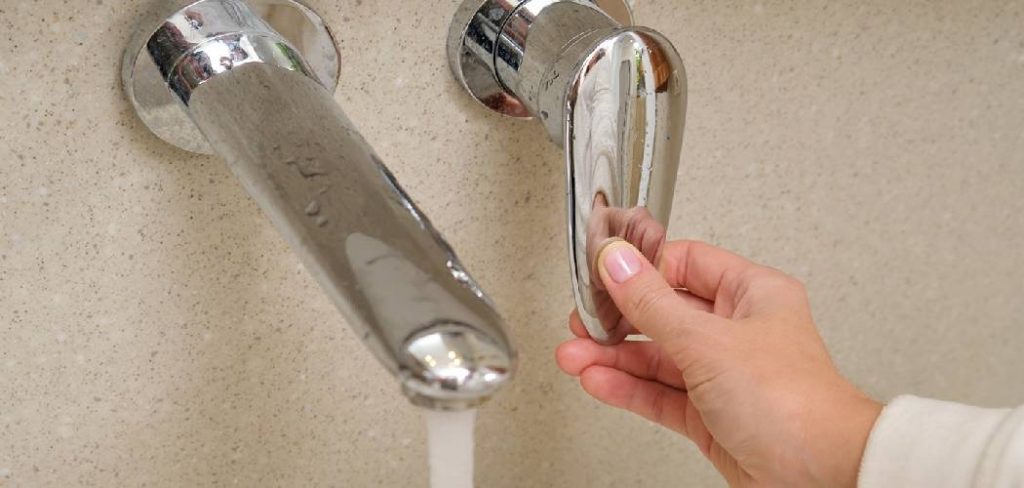
Step 2: Remove the Shower Handle
Using a screwdriver, locate and remove the screw securing the shower handle in place. This screw is often hidden behind a decorative cap, which can be gently pried off using a flathead screwdriver or a similar tool.
Once the screw is visible, turn it counterclockwise to loosen and obliterate it. Carefully pull the handle away from the wall, as it may take a little wiggling if it’s tightly fitted or if there’s buildup around it. Set the handle and screw aside in a safe place to avoid misplacing them.
Step 3: Remove the Escutcheon Plate
After removing the shower handle, the next component to detach is the escutcheon plate. This flat, decorative plate covers the hole where the shower handle was mounted. Check if the plate is secured to the wall with screws; if so, use a screwdriver to remove them by turning counterclockwise.
If there are no screws, gently pry the plate away from the wall using a flathead screwdriver, being cautious not to damage the surrounding tiles. Some escutcheon plates may have a layer of caulk around the edges—use a utility knife to score the caulk and loosen the plate. Once removed, place the escutcheon plate and screws in a safe location for reassembly later.
Step 4: Shut Off Water Supply
Before proceeding further, ensure the water supply to the shower is completely turned off to avoid leaks or water damage during the repair process. Locate your home’s main water shutoff valve or the localized shutoff valve for the bathroom, if available. Turn the valve clockwise to stop the flow of water.
After shutting off the water, open the shower faucet to release any remaining water pressure and confirm that no more water is flowing. This crucial step ensures safety and prevents unnecessary mess while working on the shower components.
Step 5: Remove the Old Shower Valve
You can now remove the old shower valve with the water supply turned off. Begin by using a pipe wrench or an adjustable wrench to loosen and disconnect the valve from the pipes carefully. Be cautious not to apply excessive force, which may damage the plumbing.
If the valve is soldered in place, use a pipe cutter to cut the pipes near the valve, ensuring clean cuts for easier installation of the new valve.
Once the old valve is detached, inspect the pipes for any signs of wear or damage and clean the ends to prepare them for installing the replacement valve. Place the old valve aside for proper disposal.
Step 6: Install the New Shower Valve
Position the new shower valve in place, aligning it with the existing pipes. If the valve requires soldering, apply flux to the ends of the pipes and the valve connections, then carefully solder them together using a propane torch.
For threaded connections, wrap the pipe threads with the plumber’s tape to ensure a watertight seal before attaching the valve. Tighten the connections securely with a wrench, but avoid over-tightening, which could cause damage. Once the valve is connected, double-check that all fittings are secure and properly aligned to ensure a smooth installation.
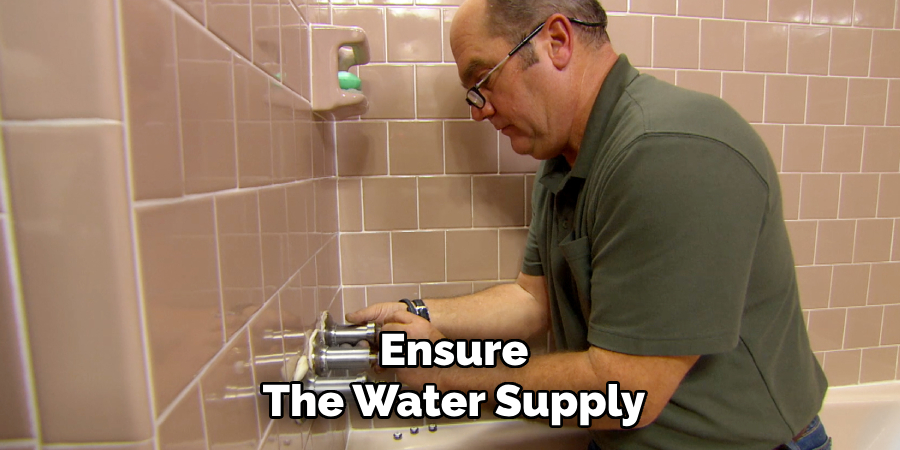
Step 7: Test the New Valve
Turn the main water supply back on and carefully check for any leaks around the connections. Open the shower valve to test the water flow and temperature to ensure it functions correctly. If there are any leaks, turn off the water supply again and tighten the connections or reapply the plumber’s tape where needed.
Once the valve is operating correctly and there are no leaks, replace the shower trim and finish the installation.
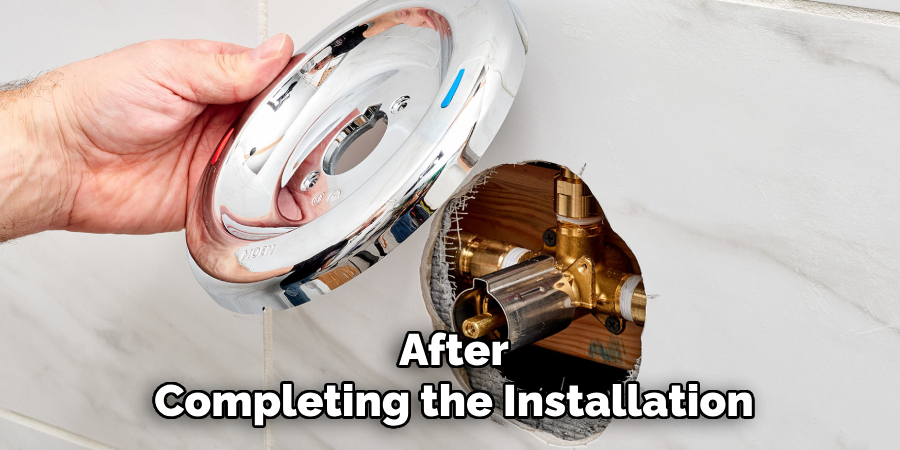
Step 8: Replace the Shower Trim and Finalize the Installation
Attach the shower trim pieces, including the escutcheon plate, handle, and other decorative elements. Ensure that all screws and fasteners are tightened securely, but be cautious not to overtighten and damage the pieces. Align the trim properly to maintain a polished appearance and proper functionality.
Once the trim is in place, turn the shower on again to confirm that all components operate smoothly and that there are no alignment issues. This step completes the installation, leaving your shower fully functional with an updated, professional finish.
Step 9: Clean Up and Inspect the Work Area
After completing the installation, take time to clean up the work area. Remove any tools, plumber’s tape remnants, or excess materials. Wipe down the shower components to remove fingerprints, smudges, or dust, ensuring a pristine finish. Then, inspect the entire installation one final time, checking for leaks, loose parts, or any imperfections that may need adjustment. Performing a thorough cleanup and inspection ensures your work is functional, visually appealing, and secure.
By following these steps, you can successfully replace a shower valve and handle, giving your bathroom a refreshed look and improved functionality.
5 Things You Should Avoid:
- Using Excessive Force: Applying too much force to remove or tighten parts can cause further damage to the handle stem or surrounding components, making the repair more expensive.
- Ignoring Shut-off Valves: Always turn off the water supply before starting repairs. Ignoring this step can lead to water leaks or flooding during the process.
- Using the Wrong Tools: Incorrect tools can strip screws or damage the stem, making the repair difficult and requiring additional replacements.
- Skipping Proper Inspection: Failing to inspect the handle stem and surrounding parts for other issues can result in overlooking underlying problems, leading to incomplete repairs.
- Neglecting Lubrication or Sealing: Forgetting to lubricate components or adequately seal connections can lead to squeaky operations and potential water leaks over time.
Conclusion
How to fix a broken shower handle stem requires patience, the right tools, and careful attention to detail.
Start by turning off the water supply to prevent leaks and ensure a smooth repair process. Inspect the handle and stem thoroughly to identify the issue, whether it’s wear and tear, corrosion, or a broken component. Use appropriate tools to remove the damaged stem without excessive force, which can cause further harm. Replace the broken stem with a compatible new one, ensuring all connections are correctly tightened and sealed. Before finishing, test the repaired handle to check for smooth operation and leak-free performance.
By following these steps and avoiding common mistakes, you can successfully restore your shower handle to proper working condition.