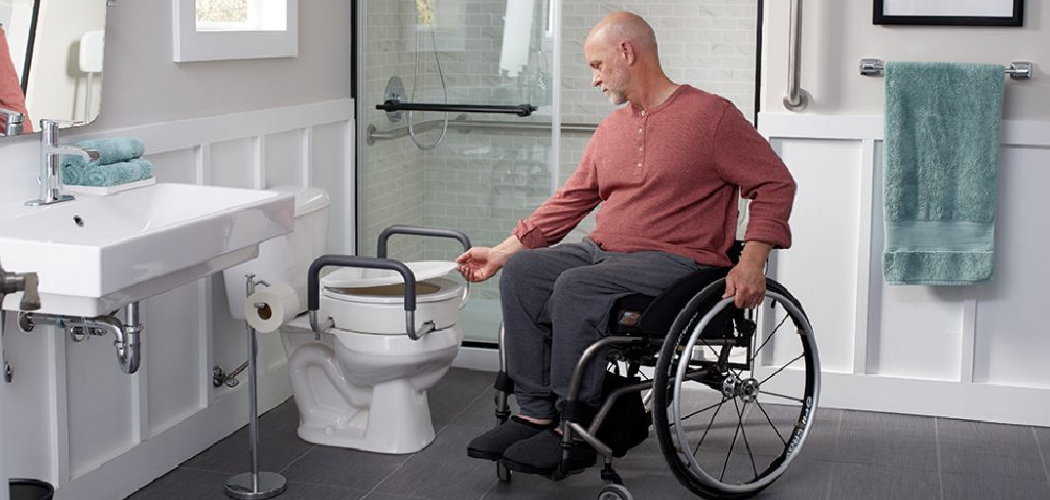
Are you or a loved one in need of a wheelchair-accessible shower? Don’t worry, building one doesn’t have to be a daunting task.
How to build a wheelchair accessible shower is an essential step in making a bathroom safe, functional, and inclusive for individuals with mobility challenges. Accessibility in design not only promotes independence but also ensures comfort and ease of use.

Building a wheelchair-accessible shower requires careful planning, attention to detail, and the use of appropriate materials and fixtures to meet specific accessibility standards. From selecting a curb-less shower base to installing grab bars and a handheld showerhead, each element plays a vital role in creating a practical and accommodating space.
This guide will walk you through the fundamental steps to design and construct a shower that meets the needs of wheelchair users while maintaining aesthetic appeal and functionality.
What Are the Benefits of a Wheelchair Accessible Shower?
Before diving into the construction process, it’s essential to understand why building a wheelchair-accessible shower is necessary. Here are some benefits of having an accessible shower:
- Promotes Independence: A wheelchair-accessible shower allows individuals with mobility challenges to bathe independently without needing assistance.
- Increases Safety: With features such as grab bars and non-slip flooring, a wheelchair-accessible shower minimizes the risk of falls and injuries.
- Provides Comfort and Ease of Use: By eliminating barriers like curbs, individuals can easily enter and exit the shower in their wheelchair or transfer onto a shower bench or seat.
- Accommodates Visitors: An accessible shower not only caters to the needs of wheelchair users in the household but also makes it easier for elderly or injured guests to use the bathroom safely and comfortably.
Once you understand the benefits of a wheelchair accessible shower, it’s time to get started on the construction process.
What Will You Need?
Before starting, it’s essential to have all the necessary materials and tools. Here are some critical things to consider:
- Shower Base: The shower base is the foundation of your wheelchair accessible shower. It should be slip-resistant, sturdy enough to support a wheelchair, and have a slope allowing proper drainage.
- Grab Bars: These essential safety features provide stability and support while transferring in and out of the shower. Install them at strategic locations near the entrance, next to the toilet, and along the wall where one can reach them comfortably.
- Shower Seat or Bench: A fold-up or built-in seat/bench provides a place to sit while bathing. Ensure it is at an appropriate height for easy transfer from a wheelchair.
- Handheld Showerhead: This adjustable showerhead allows for easy control and maneuverability while bathing in a seated position.
- Non-Slip Flooring: Choose a material that offers maximum traction to prevent slips and falls. Textured tiles or non-slip vinyl are popular choices.
- Waterproofing Materials: It’s crucial to use waterproof materials, such as water-resistant drywall or cement board, to prevent water damage and mold growth.

8 Easy Steps on How to Build a Wheelchair Accessible Shower
Step 1: Assess Your Space
Before beginning the construction of a wheelchair accessible shower, take the time to evaluate the available space in your bathroom thoroughly. Consider the size and layout to ensure that the shower area can accommodate mobility aids such as wheelchairs, walkers, or transfer chairs.
Measure the bathroom dimensions carefully, paying special attention to doorways and pathways leading to the shower to confirm they meet accessibility standards, typically a minimum width of 32 inches.
Think about how the shower placement integrates with the bathroom’s overall design to allow ample turning radius for a wheelchair, ideally 60 inches.
Additionally, identify any structural changes, such as removing a bathtub or relocating plumbing fixtures, that might be required to optimize the space for accessibility. Proper assessment at this stage will guide the planning process and ensure that the final setup meets the necessary safety and functionality standards.
Step 2: Choose the Right Shower Design
Once the space evaluation is complete, select a shower design that meets accessibility requirements while aligning with personal preferences. Consider installing a roll-in shower or a curbless walk-in shower, as these designs are ideal for individuals with mobility challenges.
Ensure that the shower base is slip-resistant to enhance safety and reduce the risk of accidents. Incorporate a built-in shower bench or a fold-down seat for comfort and convenience.
Additionally, plan to include grab bars within the shower to provide added support and stability. These features improve the shower’s usability and contribute to a safer and more accessible bathing experience.
Step 3: Select Appropriate Fixtures and Accessories
When designing an accessible shower, the choice of fixtures and accessories is crucial in ensuring functionality and comfort. Opt for hand-held showerheads with adjustable height options, as they provide greater flexibility and ease of use for individuals with varying needs.
Thermostatic mixing valves are highly recommended to maintain a consistent water temperature and prevent accidental scalding. Additionally, consider installing anti-slip mats or textured flooring for enhanced safety.
Other accessories, such as soap dispensers and easy-to-reach shelves, should be positioned at accessible heights to avoid unnecessary strain.
Step 4: Ensure Proper Lighting and Visibility
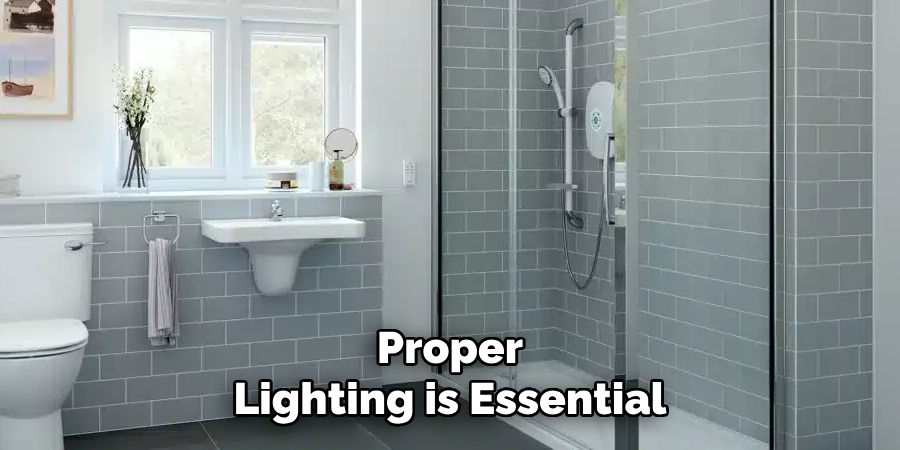
Proper lighting is essential in creating a safe and accessible shower environment. Incorporate bright, evenly distributed lighting to eliminate shadows and improve visibility within the shower area.
Use LED lights with a warm or neutral color temperature to reduce glare and enhance comfort. Installing task lighting near key areas, such as shelves or controls, is also helpful to make them easier to locate and use.
Additionally, consider including motion-sensor lighting for convenience and to assist individuals with limited mobility.
Step 5: Choose Suitable Shower Fixtures
Selecting the right shower fixtures is vital to creating a functional and accessible space. Opt for handheld showerheads with adjustable settings to accommodate different preferences and needs. These should be equipped with a flexible hose to allow easy maneuverability.
Thermostatic valves are an excellent choice as they help maintain a consistent water temperature, preventing sudden spikes or drops that could cause discomfort or injury. Additionally, consider installing anti-scald devices to enhance safety.
Lever-style handles or touchless controls can also improve accessibility, ensuring ease of use for individuals with limited strength or dexterity.
Step 6: Install Grab Bars and Support Rails
For enhanced safety and accessibility, installing grab bars and support rails is essential in the shower and other key areas of the bathroom. Grab bars provide stability and support, reducing the risk of slips and falls, particularly on wet surfaces.
Place them strategically near the shower entrance, inside the shower area, and next to the toilet for maximum utility. Ensure that grab bars are securely anchored to the wall and made of durable, non-corrosive materials.
Opt for designs with textured grips to improve usability, especially for individuals with limited hand strength. These features create a safer and more user-friendly environment for people of all ages and abilities.
Step 7: Ensure Proper Lighting
Adequate lighting is a crucial component of a safe and accessible bathroom. Incorporate bright, even lighting throughout the space to minimize shadows and improve visibility. Install task lighting around mirrors and vanities to assist with grooming and other daily activities.
Consider using motion-activated or touchless lights for convenience and to eliminate the need to reach for switches. Select LED or other energy-efficient lighting options to reduce energy consumption and maintenance.
For individuals with vision impairments, adding contrasting colors or lighting strips along the edges of counters and floors can enhance depth perception and orientation.
Step 8: Include Non-Slip Surfaces
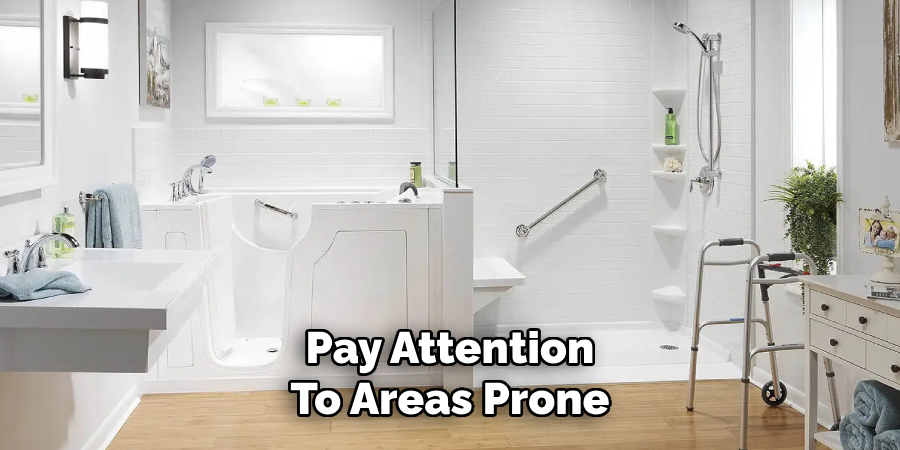
Preventing slips and falls is critical to bathroom safety. Use non-slip flooring materials, such as textured tiles or anti-slip vinyl, to reduce the risk of accidents. For added protection, place non-slip mats inside and outside the shower or bathtub. Apply an anti-slip coating to existing surfaces to provide extra grip.
Pay attention to areas prone to moisture buildup, as these are more likely to become slippery. By incorporating non-slip surfaces, you can create a bathroom environment that is both secure and functional for everyone.
By following these steps, you can design an accessible shower that meets the needs of individuals with varying abilities while also providing comfort and style.
5 Things You Should Avoid
1. Skipping Proper Measurements: One of the most critical mistakes is failing to take accurate measurements. Ensure enough space for a wheelchair to maneuver comfortably, including the entrance and turning areas.
2. Ignoring Slip-Resistant Flooring: Avoid using smooth or slippery flooring materials. Wet surfaces can become hazardous, so prioritize slip-resistant tiles or flooring to enhance safety and prevent accidents.
3. Overlooking Drainage Solutions: Improper drainage can lead to water pooling, which is inconvenient and dangerous. Ensure that a well-planned drainage system, such as a linear drain, is included to prevent water from accumulating.
4. Failing to Install Secure Grab Bars: Do not neglect the importance of grab bars for added support and stability. Ensure grab bars are securely anchored to withstand weight and placed within easy reach for users.
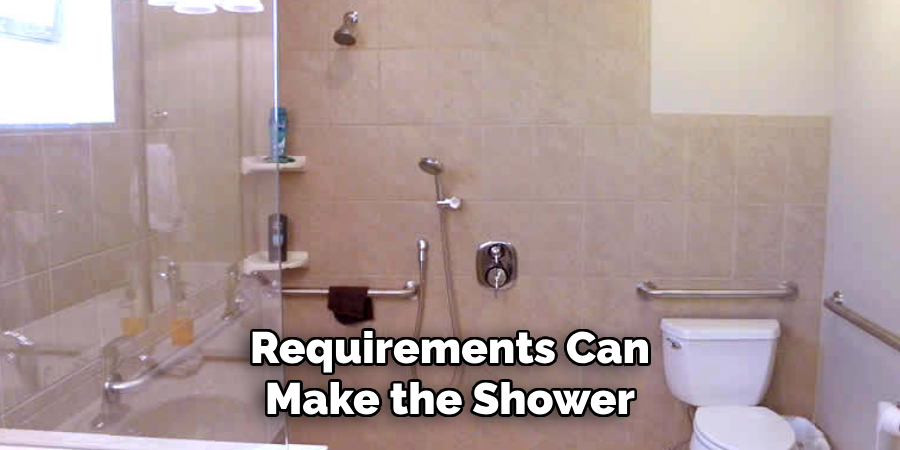
5. Neglecting Accessibility Standards: Always adhere to ADA (Americans with Disabilities Act) guidelines or other relevant accessibility standards. Skipping these requirements can make the shower non-compliant and difficult for those with mobility challenges.
Conclusion
How to build a wheelchair accessible shower requires thoughtful planning and adherence to key standards to ensure safety, comfort, and functionality.
By focusing on slip-resistant flooring, effective drainage solutions, securely installed grab bars, and meeting accessibility guidelines, you can create a practical and user-friendly space.
Attention to these details enhances usability for individuals with mobility challenges and contributes to a safer and more inclusive bathroom design for everyone.
Hopefully, this guide has provided you with valuable insights and tips for creating a wheelchair-accessible shower that meets the needs of all users. Happy building!

