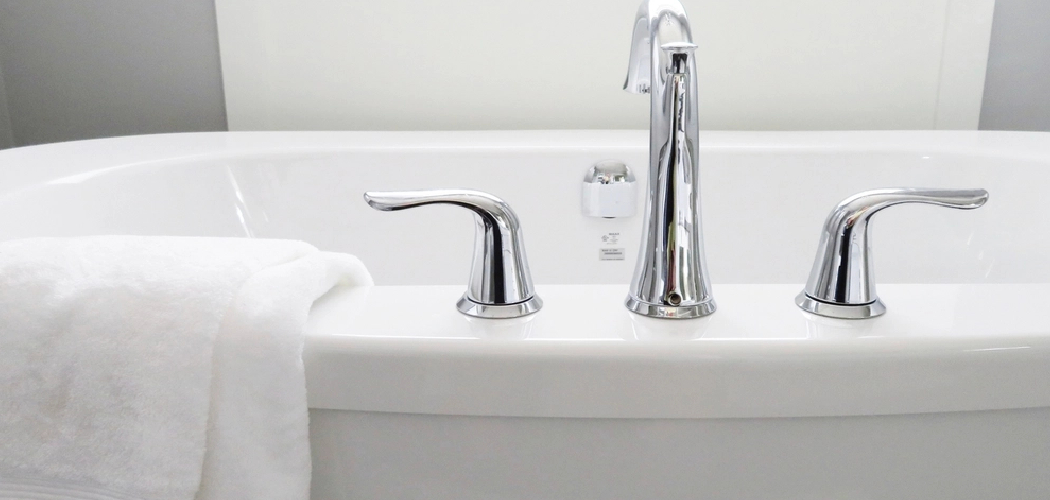
An overflow drain plays a critical role in maintaining the functionality and safety of your bathtub. Its primary purpose is to prevent water from spilling over the tub’s edge by redirecting excess water into the drainage system, safeguarding your bathroom from unnecessary messes or damage.
Installing or replacing an overflow drain is essential to ensure proper drainage, prevent water damage, and reduce the risk of mold and mildew buildup caused by standing water. This article provides a comprehensive, step-by-step guide on how to install overflow drain in tub, whether you’re tackling a replacement project or setting one up for the first time. Following these instructions will maintain a well-functioning bath and protect your home from potential water hazards.
Understanding the Components of an Overflow Drain
An overflow drain system comprises several key components, each vital in ensuring proper functionality and water management. Knowing these parts helps in both installation and maintenance.
Parts of the Overflow Drain System
- Overflow plate: This visible component covers the overflow hole and connects to the drainpipe. It also serves an aesthetic purpose, blending with the overall design of the tub.
- Overflow gasket: A crucial sealing part that prevents leaks by creating a watertight connection between the overflow pipe and the bathtub wall.
- Drain pipe assembly: This connects the overflow drain to the main tub drain, allowing excess water to flow safely into the drainage system.
- Trip lever (optional): In some systems, this lever controls the tub stopper, adjusting water flow as needed.
Types of Overflow Drain Systems
- Lever-style overflow drain: Includes a stopper that is controlled by a lever, allowing for easy water level management.
- Toe-touch or push-pull drain: A manual system that omits levers, operated directly at the tub drain by touch.
- Grid-style drain cover: Features a perforated design that allows water to flow through while not controlling water levels, offering simplicity in functionality.
Understanding these components and styles ensures you select and maintain the system best suited for your needs.
Gathering Tools and Materials
To efficiently install or replace an overflow drain system, it is important to prepare the necessary tools and materials in advance. Below is a list of what you’ll need:
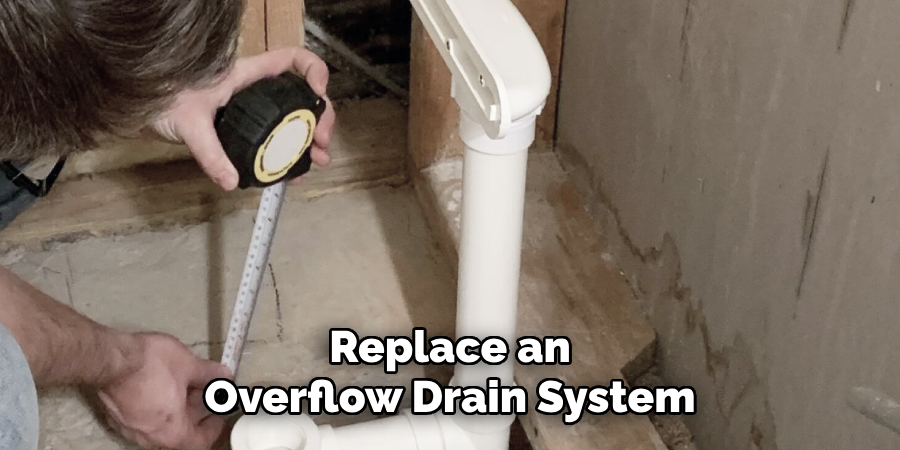
Tools Needed
- Adjustable wrench or pipe wrench
- Screwdriver (Phillips and flathead)
- Plumber’s putty or silicone sealant
- Plumber’s tape (Teflon tape)
- Utility knife (for old gasket removal)
Required Materials
- New overflow drain kit (plate, gasket, screws, and drain assembly)
- Replacement drainpipe (if old one is damaged)
- Bucket and rags (for water cleanup)
Safety Precautions
Before beginning work, take the following precautions for a safe and effective installation:
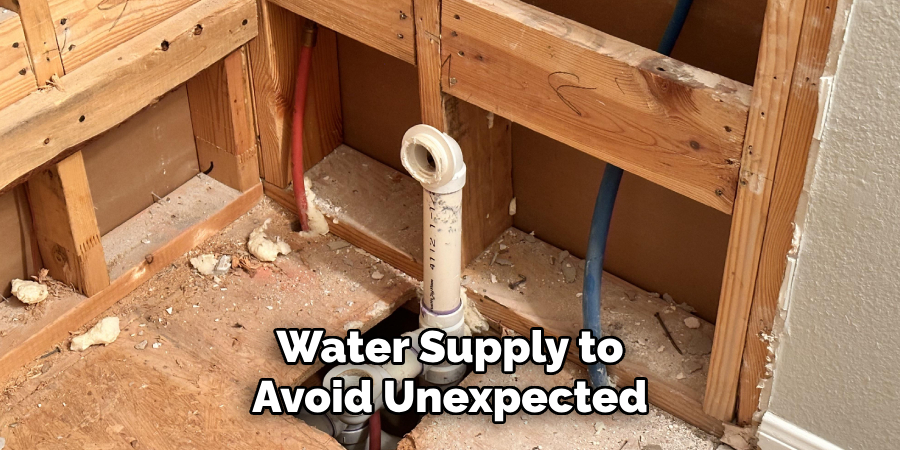
- Turn off the water supply to avoid unexpected leaks during the process.
- Wear gloves to protect your hands when handling pipes, gaskets, and sharp tools.
By ensuring you have all the tools, materials, and protective measures in place, you’ll set yourself up for a smooth and efficient installation process.
Removing the Old Overflow Drain
Properly removing the old overflow drain is crucial to ensure the new system fits securely and functions effectively. Follow these steps to disassemble the existing components carefully:
Step 1: Unscrew the Overflow Plate
Using a screwdriver, carefully remove the screws that secure the overflow plate to the tub wall. Keep the screws in a safe place, as they may be needed for later or serve as reference for the new ones.
Step 2: Pull Out the Overflow Assembly
If your current system includes a lever-style overflow, gently pull out the stopper linkage connected to the plate. Take extra care not to damage the tub or the assembly, as certain parts may stick due to age or corrosion.
Step 3: Remove the Old Gasket
Use a utility knife or putty knife to scrape off the old gasket from the opening. This may require some patience, as the material can be adherent due to long-term use.
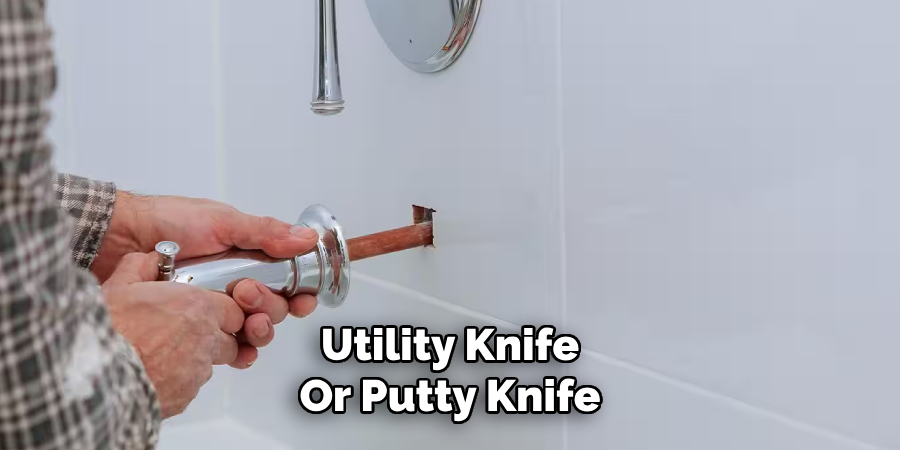
Ensure the area is thoroughly cleaned, removing any remnants of gasket material or debris, to create a smooth surface for the new gasket and prevent leaks.
Step 4: Inspect the Drain Pipe
Before installing the new overflow assembly, take a moment to inspect the drain pipe thoroughly. Look for signs of wear such as cracks, corrosion, or loose fittings. If any damage is identified, replace the drainpipe to prevent future issues. This pre-installation check will save effort in addressing potential leaks or malfunctions later.
How to Install Overflow Drain in Tub: Installing the New Overflow Drain
Step 1: Insert the New Gasket
Place the new rubber gasket between the tub wall and the overflow pipe opening. Ensure the gasket is properly aligned to create a secure seal. This step is crucial in preventing leaks and ensuring the longevity of the assembly. Take your time to position it correctly without twisting or folding the gasket.
Step 2: Attach the Overflow Plate
Align the holes on the overflow plate with the drain pipe opening. Carefully insert the screws and begin tightening them evenly. Be cautious not to overtighten, as this may strip the threads or crack the components, compromising the connection.
Step 3: Seal the Connection
To enhance the seal, apply plumber’s putty or silicone sealant around the edges of the gasket. This additional layer of protection prevents water from seeping through, especially in older tubs where surfaces may be uneven. Smooth the sealant evenly and wipe away any excess for a clean finish.
Step 4: Test the Fit
Once everything is in place, gently press the overflow plate to confirm it fits snugly and securely. The plate should sit flush against the tub wall without any gaps. If adjustments are needed, loosen the screws slightly and reposition the plate. After confirming the fit, allow any sealant to cure according to the manufacturer’s instructions before using the tub.
Connecting the Overflow Drain to the Main Drain
Step 1: Attach the Overflow Drain Pipe
Begin by attaching the overflow drain pipe to the main drain pipe. Wrap the threads of the fittings with plumber’s tape to ensure a watertight seal. Align the pipe connections carefully and use a wrench to tighten the fittings securely. Ensure the pipes are properly aligned to avoid joint stress, which could lead to leaks or damage over time.
Step 2: Ensure a Tight Seal
Once the overflow drain pipe is attached, inspect all connections to confirm they are tight. Use a wrench to tighten the connections further if needed, but do not over-tighten as this can crack or deform plastic pipes. A snug fit is sufficient to
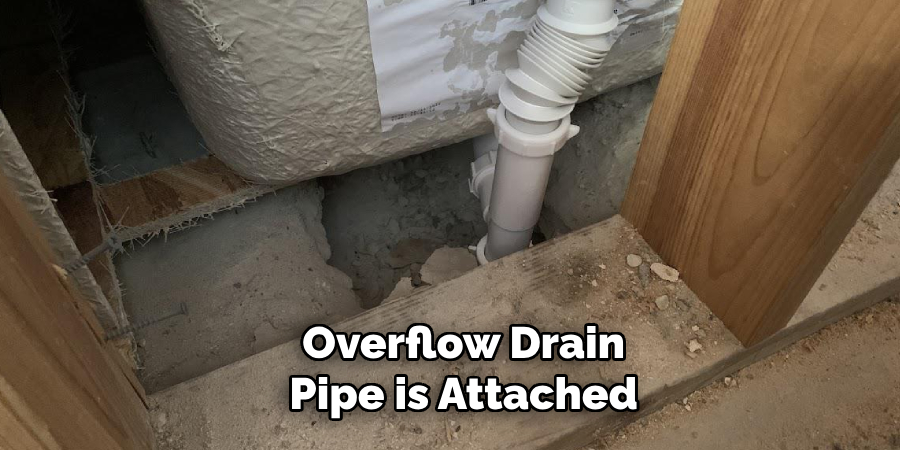
maintain a strong and leak-free seal. Double-check the gasket and other seals to ensure there are no gaps or misalignments.
Step 3: Test for Leaks
After all connections are secure, test the system for leaks. Carefully pour water into the overflow drain opening and observe the connections and gasket for any signs of leakage. If leaks are detected, tighten the affected areas slightly or reapply plumber’s tape as necessary. Addressing any leaks now will ensure a properly functioning overflow system during regular use.
Final Testing and Adjustments
Step 1: Fill the Tub to the Overflow Drain Level
Begin the final testing by filling the tub with water until it reaches the overflow drain opening. This allows you to observe whether the overflow system channels water correctly without any obstructions or irregularities. Ensure the water drains steadily and efficiently through the overflow pipe.
Step 2: Check Under the Tub for Leaks
While the tub is filled to the overflow level, use a flashlight to inspect the area under the tub carefully. Look for drips or signs of moisture around the fittings, pipes, and seals. Even small leaks can cause significant damage over time if left unaddressed.
Step 3: Tighten or Reseal if Necessary
If you detect any leaks during your inspection, take immediate action to resolve them. Tighten the affected fittings slightly to enhance the seal, ensuring not to overtighten. If the leak persists, drain the water and apply additional plumber’s tape or sealant to the connections as required. Once adjustments are made, repeat the test to confirm the system is fully leak-free and operating as intended.
Maintenance Tips for a Long-Lasting Overflow Drain
Regular Cleaning
Regularly clean the overflow plate and surrounding area to keep your overflow drain functioning properly. Use a damp cloth or a mild cleaning solution to wipe away any grime or mineral deposits that can accumulate over time. This prevents debris buildup, which could interfere with the drain’s performance.
Preventing Clogs
Clogs are a common issue that can hinder water flow, so taking preventive measures is essential. Use drain covers to catch hair, soap scum, and other debris before they enter the pipes. Clearing the area around the drain regularly will reduce the risk of blockages and ensure proper drainage.
Inspecting for Leaks Periodically
Make it a habit to check for leaks under the tub every few months. Inspect the pipes, fittings, and seals for any early signs of moisture or damage. Addressing minor issues promptly will help you avoid costly repairs down the line.
Conclusion
Learning how to install overflow drain in tub is essential for maintaining a functional and efficient plumbing system. The process includes key steps like removing the old drain, installing the new gasket and plate, connecting the pipes securely, and testing for leaks to ensure proper functionality. A correctly installed overflow drain prevents water damage and protects your home. Regular maintenance such as cleaning, inspecting for leaks, and preventing clogs is crucial to maximize its lifespan. By following these guidelines, you can ensure long-lasting performance and peace of mind for years to come.

