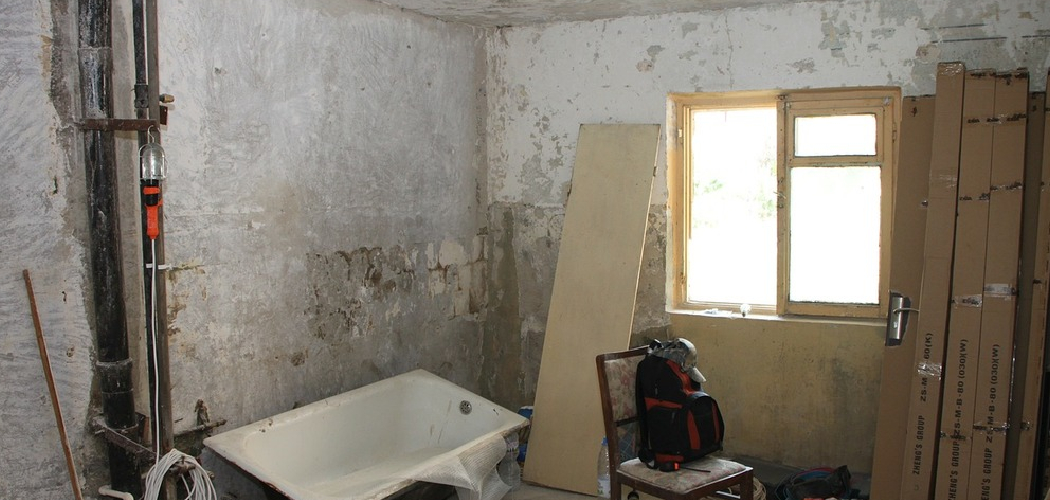
The process of roughing in a bathtub is a critical first step in ensuring a smooth and successful installation. It involves preparing the plumbing system, drain lines, and the surrounding framing to create a suitable foundation for the bathtub. Proper rough-in work is essential as it ensures the bathtub installation will be secure, functional, and free from leaks, while also aligning with building codes and the manufacturer’s specifications.
Neglecting this step can lead to costly repairs, inefficient drainage, or structural issues over time. This article aims to provide homeowners and DIY enthusiasts with a clear, step-by-step guide on how to rough in a bathtub. By following these instructions, you can confidently complete this crucial task and prepare your space for a perfect bathtub installation.
Planning the Rough-In
Choosing the Right Location
Selecting the right location for your bathtub is essential to ensure functionality and comfort. Start by evaluating the overall bathroom layout and identifying ideal spots in relation to wall studs and existing plumbing access points. This helps minimize the need for extensive modifications while providing sufficient structural support. Also, consider practicalities, such as leaving enough clearance for comfortable tub use and accessibility for maintenance.
Checking Building Codes and Permits
Understanding local building codes and obtaining necessary permits are crucial steps in the rough-in process. Many areas have specific requirements regarding the placement of drains, venting configurations, and even the type of materials used. Adhering to these regulations not only ensures a compliant installation but also avoids costly fines or issues during inspections. For large-scale plumbing changes, acquiring permits may also be legally mandated.
Measuring for Proper Fit
Accurate measurements are the foundation of a successful bathtub installation. Start by measuring the tub’s dimensions and comparing them to the available space in your bathroom. Pay close attention to the placement of plumbing connections, such as the drain and water lines, ensuring they align perfectly with the tub’s design. Mark these locations as well as any framing adjustments needed for a snug and secure fit. Proper planning at this stage significantly reduces complications during installation.
Gathering Tools and Materials
Before beginning the bathtub installation, it is essential to have the right tools and materials on hand to ensure a smooth and efficient process.
Essential Tools
- Measuring tape
- Level
- Pipe wrench
- Drill and saw
- Plumber’s tape (Teflon tape)
- Screwdriver

Each of these tools plays a crucial role in tasks such as precise measuring, cutting and securing pipes, and ensuring tight, leak-free connections.
Required Materials
- Drain and overflow kit
- P-trap and PVC pipes
- Copper, PEX, or PVC water supply lines
- Wood framing materials
- Pipe fittings and connectors
These materials are necessary to build a proper drainage and water supply system while ensuring the bathtub is safely secured in place. Inspect these items beforehand to ensure they are the correct size and compatible with your setup.
Safety Considerations
Always prioritize safety during installation. Begin by shutting off the main water supply to avoid leaks or flooding. When cutting pipes or using power tools, wear protective gear such as gloves and safety goggles to minimize the risk of injury. Careful handling of tools and materials will not only guarantee personal safety but also contribute to an easier and more successful installation process.
Framing the Bathtub Area
To ensure a secure and stable installation, proper framing of the bathtub area is essential. Follow these steps to create a sturdy framework for your tub.
Step 1: Marking the Stud Locations
Begin by marking the position of the bathtub on the floor and the surrounding walls. Use a measuring tape to carefully assess and outline where the tub will sit, ensuring accuracy.
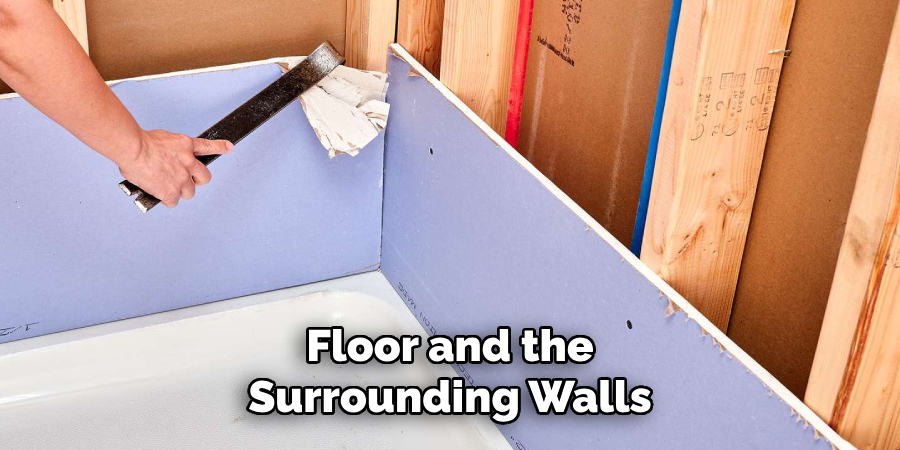
Next, identify and mark the stud locations within the walls. Proper spacing between the studs is crucial to provide the necessary support for the tub and any additional framing components.
Step 2: Constructing a Support Frame (if required)
Certain bathtub models, especially heavier ones, may require additional wooden framing for increased stability. Using 2×4 lumber, build support ledges along the walls where the tub will rest. These ledges should align with the tub’s rim and provide a solid surface to hold its weight when filled with water. Securely fasten the framing components to the studs using screws or other appropriate fasteners. This support frame helps prevent shifting or wobbling during use.
Step 3: Installing the Ledger Board (if applicable)
For alcove bathtub installations, a ledger board may be needed to support the back edge of the tub. Measure and attach the ledger board to the wall at the correct height indicated by the manufacturer’s specifications. Use a level to ensure it is perfectly horizontal before securing it with screws. A properly installed ledger board provides critical support and ensures the tub remains even and stable.
How to Rough in A Bathtub: Roughing in the Drain and Overflow
Properly roughing in the drain and overflow is crucial for a leak-free and functional bathtub installation. Follow these steps to align and secure the drainage system effectively.
Step 1: Positioning the Drain Pipe
Begin by aligning the bathtub’s drain hole with the floor drain opening. Adjust the drain pipe height as needed to match the bathtub’s P-trap. This ensures a seamless connection and optimizes water flow during drainage.
Step 2: Installing the P-Trap
Next, secure the P-trap to the main drain line. Ensure the correct slope is maintained, typically a 1/4-inch drop per foot, to facilitate proper drainage. Use PVC cement or compression fittings to create a watertight and secure connection, preventing leaks and ensuring a reliable system.
Step 3: Installing the Overflow Pipe
Attach the overflow drain pipe to the bathtub’s overflow opening. Securely connect it to the main drain assembly,
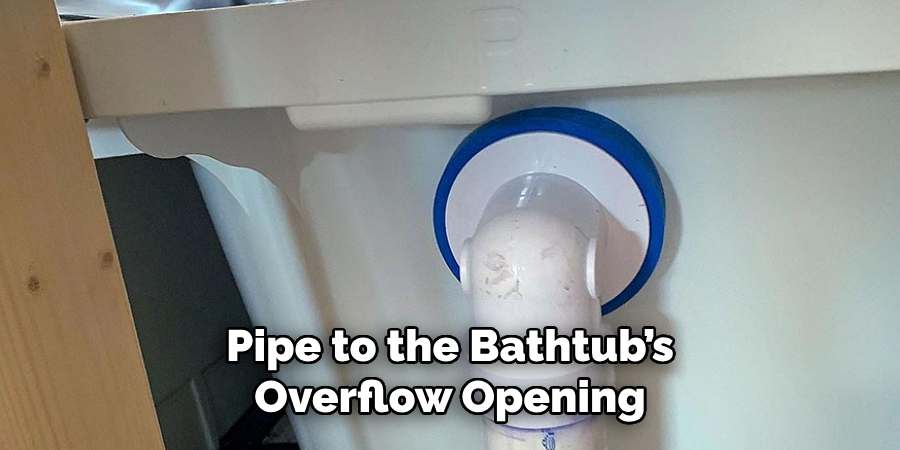
following all manufacturer guidelines and local plumbing codes. This step is essential to prevent water overflow in case the tub fills beyond capacity.
Step 4: Checking for Proper Alignment
Once all drain components have been installed, dry fit the bathtub into place. Carefully verify that all connections align correctly, ensuring there is no undue stress or misalignment in the pipes. Make any necessary adjustments at this stage to prevent future leaks or drainage issues.
By carefully following these steps, the bathtub’s drainage system will be properly prepared, ensuring efficient water flow and preventing potential issues down the line.
Testing the Plumbing Before Installing the Tub
Thorough testing of the plumbing system before permanently placing the bathtub is crucial to ensure a leak-free and properly functioning setup.
Step 1: Pressure Testing Water Supply Lines
Begin by turning on the water supply and inspecting all supply line connections for leaks. Pay close attention to fittings, joints, and seals. If any leaks are detected, tighten the fittings as needed or apply plumber’s tape to create a watertight seal. Ensuring the water supply lines are secure at this stage prevents complications once the bathtub is installed.
Step 2: Checking Drain Connections
Pour a small amount of water into the bathtub drain to test the connections. Carefully observe for any leaks at joints, such as the P-trap and other fittings. Additionally, monitor that water flows smoothly through the P-trap without blockages or pooling. Proper drainage performance is critical for the long-term reliability of the bathtub.
Step 3: Adjusting for Any Issues
If any leaks or misalignments are found during testing, address them immediately. Reapply pipe sealant to connections and ensure all fittings are securely tightened. Verify that pipes are correctly fastened to avoid excessive movement, which
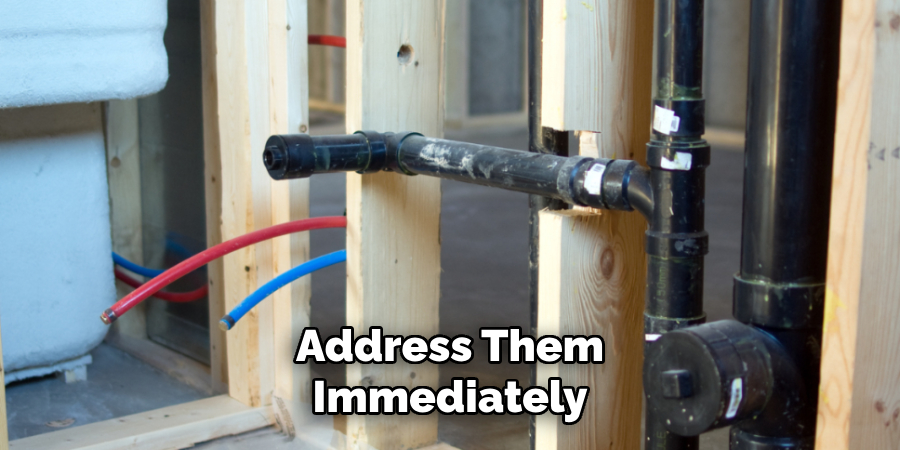
could lead to future wear or leaks. Taking proactive steps now ensures a durable and efficient plumbing system.
Final Preparations Before Tub Installation
Clearing the Work Area
Before proceeding with the tub installation, clear the work area of any debris or construction materials. A clean and unobstructed workspace ensures safety and precision while positioning the tub. Verify that all framing and structural supports for the bathtub are complete and securely in place. This foundation will provide stability and prevent issues after installation.
Confirming Level and Alignment
Using a level, check the floor surface where the tub will be installed to ensure it is even. An uneven surface can cause the bathtub to shift or drain improperly, leading to long-term problems. If needed, adjust by leveling the framing or floor to ensure a perfectly aligned installation.
Ensuring Proper Venting
Finally, inspect the drain system to confirm it has an air vent in place. Proper venting is essential to prevent slow drainage and avoid unwanted odors or pressure buildup in the plumbing system. Address any venting concerns before moving on to the next steps for a reliable and functional setup.
Conclusion
Completing the rough-in stage ensures leak-free plumbing, sturdy framing, and compliance with building codes. By thoroughly following each process step, homeowners can simplify the final tub installation and avoid costly mistakes. From ensuring level alignment to verifying proper venting, attention to detail during this phase reinforces the durability and functionality of the bathroom setup. Testing for leaks before moving forward is a vital step to confirm the reliability of your work. When learning “how to rough in a bathtub,” patience and precision will result in a successful and stress-free installation.

