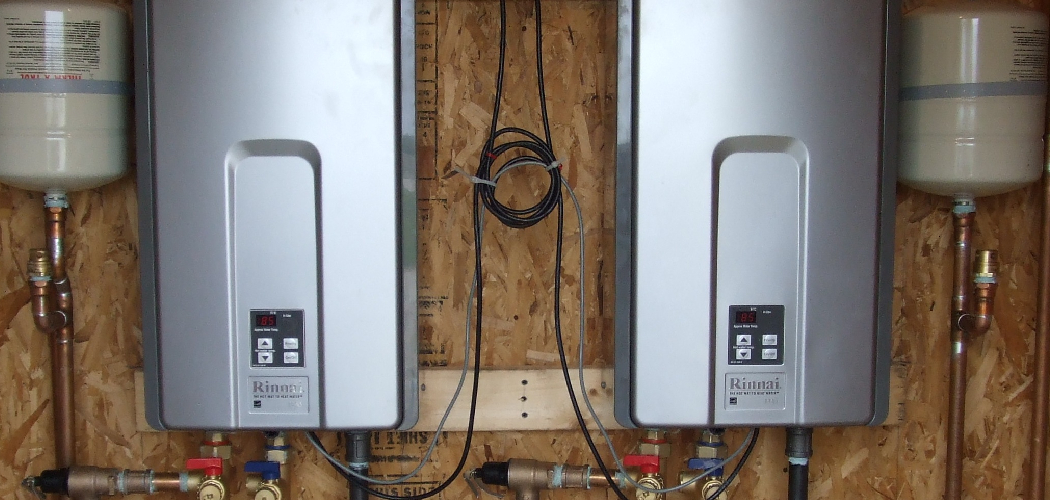
Are you facing the problem of low water pressure or inconsistent hot water supply from your Rinnai tankless water heater? If yes, then it might be time to clean your unit.
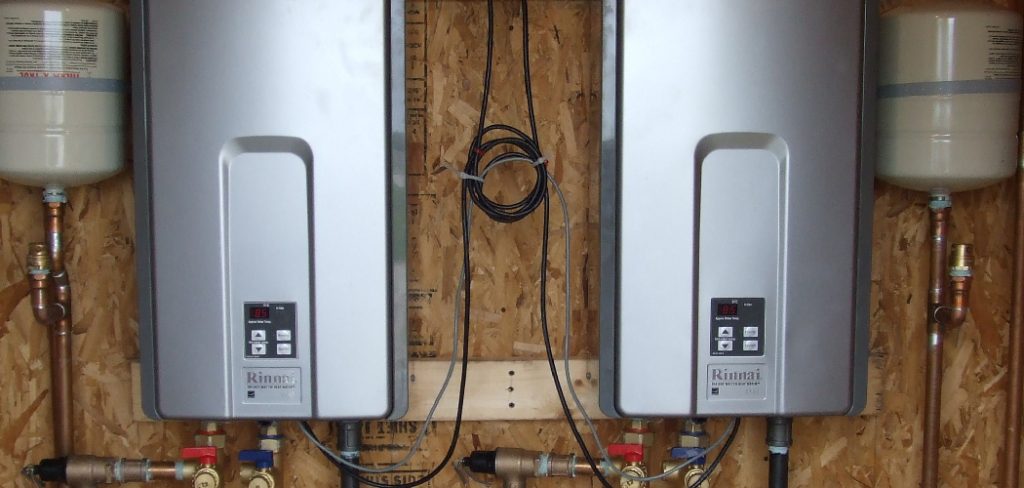
Proper maintenance of your Rinnai tankless water heater is essential to ensure its efficiency and longevity. Over time, mineral deposits and lime scale can build up inside the unit, reducing its performance and potentially leading to costly repairs. Cleaning your tankless water heater regularly helps maintain optimal water flow, improves heating efficiency, and extends the system’s life.
This guide on how to clean rinnai tankless water heater will walk you through the necessary steps to safely and effectively clean your Rinnai tankless water heater, ensuring it operates at its best for years to come.
What Are the Causes of Buildup in Tankless Water Heaters?
Hard water is one of the leading causes of buildup in tankless water heaters. Hard water contains high levels of minerals like calcium and magnesium, which can leave behind deposits inside the unit over time. These deposits can accumulate on heat exchangers, reducing their efficiency and affecting the overall performance of your tankless water heater.
Other factors contributing to buildup include the quality of your home’s plumbing, the age of your tankless water heater, and how often you use it. The more frequently you use your unit, the faster mineral deposits build up.
What Will You Need?
To properly clean your tankless water heater, you will need the following materials:
- Vinegar or another descaling solution
- A large bucket or container
- A submersible pump (optional)
- A garden hose
- Soft brush or cloth
- Screwdriver (if needed for access to internal components)
It is essential to choose a descaling solution that is safe for use with tankless water heaters. Vinegar is a commonly used and practical option, but specific descaling solutions made specifically for tankless units are available at hardware stores. These solutions are often more concentrated and may provide better results.
7 Easy Steps on How to Clean Rinnai Tankless Water Heater
Step 1: Turn Off the Power Supply

Before beginning the cleaning process, you must ensure your safety by cutting off the power supply to your Rinnai tankless water heater. If your unit is electric, switch it off at the circuit breaker. Turn the gas valve to the “Off” position for gas-powered units. This step prevents any accidental injuries or damage to the unit while working on it. Additionally, this ensures that the system is completely deactivated, making it safe to proceed with the descaling and cleaning process. Always double-check that the power or gas supply is entirely off before moving to the next step.
Step 2: Prepare the Descaling Solution
Once the power or gas supply is turned off, gather the necessary materials to prepare the descaling solution. You’ll need a bucket, a descaling agent (specifically designed for water heaters), and a pump for circulation. Follow the instructions provided with the descaling agent to mix the proper ratio of the solution in the bucket. This solution is essential for breaking down and removing mineral deposits that can accumulate within the unit over time. Ensuring the descaling solution is prepared correctly will optimize its effectiveness during cleaning.
Step 3: Connect the Pump and Begin Circulation
Once the descaling solution is prepared, connect the pump to the water heater inlet and outlet. Ensure that the pump is securely attached and that there are no leaks in the system. Place the pump in the bucket containing the descaling solution, allowing it to circulate through the water heater. Turn on the pump and let the solution flow through the unit for the recommended time specified in the descaling agent instructions. This circulation process will help dissolve and flush out the mineral deposits, restoring the efficiency of your water heater.
Step 4: Rinse the System
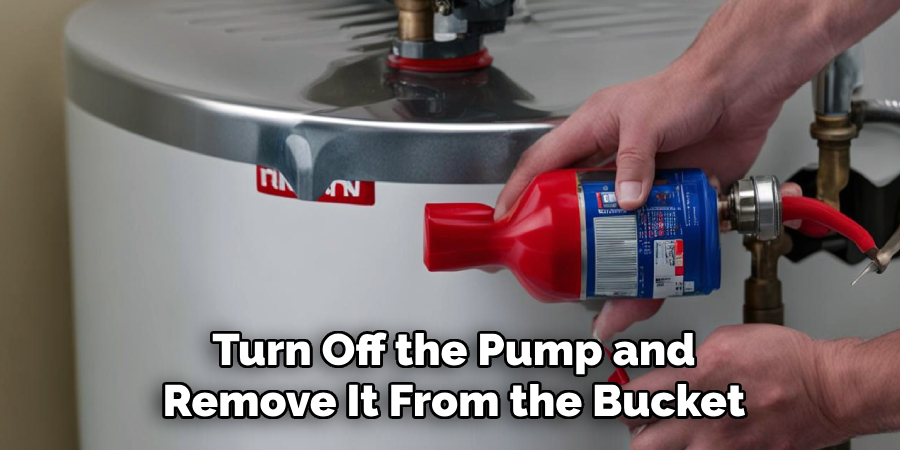
Once the descaling process is complete, turn off the pump and remove it from the bucket. Dispose of the used descaling solution according to the manufacturer’s guidelines. Refill the bucket with clean water and reconnect the pump. Turn on the pump again to flush the system with fresh water, ensuring that any remaining descaling solution is thoroughly rinsed out of the water heater. Repeat this process if necessary until the water runs clear and no residue remains.
Step 5: Reassemble and Test the System
After rinsing the system thoroughly, turn off the pump and disconnect it from the water heater. Reattach all valves, hoses, and connections to their original positions as per the manufacturer’s instructions. Once everything is securely reassembled, restore the power or gas supply to the water heater. Open a hot water faucet to allow the water flow to stabilize and ensure the heater is functioning correctly. Check for any leaks or irregularities, and confirm that the water heater is operating efficiently.
Step 6: Monitor Performance
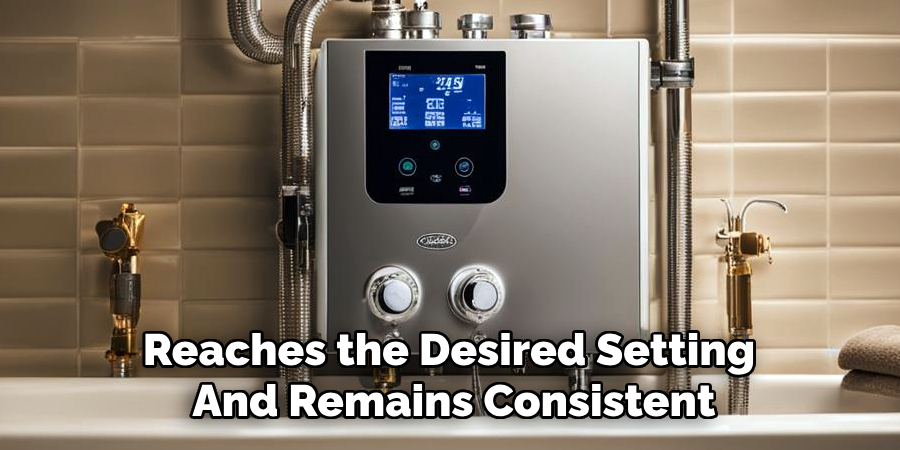
After the water heater has been reassembled and powered on, monitor its performance over the next few hours. Ensure the water temperature reaches the desired setting and remains consistent. Periodically inspect for any signs of leaks or unusual noises, as these may indicate unresolved issues. Regularly reviewing the water heater’s operation ensures it functions efficiently and safely.
Step 7: Schedule Regular Maintenance
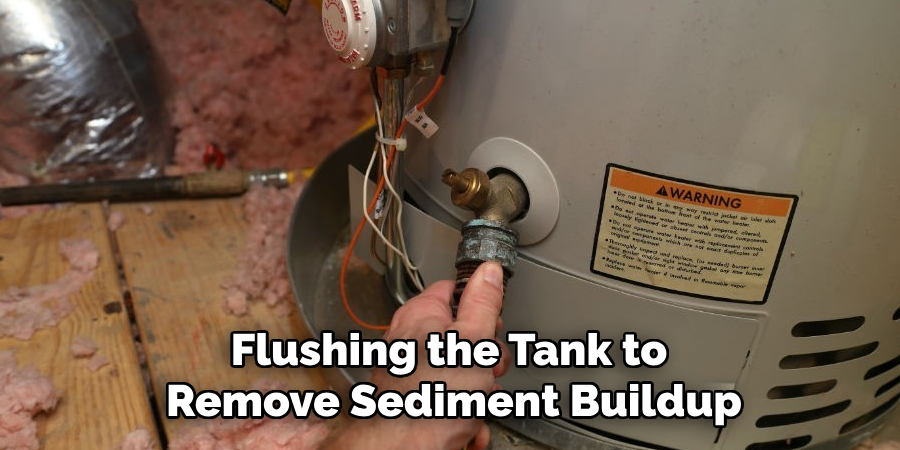
Establish a routine maintenance schedule to extend your water heater’s lifespan and maintain optimal performance. This includes flushing the tank to remove sediment buildup, checking the anode rod for corrosion, and inspecting all connections for wear or leaks. Regular maintenance prevents potential issues and ensures the water heater operates at maximum efficiency, saving energy and reducing costs over time.
By following these simple steps, you can ensure your water heater lasts many years and provides hot water whenever needed.
5 Things You Should Avoid
- Skipping the Manufacturer’s Instructions: Avoid ignoring the guidelines provided in the user manual. Rinnai tankless water heaters have specific cleaning and maintenance instructions, and failing to follow these may lead to improper cleaning or even damage to the unit.
- Using Harsh or Incorrect Chemicals: Never use abrasive cleaners, bleach, or harsh chemicals, as these can corrode internal components and damage the system. Always use cleaning solutions specifically designed for descaling tankless water heaters.
- Neglecting to Turn Off Power and Gas: Ensure you disconnect the power supply and shut off the gas line before cleaning. Attempting to clean the water heater while powered on can be dangerous and may damage the unit.
- Overlooking Regular Maintenance: Skipping routine maintenance, such as descaling and flushing, can lead to mineral buildup inside the unit, reducing efficiency and lifespan. Even if the heater appears to function normally, regular care is essential.
- Improperly Handling Connections and Valves: Avoid applying too much pressure or using inappropriate tools when disconnecting or reconnecting hoses and valves. This could result in leaks or damaged components, which can be costly to repair.
You can ensure longevity and efficient performance by avoiding these common mistakes and properly maintaining your water heater.
How to Clean the Filter on a Rinnai Tankless Water Heater?
Cleaning the filter on your Rinnai tankless water heater is an essential maintenance task that should be performed regularly to ensure optimal performance and longevity. Here are some simple steps to guide you through the process:
- Turn off the Power: Before starting any maintenance task, turning off the power supply to your tankless water heater is crucial. This step will prevent any accidents or malfunctions during cleaning.
- Locate the Filter: The filter on a Rinnai tankless water heater is usually behind a small access panel on the front of the unit. You can refer to your owner’s manual for specific instructions for your model.
- Remove the Filter: Once you’ve located the filter, carefully remove it from its housing. Using a screwdriver, if the filter is tightly secure,d may be helpful.
- Clean the Filter: Gently clean any debris or buildup from the filter using a soft brush or cloth. Pay special attention to any clogs or residue accumulated over time.
- Rinse and Replace: After cleaning, rinse the filter with warm water and dry it off before placing it back in its housing. Make sure it is securely in place before proceeding.
- Check for Other Maintenance Needs: While you can access your tankless water heater, checking for any other maintenance needs is a good idea. This could include checking and replacing the anode rod, flushing out mineral deposits, or inspecting the heat exchanger.
With regular maintenance, your tankless water heater can provide reliable and efficient hot water for years to come.
Conclusion
Regular maintenance of your Rinnai tankless water heater is essential to ensure its longevity and optimal performance.
By following the outlined steps on how to clean rinnai tankless water heater—shutting off power and water, flushing the system, cleaning the filter, and inspecting for any additional maintenance needs—you can prevent build-up and avoid costly repairs. Taking the time to perform these tasks at least once a year will improve efficiency and guarantee a steady supply of hot water for your household.
Keep your unit in excellent condition, and it will continue to serve you reliably for many years.

