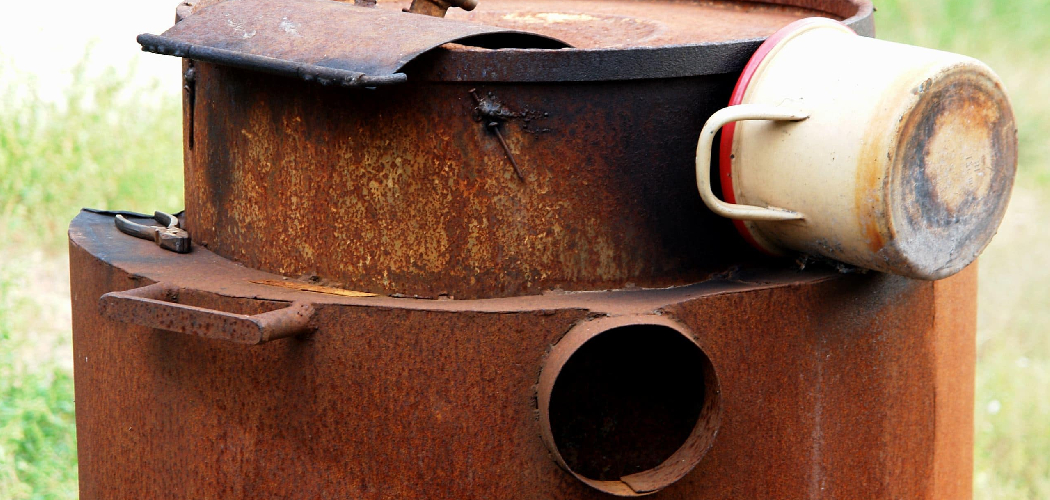
Are you planning to replace your old water heater? If yes, you must wonder how to dispose of the old one.
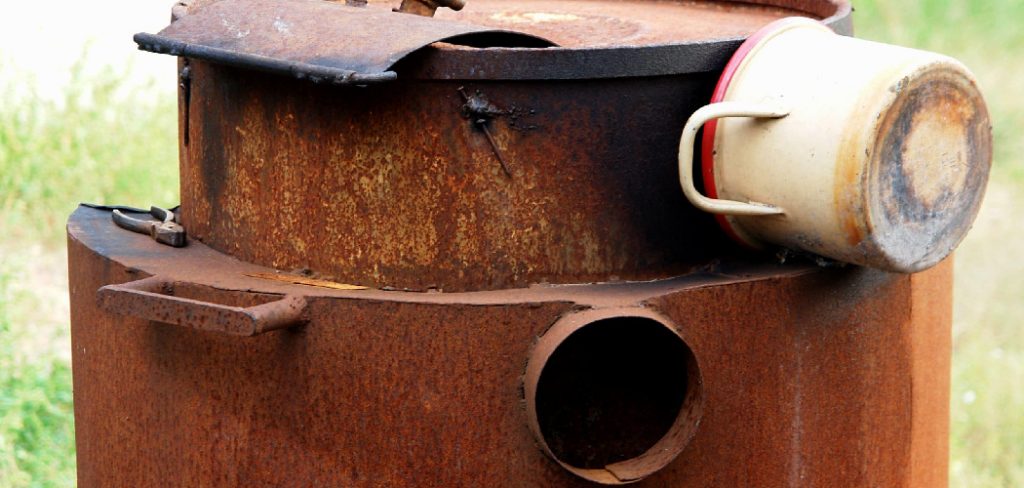
Properly disposing of an old water heater is essential to ensure environmental safety and compliance with local regulations. Whether replacing a malfunctioning unit or upgrading to a more energy-efficient model, understanding the disposal process can save time and effort. Water heaters are large, heavy appliances that often contain materials like metal, glass, and insulation, which can be recycled, as well as potentially hazardous components that require careful handling.
This guide on how to dispose of old water heater will walk you through the steps and options available to dispose of your old water heater responsibly. Let’s get started!
What Are the Causes of Water Heater Disposal?
You may need to dispose of your old water heater for several reasons. Some common causes include:
- Age and Wear: With regular use, water heaters can show signs of wear and tear after 10-15 years. If your water heater is reaching the end of its lifespan, consider replacing it with a newer, more efficient model.
- Damage or Malfunction: Sometimes, accidents happen, or components within the water heater can break down over time. In these cases, repairing the water heater may not be feasible, and disposal may be necessary.
- Upgrading for Energy Efficiency: As technology advances, newer models of water heaters are becoming more energy-efficient, which can save you money on your utility bills in the long run. If you have an older model, it may be worth upgrading to a more efficient one.
- Changing Household Needs: If your household needs have changed, such as adding more family members or using more hot water appliances, it may be time to upgrade to a larger capacity water heater. This will ensure enough hot water for everyone’s needs without overworking the unit.
- Environmental Impact: Older models of water heaters are not typically environmentally friendly and contribute to greenhouse gas emissions. Upgrading to a newer, more eco-friendly model can help reduce your carbon footprint and help protect the environment.
What Materials Will You Need?
- Water Heater: Of course, the main component you will need is a water heater. As mentioned earlier, choosing a model that fits your household size and needs is essential.
- Plumbing Supplies: Depending on the type of water heater you choose, you may also need some plumbing supplies. This could include pipes, fittings, valves, and other necessary materials for installation.
- Tools: To install a water heater, you will likely need various tools, such as wrenches, pliers, screwdrivers, and possibly even a drill. Make sure to have these handy before beginning the installation process.
- Safety Equipment: It’s always important to prioritize safety when working with any appliance. Make sure to have safety glasses, gloves, and a mask on hand for protection.
- Permits and Codes: Depending on where you live, you may need to obtain permits and adhere to local building codes when installing a water heater. Check with your local government or utilities department to ensure you follow all necessary regulations.
8 Easy Steps on How to Dispose of Old Water Heater
Step 1: Turn Off Power and Water Supply:
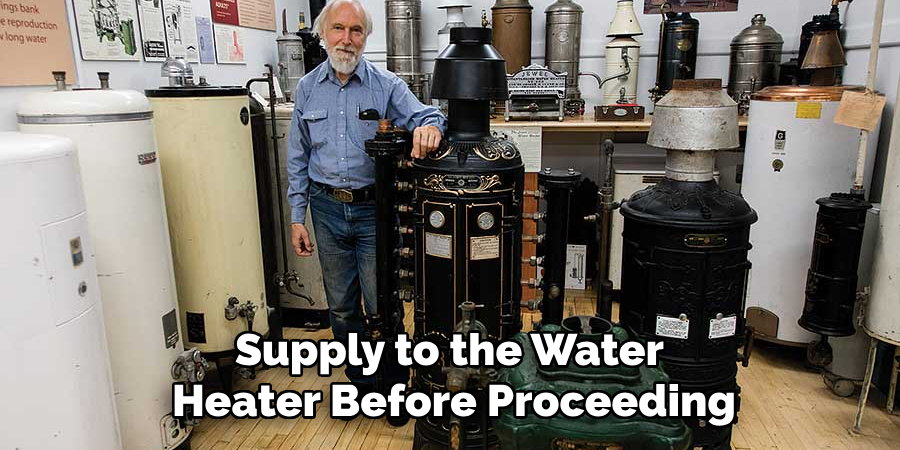
Ensure to completely turn off the power supply to the water heater before proceeding. If your water heater is electric, locate the circuit breaker in your home’s electrical panel and switch it off. For gas water heaters, turn the gas supply valve to the ‘off’ position. Additionally, shut off the water supply by closing the cold water inlet valve that supplies water to the tank. This step is crucial to ensure safety and prevent accidents, such as electrical shocks or leaks, as you work on removing the old water heater. Double-check that both the power and water supply are securely turned off before moving to the next step.
Step 2: Drain the Water Heater
Once the power and water supply are turned off, the next step is to drain the water heater. Connect a garden hose to the drain valve located at the bottom of the water heater tank. Place the other end of the hose in a suitable drainage location, such as a floor drain or outside area. Open the drain valve and allow the water to flow out of the tank. To speed up the draining process, open a hot water faucet in your home to release the vacuum and allow air to enter the tank. Ensure the tank is completely emptied before proceeding to the next step.
Step 3: Flush the Tank
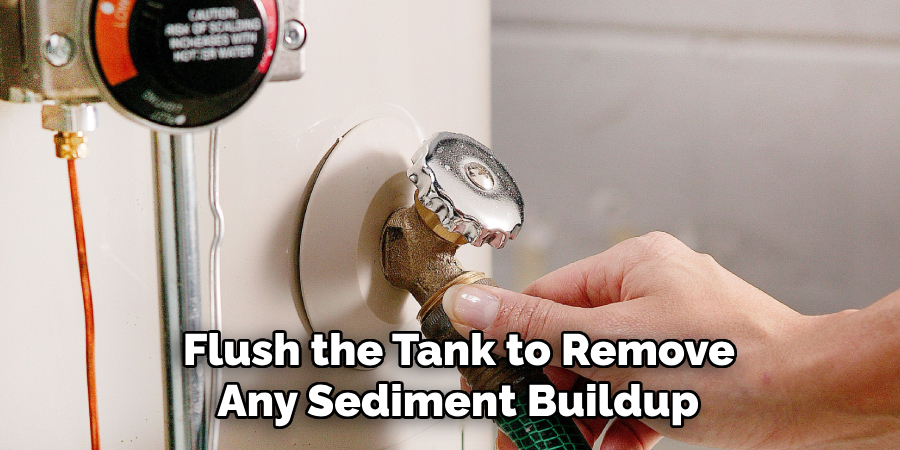
Once the water heater is fully drained, flush the tank to remove any sediment buildup. Close the drain valve temporarily and turn on the cold water supply to allow water to flow into the tank. After a few minutes, open the drain valve again to release the water. Repeat this process until the water exiting the tank runs clear, indicating that the sediment has been effectively removed. Shut off the cold water supply and close the drain valve once flushing is complete.
Step 4: Refill the Tank
Once the flushing process is complete, ensure the drain valve is securely closed. Turn on the cold water supply to refill the tank. Open a hot water faucet in your home to allow any trapped air to escape from the system as the tank fills. Once a steady stream of water flows from the faucet without air sputtering, close the faucet. This step ensures the water heater is properly filled and ready for operation.
Step 5: Restore Power or Gas Supply
After the tank is filled with water, restore power to the water heater if it is electric by switching the circuit breaker back on. For gas water heaters, turn the gas valve back to the “On” position and relight the pilot if necessary, following the manufacturer’s instructions. Allow the water heater some time to heat the water to the desired temperature before use. Ensure the thermostat is set to an appropriate and energy-efficient temperature, typically around 120°F (49°C).
Step 6: Check for Leaks
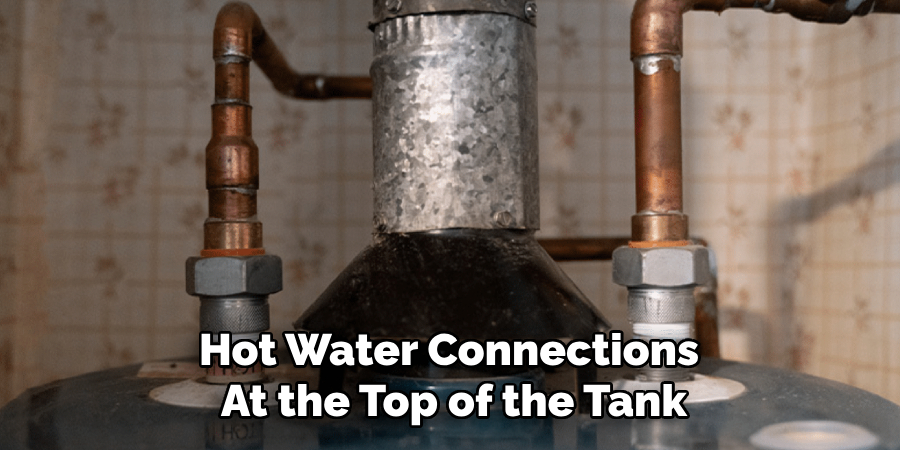
Once the water heater is operational, inspect all connections, valves, and the surrounding area for any signs of leaks. Pay special attention to the drain valve and the cold and hot water connections at the top of the tank. Tighten the connections if any leaks are detected or consult a professional for assistance. Ensuring there are no leaks helps maintain efficiency and prevents potential water damage.
Step 7: Insulate the Water Heater
Consider insulating your water heater to improve energy efficiency and reduce heat loss. Use an insulating blanket or jacket designed for water heaters, ensuring it fits securely around the tank without covering critical components, such as the thermostat and access panels. Additionally, the hot water pipes extending from the heater should be insulate to minimize heat loss further. Proper insulation can help lower energy costs and prolong the lifespan of your water heating system.
Step 8: Keep Your Water Heater Maintained
Regular maintenance is crucial to keeping your water heater operating efficiently and extending its lifespan. Begin by flushing the tank annually to remove sediment buildup that can reduce heating efficiency and lead to corrosion. To do this, turn off the power or gas supply to the unit, attach a garden hose to the drain valve, and drain the water into a safe outdoor area. Once the tank is empty, fill it halfway with fresh water to stir up any remaining sediment, then drain it before refilling completely.
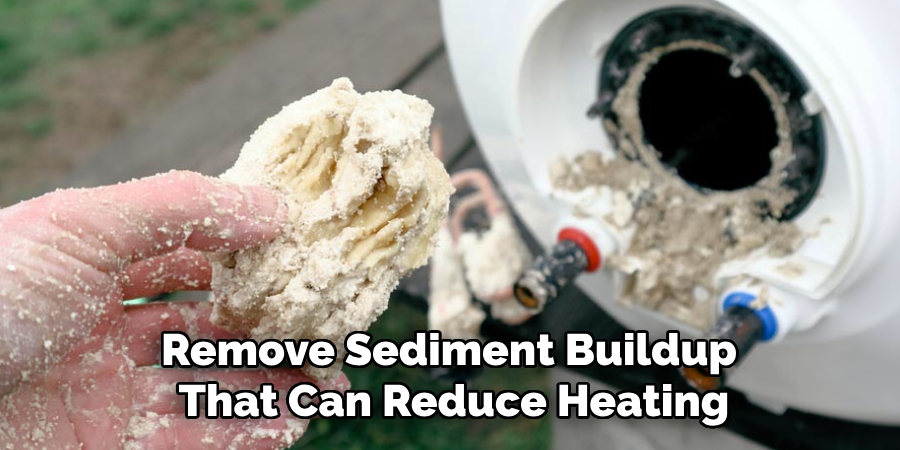
By following these simple maintenance steps, you can prolong the life of your water heater and avoid costly repairs or replacements.
5 Things You Should Avoid
- Dumping It in Regular Trash
Avoid disposing of your old water heater in the regular household trash. This is not only environmentally harmful but also often illegal, as water heaters contain materials like metal and insulation that need proper recycling or disposal.
- Leaving It Outdoors
Do not leave your old water heater sitting outside in your yard or on the curb for extended periods. Exposure to the elements can cause rust and contamination, making proper disposal or recycling even more difficult.
- Disassembling It Without Proper Knowledge
Attempting to dismantle a water heater yourself can be dangerous if you are unfamiliar with the components. These units can contain pressurized tanks, sharp edges, and potentially hazardous materials.
- Ignoring Local Disposal Regulations
Every area has specific rules and regulations regarding the disposal of appliances, including water heaters. Failing to comply with these guidelines can result in fines and unnecessary complications.
- Pouring Tank Residue Down the Drain
When emptying the water heater before disposal, avoid pouring any residual water or sediment directly into storm drains or household sewage systems. These materials may contain contaminants that can harm local water supplies.
Conclusion
Properly disposing of an old water heater is vital in maintaining environmental safety and complying with local regulations.
Always start by checking with your local recycling center or waste management services for specific guidelines regarding large appliance disposal. Many municipalities offer bulk pick-up services or designated drop-off locations for old water heaters. Alternatively, consider contacting scrap metal recyclers, as water heaters often contain valuable materials that can be repurposed. If replacing your water heater with a new one, inquire whether your installation service includes removing and disposing the old unit.
Hopefully, the article on how to dispose of old water heater has provided you with useful information and options for responsibly getting rid of your old unit.

