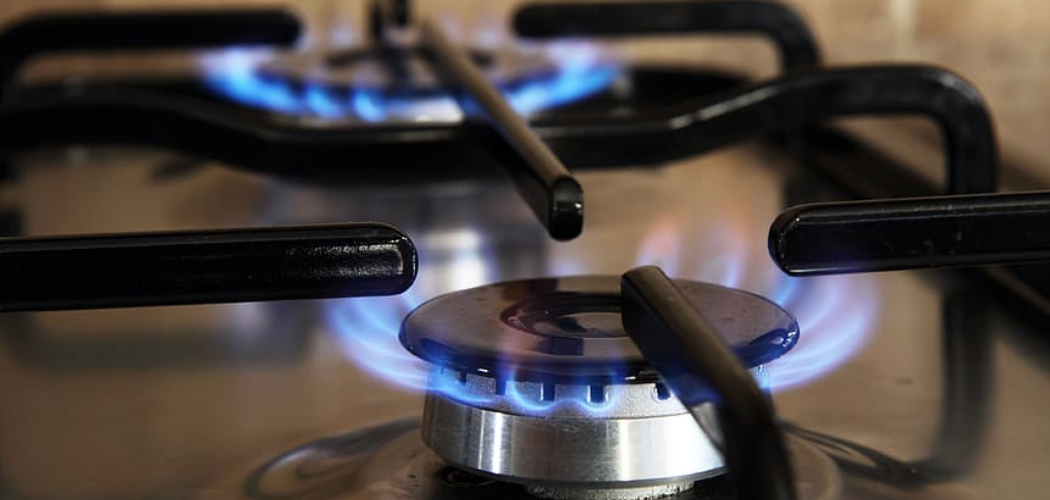
Are you wondering how to clean your gas heater burners? Don’t worry, it’s easier than you think!
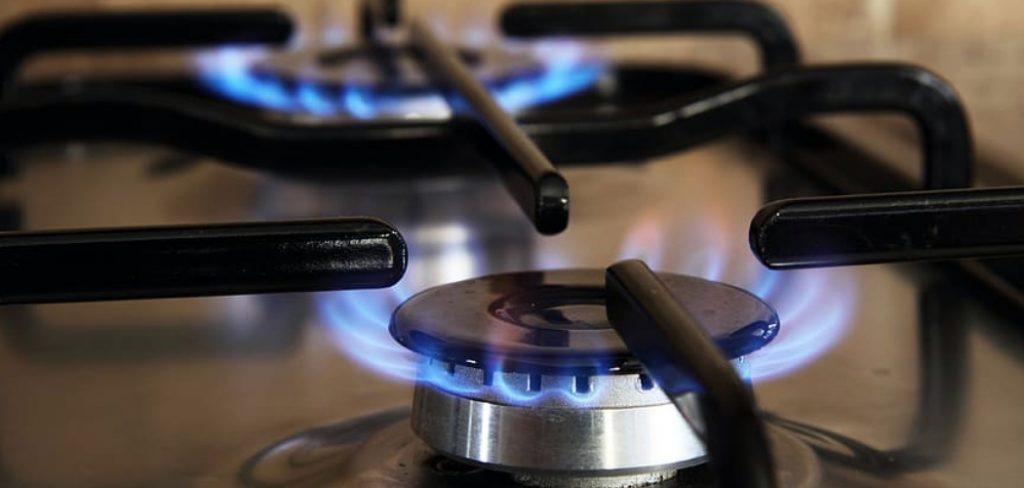
How to clean gas heater burners is an essential maintenance task to ensure your heating system operates efficiently and safely. Over time, dirt, dust, and debris can accumulate on the burners, leading to reduced performance, uneven heating, or potential safety hazards. By regularly cleaning the burners, you can extend the lifespan of your heater, maintain optimal energy efficiency, and prevent costly repairs. A clean gas heater can also improve indoor air quality, making your home a more comfortable and healthy environment for you and your family.
This guide will walk you through the steps to properly clean your gas heater burners, ensuring a warm and comfortable home throughout the colder months.
What Are the Benefits of Cleaning Your Gas Heater Burners?
Regularly cleaning your gas heater burners offers numerous benefits, including:
- Improved Energy Efficiency: When your burners are clogged with dirt and debris, they cannot function properly, resulting in wasted energy. By keeping them clean, you can ensure that your heater is running at its highest efficiency, saving you money on your energy bills.
- Longer Lifespan of Your Heater: A well-maintained gas heater can last up to 20 years or more. By regularly cleaning the burners, you can prevent damage and extend the lifespan of your unit.
- Reduced Risk of Safety Hazards: Gas heaters rely on combustion to generate heat, which means there is always a risk of fire or carbon monoxide poisoning. Regularly cleaning your heater can prevent these safety hazards and provide peace of mind.
- Improved Indoor Air Quality: Dirt, dust, and debris can build up in your gas heater over time and circulate through your home, lowering the air quality. By keeping your unit clean, you can improve the air quality in your home and create a healthier living environment for you and your family.
What Will You Need?
To clean your gas heater, you will need the following materials:
- A soft cloth or sponge
- Mild soap or detergent
- Vacuum cleaner with attachments
- Screwdriver (if necessary)
Once you have gathered all of these materials, you can begin the cleaning process.
8 Easy Steps on How to Clean Gas Heater Burners
Step 1: Turn off the Gas
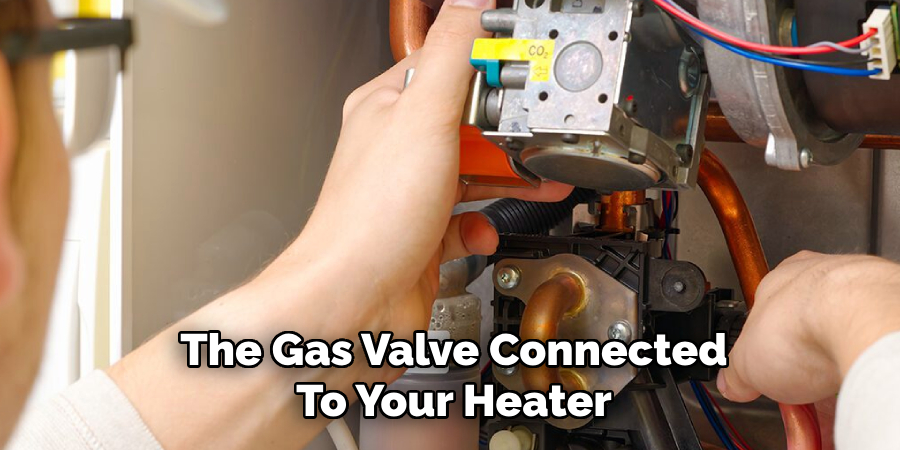
Before starting any cleaning process, safety should always come first. Locate the gas valve connected to your heater and turn it off completely to ensure no gas flows through the system while you work. This step is crucial to reduce the risk of leaks or accidents. You may also want to turn off the heater’s power supply if it has an electrical component. Double-check that the gas has been shut off by attempting to turn on the heater; it should not ignite or produce flames if it is properly turned off. Once you’re sure the system is safe, you can confidently proceed to the next steps.
Step 2: Remove the Heater Panel
Locate the access panel on your heater, which is typically secured with screws. Using an appropriate screwdriver, carefully remove the screws and set them aside in a safe place. Gently detach the panel and place it nearby, ensuring it won’t be damaged or obstruct your workspace. This will expose the heater’s internal components, allowing you to inspect and clean them as needed. Take care not to force the panel off, as this could damage the unit or its attachments.
Step 3: Inspect the Internal Components
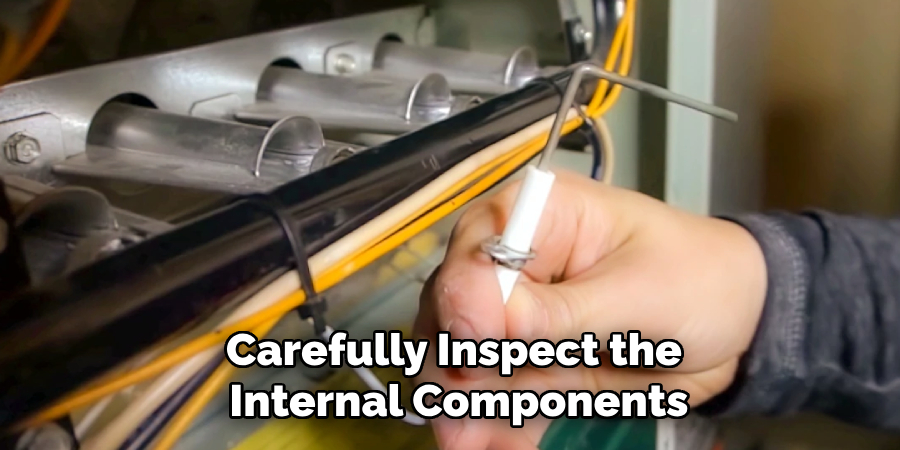
With the panel removed, carefully inspect the internal components of the heater. Look for any signs of wear, dust, or debris that may have accumulated over time. Pay particular attention to areas like the heating elements, the fan, and the vent pathways. If you notice any damaged or excessively dusty components, clean or replace them as necessary. Use a soft brush or cloth for dust removal, and avoid using water or harsh chemicals, as these may harm the heater’s functionality. Always handle the components gently to prevent unintended damage.
Step 4: Test the Heater
Once you have inspected and cleaned the necessary components, it’s time to test the heater to ensure it is functioning correctly. Reassemble any parts you may have removed during inspection and cleaning, ensuring everything is securely in place. Plug the heater back into a power source and turn it on. Verify that the heater powers on without unusual noises, odors, or inconsistent performance. Monitor the output to ensure it produces heat uniformly and that the fan operates smoothly, if applicable. If any issues persist, consult the manufacturer’s manual or consider seeking professional assistance to address the problem.
Step 5: Perform Regular Maintenance
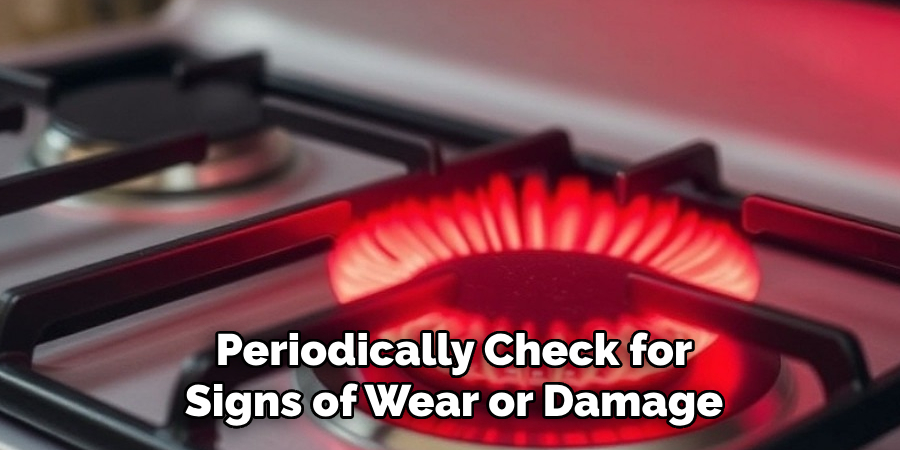
To keep your heater functioning efficiently, establish a regular maintenance routine. Clean the exterior and vents to prevent dust buildup, and periodically check for signs of wear or damage, such as frayed cords or loose components. Replace filters if your heater model includes them, as clogged filters can reduce performance and air quality. Staying proactive with maintenance will extend the lifespan of your heater and ensure it continues to operate safely and effectively.
Step 6: Ensure Proper Ventilation
In addition to regular maintenance, ensuring proper ventilation for your heater is important. This includes ensuring enough space around the heater for air to circulate and not blocking any vents or exhaust pipes.
It is also essential to regularly check and clean any ducts or pipes connected to your heater. Over time, these can become clogged with dust and debris, hindering the efficiency of your heating system.
Not only does proper ventilation help maintain the performance and longevity of your heater, it also ensures safe operation. Blocked vents or exhaust pipes can lead to carbon monoxide buildup, which can be extremely dangerous.
Step 7: Consider Upgrading to a More Energy-Efficient Model
If your current heater is outdated or struggling to meet your heating needs efficiently, it may be time to consider upgrading to a newer, more energy-efficient model. Modern heating systems are designed with advanced technology to optimize energy use, which can result in significant cost savings on your utility bills over time. Additionally, newer models often come equipped with safety features, smart thermostats, and eco-friendly options—reducing your carbon footprint while improving overall performance.
Step 8. Keep Learning and Maintaining Your System

After upgrading to a new heating system, it’s essential to continue learning about proper maintenance and upkeep. Regularly scheduled maintenance can extend the life of your system and ensure it continues to operate efficiently. Schedule annual inspections with a qualified technician who can identify any potential issues before they become major problems. This will not only save you from unexpected breakdowns but it can also prevent costly repairs down the line.
By following these steps and regularly maintaining your heating system, you can ensure it continues to provide reliable warmth for years to come.
5 Things You Should Avoid
- Using Water to Clean Burners
Avoid using water or any liquid cleaners directly on the gas heater burners. Moisture can cause rust and corrosion, affecting their functionality and lifespan. Instead, use a dry cloth or a brush designed for this purpose.
- Skipping the Power Shut-Off Step
Never clean the burners without first turning off the gas supply and power to the heater. Cleaning while the system is active can lead to accidents or gas leaks, posing serious safety risks.
- Using Abrasive Tools or Harsh Chemicals
Avoid using abrasive scrubbing pads or harsh chemical cleaners, as these can damage the burner surface or leave residues that may interfere with its operation. Stick to soft brushes and mild cleaning agents if necessary.
- Ignoring Manufacturer Instructions
Do not disregard the guidance provided in the heater’s user manual. Manufacturer instructions often highlight specific cleaning techniques or precautions essential for safe and effective maintenance.
- Neglecting Regular Maintenance
Cleaning the burners sporadically or only when there’s a problem can lead to decreased efficiency and potential hazards. Avoid waiting too long between cleanings, and establish a regular maintenance schedule to keep the burners in top condition.
How to Flush a Gas Heater?
Periodic flushing of a gas heater is necessary to remove mineral deposits and sediments that can build up over time, affecting the efficiency and overall performance of the heater. Follow these steps to flush your gas heater properly:
- Turn off the gas supply and allow the water in the tank to cool down before starting.
- Connect a garden hose to the drain valve at the bottom of your water heater and run it outside or into a bucket.
- Open all hot water taps in your house to help speed up draining.
- Slowly open the drain valve and let all the water in the tank drain out completely. Use caution, as the water may still be hot.
- Once the water has drained out, close the drain valve and remove the garden hose.
- Turn on the gas supply and refill the tank with cold water. You can now turn on your hot water taps to release any air trapped in the lines.
- Finally, relight the pilot according to your heater’s specific instructions.
Conclusion
How to clean gas heater burners is an essential maintenance task that ensures your heater operates efficiently and safely.
By regularly removing dirt, debris, and buildup from the burners, you can prevent malfunctions and extend the lifespan of your unit. Always follow safety precautions, such as turning off the gas and power supply, and consult your manufacturer’s manual for specific instructions.
Proper cleaning enhances performance and reduces the risk of hazards, giving you peace of mind and reliable heating during colder months.

