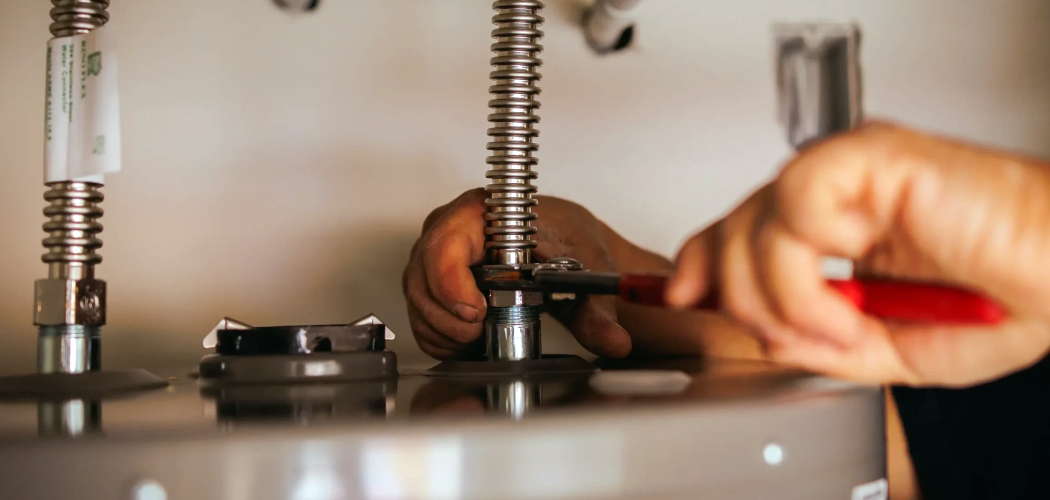
Are you in need of a hot shower, but your water heater is not working? Don’t worry; fixing a water heater can be a simple process.
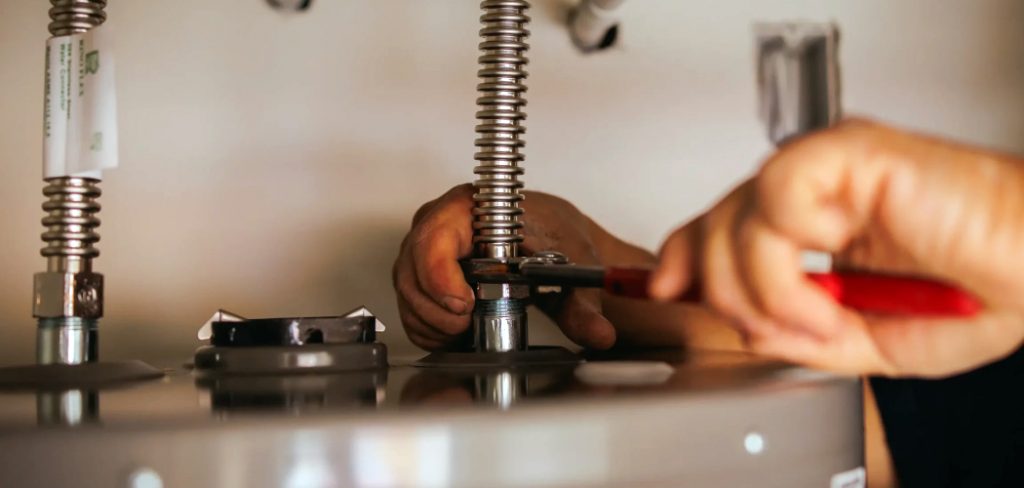
How to fix water heater can seem like a daunting task, but with the right guidance and tools, it’s often simpler than expected. Whether it’s a lack of hot water, strange noises, or leaks, understanding the basics of troubleshooting can save time and money. This guide will walk you through common water heater issues and provide step-by-step instructions to help you resolve them safely and efficiently. Before beginning any repairs, it’s crucial to prioritize safety by turning off the water heater’s power supply and water source.
With patience and careful attention, many water heater problems can be addressed without needing professional intervention.
What Are the Causes of Common Water Heater Issues?
There are several reasons why your water heater may be experiencing problems. These can range from simple issues that can be quickly resolved to more complex and potentially dangerous situations that require professional assistance.
- Sediment Buildup: Over time, minerals in the water supply can accumulate at the bottom of the tank, forming a layer of sediment. This sediment can cause clogs and reduce the efficiency of your water heater.
- Faulty Heating Element: The heating element creates hot water in your tank. If it becomes damaged or malfunctions, it can result in no hot water or inconsistent temperatures.
- Corrosion: As with any appliance that deals with water, corrosion is always a risk. If the inside of your water heater tank becomes corroded, it can lead to leaks and potentially cause damage to your home.
- Thermostat Issues: The thermostat in your water heater regulates the water temperature. You may experience inconsistent temperatures or no hot water if it is not working correctly.
- Age: Like any appliance, your water heater has a lifespan and will eventually need to be replaced. As it ages, it may start experiencing more issues and become less efficient.
What Will You Need?
To address these common water heater problems, you will need:
- A bucket or large container to catch any water that may leak during repairs
- Towels or rags for cleaning up spills and drying the area
- A wrench or pliers for tightening loose connections
- Replacement parts such as heating elements, thermostats, or valves (if necessary)
- Use safety gear such as gloves and eye protection when working with hot water and electrical components
- A multimeter to test electrical connections (if needed)
- And most importantly, the manual for your specific make and model of water heater. This will provide important information and instructions for troubleshooting and repairing your specific unit.
It is also recommended to have a few essential hand tools, such as screwdrivers, pliers, and wrenches, on hand for any necessary adjustments or repairs.
8 Easy Steps on How to Fix Water Heater
Step 1. Turn Off Power and Water Supply
Before you work on your water heater, you must ensure your safety by turning off the power and water supply. For electric water heaters, locate the circuit breaker panel and switch off the breaker connected to the unit. If you have a gas water heater, turn the gas supply valve to the “off” position. This prevents potential electrical shocks or gas leaks while you do the repairs.
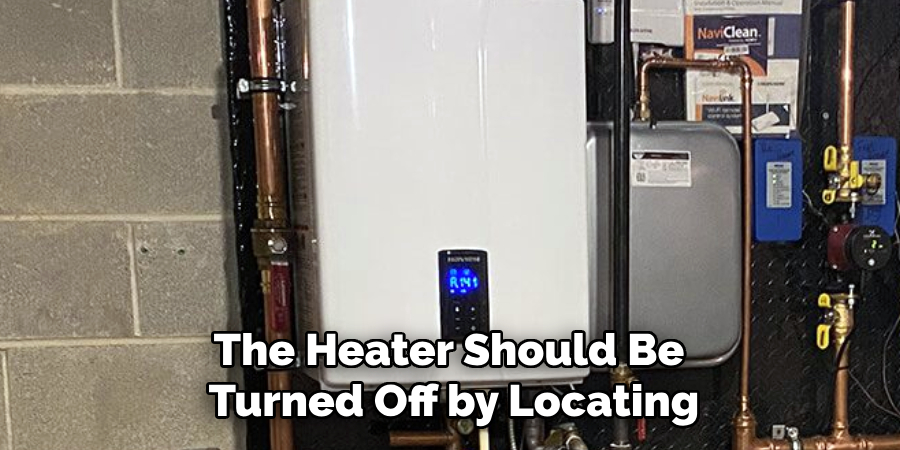
Additionally, the water supply to the heater should be turned off by locating the cold water shut-off valve. Twist this valve clockwise until it is fully closed. This step ensures that no additional water enters the tank while you’re working, preventing leaks or accidental flooding. Taking the time to secure the power and water supplies properly is an essential safety precaution and sets the foundation for performing reliable repairs on your water heater.
Step 2: Drain the Tank
Once the power and water supplies are secured, the next step is to drain the water heater tank. Begin by attaching a garden hose to the drain valve at the tank’s bottom. Ensure the other end of the hose is directed to a safe drainage area, such as a floor drain or outside. Open the drain valve to allow the water to flow out of the tank. Be cautious, as the water may still be hot—give it time to cool down if necessary. Draining the tank is essential to ensure a safe and clean working environment for the rest of the repair process.
Step 3: Flush Out Sediment
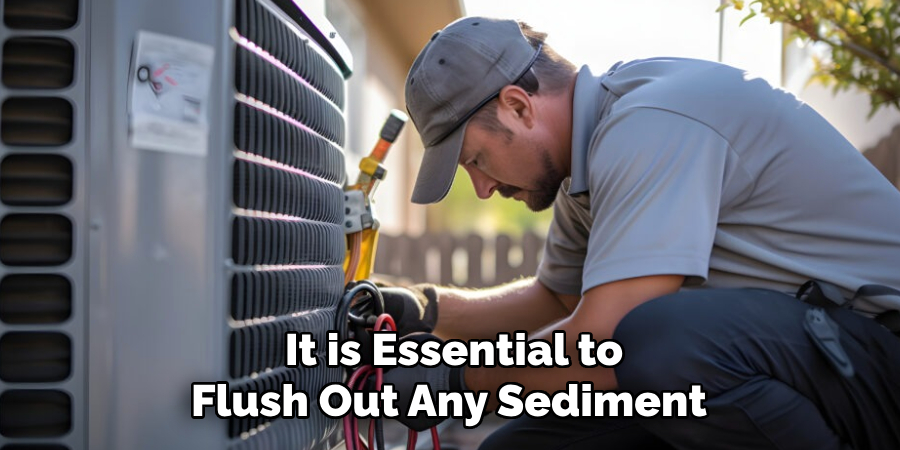
Once the water has been drained, it is essential to flush out any sediment that may have accumulated at the bottom of the tank. To do this, briefly reopen the cold water supply to the tank while keeping the drain valve open. This will help loosen and remove any remaining debris. Allow the water to run until it flows clear, indicating that the sediment has been thoroughly flushed. Close the drain valve and detach the garden hose once this step is complete.
Step 4: Refill the Tank
With the sediment removed, it is time to refill the tank. Close the drain valve completely and reopen the cold water supply to the tank. Allow the tank to fill, keeping an eye on the pressure relief valve for any leaks. Once the tank is full, carefully restore power to the water heater or reignite the pilot light if applicable. Finally, run a hot water faucet in your home for a few minutes to ensure the system functions properly and remove any trapped air from the pipes.
Step 5: Testing the Water Heater
After the tank has been refilled and the system restored, it’s essential to test the water heater to ensure it operates correctly. Check the temperature settings and adjust them if necessary, keeping in mind the manufacturer’s recommendations for optimal efficiency and safety. Monitor the unit for any unusual noises or leaks, and verify that hot water flows steadily from the faucets. If any issues persist, consult a professional to inspect the system. Regular maintenance and testing will help extend the lifespan of your water heater and ensure consistent performance.
Step 6: Insulate the Water Heater and Pipes

Consider insulating your water heater and the surrounding pipes to improve energy efficiency and reduce heat loss. Use a water heater insulation blanket designed for your specific model and follow the manufacturer’s instructions for proper installation. For the pipes, apply foam pipe insulation to any exposed hot water pipes. This simple step can help lower energy costs and ensure the water stays warmer for more extended periods, especially in colder climates.
Step 7: Install Low-Flow Fixtures
To reduce water usage without sacrificing performance, consider upgrading to low-flow fixtures, such as showerheads and faucets. These fixtures are designed to maintain adequate water pressure while using significantly less water. Installing low-flow fixtures can conserve water, reduce utility bills, and contribute to a more sustainable environment. Ensure the fixtures you choose are compatible with your plumbing system and meet your household’s needs.
Step 8. Fix Leaks Promptly
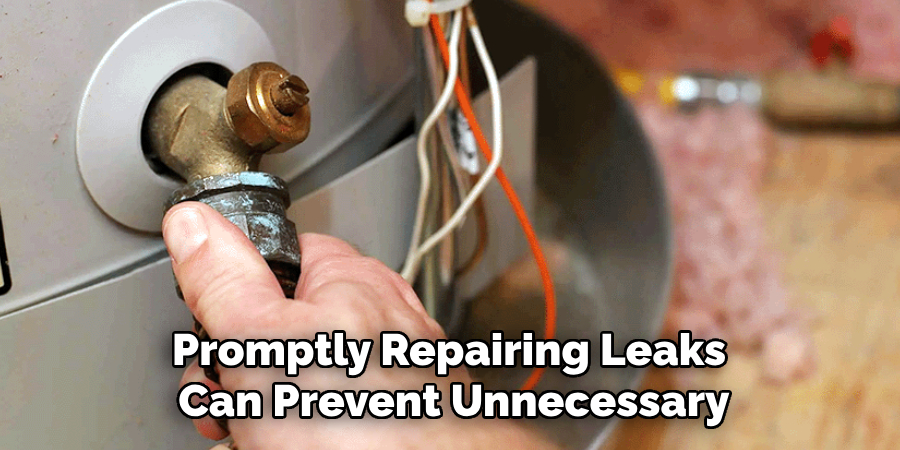
Inspect your home regularly for faucets, pipes, and toilets, as even small leaks can waste significant amounts of water over time. Promptly repairing leaks can prevent unnecessary water loss and lower your water bill. Common signs of leaks include dripping faucets, damp spots near pipes, or an undetected increase in water usage on your bill. Addressing these issues early contributes to water conservation and reduces the potential for costly water damage in the future.
By following these simple tips, you can greatly impact water conservation in your daily life. Additionally, being mindful of your water usage benefits the environment and saves you money on utility bills.
5 Things You Should Avoid
- Ignoring Safety Precautions: Always ensure the power supply to the water heater is turned off before attempting any repairs. Working on a water heater without cutting off electricity or gas can lead to serious safety hazards, including electric shock or gas leaks.
- Skipping the Owner’s Manual: Each water heater model is different, and skipping the owner’s manual can result in using improper tools or techniques. Always refer to the manual for specific instructions to avoid causing irreparable damage.
- Using the Wrong Tools: Using incorrect tools, such as the wrong size of wrench or screwdriver, can damage components or cause unnecessary wear and tear. Invest in the proper tools required for the repair to ensure efficiency and safety.
- Ignoring Rust or Corrosion: Attempting to fix a water heater without addressing visible signs of rust or corrosion can lead to further problems. Rust may signal underlying issues that need professional attention instead of a simple DIY fix.
- Overlooking Professional Help: If you are uncertain about the repairs or the problem seems complex, avoid fixing the water heater yourself. Calling a licensed professional is often safer, preventing additional damage or voiding the warranty.
Conclusion
How to fix water heater requires a careful assessment of the issue and a methodical approach to repairs.
Identify the problem, such as leaks, insufficient heating, or strange noises. Always prioritize safety by turning off the power and water supply before starting repair work. While some minor issues, like resetting the thermostat or flushing the tank, can be handled by homeowners, a licensed professional should address more complex problems. Regular maintenance, such as checking for sediment buildup and corrosion inspection, can also help prevent major malfunctions.
By taking these steps, you can ensure your water heater functions efficiently and reliably for years.

