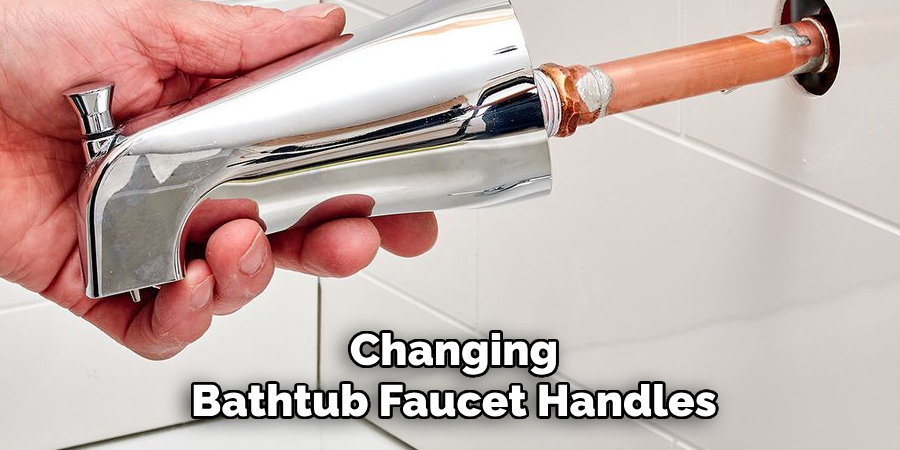
Replacing bathtub faucet handles can be a simple and cost-effective way to refresh the look of your bathroom without undergoing a major renovation. Over time, handles can become worn, outdated, or malfunctioning, but the good news is that swapping them out is a straightforward DIY project.
With the right tools and a bit of patience, you can enhance both the functionality and appearance of your bathtub fixtures in no time. This guide will walk you through the step by step process of how to change bathtub faucet handles.
Why Replace Bathtub Faucet Handles?
Replacing bathtub faucet handles offers both practical and aesthetic advantages. Over time, handles can become corroded, discolored, or difficult to operate, diminishing the overall functionality of your bathroom. Outdated or damaged handles may also cause leaks, which can lead to higher water bills and potential damage to surrounding fixtures.
By installing new handles, you improve not only the usability of your bathtub but also the overall look of the space. It’s an affordable and efficient way to upgrade your bathroom without committing to a full renovation. Whether you’re aiming for a modern design or simply restoring your fixtures to their original condition, new faucet handles can make a big difference.
Types of Bathtub Faucet Handles
When choosing new bathtub faucet handles, it’s important to consider the different types available to find the best fit for your needs and style preferences. Here are some of the most common types:
- Knob Handles – These are classic and simple, providing a straightforward design. Typically round or oval, knob handles are easy to turn and are commonly found in traditional bathroom setups.
- Lever Handles – Lever handles offer a sleek and modern appearance, often favored for their ergonomic design. They are easier to use, making them an excellent choice for households with children or elderly individuals.
- Cross Handles – With a timeless and elegant look, cross handles mimic vintage designs and add character to any bathroom. They are shaped like a small “X,” providing an easy grip for adjusting water flow and temperature.
- Touchless or Motion-Sensor Handles – These innovative handles utilize motion-sensor technology, allowing you to control water flow without physically touching the handle. They are ideal for a modern, high-tech look and enhance hygiene in the bathroom.
By exploring these different options, you can find a faucet handle style that complements your bathtub and aligns with your functional requirements.
10 Methods How to Change Bathtub Faucet Handles
1. Turn Off the Water Supply Before Starting
Before doing any work on plumbing fixtures, it’s crucial to shut off the water supply. While some bathtubs have a localized shutoff valve, many do not. In such cases, locate the main water shutoff valve in your home and turn it off completely.
This prevents water from flowing when you remove the old handles, avoiding messes and possible water damage. Once the water is off, turn the existing faucet handles to release any residual pressure and verify that water flow has ceased. Only then should you begin disassembly.
2. Identify the Type of Faucet and Handle Setup
Bathtub faucets come in several configurations, such as single-handle, dual-handle, and triple-handle systems. Understanding your setup helps you choose compatible replacement parts and guides how you’ll proceed with removal.
Look for manufacturer branding on the handle or escutcheon plate, or take a picture of the existing setup to reference when shopping for new handles. Different faucet types may have slight variations in removal and installation, so clarity here can save time and frustration.
3. Remove the Handle Cap to Access the Screw
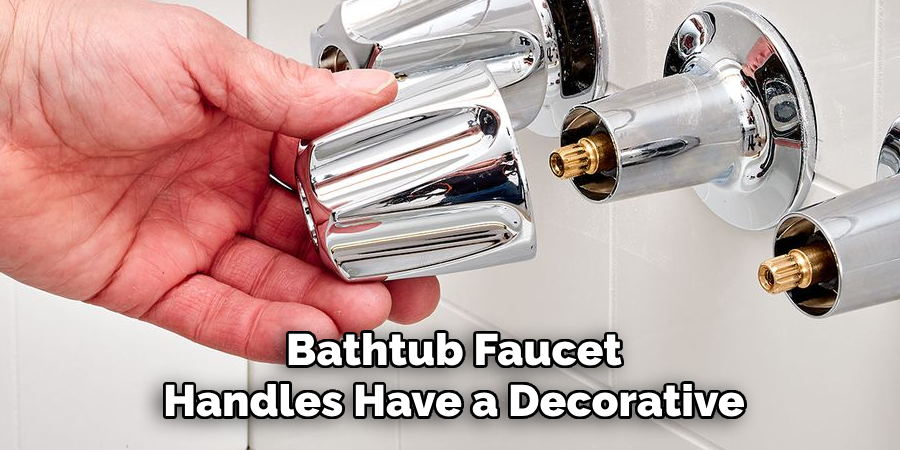
Most bathtub faucet handles have a decorative cap that hides the screw securing the handle to the valve stem. Use a flathead screwdriver or a utility knife to gently pry off the cap, being careful not to scratch the finish. Once the cap is removed, you’ll see a screw—typically a Phillips-head or hex screw. This is what holds the handle in place. Be sure to keep the cap in case you want to reuse it, or note its size and shape for the replacement handle.
4. Unscrew and Detach the Handle from the Valve
Using the appropriate screwdriver, carefully loosen and remove the screw. With the screw removed, grip the handle firmly and pull it away from the wall. If the handle feels stuck—often due to corrosion or mineral buildup—gently rock it back and forth or use a handle puller, a specialized tool designed for this purpose. Avoid using excessive force, as that can damage the valve stem or surrounding plumbing. Once off, inspect the area for debris or wear.
5. Clean Around the Valve and Escutcheon Area
With the handle removed, take the opportunity to clean the area around the valve and escutcheon plate. Years of grime, soap scum, or mineral buildup can accumulate behind the handle.
Use a damp cloth or vinegar-based solution to scrub the surface gently. Cleaning not only improves the appearance but also ensures that your new handle seats properly and functions smoothly. A clean work area also makes it easier to spot any issues, such as a leaking stem or deteriorated washers.
6. Inspect the Valve Stem for Damage or Wear
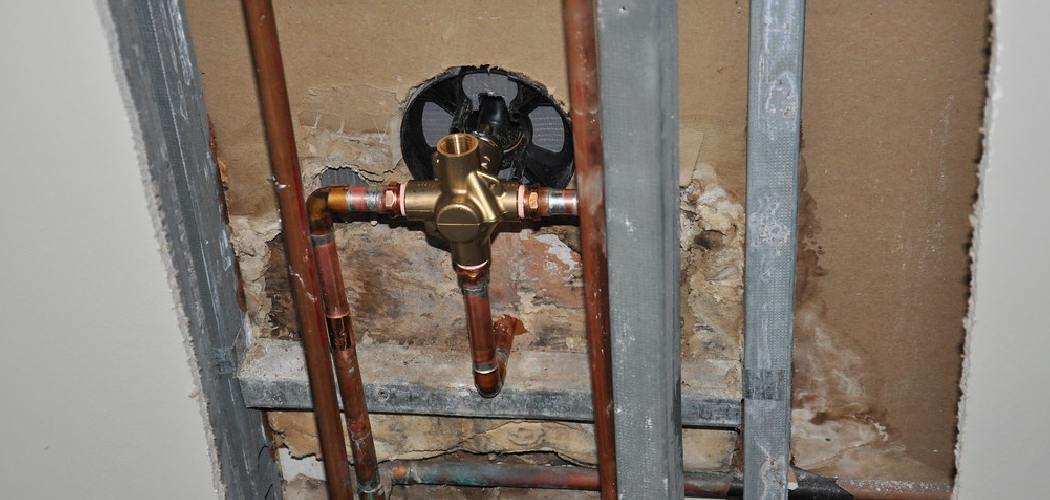
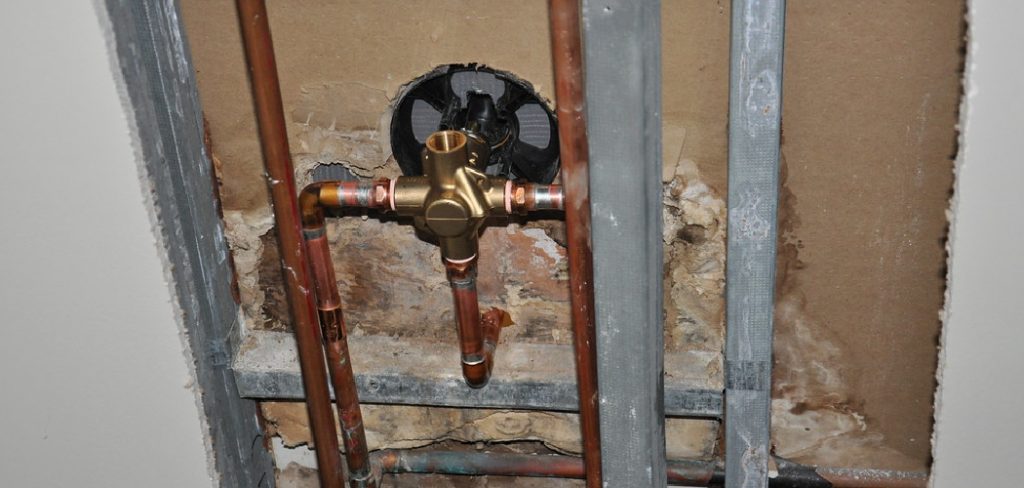
Before installing new handles, check the condition of the valve stem. Look for signs of corrosion, stripped threads, or mineral buildup. If the stem is in poor shape, you may need to replace or repair it before attaching new handles.
A damaged valve stem can cause leaks, wobbly handles, or poor water control. If necessary, bring the stem or a picture of it to a hardware store to find the right replacement. Some repair kits include stem extensions or adapters that can resolve minor compatibility issues.
7. Attach the New Handle to the Valve Stem
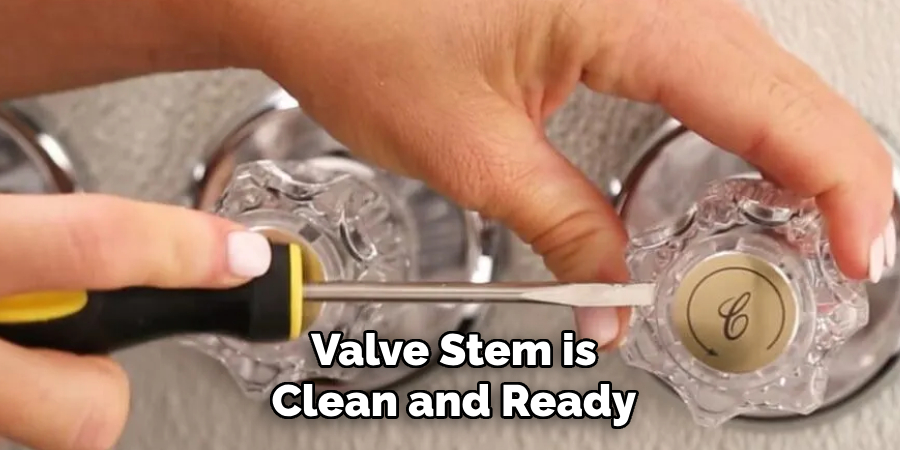
Once the valve stem is clean and ready, align the new handle with the stem and slide it into place. Ensure the handle is facing the correct direction—usually perpendicular to the wall when turned off. Insert the screw provided with the new handle and tighten it firmly, but not excessively, to avoid stripping the threads. If the handle comes with a decorative cap, snap it on securely to cover the screw. Test the handle to ensure it turns smoothly and doesn’t wobble.
8. Replace or Adjust the Escutcheon Plate if Needed
The escutcheon plate—the decorative trim that surrounds the valve stem—may need replacement or adjustment if the new handle is a different size or design. Some handles come with a new escutcheon, while others fit standard ones.
If you’re replacing the plate, unscrew it, clean behind it, and apply plumber’s putty or silicone caulk around the opening to seal against water intrusion. Attach the new plate, ensuring it sits flush against the wall. This step adds a polished finish and protects against moisture.
9. Turn the Water Supply Back On and Check for Leaks
Once the new handle is securely in place, it’s time to restore water to the system. Slowly turn the main shutoff valve back on and observe the faucet. Turn the handle(s) to the “on” position to verify water flow and check for leaks around the handle or stem. If you notice drips or wet spots, tighten the handle slightly or recheck the installation. In some cases, a worn washer inside the valve stem may need to be replaced to stop leaks.
10. Test the Operation and Make Final Adjustments
After the water is back on, test the handle operation thoroughly. Ensure that the hot and cold controls (if applicable) are correctly oriented, that the handle turns smoothly, and that the water pressure and temperature respond accurately. If the handle feels loose or stiff, remove it again and check for misalignment. Once satisfied with the performance, wipe down the new fixture and admire your refreshed bathtub setup. This final step ensures functionality and gives peace of mind.

Maintenance and Upkeep
To keep your bathtub fixture in optimal condition, regular maintenance is essential. Start by wiping down the fixture with a soft, damp cloth after each use to prevent water spots and mineral buildup. Avoid using abrasive cleaners or tools that could scratch the surface. Periodically check for any leaks or drips, as these can indicate worn-out washers or seals that may need replacement.
Additionally, inspect the handle’s operation over time to ensure it remains smooth and properly aligned. If you notice any stiffness or looseness, consider re-tightening or re-adjusting the connections. By following these simple maintenance practices, you can extend the lifespan of your fixture and keep it looking and performing like new.
Conclusion
Changing bathtub faucet handles is a manageable project that even DIY novices can tackle with confidence. It enhances the look of your bathroom while addressing functionality and potential leaks.
By following these ten elaborated methods—from turning off the water and removing the old handle to securing the new one and testing for leaks—you can complete the job efficiently and safely. With the right tools, a steady hand, and attention to detail, your upgraded faucet handles will provide both aesthetic and practical benefits for years to come. So, there you have it – a quick and easy guide on how to change bathtub faucet handles.

