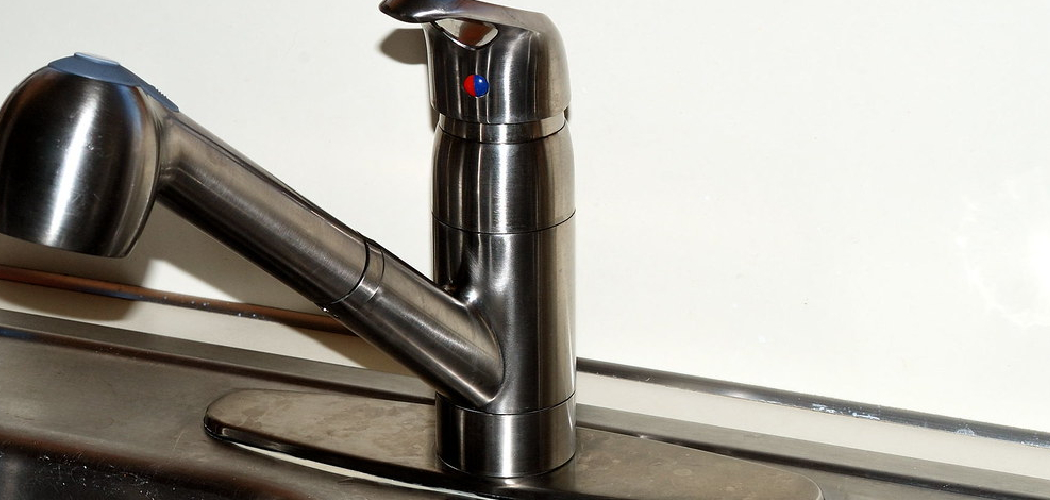
Replacing a kitchen faucet cartridge is a simple yet essential maintenance task that can help fix leaks, improve water flow, and extend the life of your faucet. Although it may seem daunting at first, with the right tools and guidance, anyone can complete this task efficiently.
This guide will walk you through the steps to successfully replace your kitchen faucet cartridge and restore your faucet to its optimal condition. In this blog post, we’ll walk you through the steps on how to change kitchen faucet cartridge so that you can get back to using it in no time! So grab your tools, and let’s get started!
Why Replace a Kitchen Faucet Cartridge?
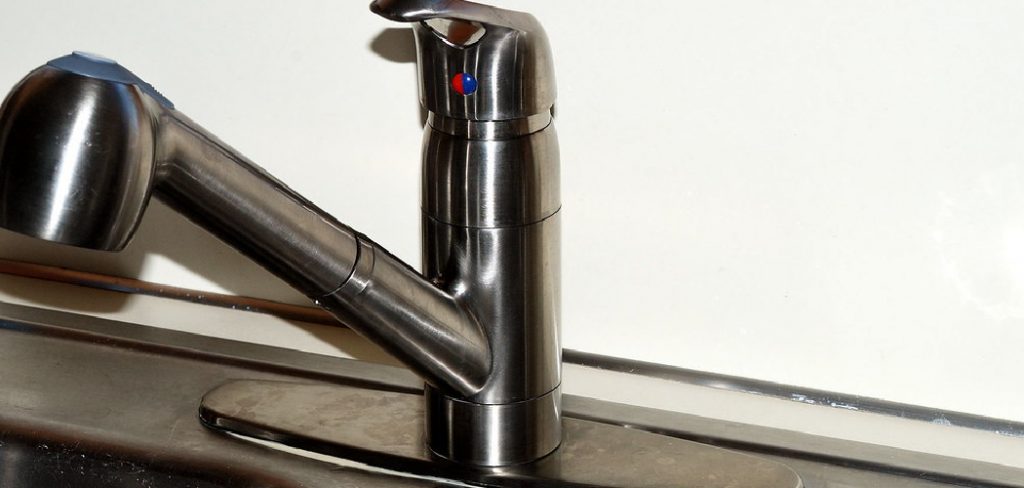
Replacing a kitchen faucet cartridge is essential for maintaining the functionality and efficiency of your faucet. Over time, the cartridge can wear out due to constant use, leading to issues such as leaks, low water pressure, or difficulty in controlling water temperature.
Left unresolved, these problems can result in higher water bills and potential water damage to your kitchen. By replacing the cartridge, you not only fix these issues but also extend the life of your faucet and ensure it operates smoothly. It’s a relatively simple and cost-effective way to keep your kitchen faucet in excellent working condition.
What is a Faucet Cartridge?
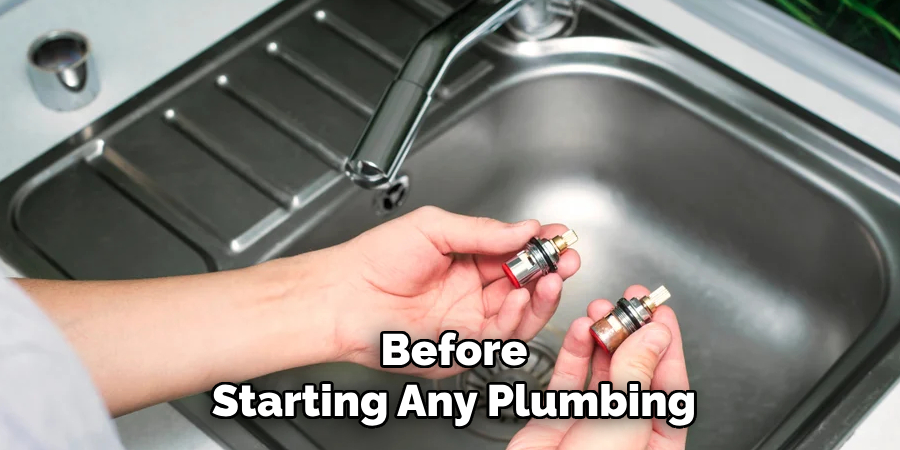
A faucet cartridge is a crucial component within modern faucets that controls the flow and temperature of water. It is typically a cylindrical device made of plastic or metal that houses internal mechanisms, such as seals and gaskets, to regulate water mixing. Cartridges are designed to move up and down or rotate to allow varying amounts of hot and cold water through, providing precise control over the water temperature and pressure.
Different faucet designs may use distinct types of cartridges, such as single-handle or dual-handle variants, but all serve the same essential purpose. This small yet vital part is what ensures the seamless functionality of your faucet, making maintenance or replacement a priority when issues arise.
Tools and Materials Needed
To maintain or replace a faucet cartridge, you will need the following tools and materials:
- Allen wrench or hex key – For loosening and removing handle set screws.
- Screwdriver (Phillips and flathead) – To remove screws securing the faucet components.
- Adjustable wrench or pliers – For loosening and tightening nuts or retaining clips.
- Cartridge puller (optional) – For easier removal of stubborn or stuck cartridges.
- Replacement cartridge – Ensure compatibility with your faucet model.
- Plumber’s grease – To lubricate parts and ensure smooth operation during reassembly.
- Bucket or towel – To catch any residual water and protect surfaces.
- Flashlight – To provide better visibility in tight or poorly lit spaces.
Having these tools and materials on hand will help ensure a smooth and efficient maintenance or replacement process.
10 Methods How to Change Kitchen Faucet Cartridge
1. Turn Off the Water Supply to the Faucet
Before starting any plumbing work, the first and most important step is to turn off the water supply. Locate the shutoff valves under the sink, which are typically situated near the water supply lines. Turn both the hot and cold water valves clockwise to shut them off completely.
If you can’t find these valves, or if your sink lacks them, you’ll need to turn off the main water supply to your home. Once the water is shut off, open the faucet to relieve any pressure and ensure no water comes out when you begin working.
2. Plug the Drain to Avoid Losing Small Parts
To avoid losing any small screws, washers, or other parts during the repair, plug the drain with a sink stopper or a rag. This simple precaution will prevent any pieces from falling down the drain, which could cause unnecessary delays or require extra searching.
Additionally, plugging the drain gives you a cleaner workspace, allowing you to focus on removing and replacing the cartridge without distractions.
3. Remove the Faucet Handle
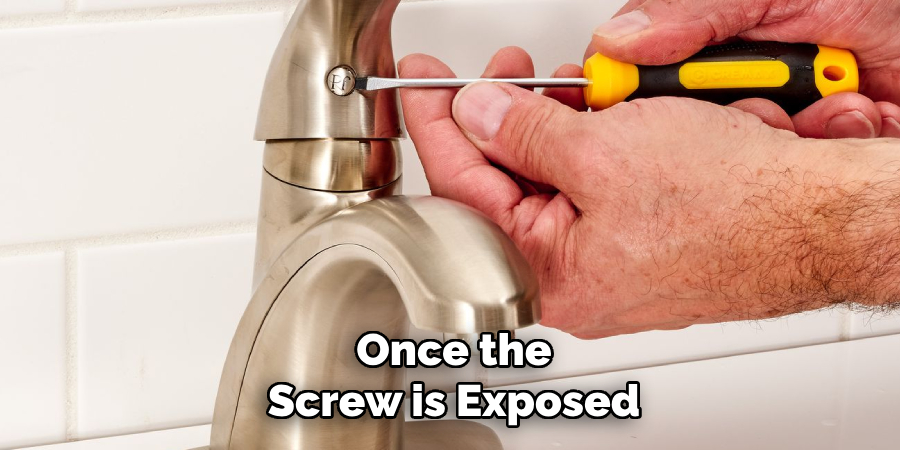
To access the faucet cartridge, you’ll need to first remove the handle. Typically, faucet handles are secured by a screw, which is usually hidden beneath a decorative cap on top of the handle. Use a flathead screwdriver or a utility knife to gently pry off the cap.
Once the screw is exposed, use an appropriate screwdriver (usually a Phillips-head) to loosen and remove the screw. After removing the screw, gently pull the handle off. In some cases, the handle might be a bit stubborn due to mineral buildup or corrosion. If this happens, use a handle puller tool to carefully remove it.
4. Take Off the Escutcheon Plate (If Necessary)
In some faucet designs, the escutcheon plate (the decorative cover that surrounds the base of the handle) must be removed to access the cartridge. This plate may be secured with screws, which you can unscrew using a screwdriver.
Once removed, you should have a clear view of the cartridge, which is typically seated inside the faucet body. In cases where the escutcheon is not removable, you should still be able to access the cartridge directly beneath the handle.
5. Loosen the Cartridge Retaining Nut
Now that you have access to the cartridge, the next step is to loosen and remove the retaining nut that holds the cartridge in place. Use a wrench or pliers to grip the nut and turn it counterclockwise.
Be careful not to damage the nut or surrounding components while doing this, as some cartridges are held in place very tightly. If the nut is corroded or difficult to loosen, apply a penetrating oil like WD-40 and let it sit for a few minutes to loosen the buildup. Once the nut is loosened, you can remove it completely.
6. Remove the Old Cartridge
With the retaining nut removed, you can now pull the old cartridge out of the faucet. Depending on the design of the faucet, the cartridge might slide out easily, or it may require a little more force. If it’s stuck, use a pair of pliers to grip the cartridge and gently pull it out.
Be cautious not to apply too much force, as this could damage the internal components of the faucet. Once the cartridge is free, set it aside, and inspect the area for any signs of corrosion or buildup that may need cleaning before installing the new cartridge.
7. Clean the Faucet Housing
Before installing the new cartridge, take the time to clean the faucet housing where the cartridge was seated. Over time, mineral deposits or grime can build up, preventing the new cartridge from fitting properly. Use a soft cloth and a mild cleaner to wipe down the inside of the housing.
If necessary, use a small brush to scrub any stubborn deposits. A clean surface ensures that the new cartridge will seat properly and function effectively.
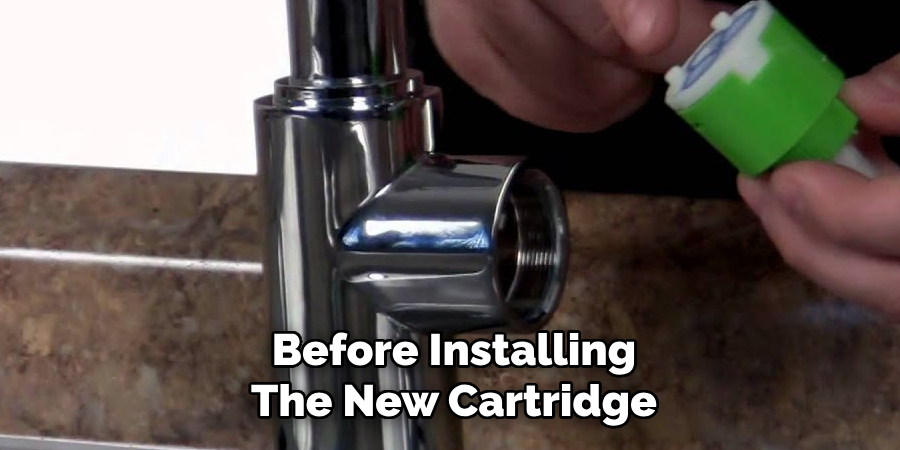
8. Install the New Cartridge
With the faucet housing clean and ready, it’s time to install the new cartridge. Compare the new cartridge with the old one to make sure they are the same size and model. Insert the new cartridge into the faucet housing, ensuring it fits snugly.
Pay attention to the orientation of the cartridge, as some models have a specific direction they need to be installed. Once the cartridge is in place, proceed to secure it with the retaining nut.
9. Tighten the Retaining Nut
Using your wrench or pliers, tighten the retaining nut clockwise to hold the new cartridge securely in place. Be sure to tighten the nut snugly, but avoid overtightening, as this could damage the cartridge or the faucet.
Double-check that the cartridge is seated evenly and properly aligned before proceeding. This step is crucial because a loose cartridge can lead to leaks or reduced water flow.
10. Reassemble the Faucet and Test for Leaks
Once the new cartridge is securely in place, it’s time to reassemble the faucet. Replace the escutcheon plate (if removed) and the handle, securing them with the screws that were originally removed. Turn the water supply back on by opening the shutoff valves or the main water valve.
Slowly turn the faucet handle to check for any leaks. If you notice water leaking around the cartridge or handle, tighten the retaining nut or handle screw a little further. Test the faucet’s functionality by adjusting the water temperature and flow to ensure that the new cartridge is working as intended.
Conclusion
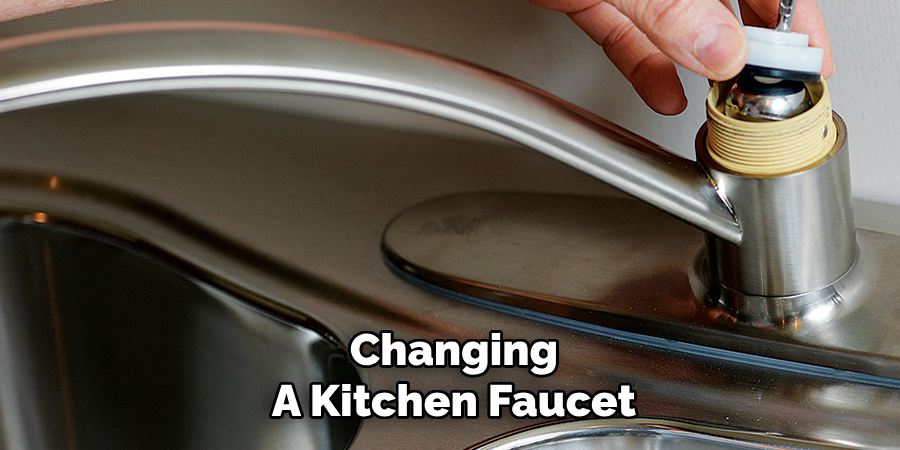
Changing a kitchen faucet cartridge is a relatively simple yet highly effective task for maintaining a functional and leak-free faucet. By following these ten detailed methods—from shutting off the water supply to testing for leaks after the new cartridge is installed—you can successfully replace the cartridge without professional help.
This task requires only basic tools and a bit of attention to detail, but it can save you from costly repairs down the line. With the right approach, you’ll restore your kitchen faucet to its full functionality and enjoy a smooth-running faucet once again. So, there you have it – a quick and easy guide on how to change kitchen faucet cartridge.

