Are you tired of hearing a loud popping noise from your water heater? It can be pretty annoying and disruptive, especially if it happens frequently.
A popping noise coming from your water heater can be annoying and indicate a deeper issue that needs attention. This common problem is often caused by a sediment buildup in the tank, which traps water beneath it. When the water heats up, it pushes through the sediment layer, creating a popping or crackling sound. Addressing this issue promptly can improve your water heater’s efficiency, extend its lifespan, and prevent potential damage.
The good news is that how to fix popping noise in water heater is usually straightforward and doesn’t always require professional help. In this guide, we’ll walk you through the steps to identify and resolve the problem effectively.
What Are the Causes of Popping Noise in Water Heater?
There are a few reasons why your water heater may be making popping noises. Some of the most common causes include sediment buildup, high water pressure, and faulty heating elements.
- Sediment Buildup: Minerals and debris can accumulate at the bottom of your water heater tank over time. As the water heats up, it pushes through this layer of sediment, causing popping or crackling sounds.
- High Water Pressure: If your home has high water pressure, it can strain your water heater excessively. This can cause loud banging noises when the hot water is turned on.
- Faulty Heating Elements: A malfunctioning heating element can also lead to popping noises in your water heater. If the component is defective or damaged, it may struggle to heat the water properly, resulting in a build-up of pressure and noise.
- Thermostat Settings: In some cases, popping noises can occur due to incorrect temperature settings on the thermostat. If the temperature is set too high, it can cause boiling within the tank and create loud popping sounds.
- Water Hammer: Water hammer is a term used to describe sudden changes in water pressure that result in a loud banging noise. This can be caused by factors such as air pockets in the pipes or a sudden stoppage of water flow.
What Will You Need?
To troubleshoot and fix any potential issues with your water heater, you may need the following tools and materials:
- Screwdriver
- Wrench
- Rubber washers
- Teflon tape
- Replacement of heating element or thermocouple (if required)
- Safety gloves and goggles
It is also recommended to have a basic understanding of how your water heater works and its specific model and brand. This information can often be found in the user manual or on the manufacturer’s website.
8 Easy Steps on How to Fix Popping Noise in Water Heater
Step 1: Turn Off the Power Supply
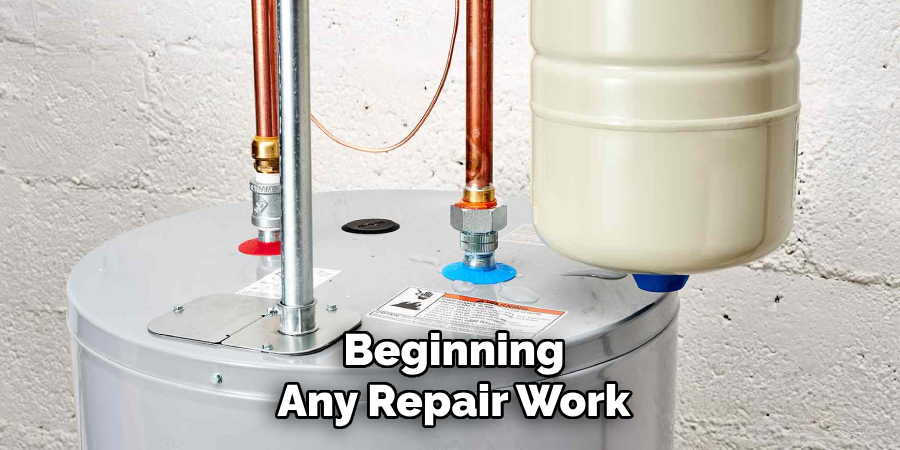
Safety should be your top priority before beginning any repair work on your water heater. If your water heater is electric, locate the circuit breaker linked to your water heater in the main electrical panel and switch it off to ensure no power is running to the appliance.
If you have a gas water heater, turn the gas supply off at the shutoff valve. Ensure the heater is entirely powered down before proceeding to avoid electric shocks or other hazards. This step is crucial to ensure your safety throughout the repair process. Consult a professional electrician or plumber if you’re unsure how to safely cut off the power.
Step 2: Drain the Water Heater
Locate the drain valve at the bottom of the water heater and attach a garden hose to it. Ensure the other end of the hose leads to a safe location, such as a floor drain, outside, or a large bucket, to avoid water damage. Open the valve and allow the water to drain completely from the tank.
To speed up the process, you can open a hot water faucet in your home, which will help relieve pressure and allow the water to flow more freely. Be cautious, as the water may still be hot, and wear protective gloves if necessary. Make sure the tank is empty before moving on to the next step.
Step 3: Flush Out Sediment
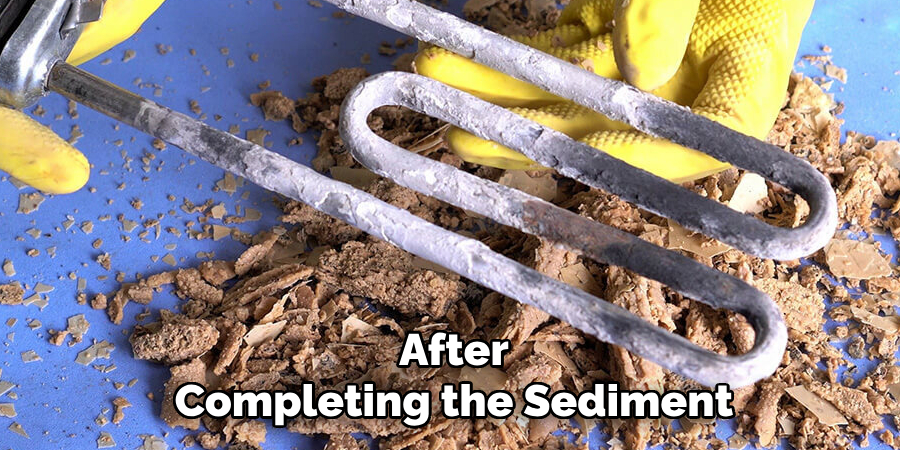
Once the tank is fully drained, turn the cold water supply back on for a moment while leaving the drain valve open. This will help flush out any remaining sediment from the bottom of the tank.
Keep an eye on the water coming out to ensure it’s running clear. If the water still appears cloudy or contains particles, repeat this flushing process several times. When you’re finished, close the drain valve securely.
Step 4: Refill the Tank
After completing the sediment flushing, it’s time to refill the tank. Close the drain valve completely and turn the cold water supply back on. Allow the tank to fill up until it is full.
While the tank is refilling, ensure a nearby hot water faucet is open to release air from the system. This helps prevent airlocks and ensures the tank fills smoothly. Once a steady stream of water flows from the faucet, you can turn it off. Double-check that no leaks are present around the drain valve or water connections.
Step 5: Restore Power and Test the Water Heater
After ensuring the tank is filled and there are no leaks, restore power to the water heater. Switch the circuit breaker back on if it’s an electric water heater. For gas water heaters, relight the pilot according to the manufacturer’s instructions.
Allow the water heater some time to heat the water to the set temperature. Once sufficient time has passed, test the hot water by turning on a faucet. Check that the water is heating correctly and confirm that the system functions as expected.
Step 6: Perform Routine Maintenance
Regular maintenance is key to ensuring the longevity and efficiency of your water heater. Periodically flush the tank to remove sediment buildup, which can affect performance and energy efficiency. Inspect the anode rod once a year and replace it if it is significantly corroded.
Additionally, check for any signs of leaks or unusual noises, as these can indicate underlying problems. By performing these routine checks, you can keep your water heater running smoothly and avoid costly repairs.
Step 7: Use Energy-Saving Techniques
You can use a few simple techniques to save energy and reduce your water heater costs. One of the most effective methods is to lower the temperature setting on your water heater. For every 10 degrees Fahrenheit you lower the temperature, you can save around 5% on your energy bill.
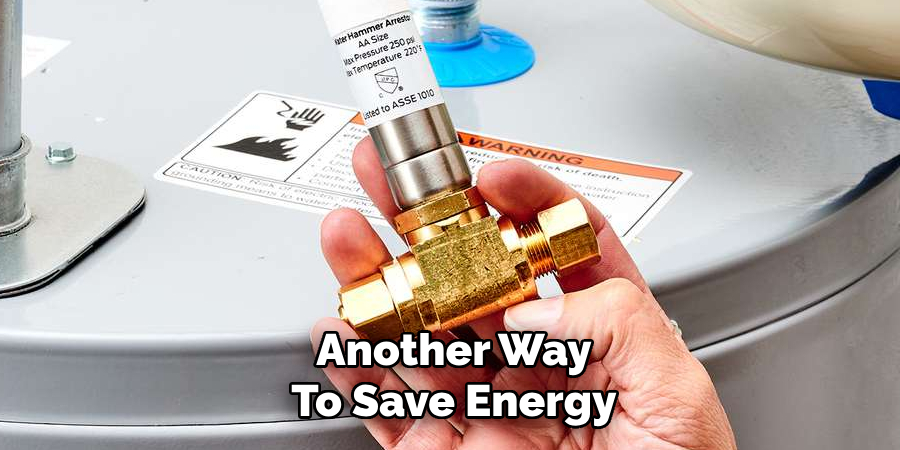
Another way to save energy is by using less hot water. This can be achieved by taking shorter showers, washing clothes in cold water, and only running the dishwasher when it is full. Additionally, consider investing in low-flow showerheads and faucets to decrease hot water use without sacrificing comfort.
Step 8: Consider Upgrading or Replacing Your Water Heater
Upgrading or replacing your water heater can lead to significant energy savings and improved efficiency in your home. Traditional tank water heaters typically heat and store water continuously, which can be wasteful if the hot water isn’t used immediately.
A more energy-efficient alternative is a tankless or on-demand water heater, which heats water only when needed, eliminating standby energy losses. Additionally, if your water heater is over 10-15 years old, it may be less efficient than newer models that comply with stricter energy standards.
By following these simple steps, you can save money on your monthly energy bills and contribute to a more sustainable future.
5 Things You Should Avoid
- Ignoring the Issue: Ignoring the popping noise may seem convenient, but it can lead to severe underlying problems like sediment buildup damaging the tank or reducing efficiency.
- Attempting Repairs Without Proper Knowledge: Trying to fix the problem without understanding your water heater’s mechanism can result in further damage or even safety hazards. Always consult the manufacturer’s manual or a professional if unsure.
- Using Excessive Force to Remove Sediment: While sediment removal is essential, using sharp tools or excessive force can damage the interior lining of the tank, leading to leaks and additional costly repairs.
- Skipping Regular Maintenance: Preventative maintenance is key to avoiding long-term problems. Neglecting annual inspections or flushing the tank can cause issues like continued noises or a shortened heater lifespan.
- Ignoring Safety Precautions: Working on a water heater without turning off the power, gas supply, and water source poses serious risks. Always ensure the unit is powered down and safe to handle before starting maintenance.
Conclusion
Regular maintenance and prompt action are crucial to resolving the issue of popping noise in a water heater.
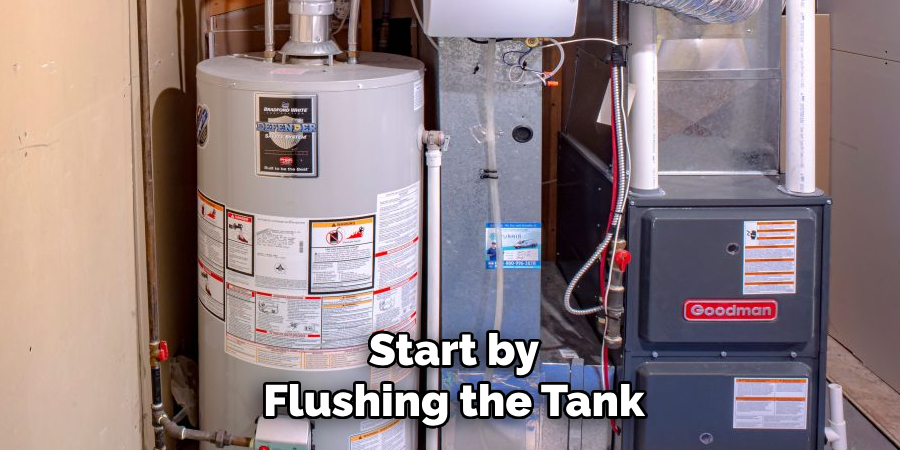
Start by flushing the tank annually to remove sediment buildup that often causes the noise. If flushing does not resolve the problem, inspect the anode rod for corrosion and replace it if necessary. Ensuring proper installation and adjusting the thermostat to an appropriate temperature can also prevent excessive mineral deposits. Always follow safety precautions by turning off the power or gas supply and water source before servicing the unit.
Hopefully, the article on how to fix popping noise in water heater has been informative and helpful.

