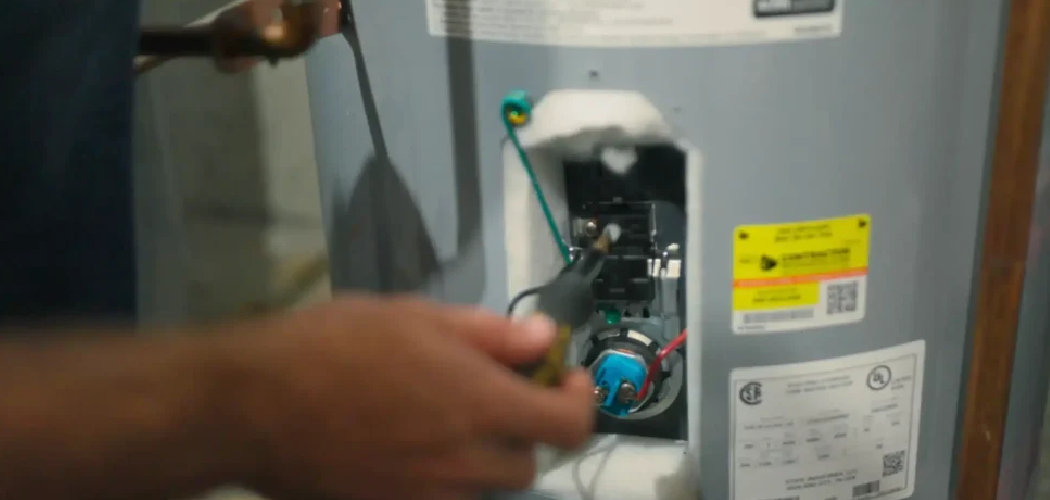
Are you experiencing scalding water when you turn on your shower? Or is your hot water not hot enough to wash dishes or take a warm bath? It might be time to check the temperature of your hot water.
Properly checking the temperature of your hot water is essential for ensuring safety and efficiency in your home. Water that is too hot can pose a serious risk of scalding, especially for children and the elderly. At the same time, water that is too cold may not effectively clean dishes and clothes or kill harmful bacteria. Regularly monitoring and adjusting your hot water temperature can help you balance comfort, safety, and energy efficiency.
This guide on how to check hot water temperature will walk you through the key steps to accurately measure and verify the temperature of your hot water.
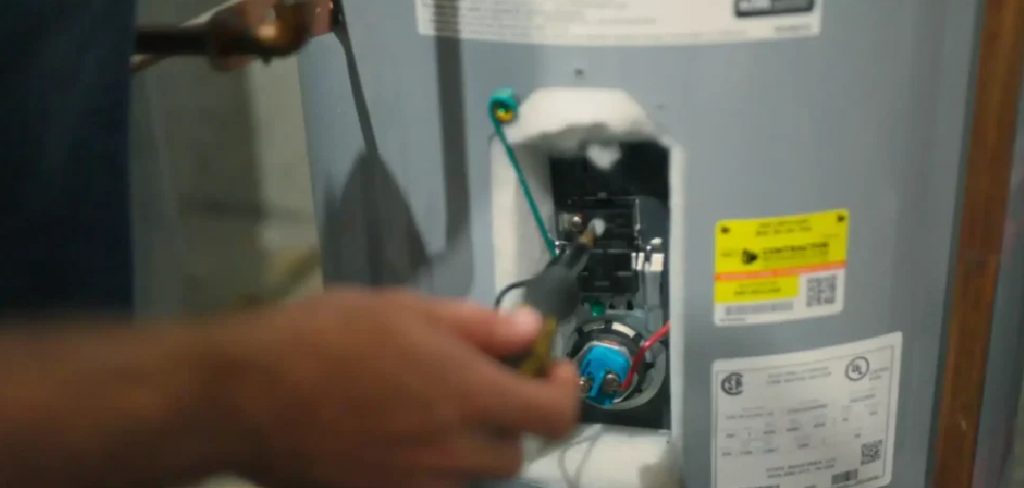
What Are the Benefits of Checking Hot Water Temperature?
Checking your hot water temperature has several benefits:
- Safety: The most crucial benefit is ensuring that your hot water is not at a scalding temperature, which can lead to severe burns. By regularly checking and adjusting the temperature, you can protect yourself and your family from potential harm.
- Energy Efficiency: Setting your hot water temperature too high means wasting energy by heating more water than necessary. You can save money on your energy bills by keeping it at an optimal temperature.
- Cleaning Effectiveness: Certain household tasks like doing laundry or washing dishes require specific temperatures for optimal cleaning. Knowing and maintaining the right hot water temperature ensures that these tasks are done effectively.
- Preventing Scalding: As mentioned earlier, too much heat can cause burns and scalds. Setting your hot water temperature at a safe level can prevent accidental injuries in your household.
- Extending Appliance Lifespan: Water heated to high temperatures produces sediment that can build up in your appliances, such as water heaters and dishwashers. This buildup not only decreases their efficiency but also shortens their lifespan.
What Will You Need?
To successfully adjust your hot water temperature, you will need:
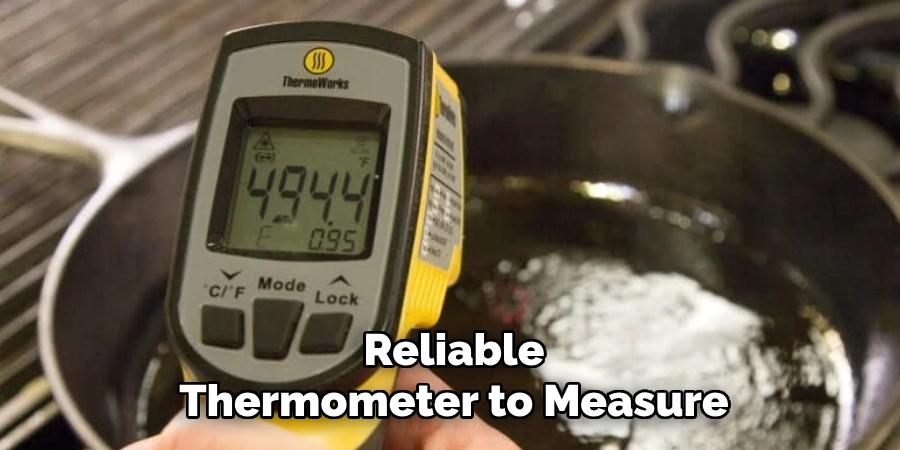
- A Thermometer: You can use a candy or cooking thermometer to measure the temperature of your hot water.
- Protective Gear: As a safety precaution, wearing gloves and long-sleeved clothing while handling hot water is recommended.
- Screwdriver or Pliers: These tools may be required to adjust your water heater.
- Water Heater Manual: If you have access to your appliance’s manual, it can provide specific guidelines for adjusting the temperature.
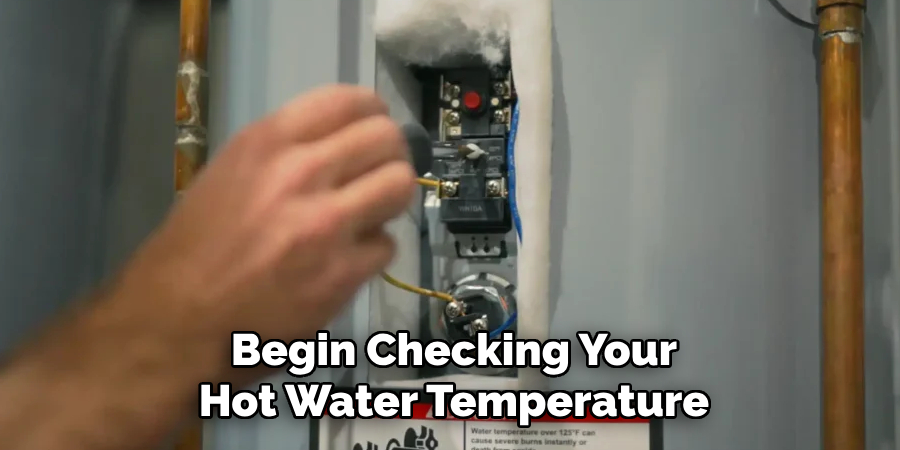
8 Easy Steps on How to Check Hot Water Temperature
Step 1: Locate the Nearest Faucet
To begin checking your hot water temperature, identify the faucet closest to your water heater. This is typically the kitchen sink or a bathroom faucet directly connected to the water heater’s main line. Using the nearest faucet ensures that the water tested has minimal heat loss as it travels through the pipes.
Turn on the hot water tap entirely and allow it to run for 1-2 minutes. This will help the water reach its maximum temperature and give you the most accurate reading. Ensure only the hot water is running, and avoid mixing it with cold water during this step.
Step 2: Run the Hot Water
Once the hot water has been running for 1-2 minutes, it is essential to measure its temperature accurately. To do this, use a reliable thermometer designed for water temperature readings. Carefully place the thermometer under the stream of hot water, ensuring that it remains steady and fully submerged in the flow.
Allow the thermometer to stay in the running water for a few seconds until the reading stabilizes. Be cautious during this process to avoid burns or accidents, as the water may be very hot. This step will give you a precise measurement of the water’s temperature, which can help determine if your water heater is functioning correctly or if any adjustments are needed to maintain a safe and comfortable water temperature.
Step 3: Fill a Cup or Container
Place the cup or container directly under the faucet and allow the water to flow. Ensure the container is clean and large enough to hold adequate water for accurate temperature testing. Ideally, fill the container about halfway to prevent spilling while handling it. Once the container is filled, measure the water’s temperature using your thermometer.
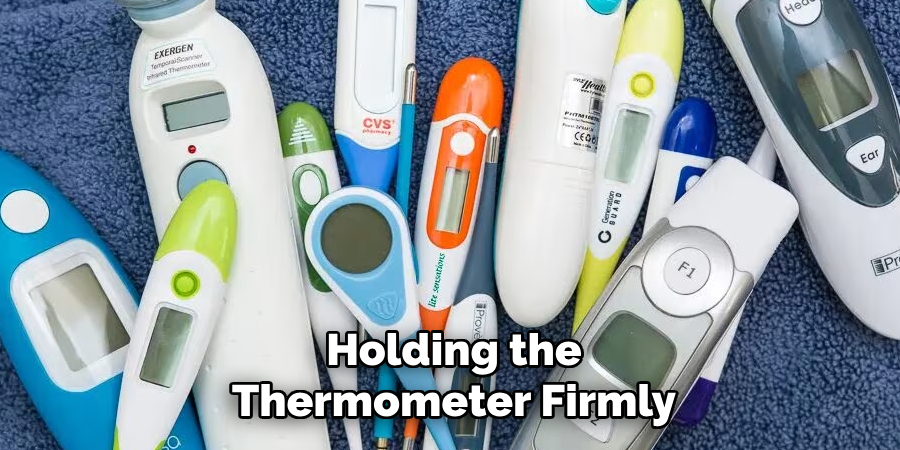
Holding the thermometer firmly, submerge it into the water, ensuring that it doesn’t come into contact with the sides or bottom of the container, as this may interfere with an accurate reading. Be patient and wait until the thermometer displays a stable temperature. This method provides a secondary measurement for cross-checking and minimizes the danger of direct exposure to hot water, further ensuring safety during the process.
Step 4: Measure the Temperature
Ensure that the thermometer remains in the water until the reading stabilizes. Depending on the thermometer’s type and precision, this may take a few moments. Once the temperature stops fluctuating, carefully note the reading displayed. Be cautious when handling the thermometer, as the water may still be hot.
If using a digital thermometer, verify that the display is clear and easy to read to avoid misinterpretation. Accurately recording the temperature is essential for obtaining reliable results and maintaining consistency.
Step 5: Check for Accuracy and Reliability
Once the temperature has stabilized, it is important to double-check the reading on your thermometer. Make sure that it is accurate and matches what you initially recorded.
This step is crucial in ensuring the reliability of your results. Inaccurate readings can lead to incorrect conclusions and may compromise the entire experiment.
If using a digital thermometer, ensure the display is clear and easy to read. If there are any doubts about the accuracy of your thermometer, consult with an expert or consider calibrating it before proceeding with your experiment.
Step 6: Clean Up
After completing your experiment, it’s crucial to thoroughly clean up your workspace to maintain safety and ensure the longevity of your equipment. Begin by properly disposing of any waste materials per local disposal regulations, especially if hazardous substances were used. Wash any reusable tools, containers, or instruments with the appropriate cleaning agents and allow them to dry completely before storing them.
If any spills occur during the experiment, clean them up promptly to avoid contamination or accidents. Lastly, organize your materials and return them to their designated storage areas, ensuring everything is ready for future use. Proper cleanup creates a safe and efficient working environment and prepares you for your next scientific endeavor.
Step 7: Document Your Observations and Results
Record all observations, data, and outcomes from your experiment in a clear and organized manner. Use tables, charts, or diagrams to visualize your findings effectively. Ensure your notes are detailed enough to allow experiment replication or provide clarity for future reference. This step is crucial for analyzing results and drawing accurate conclusions.
Step 8: Analyze and Interpret the Results
Examine your collected data to identify patterns, relationships, or trends. Use statistical tools or software, if applicable, to assist in analyzing the data accurately. Compare your findings with your initial hypothesis to determine whether it is supported or refuted. Consider any anomalies or unexpected results and explore possible explanations for them. This critical step helps to derive meaningful conclusions and insights from your experiment.
You have successfully conducted a well-structured and systematic experiment by following the scientific method.

5 Things You Should Avoid
- Using Your Hands or Skin Directly: Avoid testing the temperature of hot water with your hands or skin. This can lead to burns or injuries as human skin is susceptible to heat and cannot accurately judge temperature.
- Skipping the Thermometer Use: Do not rely on estimates or guesswork when checking water temperature. Always use a food or water thermometer for precise measurements to avoid scalding risks.
- Ignoring Safety Precautions: Failing to keep a safe distance while checking hot water can lead to accidents. Ensure you stay cautious to prevent spills or accidental contact with hot surfaces.
- Trusting Appliance Labels Alone: Avoid trusting preset labels on appliances like water heaters. These may not always be accurate, and verifying the proper water temperature is essential.
- Pouring Without Testing First: Never pour hot water directly without testing the temperature beforehand. This can result in accidental burns, especially if others are nearby or unaware.
By avoiding these common mistakes, you can ensure your safety and prevent accidents in the kitchen.
Conclusion
Ensuring that your hot water is at a safe and suitable temperature is essential for its safe and effective use.
Use a reliable thermometer to measure the water temperature directly, especially when adjusting appliance settings. Aim for a temperature around 120°F (49°C) to prevent scalding while maintaining energy efficiency. Regularly check your water heater and perform routine maintenance to ensure accurate temperature regulation. By taking these proactive steps, you can keep a safe environment and avoid any risks associated with overheated water.
Hopefully, the article on how to check hot water temperature has been helpful in understanding the importance of monitoring and regulating water temperature.

