Upgrading your bathroom doesn’t have to be daunting; installing a Moen bathroom faucet is a simple and effective way to enhance your space’s look and functionality. Known for their durability and sleek designs, Moen faucets are popular among homeowners looking for quality and style.
A significant advantage of Moen faucets is that they often come with user-friendly installation instructions, making the process accessible even for those with limited DIY experience.
This guide is designed to walk you through how to install Moen faucets in bathroom settings step by step, ensuring proper setup and helping you avoid common issues like leaks. With careful attention to detail and the right tools, you can achieve a professional-grade installation, giving your bathroom a polished and efficient upgrade.
Materials and Tools Needed
Essential Materials
- Moen faucet kit (includes faucet, handles, and hardware)
- Flexible supply lines
- Plumber’s tape
- Drain assembly parts
- Replacement washers (if needed)
Tools You’ll Need
- Adjustable wrench
- Basin wrench (for hard-to-reach spots)
- Screwdriver (flathead and Phillips)
- Pipe thread sealant or plumber’s tape
- Towel or rag (to catch water spills)
- Pliers (for tightening connections)
Having these materials and tools on hand before installation will ensure a smoother experience. Make sure to double-check your faucet kit for all necessary components and verify that the tools being used are in good condition to avoid any complications during the setup. Proper preparation is key to achieving a successful and lasting installation.
Shut Off the Water Supply
Step 1: Locate the Shut-Off Valves
Find the hot and cold water shut-off valves located under the sink. These valves are typically small, round, or oval knobs connected to the water supply pipes. Turn each valve clockwise to close, ensuring that the water flow is completely stopped. If you encounter any resistance, avoid forcing the valves excessively, as this could cause damage.
Step 2: Turn on the Faucet
With the shut-off valves securely closed, turn on the faucet to release any remaining water in the pipes. This step also helps relieve any built-up pressure in the lines, preventing unwanted water spills during installation. Allow the water to run until it stops completely.
Step 3: Prepare for Installation
Place a towel or rag around the drain area beneath the faucet. This will catch any residual water that might leak out when disconnecting the old faucet or installing the new one. Properly preparing your workspace in advance helps to maintain cleanliness and minimizes potential messes, ensuring a more efficient and hassle-free installation experience.

How to Install Moen Faucets in Bathroom: Remove the Old Faucet
Step 1: Disconnect the Water Supply Lines
Use an adjustable wrench to disconnect the old faucet’s hot and cold water supply lines. Before starting, make sure to place a bucket or towel underneath the connections to catch any residual water. Loosen the nuts on the supply lines gently and detach them carefully. Be prepared for small amounts of water to spill during this process, and use a cloth or sponge to wipe up any water as needed.
Step 2: Remove the Faucet Mounting Nuts
To free the old faucet, use a basin wrench to access and loosen the mounting nuts underneath the sink. These nuts are typically located in a tight space, so the basin wrench is an ideal tool for the job.
Turn the wrench counterclockwise to loosen the nuts, ensuring that you keep track of any washers or hardware that may fall during removal. Once the nuts are fully loosened, gently lift the old faucet off the sink and set it aside.
Step 3: Clean the Sink Area
After removing the old faucet, inspect the sink surface, especially around the faucet holes, for any old sealant, dirt, or grime. Use a scraper or putty knife to carefully remove any remnants of sealant and wipe the area clean with a damp cloth. A clean surface is essential for a secure and watertight installation of the new faucet, so take your time to make sure the area is spotless and ready for the next steps.
Install the New Moen Faucet
Step 1: Place the Faucet into Position
Insert the faucet into the holes of the sink, ensuring that it aligns properly with the designated openings. Check that the base of the faucet is resting snugly against the sink’s surface. Use a level to confirm that the faucet is straight and aligned before proceeding. Proper positioning at this stage is crucial to avoid any complications during operation or appearance issues once the installation is complete.
Step 2: Secure the Faucet with Mounting Nuts
From underneath the sink, locate the threaded shanks of the faucet that extend through the sink holes. Take the provided mounting nuts and thread them onto the shanks by hand.
Once they are in place, use a basin wrench to tighten them further, ensuring the faucet is securely fastened to the sink. Be cautious not to overtighten, as this could damage the sink or faucet components. A securely mounted faucet ensures stability and prevents future leaks.
Step 3: Attach the Faucet Handles
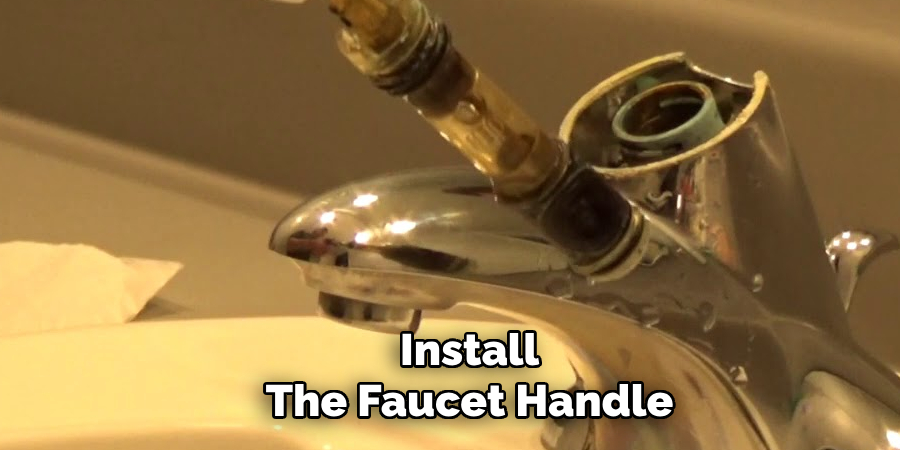
To install the faucet handles, carefully slide each handle onto the corresponding faucet stem. Align the handles properly to ensure smooth operation. Secure the handles in place by tightening the screws provided with the faucet. Once the screws are firmly tightened, test the handles to confirm they move smoothly and control the water flow as intended. Properly installed handles guarantee ease of use and durability for daily operation.
Connect the Water Supply Lines
Step 1: Attach the Supply Lines to the Faucet
Begin by preparing the faucet’s inlet ports for the connection. Wrap plumber’s tape around the threaded ends of the inlet ports to create a watertight seal. Next, carefully attach the flexible water supply lines to the threaded inlet ports. Use a wrench to tighten the connections securely, but take care not to overtighten, as this can damage the threads or the fittings.
Step 2: Connect the Supply Lines to the Shut-Off Valves
After attaching the supply lines to the faucet, connect their other ends to the shut-off valves located under the sink. Make sure each line connects to the appropriate valve—one for hot water and the other for cold water. Tighten these connections with a wrench, ensuring they are snug enough to prevent leaks but once again avoiding overtightening, which could lead to stripped threads or cracked fittings.
Step 3: Check for Leaks
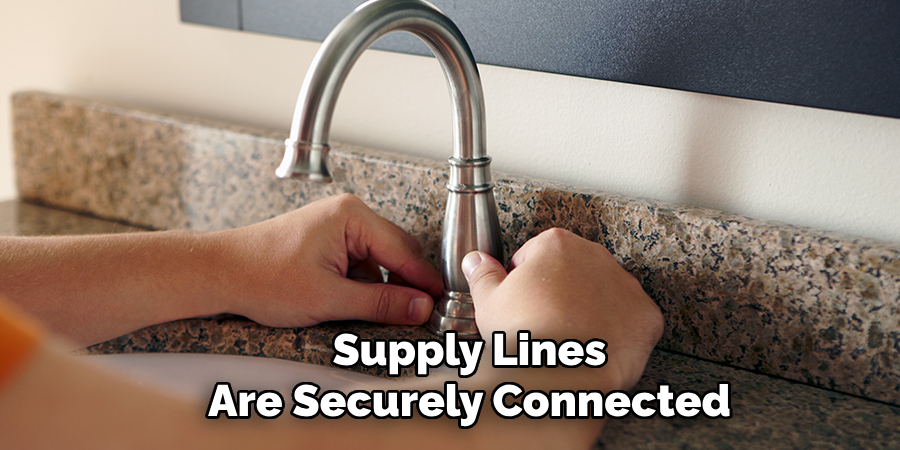
Once the supply lines are securely connected, turn on the shut-off valves to allow water to flow into the faucet. Test the faucet by turning it on and checking for leaks at each connection point, including the inlet ports and the shut-off valves. Inspect under the sink for any signs of dripping or pooling water. If you notice any leaks, slightly tighten the connections as necessary. Properly connected water supply lines ensure a leak-free installation and reliable faucet performance.
Install the Drain Assembly
Step 1: Assemble the Drain Parts
Begin by installing the drain body into the sink drain hole. Ensure the drain hole is clean and free of any debris before placement. Position the drain flange on top of the drain body, ensuring it is properly aligned. From underneath the sink, secure the assembly by attaching a washer and tightening the nut. Ensure the connection is snug but not overtightened to avoid damaging the components.
Step 2: Connect the Drain Pipe
Next, attach the drain pipe to the drain body. Use a wrench to secure the connection tightly, ensuring no looseness, which could result in leaks. Apply plumber’s tape around the threaded portion of the connections to provide an extra seal and prevent water from escaping. Double-check all fittings to confirm they are properly aligned and fastened.
Step 3: Check the Drain for Leaks
Turn on the faucet and allow water to flow through the newly installed drain. Carefully inspect all parts of the drain assembly for any signs of leaks or dripping. Pay particular attention to the connections between the drain body and pipe. If you detect leaks, use a wrench to tighten the fittings slightly, but be cautious not to overtighten. Confirm the drain assembly is leak-free before proceeding.
Test the Faucet and Clean Up
Step 1: Turn On the Faucet
Turn on both the hot and cold water to ensure the faucet is functioning properly. Test the water flow and temperature control on both sides to confirm smooth operation. Make sure the handles move effortlessly and provide accurate adjustments without any resistance.
Step 2: Check for Leaks Again
Double-check all connections for any signs of water leaks. Inspect the area around the drain and supply lines to ensure they are secure and watertight. Tighten any fittings if necessary, but avoid overtightening, which could potentially damage the components.
Step 3: Clean the Area
Wipe down the sink and faucet using a soft cloth to remove any fingerprints, water spots, or excess plumber’s tape. Ensure the installation looks clean and polished. Finally, responsibly dispose of old parts, packaging, and other waste materials to complete the job. A neat and tidy workspace reflects a job well done.
Conclusion
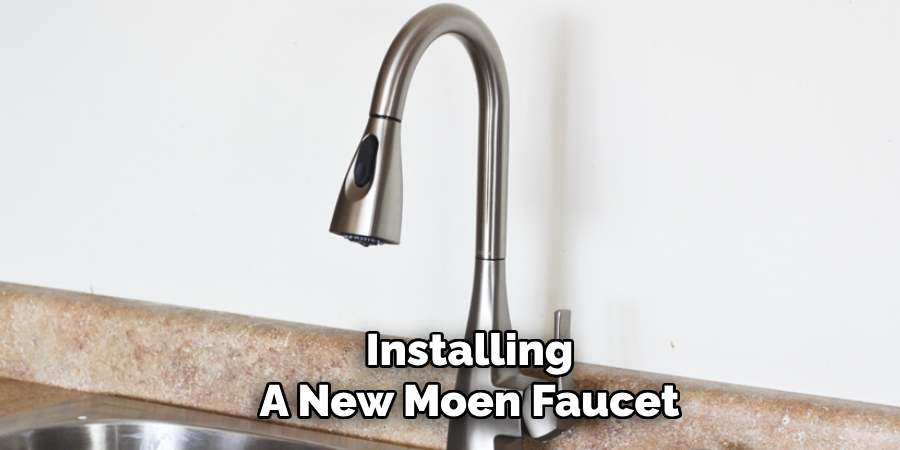
Installing a new Moen faucet can be a straightforward process if you follow the right steps. Begin by shutting off the water supply and removing the old faucet. Carefully install the new Moen faucet, ensuring all components are securely in place, then connect the water supply lines.
Thoroughly test for leaks to confirm proper installation. Following these steps closely is crucial to avoid future leaks or issues. If you encounter any difficulties, refer to the Moen manual or consult a professional for assistance. For a detailed guide on how to install Moen faucets in bathroom settings, always rely on reliable resources.

