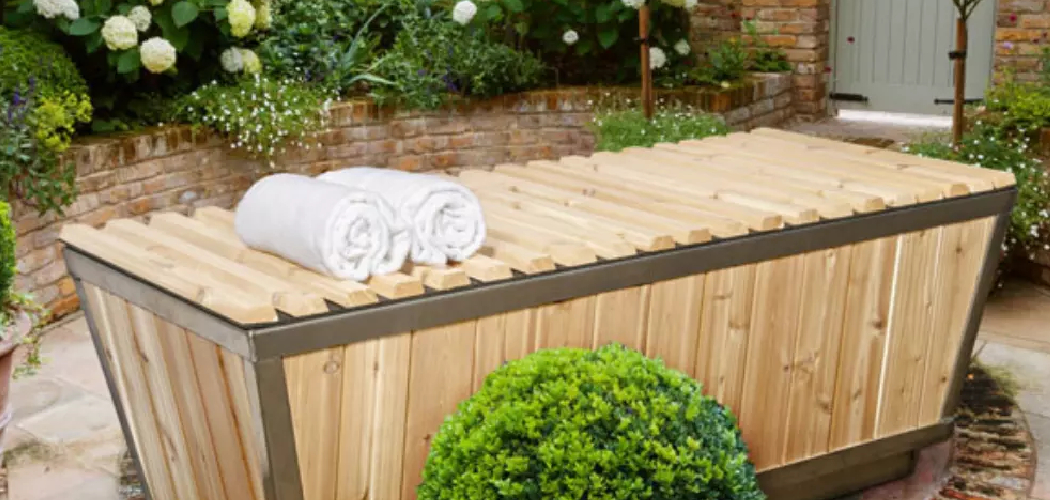
Replacing a garden tub faucet is typically a straightforward process, but the absence of an access panel can complicate matters significantly. Access panels are essential in plumbing, allowing easy entry to connections and fixtures behind walls or tubs. Without one, even a simple faucet replacement can become more complex, requiring careful planning and additional steps to avoid unnecessary damage to surrounding areas.
This guide is designed to provide a clear, step-by-step method on how to replace garden tub faucet without access panel. By following these instructions, you can effectively handle the challenge while minimizing risks to your bathroom’s structural integrity.
Additionally, we’ll explore options for installing a permanent access panel, making future maintenance tasks far easier and more convenient. With the right tools, knowledge, and preparation, this seemingly daunting task becomes manageable for any confident DIY enthusiast.
Understanding the Layout of Your Tub Plumbing
Before replacing a garden tub faucet without an access panel, it’s essential to understand your tub’s plumbing layout. This ensures you can accurately assess the task and identify potential challenges.
Locate Faucet Positioning
The first step is determining whether your garden tub faucet is deck-mounted or wall-mounted. Deck-mounted faucets are installed on the tub’s rim, while wall-mounted ones are affixed to the wall above or near the tub. Knowing the positioning clarifies how the plumbing connects to the tub and affects how you approach the replacement process.
Common Configurations in Garden Tubs
Plumbing in garden tubs typically runs behind or beneath the tub. Pipes are often concealed within walls or under the tub deck, making access difficult. Due to this design, changes like faucet replacement require careful planning, especially if no access panel is present.
Signs You Might Need to Create Access
If there are no visible screws or removable panels near the faucet, creating an access point may be inevitable. If the wall behind the tub directly backs up against your plumbing, inspect whether access from an adjacent room or closet is possible. These spaces can sometimes provide a simpler entry point for reaching the plumbing without excessive damage to your bathroom.
Gathering Tools and Materials
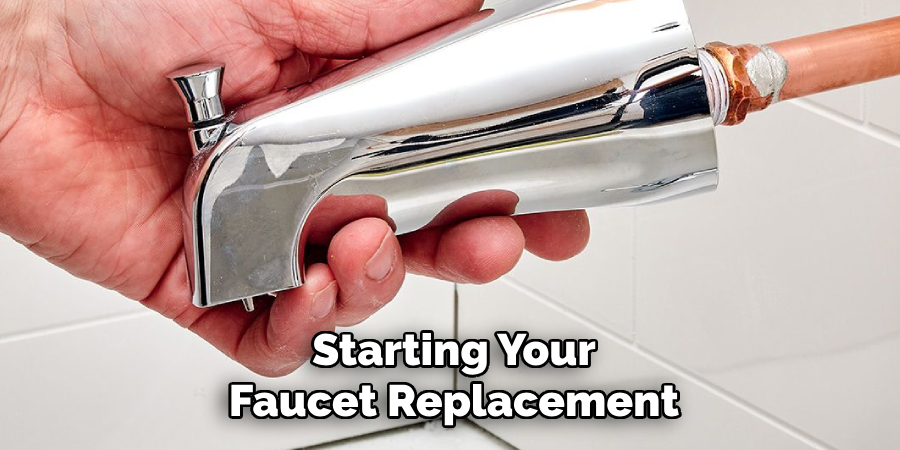
Before starting your faucet replacement project, gathering all the necessary tools and materials is essential to ensure a smooth and efficient process.
Essential Tools
- Adjustable wrench
- Screwdrivers (flathead and Phillips)
- Utility knife
- Flashlight
- Pipe wrench
- Bucket
- Towels
These tools will help you handle common tasks like loosening connections, removing old parts, and managing water spills effectively.
Optional Tools for Advanced Access
If you need to create or expand access, consider the following tools:
- Oscillating tool
- Drywall saw
These tools are handy if you need to cut through drywall or other materials to reach hidden plumbing.
Replacement Faucet Kit
Before you begin, ensure you have a replacement faucet kit that is compatible with your current setup. Double-check sizes, styles, and any additional components required for proper installation. Having all materials ready will save time and prevent unnecessary interruptions.
Exploring Alternate Access Points
Access from Below
If the tub is on the second floor, consider checking the ceiling below for potential entry options. Access from below can often provide a more direct route to plumbing components without disturbing the tub or surrounding walls.
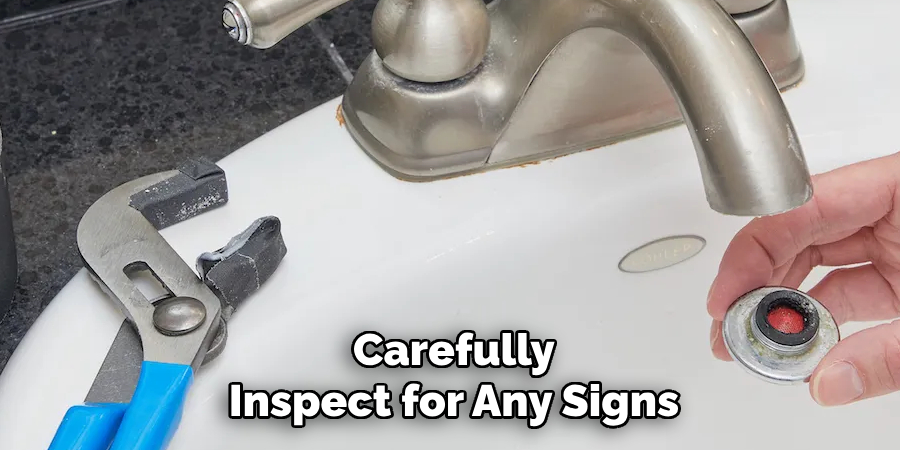
Carefully inspect for any signs of damage or leaks that might guide you to the problem area. Be mindful of utilities like electrical wiring when planning to cut into ceilings, and use appropriate tools for precise work.
Adjacent Rooms or Closets
As another option, you can investigate creating an access panel in the wall of an adjacent room or closet. This approach allows behind-the-scenes access to plumbing connections without disrupting the bathroom’s primary aesthetic. Look for relatively inconspicuous areas that won’t detract from the layout of the neighboring space. Once finished, access panels are easy to cover or disguise, ensuring minimal disruption to surrounding rooms.
Deck-Mounted Faucets
If your faucet is positioned on the tub deck, explore removing the trim or tile around it to gain access. This can be an effective method for addressing leaks or installing new components.
Exercise caution when removing materials to avoid excessive damage to surrounding surfaces. Use tools suited for precise and careful work, and consider consulting an expert if the tub deck materials are particularly fragile or intricate.
How to Replace Garden Tub Faucet Without Access Panel: Removing the Old Faucet
Shut Off the Water Supply
Before starting, ensure the water supply to the faucet is completely turned off. Locate the individual shut-off valves for the faucet. If these are not accessible, you may need to turn off the main water supply for the house. Open the faucet to release any remaining water pressure, allowing it to drain fully before proceeding with the removal process.
Loosening Connections
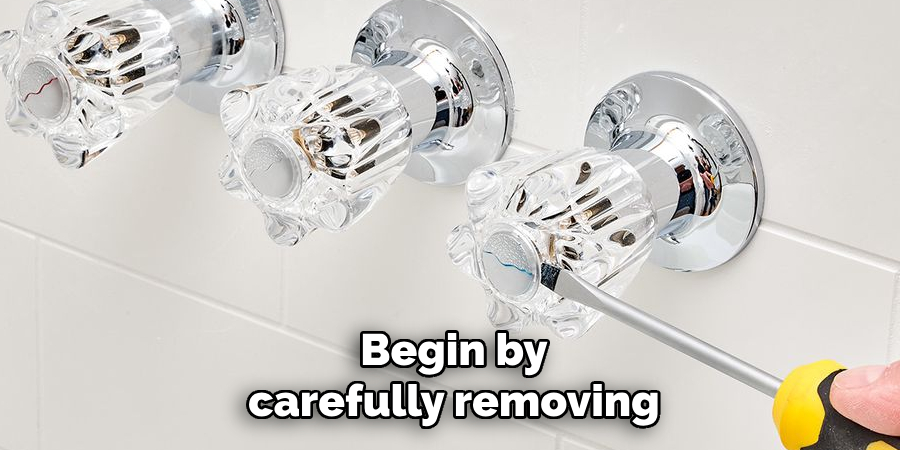
Begin by carefully removing the faucet handles and spout. Depending on the design, most handles can be unscrewed or pried off, so inspect them to determine the proper method.
Once removed, use an adjustable wrench to loosen the supply line connections carefully. If the connections are visible and accessible from above, proceed cautiously to avoid damaging nearby plumbing fixtures or fittings. Be prepared for any residual water that might leak out during this step.
Dealing with Sealed or Concealed Hardware
Sealed hardware secured with silicone or caulk requires extra attention. Use a utility knife to carefully cut through the sealant surrounding the base of the faucet to minimize damage to adjoining surfaces.
Check for any hidden mounting screws, which caps or decorative features may cover. Pry off these covers gently to reveal the screws, and then loosen them to free the faucet components. Pay close attention to avoid scratching or chipping materials, particularly on more fragile or decorative installations.
Installing the New Faucet
Positioning the New Faucet
Begin by aligning the new faucet with the existing mounting holes in the sink or countertop. Ensure the fixture is positioned correctly before proceeding, as this will guarantee proper function and aesthetic alignment. Double-check that the gaskets or rubber seals that came with the faucet are in place to prevent leaks.
Securing the Faucet
Once the new faucet is positioned, secure it by tightening the mounting nuts from below. Use a faucet tool or a deep socket wrench to reach and tighten the hardware securely. Avoid overtightening, as this could damage the sink or faucet components. Ensure that the faucet sits firmly without wobbling before moving on to the next step.
Reconnecting the Water Supply
Reattach the hot and cold water supply lines to the corresponding inlet pipes on the faucet. Use an adjustable wrench to ensure tight connections, but avoid over-torquing, which can strip the threads. If the connections are threaded, apply plumber’s tape to the threads for an extra layer of leak protection.
Testing the Faucet
After securing all connections, slowly turn the water supply back on to check for leaks at the connections. Test the faucet by running hot and cold water to confirm proper flow and mixing. Adjust accordingly if any issues arise, ensuring the faucet operates smoothly and without leaks. Once satisfied, wipe down the fixture and the surrounding area to complete the installation.
Creating a Future Access Panel
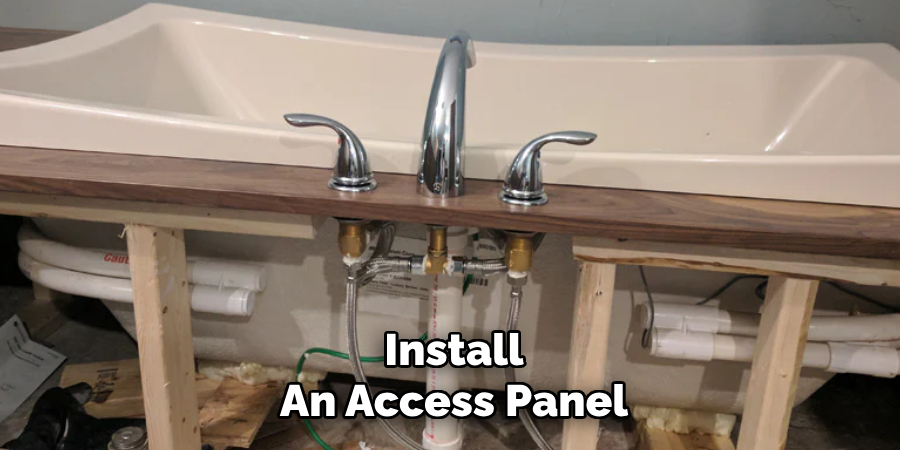
Installing an access panel behind your faucet is a practical step that saves time, money, and effort for future repairs or maintenance. Access panels provide direct entry to plumbing connections, preventing the need to cut into walls during repairs.
This makes the process faster and safer and reduces the cost associated with fixing or replacing damaged drywall. By planning ahead and creating this panel, you ensure that future maintenance will be significantly more efficient and less disruptive.
How to Add One
To install an access panel, locate the area behind the faucet. This is typically on the opposite side of the wall from the fixture. Measure and mark a section of drywall large enough to reach the plumbing comfortably. Carefully cut the drywall using a keyhole saw or utility knife. Next, install a plastic or metal access panel cover that fits snugly within the cutout.
These covers are readily available at hardware stores and are designed for easy installation. Finally, paint or finish the access panel cover to match the surrounding wall for a neat and discreet appearance. With this simple addition, you’ll be better prepared for any necessary plumbing work in the future.
Conclusion
Replacing a garden tub faucet without an access panel is undoubtedly more involved, but it is manageable with proper planning and care. Key steps include shutting off the water supply, carefully inspecting for hidden access options, and cutting the wall when necessary.
To streamline future maintenance, creating a permanent access panel is highly recommended. This proactive addition will save time and effort in the long run. By following these tips on how to replace garden tub faucet without access panel, you can tackle the task efficiently and ensure a neat, professional result.

