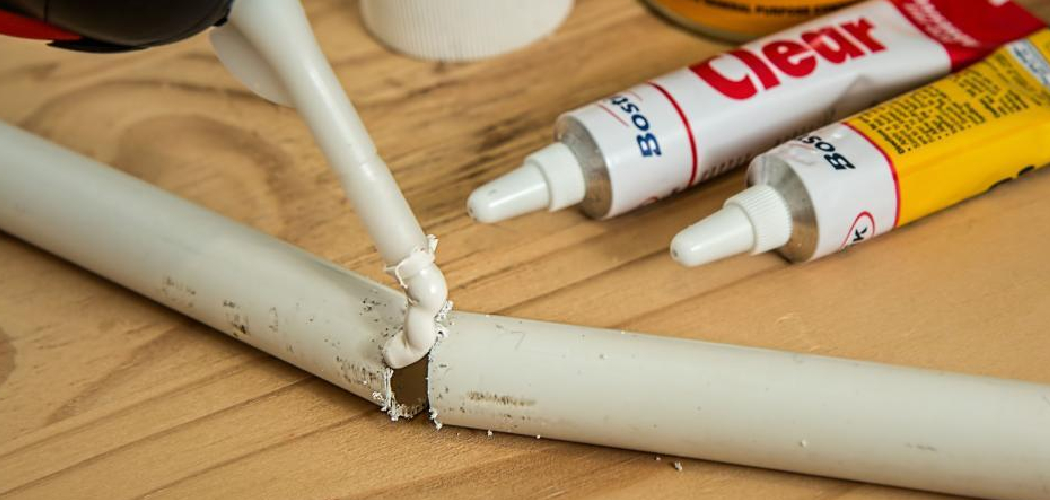
When working with PVC water pipes, properly gluing the joints is crucial to ensure leak-proof connections that can withstand water pressure. Whether you’re tackling a DIY plumbing project or making minor repairs, understanding the correct method for gluing PVC pipes can save you time, money, and potential frustration. This guide will walk you through the essential steps and tips for how to glue PVC water pipe.
Importance of Proper Gluing for a Leak-Proof Connection
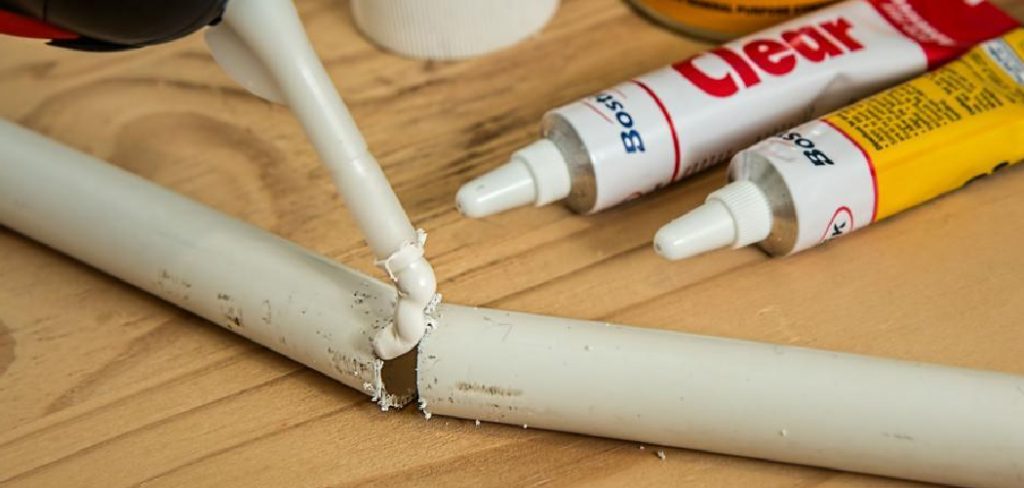
Properly gluing PVC water pipes is essential to creating a secure, leak-proof connection that can handle the demands of water flow and pressure. Incorrectly glued joints can result in weak connections, leading to leaks, water damage, and costly repairs.
By ensuring a thorough and precise application of PVC primer and cement, you create a strong chemical bond between the pipe and fitting, effectively sealing the joint. This bond not only prevents leaks but also enhances the durability and longevity of your plumbing system, giving you peace of mind and reducing the chances of future maintenance issues.
Tools and Materials You’ll Need
To properly assemble PVC pipes and ensure secure connections, you’ll need the following tools and materials:
- PVC Pipes and Fittings – Ensure the correct size and type for your project requirements.
- PVC Primer – Used to clean and prepare the pipe and fitting surfaces for bonding.
- PVC Cement – Essential for creating strong and watertight joints.
- Pipe Cutter or Hacksaw – For cutting the PVC pipes to the desired length.
- Deburring Tool or Sandpaper – To smooth the edges of cut pipes and remove burrs.
- Measuring Tape – To measure the pipes accurately for precise cuts.
- Marker or Pencil – To mark the pipe where it needs to be cut or aligned.
- Clean Cloth or Rag – To wipe away any dust, debris, or excess primer and cement.
- Protective Gloves – To protect your hands while handling chemicals like primer and cement.
Having all these tools and materials ready beforehand will help streamline the process and ensure a successful installation.
10 Methods How to Glue PVC Water Pipe
1. Select the Correct Pipe and Fittings for the Job
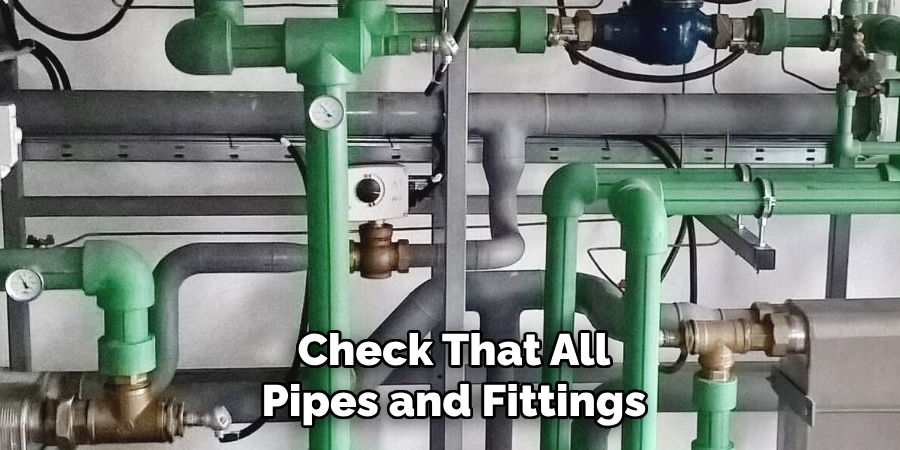
Before any glue or primer comes into play, selecting the right type and size of PVC pipe and fittings is essential. Schedule 40 PVC is the most common for residential water supply lines, offering good pressure resistance and compatibility with most home systems.
Check that all pipes and fittings are clean, undamaged, and rated for potable water if applicable. Dry-fit the entire assembly beforehand to ensure all pieces connect properly and the layout flows as planned. Misaligned or mismatched parts can cause undue strain on joints and lead to early failure.
2. Cut the Pipe Cleanly and Squarely
Accurate cuts are vital for strong, leak-free PVC joints. Use a PVC ratcheting cutter, fine-toothed saw, or miter box to make smooth, square cuts. Avoid angled or jagged cuts, as they reduce the bonding surface and can create gaps in the joint. After cutting, inspect the pipe ends to ensure they’re free of cracks or deformations. If you’re cutting multiple pipes, measure twice and label each segment to keep your installation organized and efficient.
3. Deburr and Chamfer the Pipe Ends
Once cut, use a deburring tool, utility knife, or sandpaper to remove any sharp edges or plastic burrs from the inside and outside edges of the pipe. Chamfering—the act of slightly beveling the outer edge of the pipe end—helps guide the pipe into the fitting and prevents the glue from being scraped off during insertion. These small details improve flow, reduce turbulence in the line, and allow a more uniform application of the solvent cement, creating a better overall seal.
4. Clean the Pipe and Fittings Thoroughly
Clean surfaces are crucial for good solvent welding. Use a clean, dry cloth or paper towel to remove any dust, grease, dirt, or moisture from both the pipe end and the fitting socket.
For oily or greasy surfaces, use a PVC pipe cleaner or rubbing alcohol before proceeding. Even small amounts of dirt or moisture can weaken the chemical bond formed by the solvent cement, leading to joint leaks down the line.
5. Use PVC Primer to Prep the Surfaces
Primer is often overlooked but plays a critical role in ensuring a permanent bond. Apply a generous coat of purple or clear PVC primer to both the outside of the pipe and the inside of the fitting socket.
This softens and cleans the surfaces, allowing the solvent cement to chemically fuse the pieces. Let the primer sit for a few seconds but don’t allow it to dry completely—apply cement while the surfaces are still damp for optimal adhesion.
6. Apply PVC Cement Evenly and Quickly
Using a brush attached to the cement can lid or a separate applicator, apply an even layer of PVC solvent cement to the primed areas—first to the pipe, then to the fitting. Work quickly but carefully, as the cement begins softening the plastic immediately and sets fast.
Avoid using too little, which can cause a weak bond, or too much, which can puddle inside the joint and cause flow restrictions. Be sure to use cement that matches the type and schedule of pipe you’re using (e.g., medium-body cement for Schedule 40).
7. Push and Twist the Pipe into the Fitting
Immediately after applying the cement, insert the pipe into the fitting socket with a quarter-turn twist. This twisting motion helps evenly spread the cement and ensures full contact between the surfaces. Push the pipe in as far as it will go—usually until it bottoms out inside the fitting. Hold the joint in place firmly for 30–60 seconds, as the pieces may try to push apart due to pressure from the cement and the snug fit.
8. Wipe Away Excess Cement Immediately
Once the joint is set and held in place, quickly wipe away any excess solvent cement that oozes out around the joint. Use a clean rag or paper towel. Excess cement doesn’t contribute to the strength of the bond and can create a mess, trap dirt, or even damage nearby materials. This also gives your work a clean, professional appearance. Be careful not to disturb the joint itself while wiping—it still needs to fully cure.
9. Allow the Joints to Cure Properly Before Pressurizing
Curing time is crucial. While solvent-welded joints bond quickly, they require a full curing period to reach maximum strength. For low-pressure or non-pressurized applications, a 15-minute wait may suffice, but for pressurized lines, wait at least 2 hours—longer if the temperature is below 60°F (15°C) or if humidity is high. Some manufacturers recommend up to 24 hours for full cure before pressure testing. Always refer to the cement manufacturer’s instructions for precise cure times.
10. Pressure Test the System After Curing
After curing, it’s time to test the integrity of your plumbing system. Pressurize the line with water or air (if permitted by local codes) and check all joints for leaks. Look for drips, seepage, or any loss of pressure. If a leak is found, you’ll need to cut out the joint and replace it, as solvent-welded joints cannot be re-glued or resealed. Take your time with testing—it’s the final check that ensures your glued PVC water pipe system is leak-free and ready for long-term use.
Things to Consider When Working with PVC Pipes
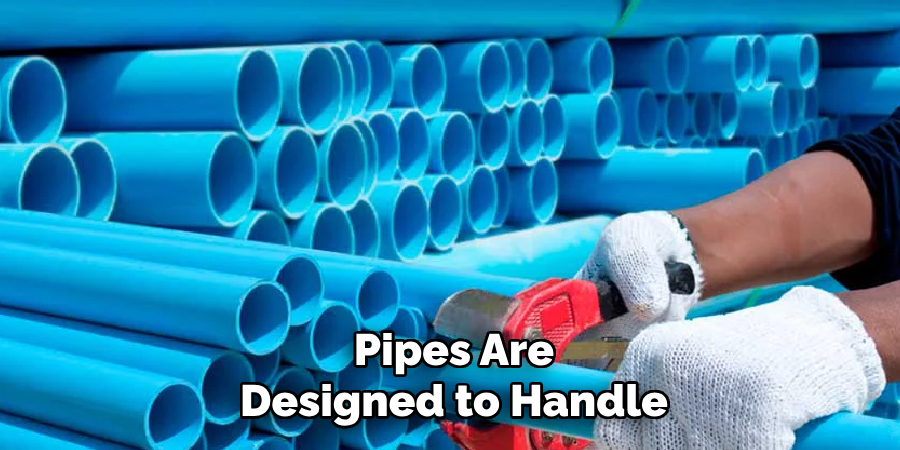
When working with PVC pipes, there are several important factors to keep in mind. First, always choose the correct type of PVC pipe and fittings for your specific project, as different pipes are designed to handle varying pressures, temperatures, and applications. Make sure to use high-quality solvent cement and primer to ensure proper adhesion and a secure bond.
Additionally, measure and cut your pipes accurately, using the right tools to create clean, even edges. Always follow local building codes and regulations to ensure compliance and safety. Finally, work in a well-ventilated area, as the fumes from primer and cement can be harmful if inhaled in enclosed spaces. Taking these considerations into account can significantly improve the reliability and longevity of your plumbing system.
Conclusion
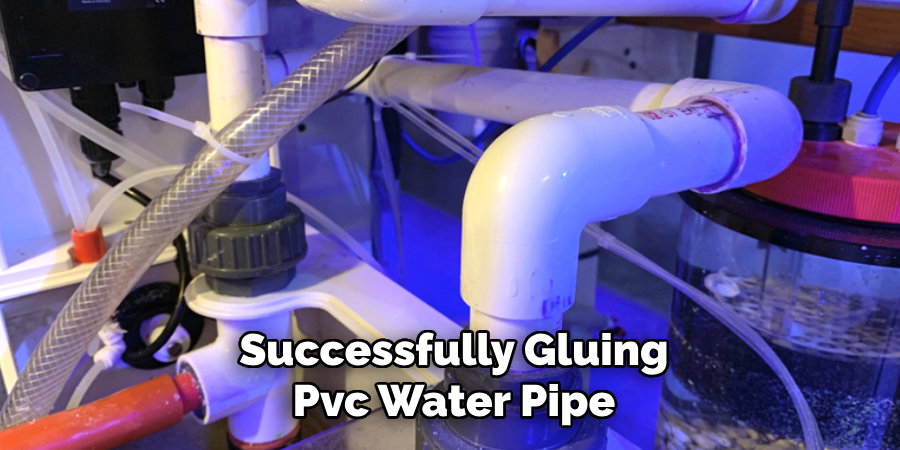
Successfully gluing PVC water pipe involves more than just sticking parts together—it’s a methodical process that requires preparation, proper tools, and attention to detail. From choosing compatible materials and cutting square ends to applying primer and cement correctly, every step contributes to a solid, watertight joint.
Rushing through the process or skipping steps like deburring or curing can lead to leaks, poor flow, or costly repairs. But by following these ten elaborated methods, you’ll achieve strong, lasting connections that can handle years of water use and pressure without fail.
Whether you’re tackling a backyard irrigation system or plumbing an entire bathroom, mastering the art of solvent welding PVC is a valuable skill for any builder or DIY enthusiast. So, there you have it – a quick and easy guide on how to glue PVC water pipe.

