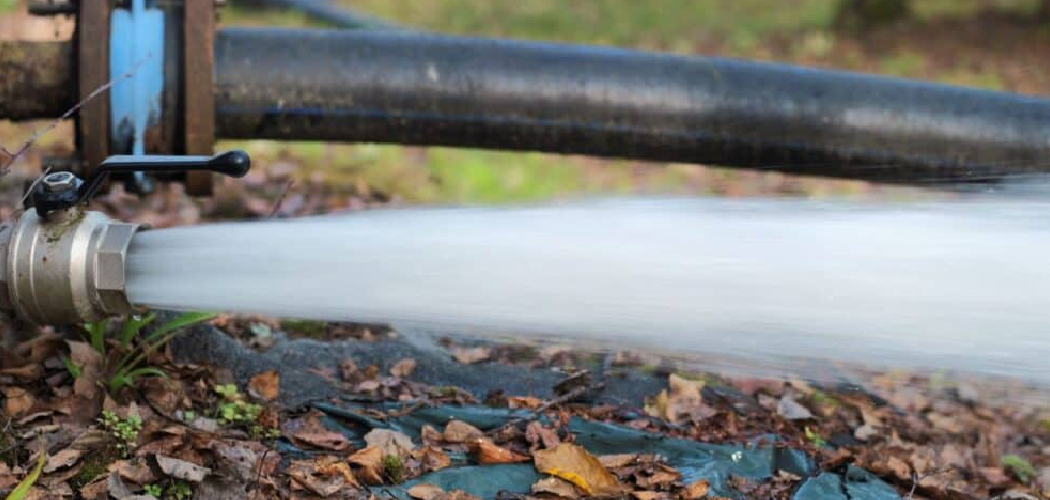
Water main breaks can cause severe disruptions, leading to water outages, low pressure, and even property damage. Identifying the location of a water main break quickly is essential to minimize its impact and ensure timely repairs. Whether you’re a homeowner, a property manager, or part of a maintenance team, understanding the signs and methods to pinpoint a water main break can save time, reduce costs, and prevent further damage. This guide will provide you with practical steps and insights of how to locate a water main break efficiently.
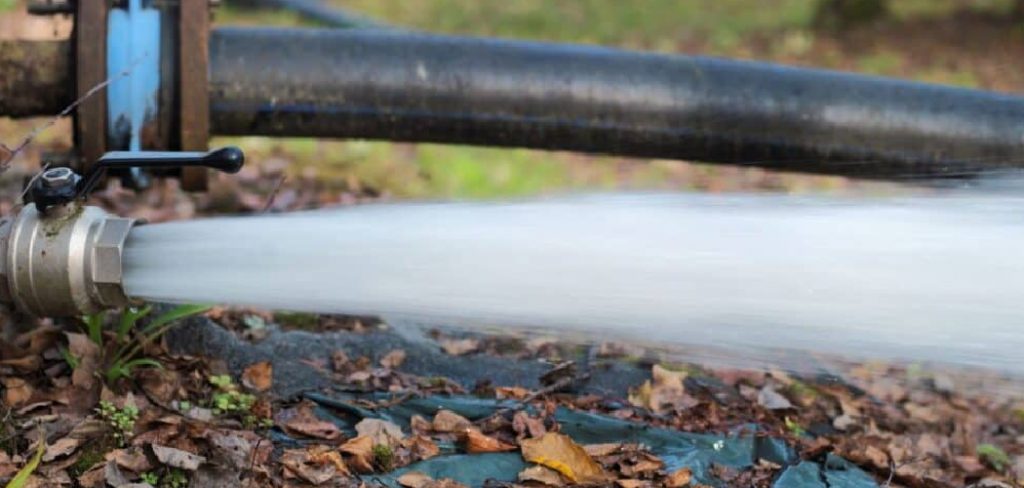
What Causes a Water Main Break?
Water main breaks can occur due to a variety of factors, often stemming from environmental conditions or infrastructure-related issues. One of the most common causes is aging pipes. Over time, pipes become weakened due to corrosion, wear, and material degradation, making them more susceptible to cracks and ruptures. Extreme weather changes, such as freezing temperatures, can also lead to breaks as water expands when it freezes, increasing pressure within the pipes.
Additionally, ground shifting caused by nearby construction or natural events such as earthquakes can strain and damage water mains. High water pressure or sudden pressure changes, known as water hammer, can also contribute to pipe failures. Understanding these causes is crucial for implementing preventative maintenance and ensuring the longevity of water infrastructure.
Early Warning Signs of a Water Main Break
Identifying the early warning signs of a water main break can help mitigate damage and reduce repair costs. One common indicator is a sudden drop in water pressure, which may signal a leak or obstruction in the pipe. Discolored or cloudy water can also be a sign, as sediment or debris may enter the supply due to a crack in the water main.
Unexplained water pooling on streets or in yards, especially during dry weather, suggests a potential underground leak. Additionally, hearing unusual noises, such as banging or gurgling, in plumbing systems can indicate pressure irregularities linked to a compromised water main. Noticing these signs early and reporting them to the appropriate authorities is vital to prevent widespread issues.
10 Methods How to Locate a Water Main Break
1. Monitor Sudden Drops in Water Pressure Across the Area
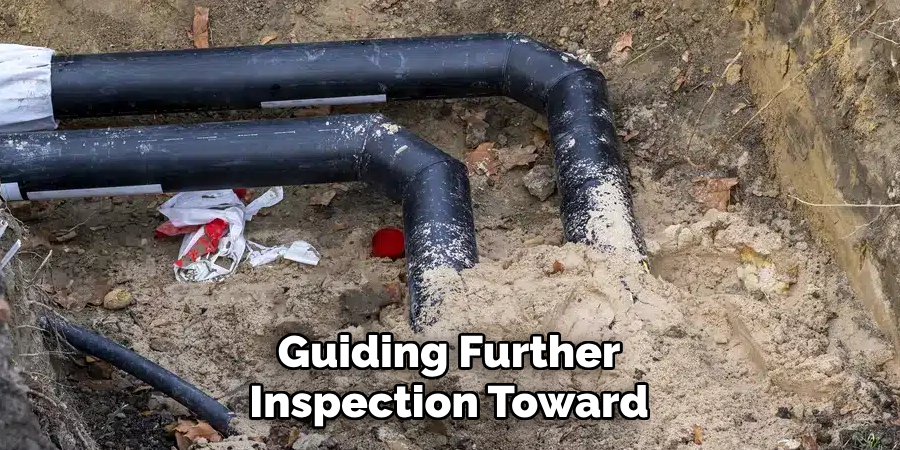
One of the earliest signs of a water main break is a noticeable drop in water pressure. If residents or building occupants in a certain area simultaneously experience weak or no water flow, this may indicate a nearby rupture in the main line.
Start by confirming pressure levels at multiple locations—use pressure gauges at hose bibs or kitchen faucets across the neighborhood or building. A centralized loss of pressure suggests the break is upstream of all affected locations. This method narrows the scope quickly, guiding further inspection toward the source.
2. Listen for Unusual Water Sounds Beneath Streets or Sidewalks
Sound can be an effective detection tool when searching for a water main break. In quiet conditions, use an acoustic listening device or even a mechanic’s stethoscope to detect unusual sounds such as hissing, rushing, or bubbling beneath the ground. Water under pressure escaping from a crack in the main will often generate a distinct noise that resonates through soil and pavement. Walk the suspected line of the main slowly and listen at regular intervals, particularly near valves, hydrants, and service line connections.
3. Check for Water Pooling in Unusual Areas
Pooled water in unexpected places—such as street gutters on dry days, sidewalk joints, or soggy patches of grass—can be a visual clue that a water main has ruptured underground. Unlike rainwater or surface runoff, water from a main break often continues to flow steadily. Document the spread, temperature, and clarity of the water. If the water is clean and steady, it’s likely a water main issue rather than a sewer leak or storm drain overflow. Look for flow paths downhill from the suspected location as water often surfaces away from the break point.
4. Use Dye Testing to Trace Water Flow Direction
To verify that a certain body of surface water is connected to a water main break, you can perform a dye test. Introduce a small amount of harmless colored dye into the suspected main line, or coordinate with the water utility if dye testing is part of their standard protocol. Then observe nearby standing water for the presence of the dye, which may appear downstream or through cracks in pavement or grass. This method is particularly useful when water is surfacing far from the actual leak, helping confirm the direction of flow.
5. Examine Valve Boxes and Manholes for Water Accumulation
Lift the covers of valve boxes, meter pits, or manholes along the water main route. If a valve box or access point that is usually dry is suddenly filled with water, this may indicate the break is nearby or upstream. Carefully note which valves are affected and which are dry. By creating a grid of wet and dry access points, you can triangulate the most likely location of the rupture. This method is a simple yet effective way to narrow the search area without disturbing the ground.
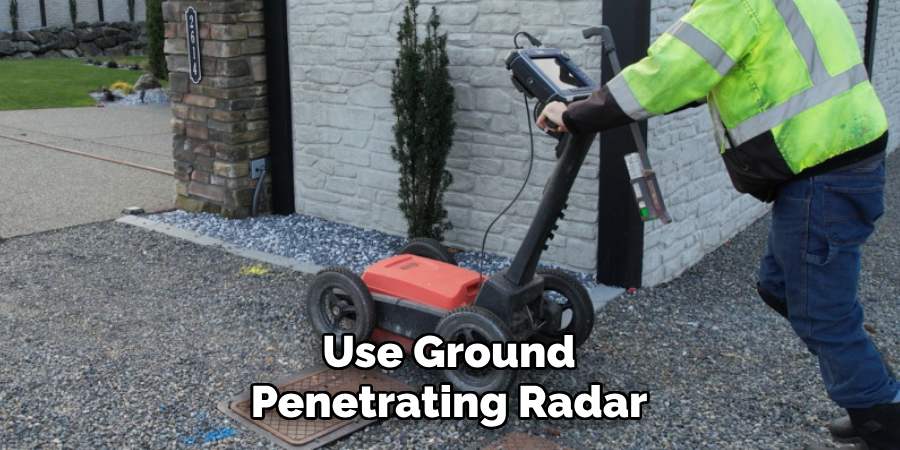
6. Use Ground Penetrating Radar (GPR) or Leak Detection Equipment
For more advanced detection, use ground penetrating radar (GPR) or specialized leak detection sensors. GPR can help map subsurface features and identify voids or wet soil zones caused by escaping water. Leak correlators—devices placed at multiple points along the pipe—can detect the time delay of leak noises and calculate the break’s location with impressive accuracy. Though this method requires technical skill and equipment, it greatly enhances precision and minimizes unnecessary excavation.
7. Observe Changes in Soil or Pavement Condition
Changes in soil consistency, pavement cracking, or the sudden appearance of sinkholes can all signal underground water erosion. Look for lifted asphalt, cracks forming across the road, or grass turning unusually green in concentrated patches. If the soil feels loose, waterlogged, or collapses easily underfoot, it likely means water has been running beneath for some time. These signs are typically more apparent after a few days of undetected leakage and should prompt immediate investigation and response.
8. Use Systematic Valve Isolation to Pinpoint the Break
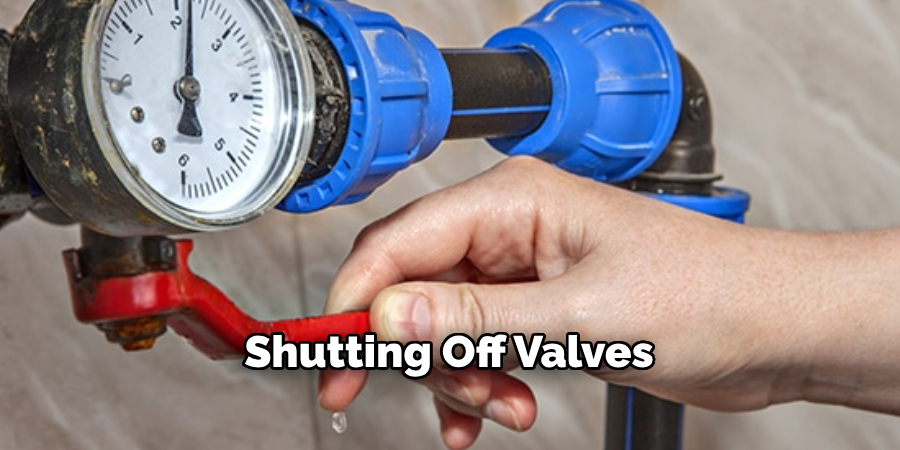
In municipal or large facility systems, closing isolation valves in a systematic way can help locate a break. Start by shutting off valves that control specific sections of pipe. Observe changes in water flow and pressure in surrounding zones. If closing a valve restores pressure in some areas or stops water from surfacing, the break is within the isolated segment. Continue isolating smaller sections until you’ve narrowed the area to a manageable zone for excavation or repair.
9. Interview Witnesses and Track Timing of Reports
Eyewitness accounts can be valuable when trying to locate a break. Ask nearby residents, business owners, or maintenance staff if they observed water appearing, pressure changes, or noises. Note the time of each report and plot the timeline. Often, the first person to notice the issue is closest to the point of failure. Pair these reports with your technical findings to reinforce or redirect your search pattern. Firsthand observations are especially helpful when combined with GPS-logged notes or work orders.
10. Coordinate with Utility Maps and Historical Records
Finally, refer to utility maps or digital infrastructure records to trace the exact layout of the water main in question. Overlay historical leak data or previous repairs with your current observations. Older mains with frequent past issues are more likely to fail again, and weak points such as joints, tees, or material transitions are typical failure spots. Knowing the material and installation age of the pipe can also guide your decision on replacement versus repair, once the break is found.
Things to Consider When Assessing Water Main Breaks
Environmental Impact
Evaluate the immediate and long-term environmental effects of the water main break. Consider the potential for flooding, soil erosion, or contamination of nearby water sources.
Public Safety
Assess risks to public safety, such as road hazards, sinkholes, or reduced access to clean water. Quick action is essential to mitigate these dangers.
Resource Availability
Determine the availability of materials, tools, and personnel required for the repair. Ensure replacement parts, such as compatible pipe sections and fittings, are on hand.
Cost Analysis
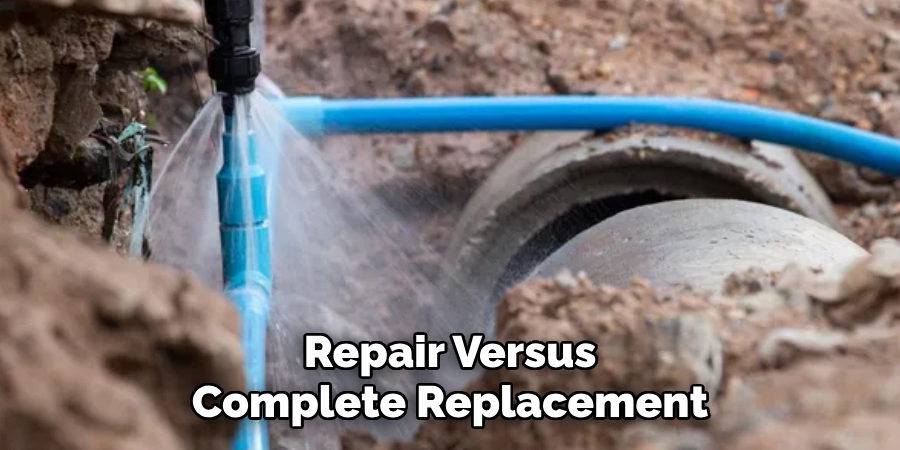
Compare the costs associated with repair versus complete replacement. Factor in labor, materials, and any potential long-term savings from upgrading to more durable infrastructure.
Downtime and Service Interruption
Estimate the duration of the repair process and communicate disruption timelines with affected residents and businesses to minimize inconvenience.
Regulatory Compliance
Ensure that any planned work adheres to local utility codes, environmental regulations, and construction standards to avoid legal or financial penalties.
Conclusion
Locating a water main break involves a mix of observation, strategic analysis, and technical tools. By combining sensory cues, sound detection, pressure data, and environmental clues, you can build a strong case for where the break lies.
Whether you’re a utility technician, plumber, or property manager, these ten methods give you a comprehensive framework for finding the source of a water main leak quickly and accurately. Efficient location reduces downtime, prevents damage, and allows for safe, cost-effective repair operations. So, there you have it – a quick and easy guide on how to locate a water main break.

