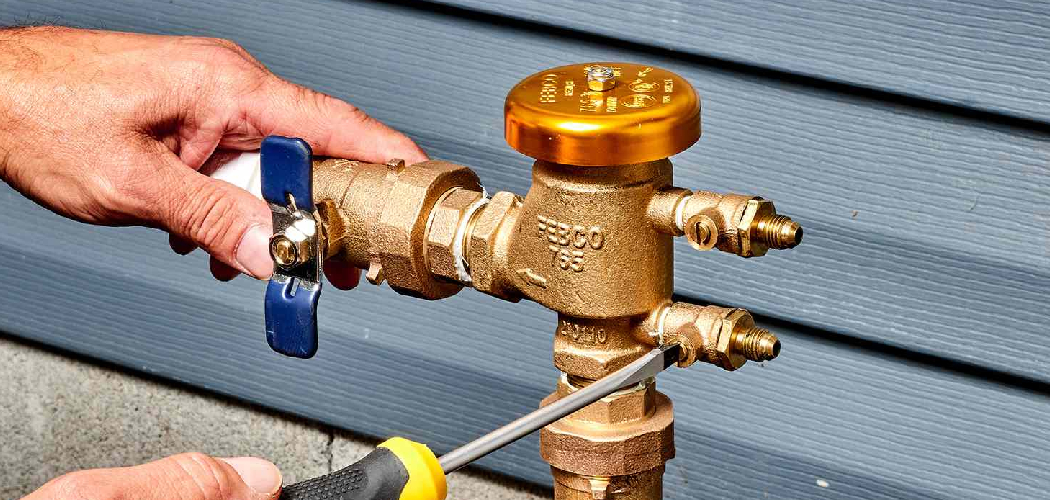
Are you having problems with your sprinkler system? Do you need to extend the coverage of your sprinkler system to reach certain areas in your lawn or garden? Don’t worry; adding an extension piece to your sprinkler system is a simple and easy process.
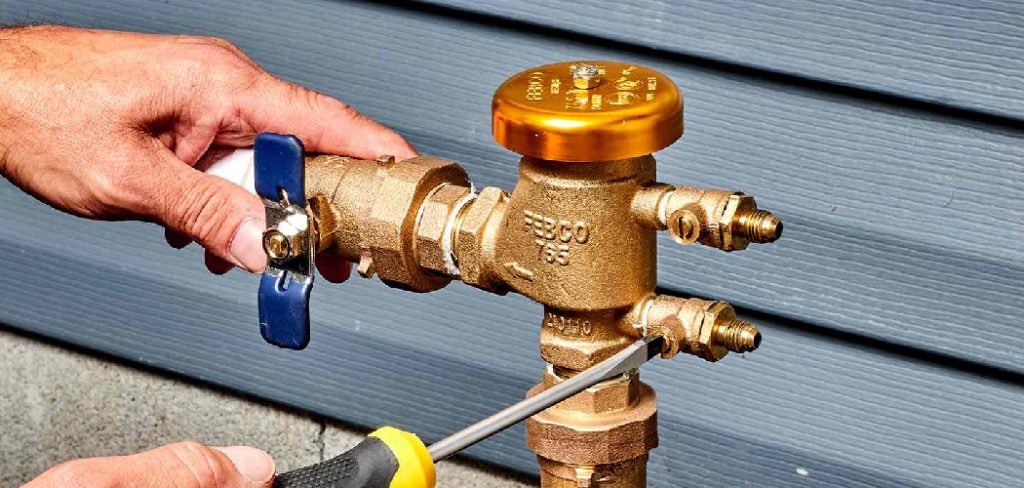
How to add extension piece on sprinkler system can be a practical solution when expanding your lawn irrigation or accommodating changes in your landscaping. This task ensures that your yard receives optimal water coverage, promoting healthy plant growth and efficient irrigation. While the process may seem daunting initially, it is straightforward with the proper tools and guidance.
This guide will walk you through the necessary steps to successfully add an extension piece, helping you maintain a well-watered and vibrant yard.
What Are the Benefits of Adding an Extension Piece to Your Lawn Irrigation System?
Adding an extension piece to your lawn irrigation system offers many benefits for both your yard and you as a homeowner. Here are some of the main advantages:
- Improved Water Coverage: One of the primary benefits of adding an extension piece is improved water coverage for your lawn. By extending the reach of your irrigation system, you can ensure that every corner and crevice of your yard receives adequate hydration.
- Promotes Healthy Plant Growth: With improved water coverage comes healthier plant growth. By evenly distributing water throughout your yard, all plants and grass will have access to the necessary moisture they need to thrive.
- Time-Efficient: Installing an extension piece to your irrigation system can save you time in the long run. Rather than manually watering hard-to-reach areas, your extended system will do the job for you.
- Cost-Effective: While an upfront cost may be associated with purchasing and installing an extension piece, it can save you money in the long run. Ensuring that all areas of your yard receive proper hydration can prevent potential damage and costly repairs due to drought or over-watering.
- Easy Installation: Most extension pieces are designed to attach easily to existing irrigation systems, making installation a quick and simple process. This means you won’t have to hire a professional or spend hours trying to set it up yourself.
What Will You Need?
To install an extension piece for your irrigation system, you will need the following materials:
- Extension piece (can vary in size and shape depending on your specific needs)
- Appropriate connectors or adapters to attach the extension piece to your existing system
- Teflon tape (for sealing any connections)
- Hand tools such as pliers or wrenches (if necessary)
It’s important to ensure you have the right size and type of extension piece for your system. You may also need additional tools or materials depending on the complexity of your particular setup.
8 Easy Steps on How to Add Extension Piece on Sprinkler System
Step 1. Turn Off the Water Supply
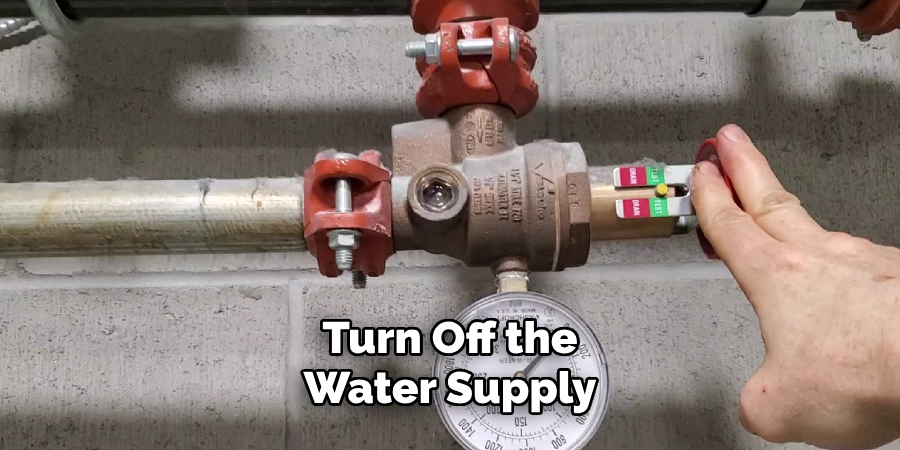
Before you begin, it is crucial to turn off the water supply to your sprinkler system. This step ensures that no water is flowing through the pipes while you’re working, preventing possible leaks or unintended water discharge. Locate the main valve that controls water flow to your sprinkler system—this is often found near your home’s water source or where the system connects to the main line. Turn the valve clockwise to shut the water off completely. To confirm the water is fully turned off, test the system by attempting to activate one of the sprinkler heads. If no water comes out, you can proceed confidently to the next step. Taking the time to secure the water supply keeps your workspace dry and minimizes the risk of damaging your existing system.
Step 2: Release Water Pressure
Once the water supply is shut off, releasing any remaining pressure in the sprinkler system is essential. Locate the main drain valve or use the manual drain valves found on the individual sprinkler lines. Open the valve slowly to allow any trapped water to escape. This step ensures that the system is completely depressurized, preventing unwanted leaks or spills while you work on repairs or installations. Be sure to have a bucket or towel nearby to catch any water that may come out during the process.
Step 3: Inspect the Sprinkler System
After relieving the pressure, carefully inspect the sprinkler system for any visible signs of damage or wear. Check for cracked pipes, clogged sprinkler heads, or loose connections that need tightening or replacement. Look for any debris or dirt buildup that could obstruct water flow. This thorough inspection ensures that all components are functioning correctly and helps identify any issues that need to be addressed before proceeding with further maintenance or repair tasks.
Step 4: Flush the System
Flushing the system is a crucial step in maintaining the efficiency and longevity of your sprinkler system. Begin by gradually turning on the water supply to allow a steady flow through the pipes. This process helps remove any residual debris, dirt, or mineral buildup that could cause blockages or hinder the system’s performance. Start by flushing individual zones individually, ensuring each valve or sprinkler head disperses water without obstructions. Pay attention to the water clarity; persistent discoloration or reduced pressure may indicate underlying problems within the pipes.
Step 5: Inspect and Test Each Component
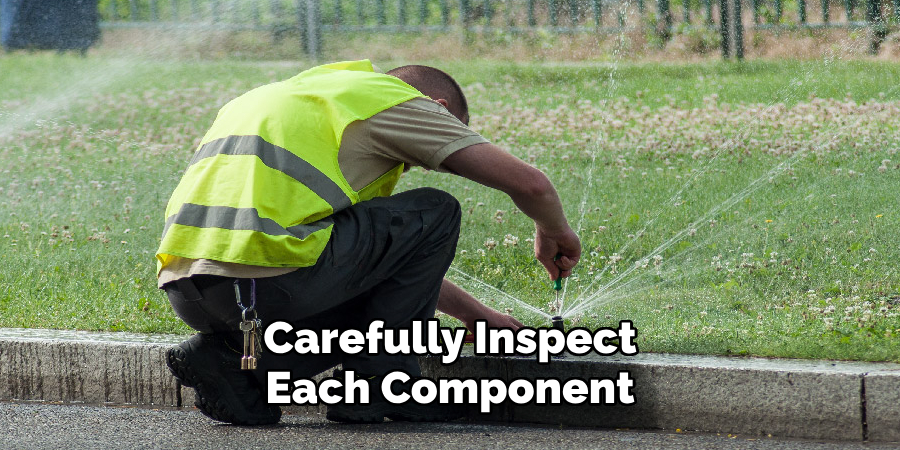
After flushing the system, carefully inspect each component for signs of wear or damage. Check the sprinkler heads to ensure they are free from cracks, clogs, or misalignment. Adjust their positions if necessary to ensure even water distribution. Next, test the valves and timers to confirm they function correctly and synchronize with your irrigation schedule. Replace or repair any faulty parts to optimize the system’s efficiency and prevent water wastage.
Step 6: Adjust Water Pressure
Ensure the water pressure in your irrigation system is set to the recommended level for optimal performance. Excessive pressure can damage sprinkler heads and lead to uneven water distribution, while insufficient pressure may prevent certain areas from receiving adequate water. A pressure gauge is used to measure the system’s pressure, and the adjustment is made using a pressure regulator if needed. Proper water pressure helps maintain the efficiency and longevity of your irrigation system.
Step 7: Monitor and Adjust Your Irrigation Schedule
Once your irrigation system is set up and running, monitoring and adjusting your watering schedule is essential. This will ensure that your plants receive the proper water for their needs.
Keep an eye on weather patterns and adjust your schedule accordingly. If there has been a significant amount of rain, you may need to decrease the frequency or duration of your watering sessions. On hot and dry days, you may need to increase them.
Additionally, pay attention to any changes in plant growth or health. If certain areas look wilted or yellowing, it may be a sign that they are not receiving enough water. Adjust your irrigation schedule to target these areas more specifically.
Step 8: Keep Track of Your Water Usage
Monitoring your water usage is essential for both environmental and financial reasons. You can identify potential issues with your irrigation system or watering habits by tracking how much water you use.
Installing a flow meter on your main irrigation line is one way to track your water usage. This device measures the water flowing through the line and can help detect leaks or malfunctions.
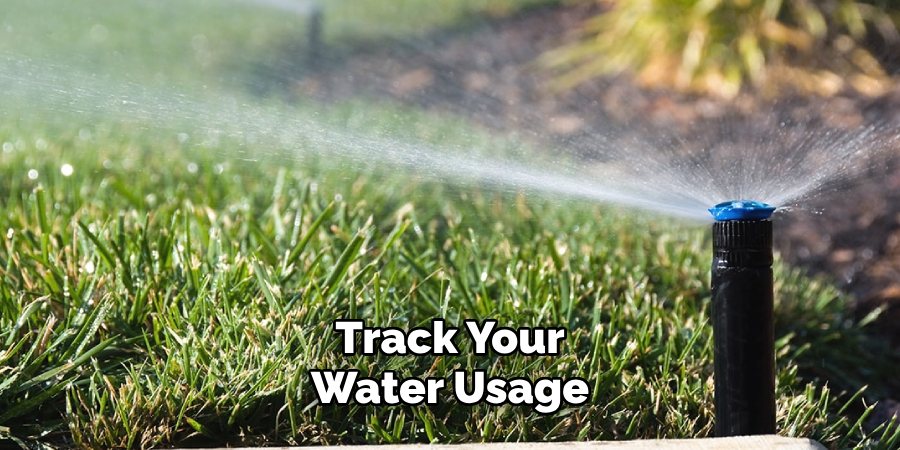
You can also keep a record of when and for how long you run your irrigation system and any adjustments you make to it. This will allow you to analyze patterns and make informed decisions about your watering schedule.
By following these tips and utilizing technology, you can effectively manage your water usage for a healthier lawn and garden while conserving this valuable resource.
5 Things You Should Avoid
- Skipping Compatibility Checks: Always ensure your purchase extension piece is compatible with your existing sprinkler system. Using incompatible parts can lead to malfunctions or leaks, resulting in inefficient watering and costly repairs.
- Ignoring Proper Measurements: Failing to measure pipe lengths and spacing accurately can result in improper installation, causing gaps or misalignment. Precision is key to maintaining even water distribution in your system.
- Overtightening Connections: While it’s essential to secure connections tightly, overtightening can damage the threads or fittings, leading to cracks and eventual leaks.
- Neglecting to Turn Off the Water Supply: Always switch off the water supply before starting any modification. Forgetting this step can cause flooding and water waste, complicating the installation process.
- Skipping Testing After Installation: Once the extension is added, testing the system for proper operation is crucial. Skipping this step could leave undetected leaks or inadequate water pressure, harming your lawn or garden.
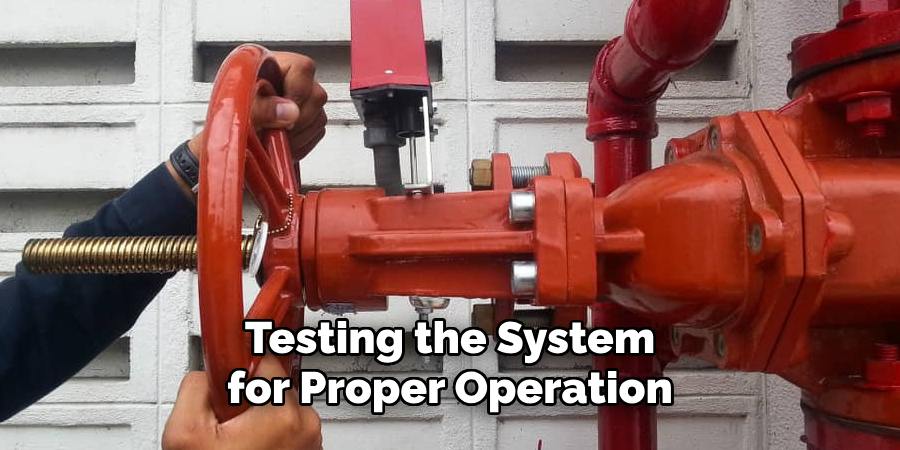
By avoiding these common mistakes, you can ensure a smooth, efficient, and successful upgrade to your sprinkler system.
Conclusion
How to add extension piece on sprinkler system can significantly enhance its efficiency and capability when done correctly.
By carefully planning, selecting the right materials, and avoiding common mistakes, you can ensure the installation is practical and durable. Remember to measure your lawn’s needs, properly connect the components, and test the system after installation to guarantee optimal performance.
With these steps in mind, you can expand your sprinkler system while maintaining its reliability and functionality for years.

