Are you tired of experiencing water shortages or delays in supply? Do you want to have a constant and reliable source of water for your household, farm, or business?
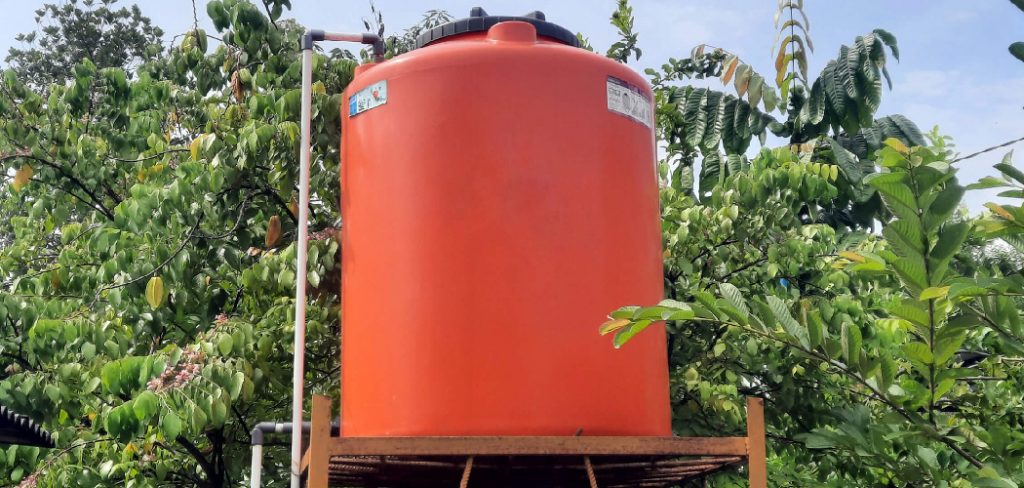
Building a water storage tank is a crucial project for anyone looking to conserve water, prepare for emergencies, or maintain a stable water supply. Whether for residential, agricultural, or industrial purposes, a well-designed water tank can provide a reliable solution for storing and managing water resources.
This guide on how to build a water storage tank will walk you through the fundamental steps of constructing one, covering planning, material selection, and assembly. With careful preparation and attention to detail, you can create a durable and efficient tank tailored to your specific needs.
What are the Benefits of Building a Water Storage Tank?
Building a water storage tank offers numerous benefits for both individuals and communities. These include:
- Water Conservation: A well-designed water storage tank can help you save and conserve water resources, especially in areas with limited access to the regular water supply.
- Emergency Preparedness: In times of emergencies such as natural disasters or disruptions in the main water supply, having a reliable water storage tank can provide you with an alternative source of clean drinking and household water.
- Cost Savings: Building your own water storage tank can be a cost-effective solution compared to purchasing pre-made tanks. Additionally, proper maintenance and management of the tank can also lead to long-term cost savings on water bills.
- Sustainable Living: By collecting and storing rainwater, you are practicing sustainable living by reducing your reliance on the mains water supply. This also helps conserve the environment and promotes eco-friendly practices.
- Irrigation Purposes: In addition to household use, a water storage tank can also be used for irrigation. You can collect rainwater during the wet seasons and use it to water your garden or crops during dry periods, providing a consistent water source for your plants.
- Versatility: Water storage tanks come in various sizes and shapes, making them versatile for different settings. Whether you have limited space in your backyard or need a larger tank for commercial use, there is a suitable option for your specific needs.
What Will You Need?
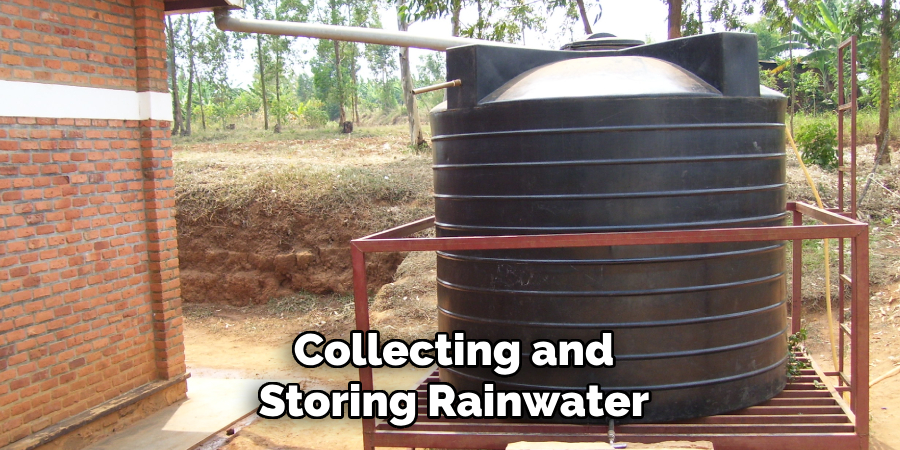
- Water Storage Tank: The first and most important item you will need is a water storage tank. You can choose from different materials such as plastic, steel, concrete, or fiberglass, depending on your budget and intended use.
- Pump System: To access the stored water, you will need a pump system. This can be a manual hand pump for smaller tanks or an electric pump for larger tanks.
- Rainwater Collection System: If you plan on using your tank for rainwater harvesting, you will need a rainwater collection system. This typically includes gutters and downspouts connected to the tank.
- Filtering System: It’s essential to filter the water stored in your tank to remove any debris or contaminants. This can be done through a simple filter attached to the tank’s outlet or a more complex filtration system for larger tanks.
10 Easy Steps on How to Build a Water Storage Tank
Step 1. Plan and Choose a Location
When planning and choosing a location for your water storage tank, there are several key factors to consider. First, identify a spot that is both convenient and practical. Ideally, it should be located near the main water collection source, such as gutters or a downspout, to minimize the distance that collected rainwater needs to travel. Additionally, ensure the area is flat and stable to provide a solid foundation for the tank, reducing the risk of tipping or structural damage.
Step 2. Determine the Tank Size
Determining the appropriate tank size is a critical step in water storage planning, as it depends on several factors, including your water usage needs, the size of your household or operation, and the intended purpose of the water. For example, residential households may need smaller tanks if they only store water for emergency use. In contrast, agricultural or commercial operations often demand significantly larger tanks to support irrigation, livestock, or industrial processes. Additionally, consider seasonal variations in water availability and consumption. If you rely on rainwater harvesting, you may need a larger tank to store water during dry seasons or droughts. It’s equally important to account for your space constraints and budget when selecting the tank size. Investing in the right-sized tank not only optimizes water storage but also ensures long-term cost efficiency and sustainability.
Step 3. Prepare the Foundation
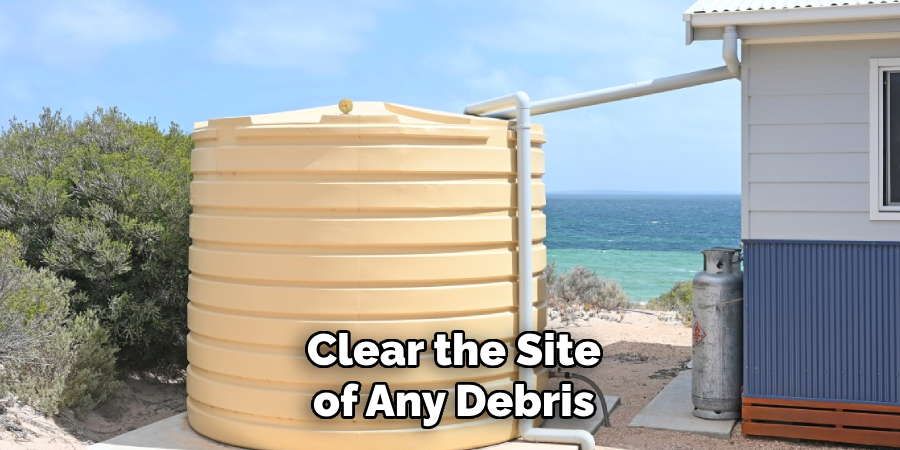
A strong foundation is critical for the stability and longevity of your water tank. Begin by selecting a flat, stable area that is well-drained to prevent water from pooling around the base of the tank. Clear the site of any debris, rocks, or vegetation that could interfere with the foundation’s integrity. For larger tanks, it is advisable to construct a reinforced concrete slab or use a pre-made tank stand to evenly distribute the tank’s weight when full. If using a plastic or smaller tank, a leveled bed of compacted sand or fine gravel may suffice. Proper preparation of the foundation minimizes the risk of tank movement, sinking, or structural damage, ensuring safe and efficient water storage.
Step 4. Gather Materials and Tools
Before starting the installation process, gather all the necessary materials and tools to ensure the task proceeds smoothly. Commonly required materials include the water tank itself, pipe fittings, connectors, sealing tape, and any additional components necessary for your specific setup, such as a first-flush diverter or filtration systems. For tools, you may need a wrench, screwdriver, hacksaw, level, tape measure, and safety equipment such as gloves and protective eyewear. Additionally, if constructing a reinforced foundation, materials such as cement, sand, gravel, and reinforcement mesh should be prepared in advance.
Step 5. Construct the Tank Body
To construct the tank body, begin by assembling the tank components according to the manufacturer’s instructions or your design plan. Ensure all parts are aligned correctly and securely fastened to prevent leaks or structural weaknesses. If you are building the tank from scratch, such as using concrete, create a sturdy framework or mold to shape the tank. Mix and pour the concrete evenly, ensuring no air pockets form, as these can weaken the structure over time. Reinforce the tank walls and base with the prepared reinforcement mesh for added durability.
Step 6. Install the Lid or Cover
Installing the lid or cover is a critical step to ensure the tank remains functional, secure, and protected from external contaminants. Begin by carefully measuring the dimensions of the tank’s opening to ensure the lid fits snugly. If the tank design incorporates hinges or locking mechanisms, attach these components first, ensuring they are aligned correctly and operate smoothly. Use durable, water-resistant materials for the lid, such as metal, reinforced plastic, or treated wood, to withstand environmental conditions over time. Once the lid is in position, check its alignment and seal to prevent any gaps that might allow debris, pests, or moisture to enter.
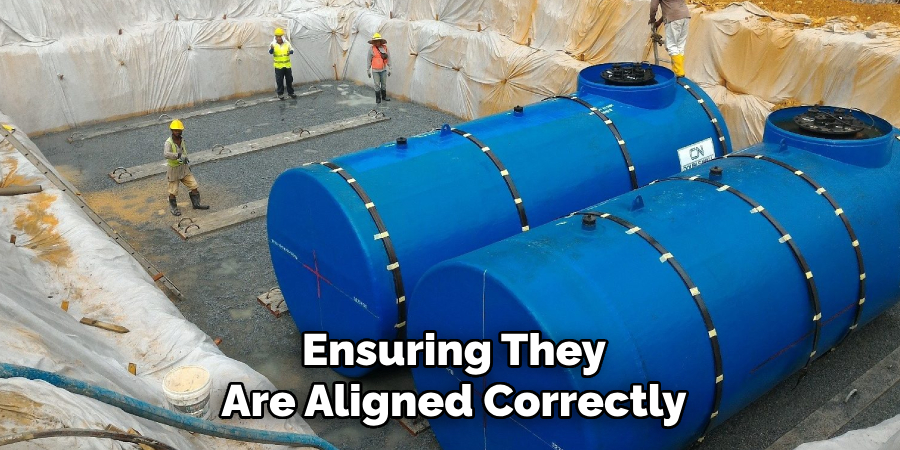
Step 7. Include an Overflow Outlet
An overflow outlet is a crucial feature for ensuring that excess water does not cause damage to the tank or the surrounding area. Begin by selecting a location near the top of the tank for the outlet, as this will allow excess water to escape when the tank reaches its maximum capacity. The outlet should be fitted with a durable pipe or conduit that directs the overflow water away from the tank and toward a designated drainage area, such as a soakaway pit, rain garden, or stormwater drain. To prevent debris or pests from entering the tank through the outlet, install a mesh screen or filter over the opening.
Step 8. Connect the Collection System
Now that the tank is fully installed, it’s time to connect it to your collection system. This system can be a gutter downspout, a French drain, or a PVC pipe network that directs water from various sources, such as rooftop runoff or paved surfaces, into the tank. Connecting the collection system to the tank will depend on the specific design of your water harvesting system.
Step 9. Install a Filtering System
Set up a filtering system to keep the water clean. This can include screens for larger debris, fine filters for smaller particles, and additional treatment systems if the water will be used for drinking or sensitive applications. Additionally, consider installing a first-flush diverter, which redirects the initial, dirty runoff from your collection system away from the tank. This will help prevent sediment and contaminants from entering your tank.
Step 10. Test and Inspect the Tank
After installing your rainwater collection system, it’s crucial to regularly test and inspect the tank to ensure that everything is functioning correctly. This will help identify any issues or potential problems early on, which can save you time and money in the long run.
One important thing to check for is proper drainage from the roof into the gutters and downspouts. Make sure there are no clogs or blockages that could prevent water from reaching your tank.

You should also periodically check the screens and filters in your water collection system to ensure they are clean and functioning effectively. If necessary, these should be cleaned or replaced according to the manufacturer’s instructions.
By following these steps, you’ll have a functional and efficient water storage tank that meets your needs and supports sustainable water use.
Conclusion
How to build a water storage tank requires careful planning, appropriate materials, and regular maintenance to ensure longevity and efficiency.
By selecting the correct location, using quality materials, ensuring proper sealing, and implementing regular inspections, you can create a reliable system to store and conserve water effectively.
A well-constructed water storage tank not only supports your daily needs but also contributes to sustainable resource management, making it a valuable investment for the future.

