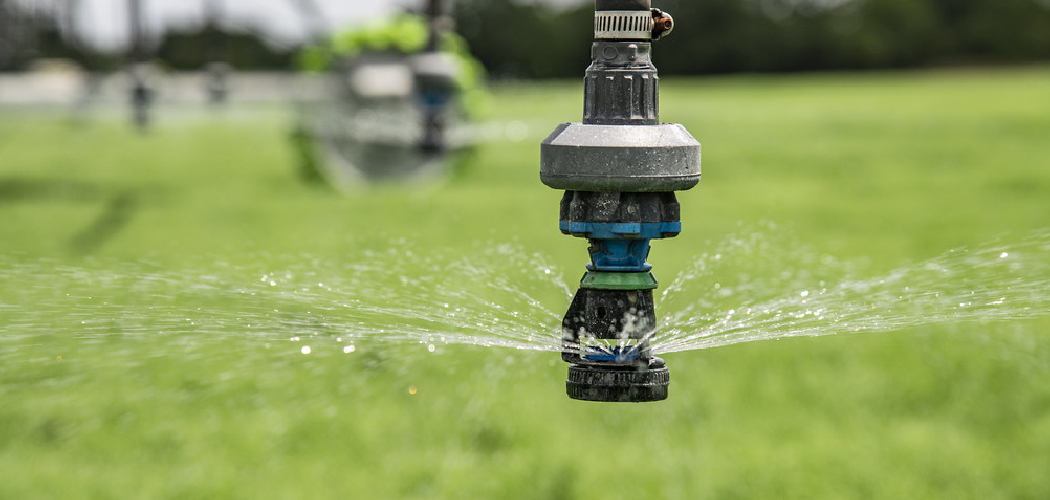
Are you tired of spending countless hours watering your lawn and garden? Don’t worry, many homeowners feel the same way.
Installing an irrigation system can significantly improve the health and efficiency of your garden or landscape by delivering water directly to the roots of plants. A well-designed system conserves water, reduces labor, and ensures consistent watering, leading to healthier plants and lower water bills. Whether you’re installing a drip system, sprinkler system, or soaker hose, proper planning and execution are key. Additionally, proper maintenance is crucial for ensuring the longevity and effectiveness of your irrigation system.
This guide on how to install irrigation systems will walk you through the essential steps to install an irrigation system, ensuring optimal performance and long-term reliability. Let’s get started!
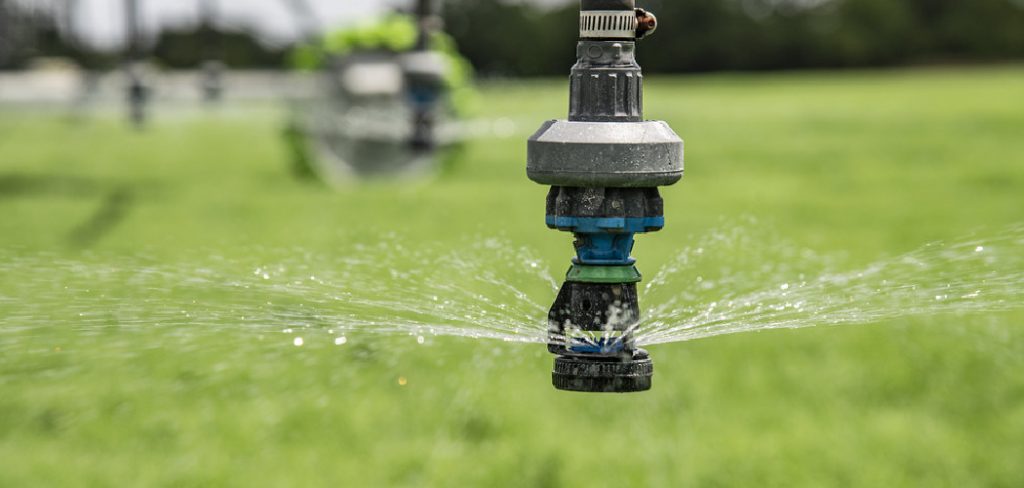
What Are the Benefits of Installing an Irrigation System?
Installing an irrigation system offers numerous benefits for your garden or landscape. Some of the key advantages include:
- Efficient Water Usage: With an automated irrigation system, you can control the frequency and amount of water being delivered to your plants. This results in more efficient water usage, as compared to manually watering with a hose.
- Time-saving: An irrigation system eliminates the need for manual watering, saving you time and effort. You can set a schedule for your system to run automatically, making it more convenient and hassle-free.
- Healthier Plants: By providing consistent and even moisture levels, an irrigation system promotes healthier plant growth. This is especially beneficial during hot and dry periods when plants are more susceptible to stress and damage.
- Prevents Weeds: Using a hose for watering can also inadvertently water weeds, promoting their growth. With an irrigation system, you can target specific areas and prevent excess water from reaching unwanted plant growth.
- Customization: Various types of irrigation systems are available, including drip irrigation, sprinkler systems, and micro-sprinklers. Depending on your garden’s layout and plant needs, you can choose the most suitable system for optimal results.
What Will You Need?
To set up an irrigation system for your garden, you will need the following tools and materials:
- Irrigation Timer: This device allows you to schedule watering times and durations. It is essential to maintain consistent watering intervals and avoid under- or over-watering.
- Hose End Timer: This attachment can be added to your existing hose to turn it into a timed irrigation system. It is ideal for small gardens with limited space.
- Polyethylene Tubing: This flexible plastic tubing serves as the main water supply line for your irrigation system. The size and length of tubing needed will depend on the layout of your garden.
- Emitters or Sprinklers: These are devices that release water at specific intervals and rates. Emitters are best for individual plants, while sprinklers are better suited for larger areas.
- Drip Irrigation Systems: This type of system delivers water directly to the root zone of plants, minimizing water waste and promoting healthier plant growth.
- Micro-Sprinkler Irrigation: Similar to drip irrigation, this system uses micro-sprinkler heads to deliver water in a more dispersed pattern, making it ideal for larger garden beds or uneven terrain.
10 Easy Steps on How to Install Irrigation Systems
Step 1: Plan Your Layout
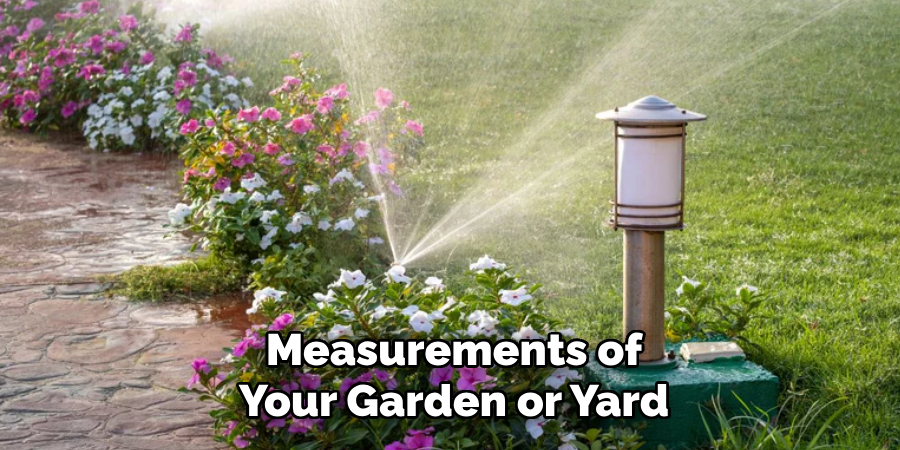
Begin by planning the layout of your irrigation system. Take measurements of your garden or yard, and determine which areas need irrigation. Sketch a diagram, marking the locations of plants, beds, and any existing water sources.
Step 2: Choose the Right System
Selecting the appropriate irrigation system is crucial for ensuring your plants get the optimal amount of water. Consider the size and shape of your garden, the types of plants you’re growing, and the climate in your area. For smaller gardens or specific plants, a drip irrigation system may be the best choice, as it delivers water directly to the roots with minimal waste. If you’re working with a larger space or uneven terrain, a micro-sprinkler system might be more effective, as it covers a broader area with a gentle spray.
Additionally, evaluate whether an automated system with timers and sensors would benefit your setup by conserving water and ensuring consistent watering schedules. Research the materials and components required for your chosen system, such as tubing, connectors, and emitters, so you have everything ready before starting the installation.
Step 3: Gather Your Materials
Once you have decided on the type of irrigation system that best suits your needs, it’s time to gather all the necessary materials. Begin by creating a comprehensive list of everything required for the installation. For a drip irrigation system, you will likely need mainline tubing, drip emitters, connectors, end caps, a pressure regulator, and a filter to prevent clogs.
If you opt for a micro-sprinkler system, include micro-sprinklers, stakes, and additional connectors to extend the reach over wider areas. Automated systems will require timers, moisture sensors, and control valves, so ensure these components are compatible with your chosen setup.
Step 4: Prepare the Area
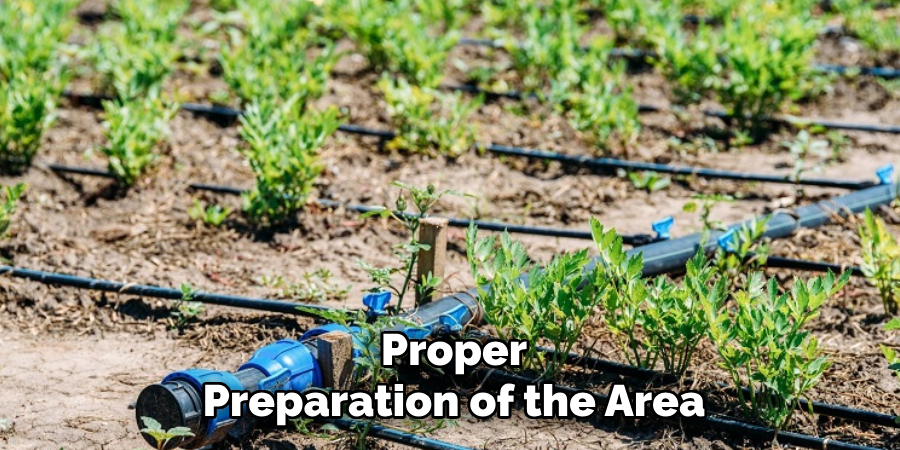
Proper preparation of the area is crucial for the successful installation and efficient operation of your irrigation system. Start by clearing the area of any debris, rocks, or obstacles that may interfere with the placement of tubing or sprinklers. Map out the area, marking the locations where the mainline tubing, drip emitters, or micro-sprinklers will be installed. This will help you visualize the layout and identify any potential challenges or adjustments needed before installation.
Step 5: Install the Main Line
Begin by uncoiling the mainline tubing and laying it out along the previously mapped route. Ensure the tubing is positioned correctly to connect all necessary components, such as drip emitters or micro-sprinklers. Use garden stakes or tubing holders to secure the mainline tubing to the ground, especially in areas with uneven or sloped terrain. This will prevent the tubing from shifting during operation or due to external factors, such as wind or foot traffic.
Step 6: Add Distribution Lines
Adding distribution lines is a crucial step to ensure water is delivered efficiently to your plants. Start by selecting the appropriate type of distribution lines based on your irrigation system design. For plants that require precise watering, use small-diameter tubing to attach to the mainline tubing. Measure and cut the distribution lines to the desired length, ensuring they reach each plant or planting zone without stretching or kinking.
Use a hole puncher designed for irrigation systems to create clean openings in the mainline tubing where the distribution lines will be connected. Insert barbed connectors securely into the openings, and attach the distribution lines to these connectors, ensuring a snug fit to prevent leaks. For added security, consider using clamps or twist ties around the connections if your system operates under high water pressure.
Step 7: Position Sprinklers or Emitters
Place your sprinklers or emitters at precise locations to ensure even water distribution throughout your garden or landscape. Begin by identifying areas with varying water needs, such as densely planted flower beds, vegetable gardens, or sparsely planted areas, and select emitters or sprinklers that are suitable for each area.
For example, micro-sprayers work well for wide, open spaces, while drip emitters are more effective for targeted irrigation near the base of plants. Securely attach the emitters or sprinklers to the distribution lines, making sure they are upright and properly aligned. If needed, use stakes to anchor them in place and prevent movement due to water pressure or wind.
Step 8: Connect to a Water Source
Once the emitters or sprinklers are securely in place, the next crucial step is to connect your irrigation system to a reliable water source. Begin by attaching the mainline tubing to a faucet, spigot, or another water outlet. To ensure proper water flow and prevent damage to the system, install a backflow preventer and a pressure regulator between the faucet and the mainline.
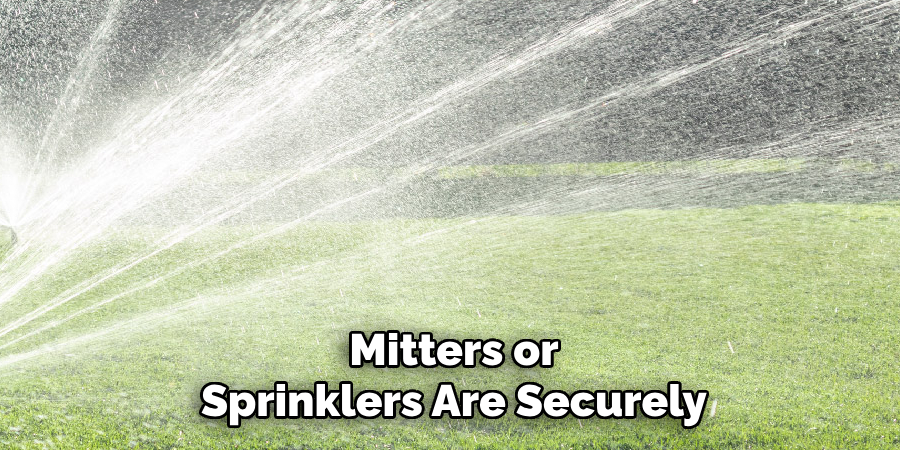
The backflow preventer is essential for safeguarding your water supply from potential contamination, while the pressure regulator ensures the water pressure remains consistent and appropriate for your irrigation setup.
Step 9: Test the System
Once you have installed the backflow preventer and pressure regulator, it is crucial to test the system thoroughly before using it regularly. Begin by slowly turning on the water supply to ensure no connections were accidentally left loose during installation. Inspect all the joints, fittings, and connections for any signs of leakage. If you notice any leaks, tighten the connections or replace any faulty components as necessary.
Step 10: Set a Timer
Setting a timer for your irrigation system ensures that your plants receive consistent and adequate watering without manual intervention. Most modern systems come with programmable timers that allow you to customize the watering schedule based on your plants’ specific needs.
Begin by determining how often your plants require watering, taking into account the type of plants, soil composition, and climate. For example, some plants might require daily watering, while others thrive with less frequent hydration. Program the timer to match these requirements, specifying the time of day and duration for each watering cycle. Early mornings or evenings are usually the best times to water, as they minimize water loss due to evaporation and ensure your plants absorb the moisture effectively.
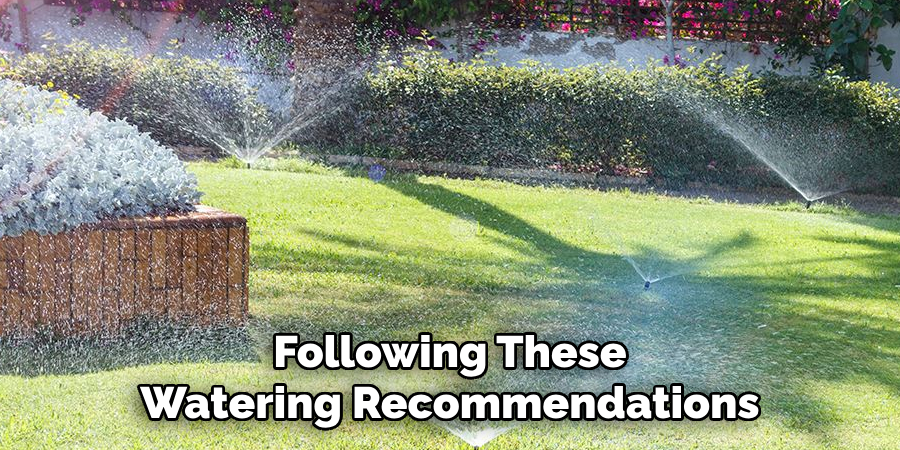
By following these watering recommendations, you can ensure that your plants stay healthy and thrive.
Conclusion
How to install irrigation systems is a practical and effective way to maintain a healthy garden or yard with minimal effort.
By carefully planning the layout, selecting the right components, and programming the system to meet your plants’ needs, you can ensure efficient water usage and promote plant health. Proper installation and routine maintenance will help extend the system’s life and prevent issues such as leaks or blockages.
With these steps, you can enjoy lush, thriving plants while saving time, water, and energy.

