A faucet key is a small, specialized tool designed to turn on outdoor spigots or commercial faucets that lack traditional handles. It is commonly used by maintenance workers, landscapers, and individuals who need access to restricted water sources, such as those found in parks, commercial buildings, or construction sites. The compact design and functionality make it an essential tool in various scenarios where standard faucet handles are unavailable or removed for security reasons.

This article focuses on how to make faucet key at home using simple, readily available tools and materials. By following the steps provided, you can create an effective and practical faucet key without needing special equipment, saving both time and money. Whether for a one-time project or frequent use, learning to make your own faucet key is a valuable skill for anyone who works outdoors or in maintenance settings.
Understanding Faucet Key Design
Shape and Structure
The design of a faucet key is simple yet highly functional. Typically, it features a T-handle structure that provides a firm grip, allowing the user to apply the necessary torque. The bottom of the key includes a square or multi-sided socket head, specifically shaped to fit over the faucet stem snugly. This precise design ensures ease of use and prevents slipping while turning the faucet on or off, even under challenging conditions.
Standard Sizes
Faucet stems commonly come in a range of standardized sizes to accommodate different fixtures. The most common square socket head sizes are ¼”, 9/32”, 5/16”, and 11/32”. It is therefore important to select or create a key with the proper dimensions. Understanding these standard measurements is crucial when crafting or purchasing a faucet key to ensure compatibility with the faucet stems you intend to use.
Materials Used for Faucet Keys
Durability is a key consideration in constructing faucet keys. They are often made from robust materials such as steel, aluminum, or strong composites. These materials provide the strength and longevity needed to withstand frequent use and exposure to outdoor elements, ensuring the key performs reliably over time.
Materials and Tools Needed
To create or customize a durable and effective faucet key, specific materials and tools are required to ensure precision and functionality. The primary material includes a steel rod or a strong metal bar, typically ¼”–⅜” thick, which provides the core strength and durability needed for the key. A small piece of metal tubing is also essential for crafting the socket end, as it forms the part that interfaces securely with the faucet stem.
The process requires several tools to shape and assemble the key. A hacksaw or metal cutter is needed for cutting the steel rod and tubing to the desired size. A file or grinder helps refine and shape the socket head for an accurate fit. While welding equipment can be used to create stronger joints when attaching the socket to the rod, it is optional, depending on your preferred method of assembly. A drill and compatible drill bits are necessary if you plan to add a handle for improved grip and usability.
Lastly, safety should always be prioritized. Proper safety equipment, including gloves, goggles, and a work apron, is essential for protecting against sharp edges, sparks, and debris when working with metal materials.

Measuring and Planning Your Faucet Key
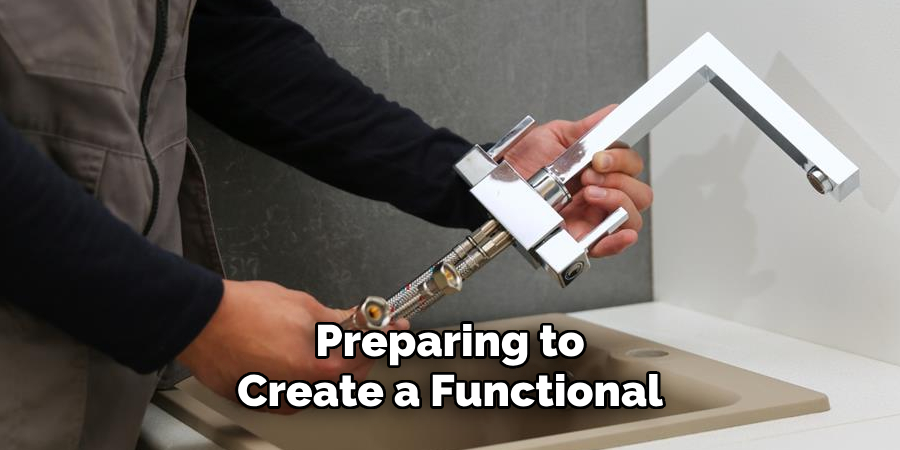
When preparing to create a functional and well-fitted faucet key, careful measuring and planning are crucial steps.
Measuring the Faucet Stem
Use a caliper or a standard ruler to measure the size of the faucet precisely stem you intend to turn. This measurement is the foundation for the entire design, as the socket must fit snugly around the stem for the device to operate effectively. Be sure to check both the width and depth of the stem to ensure accuracy.
Planning the Socket Shape
Once you have the measurements, sketch a basic blueprint for your faucet key. Include the dimensions for the T-handle size, socket head size, and overall length of the tool. This sketch will serve as a reference for cutting and assembling the parts, helping to maintain consistency throughout the process. Pay close attention to the proportional relationship between the socket size and the handle to ensure a comfortable and easy-to-use fit.
Deciding Handle Style
Next, determine the style of handle that best suits your needs. A straight rod design is simple and efficient, while adding a perpendicular crossbar can provide better grip and leverage. Consider the frequency and type of use to choose the most ergonomic faucet key style.
How to Make Faucet Key: Shaping the Socket End
To create a functional and customized faucet key, shaping the socket end is a crucial step. This is the part that connects directly to the faucet stem, so precision and durability are crucial.
Cutting the Metal Rod or Tube
Begin by cutting the metal rod or tube to a length of about 4-6 inches. This provides a manageable size for your tool while ensuring adequate leverage for turning. Use a hacksaw or a metal cutting tool for a clean cut, ensuring the edges are smooth to avoid injury or mishandling during later steps.
Filing or Grinding the End
Once the rod is cut, proceed to shape one end into the desired configuration. The most common shape is square to match typical faucet stems, but you can customize this according to the faucet’s specific shape. For precise shaping, use a metal file, which allows you to work carefully and incrementally. Alternatively, a grinder can be employed for faster material removal, though it requires a steady hand for accuracy. Ensure all edges are even and smooth to minimize wear on the faucet stem.
Testing Fit
Throughout the shaping process, regularly test the end against the faucet stem. This ensures the socket matches perfectly, providing a snug fit for efficient use. Adjust as needed before proceeding to the final assembly phase.
Alternative: Welding a Pre-made Socket
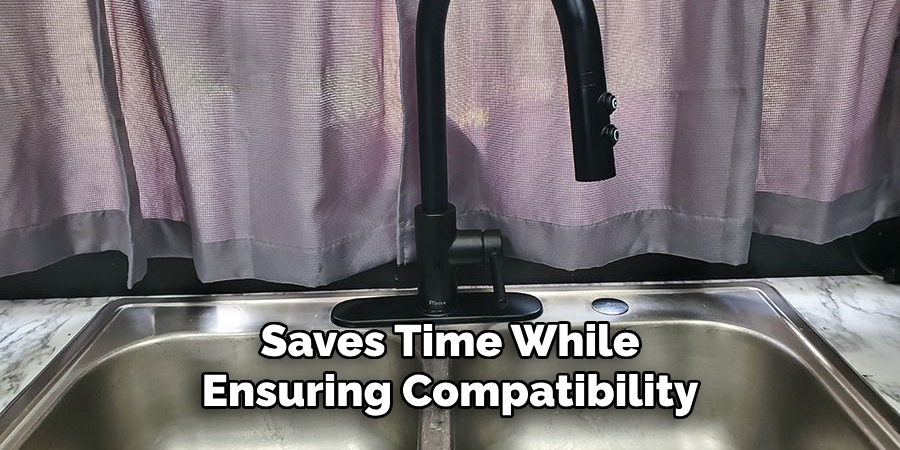
For a quicker alternative, purchase a pre-sized socket tool that matches the faucet stem’s dimensions. Weld or securely attach the socket onto your prepared handle. This method saves time while ensuring compatibility and durability.

Creating and Attaching the Handle
Simple Rod Handle
To create a simple rod handle, cut a length of rod that leaves enough room for a secure grip while allowing you to apply torque comfortably. You can leave the handle straight, or for better leverage, slightly bend it at an angle. Ensure that the dimensions and shape suit both the task and user comfort once the rod is shaped, smooth down the edges and any uneven areas with a file to prevent sharp points that might cause discomfort during use.
T-Handle Style
For a T-handle style, start by drilling a hole through the top end of the primary rod. Make sure the diameter of the hole matches the thickness of the crosspiece you plan to insert. Slide the crosspiece through the hole so that it fits snugly and evenly on both sides. To secure the crosspiece, weld it in place or fasten it tightly using appropriate adhesive or hardware. This style provides excellent torque and is ideal for tasks that require more manual force.
Reinforcing the Handle
Regardless of the handle style, reinforcement is key to ensuring durability and safety. If welding is involved, make sure the welds are smooth and seamless to avoid weak points. Secure all joins firmly and finish the handle by smoothing any rough or sharp edges with a file or sandpaper. This final touch enhances both comfort and safety, ensuring the handle is strong enough to withstand regular use.
Testing and Final Touches
Test on a Faucet
Before considering the production complete, test the key on a faucet stem to ensure it functions properly. It should fit snugly onto the stem without slipping or causing damage. A secure fit is crucial for efficient torque application and to avoid any unnecessary wear on the faucet or the key itself.
Adjustments
If the fit is too tight or too loose, make necessary adjustments by filing or reshaping the socket area. Use a metal file or a suitable tool for precision work and test the fit incrementally as you go. This helps achieve the ideal fit without compromising the key’s integrity.
Finishing the Key
Take the time to polish the key. Sand down all rough spots and edges to prevent potential cuts, scrapes, or other injuries during use. For added durability and to combat rust, especially if the key will be used outdoors, consider painting or applying a protective coating. An anti-corrosive finish not only improves functionality but also extends the tool’s lifespan. Taking these final steps ensures the key is both practical and well-suited for regular usage.

Safety Tips and Alternative Solutions
Safety While Working with Metal
When working with metal, prioritize safety to avoid injuries. Always wear protective gloves to shield your hands from sharp edges or burrs and goggles to protect your eyes from flying debris. Ensure you handle tools correctly and operate in a well-ventilated, clutter-free workspace to minimize hazards. Taking these precautions will help you work confidently and safely.
Alternatives to Homemade Keys
If crafting a homemade faucet key seems too complex or time-consuming, consider purchasing a universal faucet key instead. These keys are affordable, easy to find in hardware stores, and eliminate the need for detailed crafting.
Legal Considerations
It is crucial to use faucet keys responsibly. Unauthorized use of private or public water sources can be illegal and result in legal consequences. Always obtain necessary permissions before accessing any water source with your key, ensuring compliance with local regulations.

Conclusion
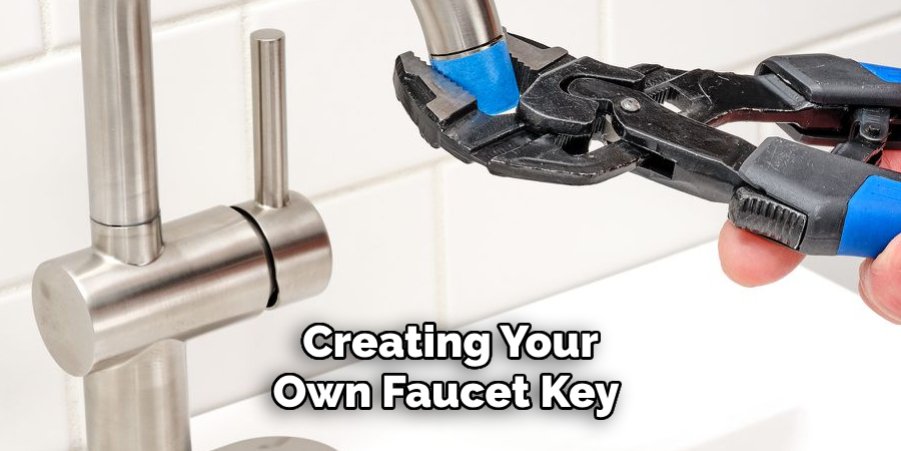
Creating your own faucet key can be a rewarding DIY project if approached with proper planning and attention to detail. By following the steps—planning the design, shaping the socket end to fit the faucet, attaching a sturdy handle for grip, and making final adjustments—you can craft a functional and personalized tool. The process emphasizes practicality and allows for customization based on your specific requirements. With basic tools and careful effort, you now know exactly how to make faucet key that is durable and tailored to your needs, offering a simple yet effective solution for accessing faucets.

