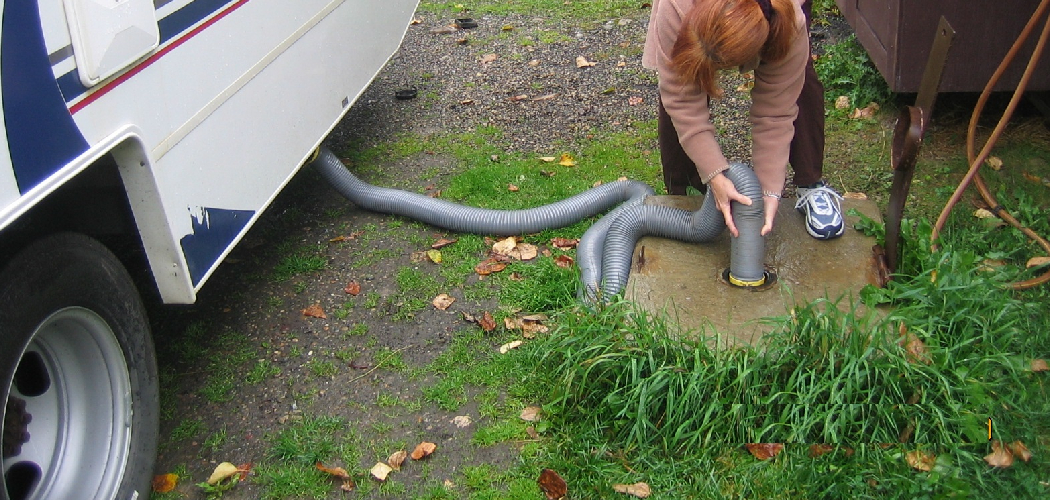
Are you planning to take a trip in your RV soon? One of the crucial things you need to know is how to empty your black water tank.
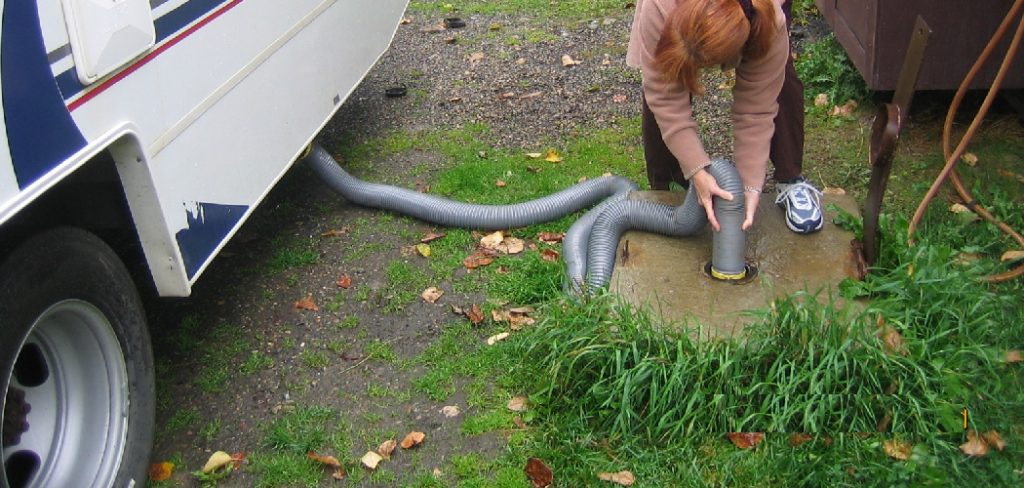
Emptying the black water tank on your RV is an essential maintenance task that requires proper procedures to ensure cleanliness, safety, and efficiency. The black water tank stores all the waste from your RV’s toilet system, and draining it regularly is crucial to avoid unpleasant odors, clogs, and potential damage to the system. While the process may seem daunting for first-time RV owners, following a simple step-by-step approach makes it manageable and hassle-free.
This guide on how to empty black water tank on RV will walk you through the necessary tools, preparation, and steps to safely and effectively empty your RV’s black water tank.
What Are the Benefits of Emptying Your RV’s Black Water Tank Regularly?
Regularly emptying your RV’s black water tank has several benefits, including:
- Prevention of Unpleasant Odors: As mentioned earlier, regularly emptying the black water tank helps prevent unpleasant odors from building up in your RV. This is crucial for both your comfort and that of others who may be staying with you in the RV.
- Avoidance of Clogs: The buildup of solid waste and toilet paper in the black water tank can lead to clogs, which can be a headache to deal with on the road. By regularly draining the tank, you can avoid this issue and save yourself from potential costly repairs.
- Proper Disposal of Waste: It’s essential to dispose of waste from your RV’s black water tank properly. Always use designated dump stations or sewer hookups at campgrounds and RV parks. Never dump waste into regular drains or bodies of water, as this can harm the environment and potentially result in fines.
- Use of Tank Treatments: Some RVers choose to use tank treatments, such as enzyme-based cleaners, to help break down waste and reduce odors in their black water tanks. These treatments can be effective when used correctly, but it’s essential to research and follow the proper usage instructions.
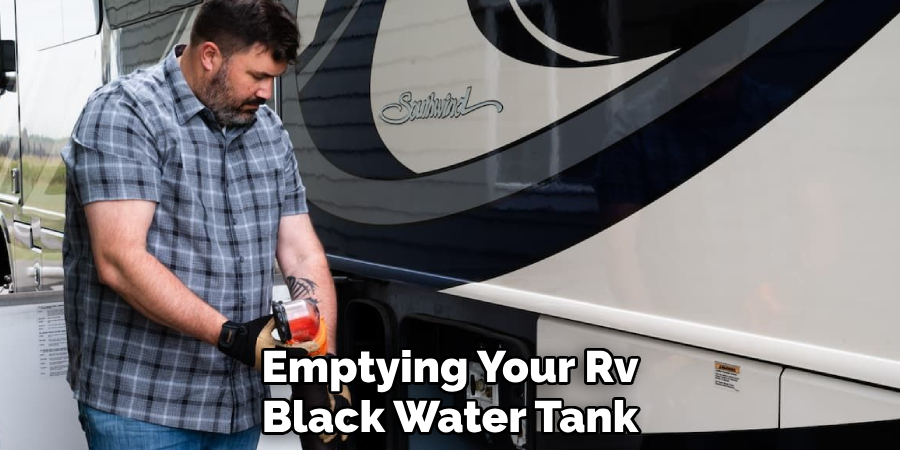
What Will You Need?
- RV Toilet Paper: Regular toilet paper may not break down properly in your black water tank, which can lead to clogs and other issues. Look for specially-formulated RV toilet paper that is designed to dissolve quickly.
- Disposable Rubber Gloves: To protect your hands while handling sewage and waste materials.
- Bucket or Hose for Rinsing: You may need to rinse out your sewer hose and dump station after use. Having a bucket or hose on hand can be helpful.
- Sewer Hose Support: This can help keep your sewer hose at the appropriate angle for efficient draining.
- Black Water Tank Treatment (Optional): If you choose to use a tank treatment, make sure you have enough on hand for the duration of your trip.
10 Easy Steps on How to Empty Black Water Tank on RV
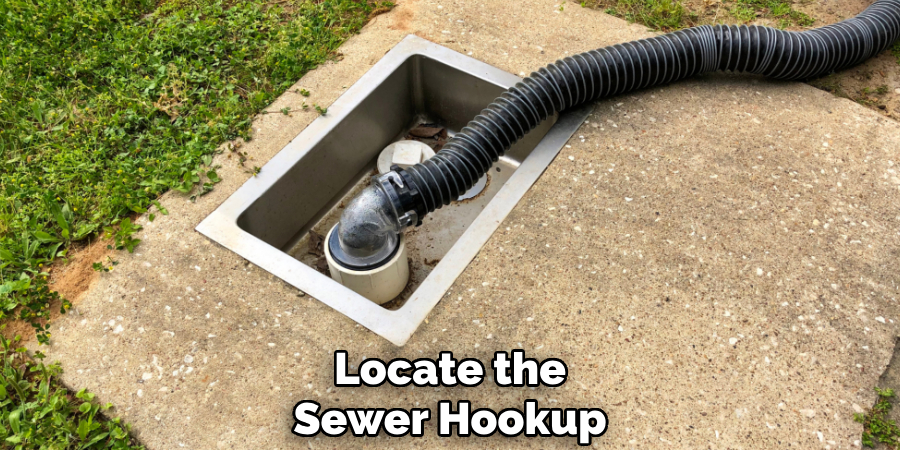
Step 1. Locate the Sewer Hookup:
Begin by identifying the sewer hookup at your campsite or dump station. The sewer hookup is typically a capped pipe or port designed to connect to your RV’s sewer hose. Ensure you are parked close enough to the hookup for your sewer hose to reach comfortably without being overstretched or strained. If you’re at a campground, the hookup may be on the ground at your RV site, while at a public dump station, it may be a visible pipe.
Step 2. Put on Protective Gear:
Before beginning the dumping process, it is essential to prioritize hygiene and safety by wearing appropriate protective gear. This typically includes a pair of durable rubber or disposable gloves to shield your hands from direct contact with any waste or contaminants. If desired, you can also wear safety goggles to protect your eyes from potential splashes, especially if you are new to handling sewer hookups.
Some RV owners also opt for a face mask or disposable coveralls for added protection. Having a dedicated set of protective gear specifically for this task will help prevent cross-contamination and ensure a cleaner experience. Always inspect your gloves and equipment for any signs of damage before use, and replace them when necessary.
Step 3. Connect the Sewer Hose:
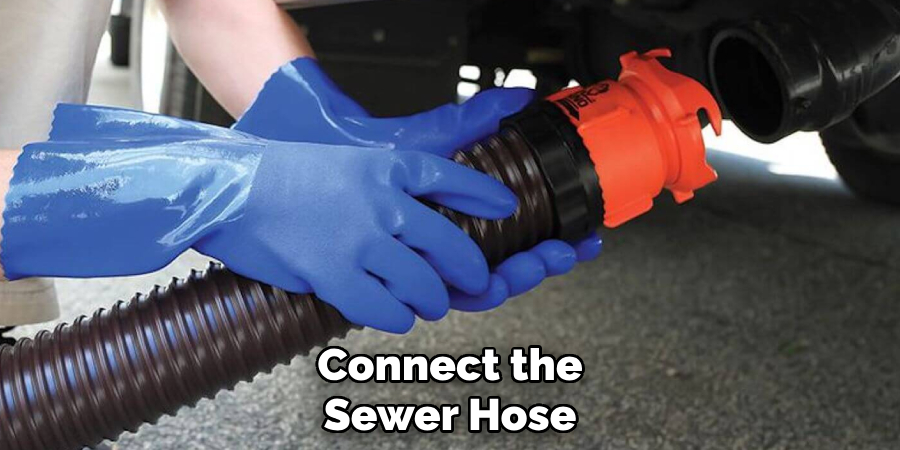
Start by locating the sewer outlet on your RV and ensuring the area around it is clean and clear of any obstacles. Before connecting the sewer hose, check the hose for any cracks, holes, or wear that could cause leaks during the dumping process. Securely attach one end of the sewer hose to the RV’s sewer outlet by twisting it into place or snapping it into place, depending on the type of connection your RV uses. Ensure it is tightly fastened to prevent any accidental disconnection or spillage.
The other end of the sewer hose should be carefully placed into the dump station’s inlet. If the dump station has a threaded connection, use the appropriate fitting to secure the hose, providing additional stability during use.
Step 4. Check the Connections:
Before proceeding, inspect the entire length of the sewer hose to ensure there are no kinks, twists, or signs of wear and tear that could lead to leaks. If any damage is observed, replace or repair the hose immediately to avoid messy spillages. Pay close attention to the seals at each connection point, as these are the most common areas for leaks. A properly secured and intact seal will prevent odors and waste from escaping during the dumping process.
Step 5. Open the Black Tank Valve:
Once you have verified that all connections are secure and the hose is positioned correctly, slowly open the black tank valve. This is typically done by pulling the valve handle toward you. Opening the valve gradually allows the waste to flow steadily into the hose, rather than causing a sudden rush that could create pressure and put strain on the connections.
Keep an eye on the hose during this process to ensure that there are no leaks and that the waste is moving as expected. It’s a good idea to stand clear of the hose connection area as an extra precaution, and always wear disposable gloves for hygiene purposes.
Step 6. Flush the Tank (Optional):
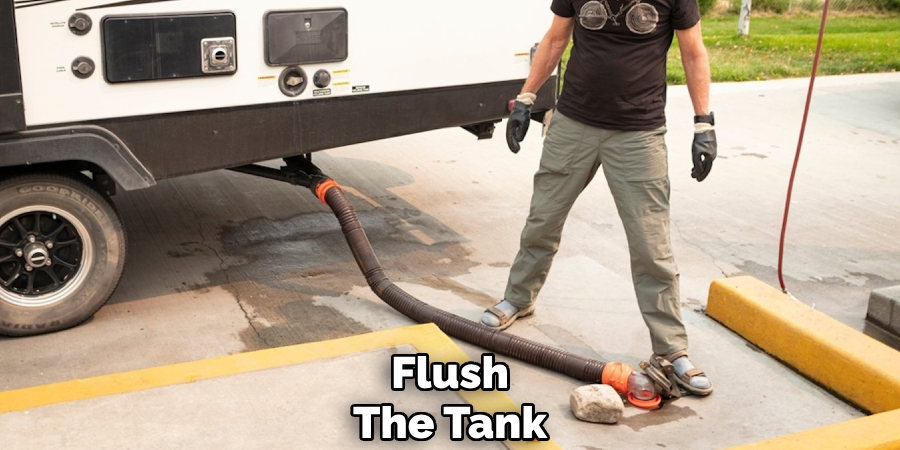
Flushing the tank is an optional but highly recommended step to maintain the cleanliness and efficiency of your waste management system. To do this, connect a water hose to the designated tank flush inlet, if your system is equipped with one. Be sure to use a separate hose from the one used for your drinking water supply to avoid potential contamination.
Turn on the water and allow it to flow through the tank, rinsing out any remaining debris or residue. This step helps dislodge buildup that might cling to the walls of the tank, ensuring a more thorough cleaning. Keep the valve open during the flushing process to allow the rinse water to drain out thoroughly. Monitor the tank level indicator, if available, to make sure you don’t accidentally overfill the tank.
Step 7. Close the Black Tank Valve:
After the water runs clear and you have completed flushing out the black tank, it is crucial to properly close the black tank valve to prevent leaks or unpleasant odors from escaping. Make sure to push the valve handle firmly until it locks into place, ensuring a tight seal.
This step is essential to maintain the integrity of your RV’s wastewater system and to avoid accidental spills during transit. After closing the valve, inspect the area around it to confirm there are no lingering drips or loose fittings. This extra check ensures that everything is secured and ready for your next adventure.
Step 8. Empty the Gray Water Tank:
Once the black water tank is emptied and the valve securely closed, it’s time to move on to the gray water tank. The gray water tank collects wastewater from sinks and showers, which generally contains soap, grease, and other residues but is less odorous than black water.
Begin by connecting the same sewer hose to the outlet valve of the gray water tank, ensuring a snug and secure fit to prevent leakage. Slowly open the gray water valve by pulling the handle outward. Allow the tank to drain completely, which might take a couple of minutes depending on its size and fullness.
Step 9. Disconnect and Rinse the Hose:
Once the gray water tank is completely drained, disconnect the sewer hose from the outlet valve. Ensure that there are no remaining residues or debris in the hose by rinsing it with clean water. You can also use a pressure washer, if available, to thoroughly clean the inside of the hose.
Step 10. Store the Hose and Close Valves:
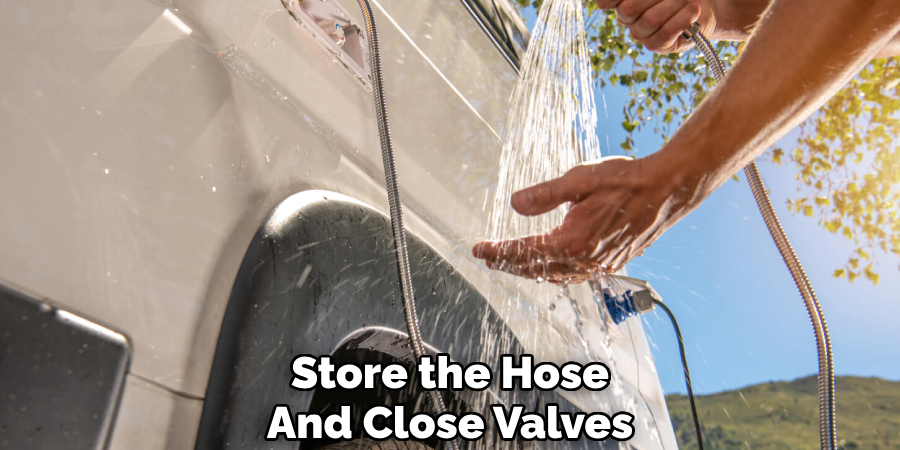
After cleaning and rinsing the hose, store it in a designated container or compartment. Make sure to seal the container properly to prevent any unpleasant odors from escaping. Next, close the gray water valve and ensure it is tightly secured to avoid potential leaks or spills during travel.
By following these simple steps, you can maintain a clean and odor-free RV gray water system. It is important to regularly clean and maintain your RV’s gray water tank and hoses to prevent buildup or clogs that could lead to potential problems in the future.
Conclusion
How to empty black water tank on RV may seem like a daunting task, but with the proper steps and precautions, it can be done safely and efficiently.
Always start by putting on protective gloves to avoid direct contact with waste. Connect the sewer hose securely to the RV’s black water outlet and the dump station inlet, ensuring a tight seal to prevent leaks. Open the black water valve slowly to allow the waste to flow out completely. Once emptied, rinse the tank using the built-in flush system, if available, or add clean water to remove any residual waste. Afterward, close the black water valve firmly and disconnect the hose carefully. It’s essential to sanitize the hose and fittings before storage.
Regular maintenance and timely emptying of your black water tank will ensure a hygienic and problem-free RV experience.

