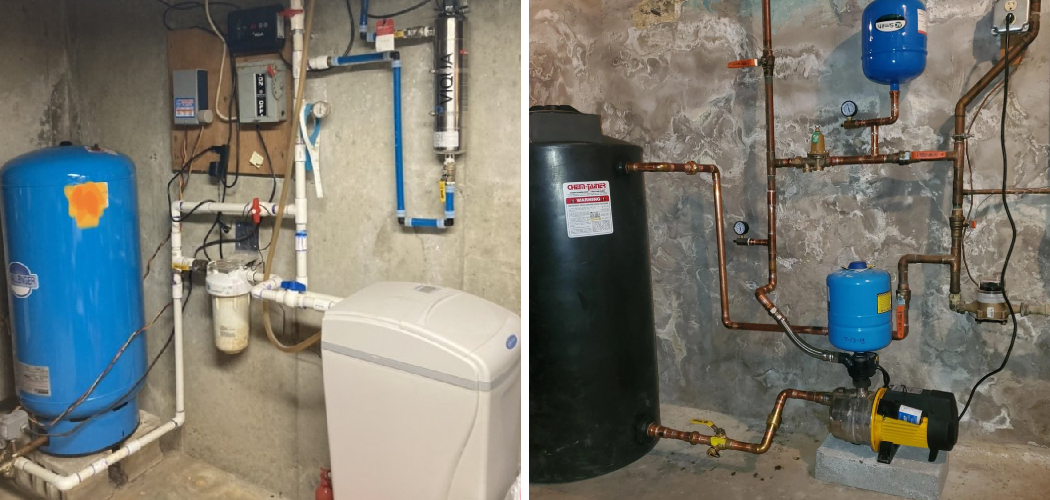
Are you tired of low water pressure in your home? Don’t worry, installing a water pressure booster is a cost-effective and straightforward solution that can help you increase the water flow in your house.
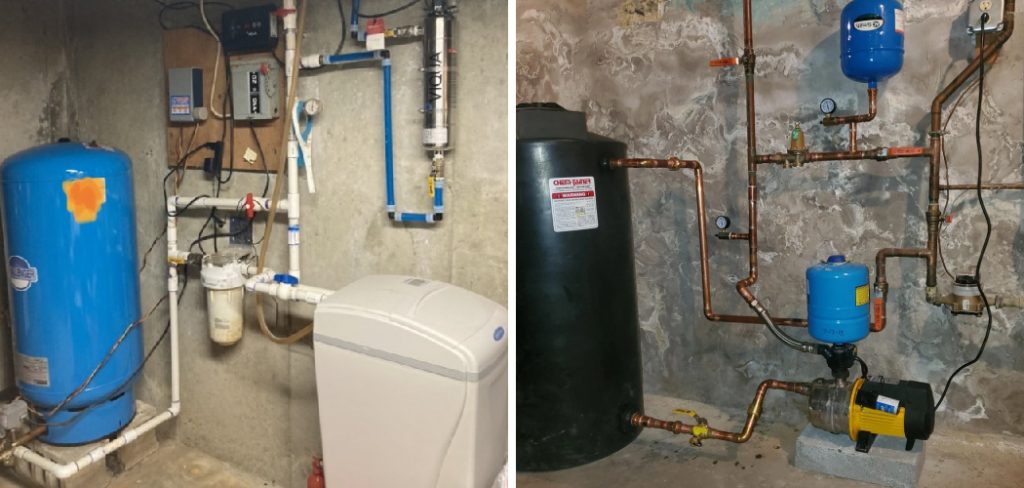
A water pressure booster can be a game-changer for households or businesses facing low water pressure issues. Whether you’re dealing with weak showers, slow-filling appliances, or low water pressure, installing a booster can significantly improve your water pressure and enhance overall system performance.
This guide will provide you with step-by-step instructions on how to install a water pressure booster safely and effectively. With the right tools and preparation, you can enjoy strong, reliable water flow in no time. Let’s get started with the basics.
What Are the Benefits of a Water Pressure Booster?
Before we dive into the installation process, it’s essential to understand why a water pressure booster may be necessary for your home or building. Here are some of the key benefits that come with installing a booster:
- Increased Water Flow: The most obvious benefit of a water pressure booster is an increase in water flow throughout your system. This means stronger showers, faster filling of appliances like dishwashers and washing machines, and improved overall performance.
- Better Water Pressure: A booster can also help improve your water pressure overall. If you’re currently experiencing weak or inconsistent pressure, installing a booster can provide a more consistent and stronger flow.
- Improved Energy Efficiency: With better water pressure, your appliances won’t have to work as hard to fill or operate. This can lead to improved energy efficiency and lower utility bills.
- Reduced Water Waste: A booster can also help reduce water waste by providing a more efficient flow. This is especially beneficial in areas with drought conditions or where water usage is closely monitored.
- Easy Installation: Depending on the type of booster you choose, installation can be quick and easy. Some models simply attach to existing plumbing without the need for professional installation.
What Will You Need?
To install a water pressure booster, you will need:
- A water pressure booster pump
- Appropriate piping and fittings
- Basic plumbing tools (wrench, pliers, screwdriver)
- Teflon tape or pipe joint compound for sealing connections
- Electrical supply for powered boosters
- Safety equipment (gloves, goggles) as needed
Once you have gathered all the necessary materials, you are ready to install your water pressure booster.
9 Easy Steps on How to Install a Water Pressure Booster
1. Turn Off the Water Supply
Before starting any installation work, ensure that you shut off the water supply to your home or the specific section of the plumbing system where the water pressure booster will be installed. Locate the main water shut-off valve, which is typically found near where the water line enters your home. Turn the valve clockwise to close it fully.
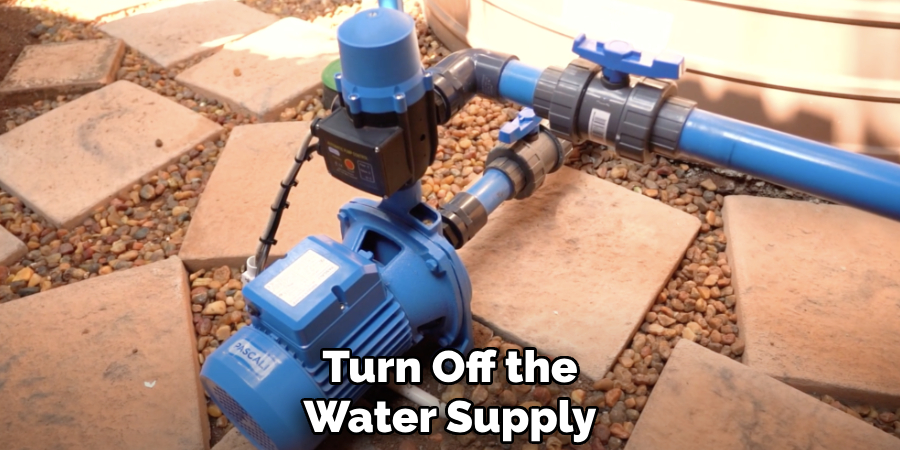
Once the water supply is off, open a few faucets in your home to drain any remaining water from the pipes. This step ensures that the pipes are empty and safe for you to work on without causing unexpected leaks or spills during installation.
2. Find the Installation Location
Choose a suitable location for the water pressure booster installation, ensuring easy access and compatibility with your existing plumbing system. The ideal spot is close to where the main water line enters your home, typically near the shut-off valve or water meter. Make sure there is enough space around the area for the booster pump and any additional components, such as pressure gauges or connectors.
Keep in mind that the location should also allow for proper ventilation to prevent the equipment from overheating during operation. If the area is exposed to weather conditions, such as rain or direct sunlight, consider installing a weather-resistant housing or choosing an indoor location to protect the pump from potential damage. Confirm that the selected location has an appropriate power source nearby to accommodate the pump’s electrical requirements, ensuring a seamless and safe installation process.
3. Cut the Main Water Line
Before proceeding with this step, ensure that the water supply to the main line has been completely shut off to prevent any unexpected leaks or water flow during the cutting process. Locate the main water line, typically running from your water meter or sound, and identify the exact section that needs to be cut to install the pump.
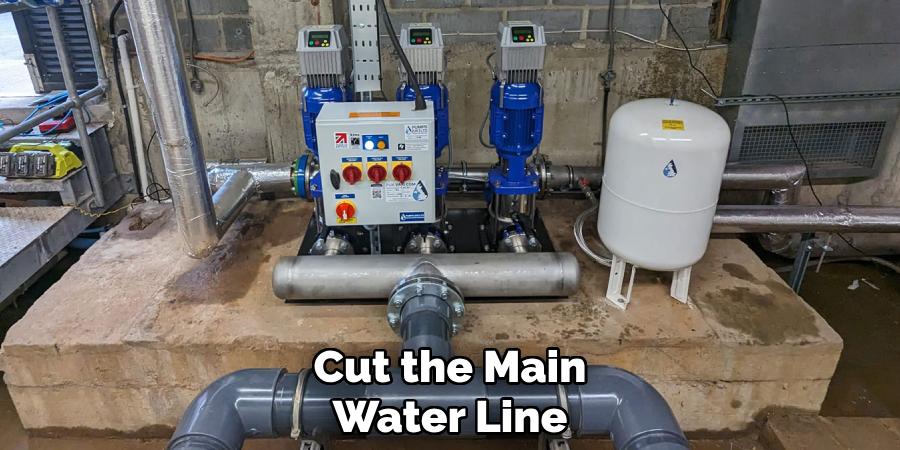
Use a marker or tape to mark the area that needs to be cut, ensuring your measurement is precise to avoid damaging the surrounding piping. It is strongly recommended to use the appropriate tools, such as a pipe cutter or saw, explicitly designed for the material of your main line—for instance, PVC, copper, or galvanized steel. Ensure the cutting tool is sharp and clean to produce a smooth edge, which will make connections more secure and reduce the risk of leaks.
4. Install Shutoff Valves
Installing shutoff valves is a crucial step to ensure you can control the flow of water to specific areas or appliances in your plumbing system. Begin by selecting the correct type of valve for your needs, such as ball valves, gate valves, or compression valves, depending on the material and size of the pipe. Make sure the shutoff valves are compatible with your main line to avoid complications during installation.
Before attaching the valve, clean the pipe ends thoroughly to remove any debris or burrs from the cutting process. For threaded connections, apply plumber’s tape or thread sealant to ensure a watertight seal. For soldered connections, use flux to prepare the pipe and follow proper soldering techniques. Press-fit valves may require special tools to secure the connection.
5. Connect the Booster Pump
To connect the booster pump, start by carefully reviewing the manufacturer’s instructions to ensure proper alignment and compatibility with your existing system. Position the pump in a suitable location, preferably close to the water source, on a stable and vibration-resistant surface to minimize operational noise and extend the pump’s lifespan.
Attach the inlet and outlet pipes to the respective ports on the booster pump, ensuring they are securely fastened to prevent leaks. Use thread sealant or plumber’s tape for threaded connections to create a tight, watertight seal. For systems that include unions or flanges, verify that the gaskets are correctly seated to ensure a proper seal.
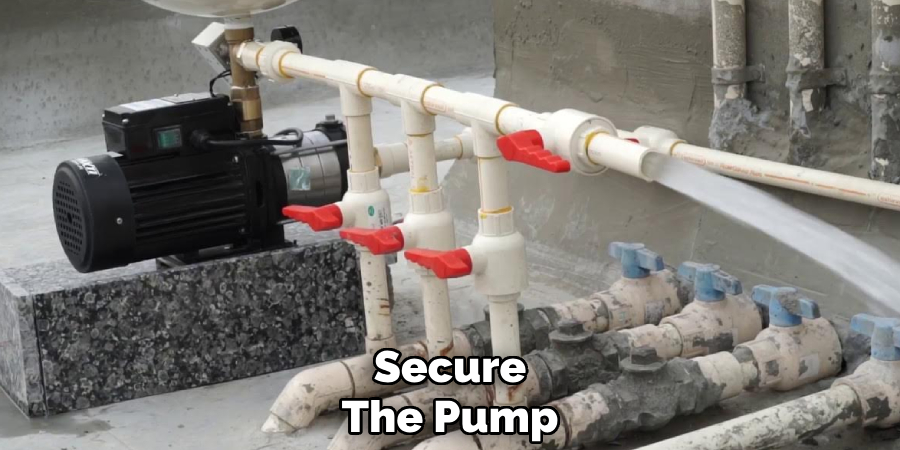
6. Secure the Pump
After positioning the booster pump and ensuring all connections are made correctly, it’s essential to secure the pump to its mounting surface. Use appropriate hardware, such as bolts or brackets, to secure the pump in place, preventing it from moving during operation. Securing the pump not only minimizes vibrations but also reduces the risk of misaligned connections or damage to the piping system caused by shifting.
Check that the mounting surface is robust and can support the pump’s weight, as instability could lead to operational disruptions or wear over time. For environments prone to excessive vibrations, consider using vibration pads or isolators to dampen noise and movement further.
7. Set Up the Electrical Connection
Ensure that the electrical connection is safely and securely established, adhering to all local electrical codes and standards. Begin by verifying that the power supply matches the pump’s voltage and phase requirements, as incorrect electrical input can damage the motor or lead to inefficient operation.
Use wiring, connectors, and conduits that are appropriately rated to prevent overheating and ensure durability. If the pump requires a dedicated circuit, ensure one is installed to avoid overloading the existing circuits. Additionally, always incorporate a proper grounding system to ensure safety and reduce the risk of electrical hazards.
8. Check for Leaks and Test the Pump
It’s important to thoroughly check for leaks in the pump before starting it up. This can be done by visually inspecting all connections and fittings, as well as checking for any abnormal sounds or vibrations. Any leaks should be addressed and fixed before proceeding.
Once the pump has been checked for leaks, it is essential to perform a test run to ensure proper operation. This includes monitoring flow rate and pressure, as well as checking for any irregularities or malfunctions. It may also be necessary to adjust settings or make adjustments during this test run.
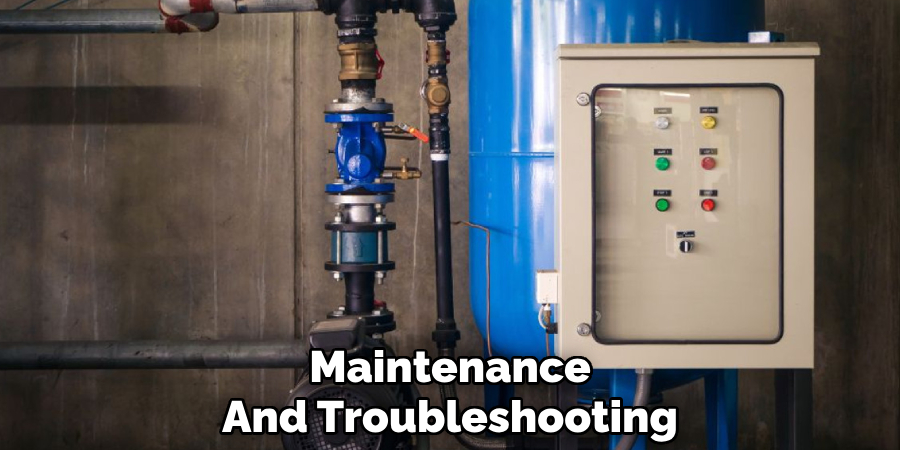
9. Maintenance and Troubleshooting
Maintaining a pump is necessary to ensure its longevity and efficient operation. Regular maintenance tasks include checking for leaks, monitoring pressure and flow rate, and cleaning or replacing any clogged filters or screens.
If any issues arise with the pump, troubleshooting should be done immediately to prevent further damage or breakdown. Common problems with pumps may include loss of suction, low flow rate, or unusual noises. Consulting the manufacturer’s manual or seeking professional help can help identify and address these issues.
By following these steps, you can successfully install a water pressure booster to enhance the flow and pressure of your home’s water supply.
Conclusion
How to install a water pressure booster is a straightforward process that can significantly improve the water flow in your home.
By carefully selecting the right booster pump, ensuring proper placement, and following the manufacturer’s installation instructions, you can effectively enhance your water pressure. Regular maintenance and prompt troubleshooting of any issues will ensure the long-term performance and reliability of your system.
With the right tools, preparation, and attention to detail, your water pressure booster can provide lasting benefits for your household.

