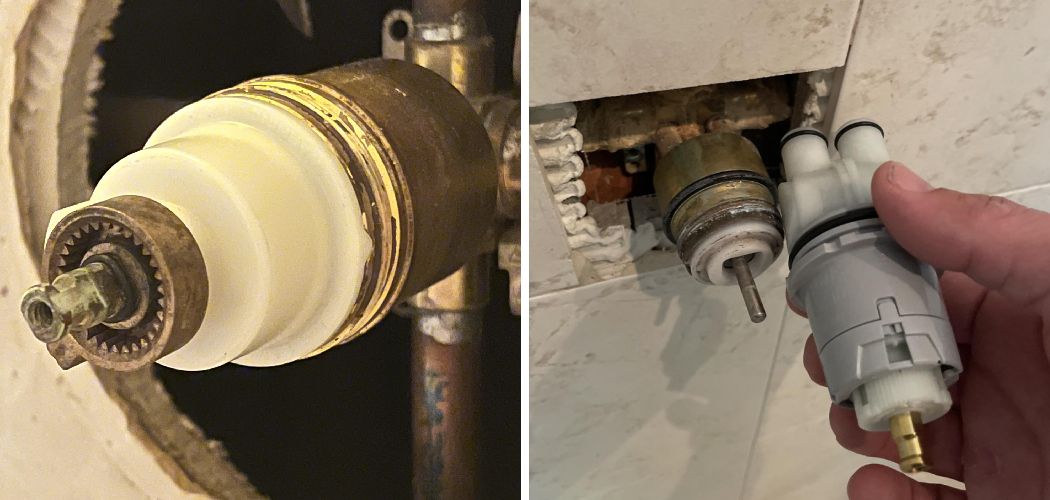
Identifying the correct Delta shower faucet cartridge model is essential for ensuring proper functionality and compatibility in your bathroom. With a wide variety of models available, recognizing the exact cartridge type can help streamline repairs, replacements, and upgrades.
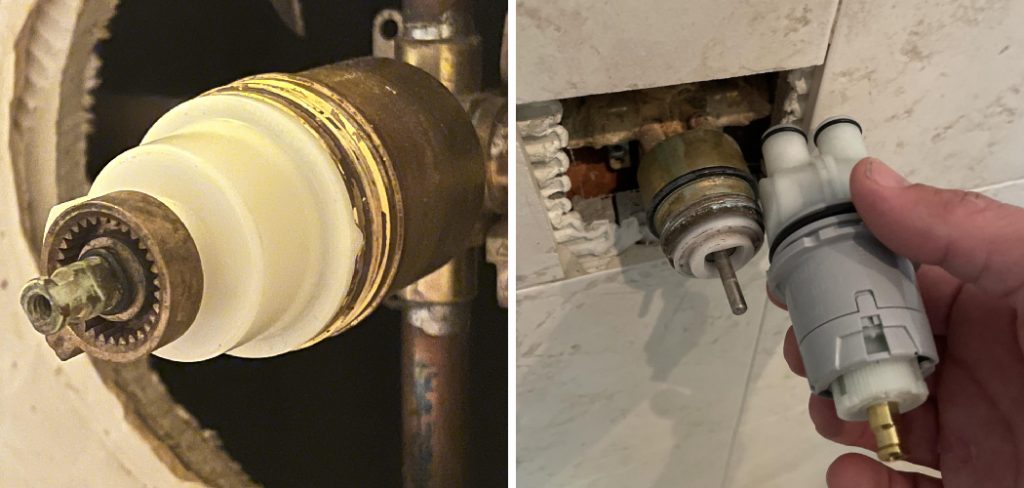
This guide on how to identify Delta shower faucet cartridge model will provide a straightforward approach to determining your Delta shower faucet cartridge model, saving you time and effort while avoiding unnecessary guesswork. Whether you’re a homeowner or a DIY enthusiast, this step-by-step process will make the task both simple and manageable.
Why Identify Your Delta Shower Faucet Cartridge Model?
Before diving into the steps to identify your Delta shower faucet cartridge model, let’s first understand the importance of this task. The type of cartridge used in your shower faucet is crucial information when it comes to repairs and replacements.
Knowing your cartridge model can help you find the right replacement part, saving you from purchasing an incorrect one that may not fit or function properly. It also allows you to upgrade to a newer and more advanced cartridge if desired, improving the overall performance of your shower.
7 Steps on How to Identify Delta Shower Faucet Cartridge Model
Step 1: Gather Necessary Tools:
Before starting the process of identifying your Delta shower faucet cartridge model, make sure you have the following tools on hand:

Adjustable Wrench:
You will need an adjustable wrench to loosen and tighten the cartridge.
Screwdriver:
A screwdriver is needed to remove any screws holding the faucet handle or trim plate in place.
Pliers:
Pliers can be useful for removing any small parts, such as retaining clips, during the process.
Flashlight:
A flashlight will come in handy when inspecting hard-to-see areas inside your shower faucet.
Step 2: Turn Off the Water Supply
Before removing any parts of the shower faucet, turn off the water supply to prevent leaks or water damage. Locate the main water shutoff valve in your home or use the individual shutoff valves for the bathroom if available. Turn the valves clockwise to close them completely.
Once the water is turned off, open the shower faucet to release any residual water trapped in the lines. This step ensures a safe and dry working environment as you proceed with identifying the cartridge model.
Step 3: Remove Handle and Trim Plate
To access the shower cartridge, you’ll need to first remove the handle and trim plate. Begin by locating the screw or screws that secure the handle to the faucet. These are often hidden under a decorative cap, which can be gently pried off with a flathead screwdriver. Once exposed, use the appropriate screwdriver to loosen and remove the screws, then carefully pull the handle away from the wall.
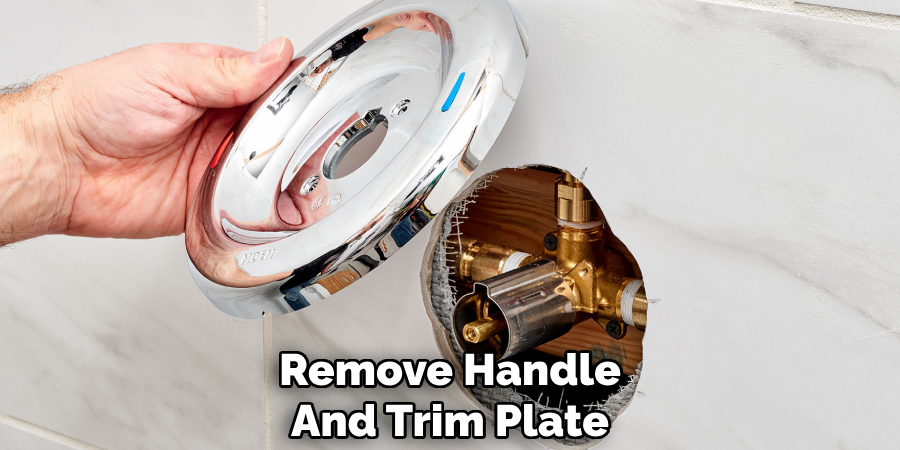
Next, take off the trim plate, which is typically held in place by a series of screws. Unscrew these using a screwdriver, being cautious not to strip or damage them. Once the trim plate is free, put it aside along with the screws to ensure no parts get misplaced. Removing the handle and trim plate will expose the cartridge and allow for further steps in the replacement process.
Step 4: Identify Cartridge Model
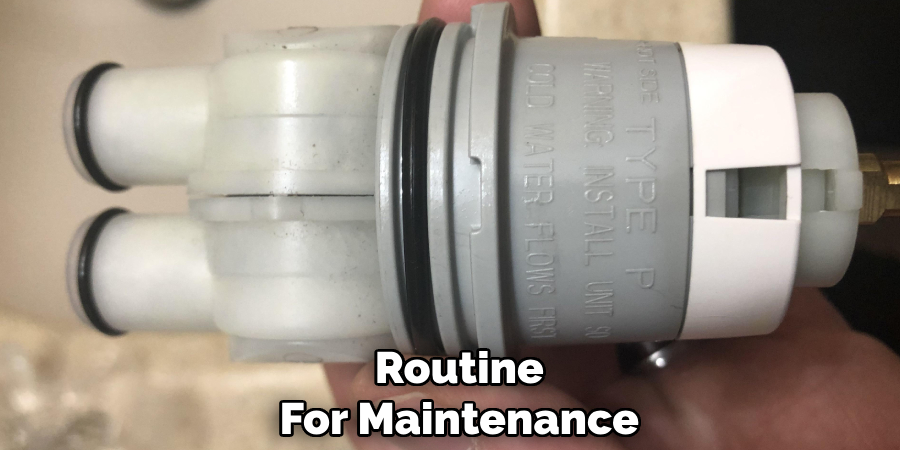
With the cartridge now exposed, take a close look at the part for any identifying marks or numbers. Most cartridges have a model or manufacturer number engraved on the body, which will help you find the correct replacement.
If you’re unable to locate a clear identifier, consider referencing the faucet’s user manual or taking a photo of the cartridge to show at a hardware store. Ensuring you identify the correct cartridge model is crucial for a successful replacement and seamless functionality.
Step 5: Remove Cartridge
To remove the cartridge, begin by loosening any screws or fasteners holding it in place using the appropriate tools, such as a screwdriver or an Allen wrench. Carefully pull the cartridge straight out of the housing, applying steady pressure to avoid damaging surrounding components.
If the cartridge is stuck or difficult to remove, try gently rocking it back and forth or use a cartridge puller if necessary. Take your time during this step to ensure the housing remains intact and ready for the replacement cartridge.
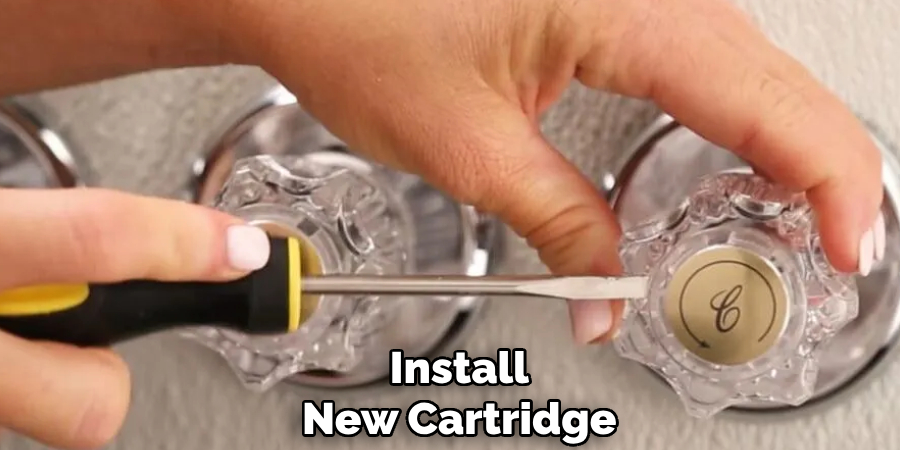
Step 6: Install New Cartridge
Before installing the new cartridge, ensure that it matches the specifications of the old one and is free from any defects or debris. Align the new cartridge with the housing, making sure the grooves or notches line up properly.
Gently insert the cartridge into the housing, applying even pressure until it is securely seated. Once in place, tighten any screws or fasteners that were removed earlier to secure the cartridge. Double-check that the cartridge is correctly installed and can move or function as intended without resistance.
Step 7: Reassemble the Faucet
After the new cartridge is successfully installed, reattach the faucet handle, faceplate, and any other removed components in the reverse order of how they were removed. Turn on your water supply and test your shower for any leaks or malfunctions. If everything looks good, congratulations! You have successfully replaced your Delta shower faucet cartridge.
Following these simple steps on how to identify delta shower faucet cartridge model will help you easily replace your Delta shower faucet cartridge and save money on a professional plumber. Remember to always turn off your water supply before starting any plumbing repair, and consult the manufacturer’s instructions for specific details on your model of faucet.
Troubleshooting Tips
If you encounter any issues during this process, here are a few troubleshooting tips:
- If you experience leaking after replacing the cartridge, check for any loose connections and tighten them if needed.
- If the water flow seems weak or uneven, make sure the cartridge is inserted properly and all components are securely in place.
- If you have trouble removing the old cartridge, try using a lubricant such as WD-40 to loosen it.
- If your shower temperature does not get hot enough, check the temperature limit stop and adjust as needed.
- If you notice a decrease in water pressure after replacing the cartridge, clean any debris from the showerhead and aerator screens.
- If you are unsure about which replacement cartridge to use, consult the manufacturer’s website or customer service for assistance.
Routine Maintenance
To keep your shower faucet functioning properly, it is important to perform routine maintenance. This includes:
- Cleaning the showerhead and aerator screens periodically to remove any buildup or debris that may affect water flow.
- Checking all connections for leaks and tightening them if needed.
- Inspect the cartridge for wear or damage and replace it if necessary.
- Lubricating any moving parts, such as the handle and diverter, with plumber’s grease to ensure smooth operation.
- Checking the water pressure and adjusting it if needed using the shutoff valves.
- Testing the temperature control and adjusting it if necessary using the temperature limit stop.
Regularly maintaining your shower faucet can help prevent unexpected issues and ensure its longevity.
Frequently Asked Questions
Q: How Often Should I Clean My Showerhead and Aerator Screens?
A: It is recommended to clean them at least once every three months. However, this may vary depending on your water quality and usage. The best way to determine if they need cleaning is by inspecting them for any buildup or discoloration.
Q: Can I Clean My Shower Faucet with Harsh Chemicals?
A: It is not recommended to use harsh chemicals on your shower faucet as it can damage the finish and internal components. Instead, opt for a mild soap and warm water solution or a vinegar and water mixture. Avoid using abrasive materials such as steel wool or scrubbing pads that can scratch the surface.
Q: What Should I Do if My Shower Faucet Starts Dripping?
A: If your shower faucet starts dripping, it could be due to worn out seals or mineral buildup in the cartridge. Try cleaning the cartridge with a vinegar and water solution to remove any mineral deposits. If that doesn’t work, you may need to replace the seals or the entire cartridge.
Consult a plumber if you are unsure about how to do this yourself. Additionally, make sure to regularly check for leaks and address them promptly before they become bigger issues. Regular maintenance can help prolong the lifespan of your shower faucet and prevent costly repairs in the future.
Q: Can I Change My Shower Faucet Without Hiring a Professional?
A: Yes, it is possible to change your shower faucet without hiring a professional, but it requires some basic plumbing knowledge and tools. Before attempting to change your shower faucet, it is important to make sure you have the correct replacement faucet that fits your existing plumbing system.
Conclusion
Proper care and maintenance of your shower faucet are essential for ensuring its longevity and functionality. Whether you choose to handle minor repairs and replacements yourself or hire a professional, understanding the basics of your shower system can save you time, money, and hassles down the line.
With the right tools and knowledge, maintaining or upgrading your shower faucet can be a straightforward task that enhances your bathroom’s overall efficiency and aesthetic appeal. Thanks for reading this article on how to identify delta shower faucet cartridge model.

