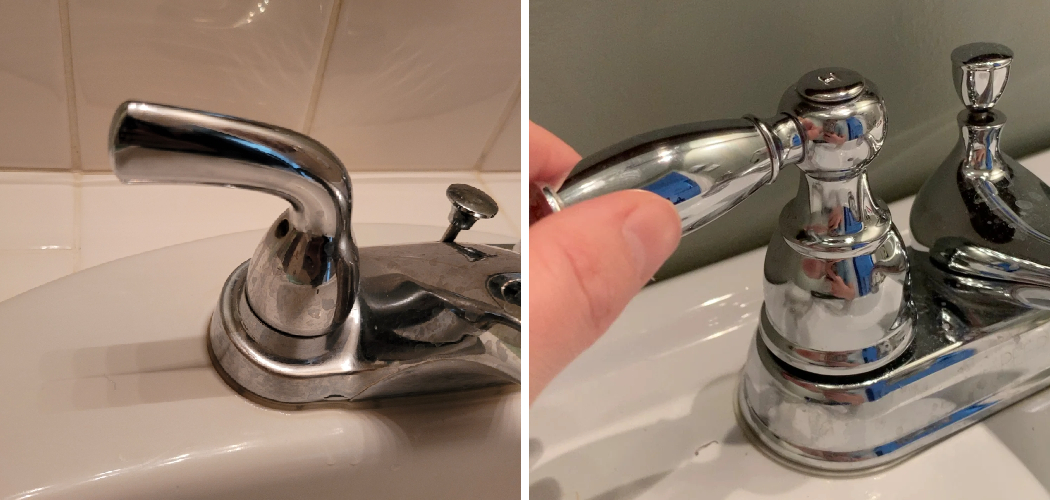
A squeaky faucet handle can be an annoying issue, but the good news is that it’s often easy to fix with a few basic tools and a little know-how. Over time, wear and tear, dirt buildup, or lack of lubrication can cause the handle to make noise when turned. Addressing this problem not only restores quiet operation but can also help maintain the overall condition of your faucet.
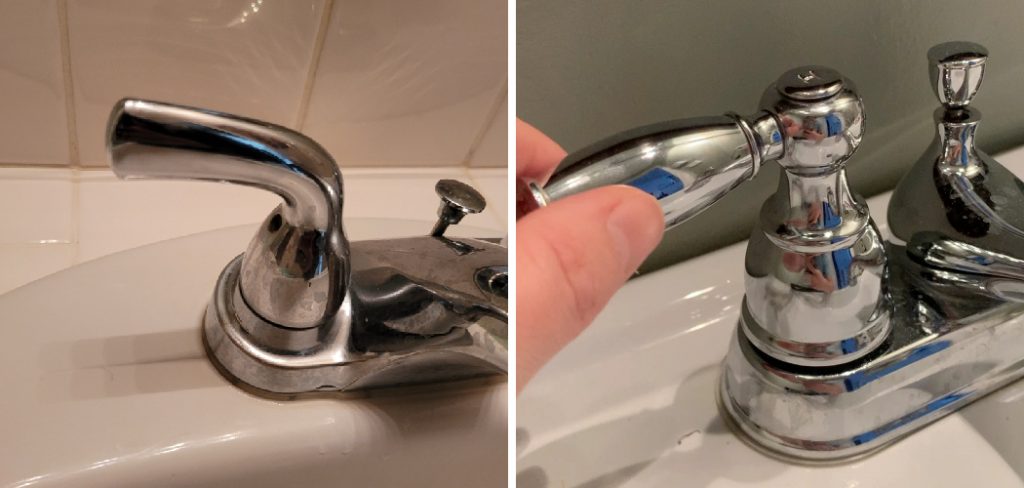
This guide on how to fix squeaky faucet handle will walk you through the steps to troubleshoot and fix a squeaky faucet handle efficiently.
Why Does a Faucet Handle Become Squeaky?
Before we dive into the solutions, it is important to understand why a faucet handle becomes squeaky in the first place. As mentioned earlier, wear and tear or dirt buildup are common culprits. However, a lack of proper lubrication can also lead to a squeaky handle.
When a faucet handle is turned, it operates on a valve stem that moves up and down inside the valve body. This movement can create friction between the two parts if they are not properly lubricated. Over time, this friction can cause the handle to become stiff and make noise when turned.
Additionally, some faucets have rubber or plastic O-rings or washers that can also wear out over time. These parts help to create a tight seal and prevent water from leaking out. When they become worn or damaged, they can cause the handle to make noise as it turns.
Needed Materials
Wrench or Pliers:
To fix a noisy faucet, you will need to have some basic tools on hand. A wrench or pliers will be necessary to loosen and remove the handle from the faucet.
Replacement Parts:
In some cases, you may need to replace worn or damaged parts in order to stop the noise. You can purchase replacement O-rings, washers, or other small parts from your local hardware store.
Lubricant:
To prevent future noise and friction, it is important to properly lubricate all moving parts of the faucet. You can use a specific faucet lubricant or even just household oil like WD-40. Be sure to carefully follow the instructions on the lubricant product and apply it to all necessary areas.
7 Steps on How to Fix Squeaky Faucet Handle
Step 1: Turn Off the Water Supply
Before starting any repairs, locate the water supply valves under your sink. Turn the valves clockwise to shut off the water supply completely.
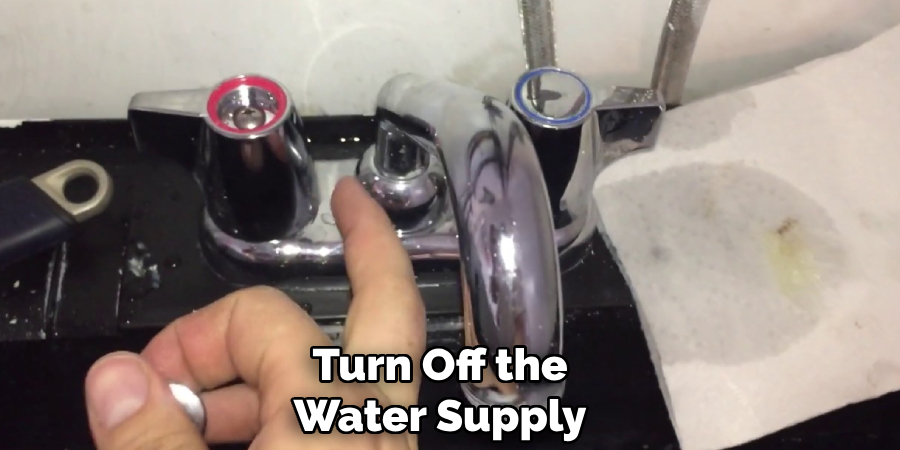
This step is crucial to avoid any water leakage or flooding while working on the faucet. Ensure no water is coming out of the faucet by turning it on briefly after shutting off the supply.
Step 2: Remove the Handle
Use a screwdriver or an appropriate tool to remove the screw that secures the faucet handle. This screw is often located under a decorative cap or cover, which can be gently pried off using a flathead screwdriver.
Once the cover is removed, unscrew and carefully detach the handle. Set the handle and screws aside in a safe place to avoid losing them during the repair process.
Step 3: Inspect for Any Loose Parts
With the handle removed, carefully examine the exposed components of the faucet for any loose or damaged parts. Look for worn washers, loose screws, or misaligned components that may be causing the faucet to malfunction.
Tighten any screws or fittings that appear to be loose, and make a note of any parts that might require replacement. Ensuring all components are properly secured is essential to avoid leaks or further issues during reassembly.
Step 4: Clean and Lubricate
Once the inspection is complete, clean all components thoroughly to remove any mineral deposits, dirt, or debris. Use a soft brush or cloth with vinegar or a mild cleaning solution to gently scrub the parts, paying close attention to areas with visible buildup. Rinse thoroughly with water and dry each piece to prevent moisture damage.
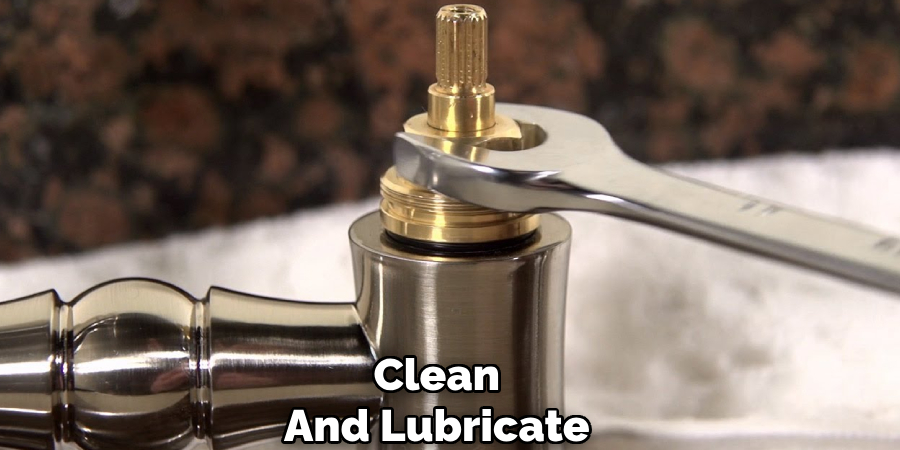
Next, apply a silicone-based faucet lubricant to any moving parts to ensure smooth operation. Avoid using petroleum-based products, as these can damage certain materials. Proper cleaning and lubrication will help extend the life of the faucet and enhance its performance.
Step 5: Reassemble and Test
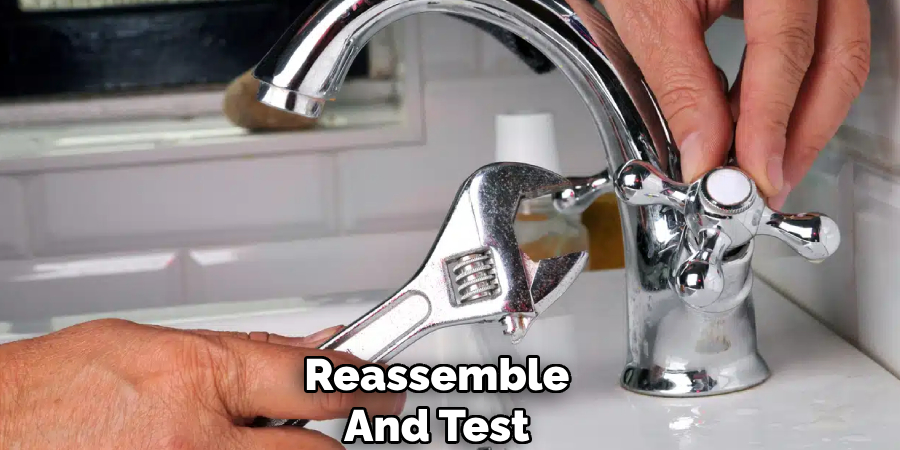
Carefully reassemble the faucet by following the reverse order of disassembly. Make sure each component is securely fitted and properly aligned to avoid leaks or operational issues. Once reassembled, turn on the water supply slowly to check for any leaks.
Test the faucet by running both hot and cold water through it, ensuring smooth operation and consistent water flow. If any problems are observed, consider rechecking the assembly or consulting the manufacturer’s instructions. Proper reassembly and testing guarantee that your faucet is fully functional and restored.
Step 6: Regular Maintenance
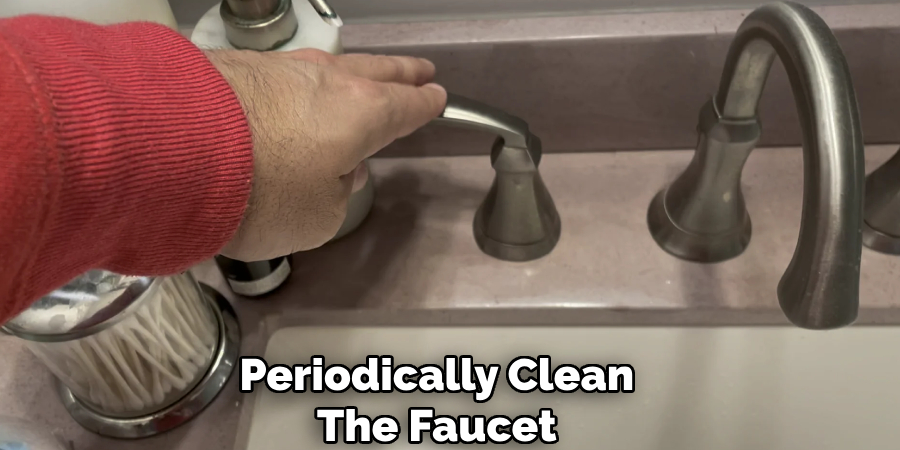
To ensure the longevity and optimal performance of your faucet, regular maintenance is essential. Periodically clean the faucet to remove mineral deposits and grime that may build up over time, especially around the spout and handles. Use a soft cloth and mild cleaner to avoid damaging the finish.
Additionally, check for any signs of wear or leaks and address them promptly to prevent further issues. Inspect the aerator every few months and clean it if necessary to maintain proper water flow. Establishing a routine maintenance schedule will help keep your faucet in excellent working condition and extend its lifespan.
Step 7: Troubleshooting
If, despite your efforts, the squeaking noise persists, there may be a more serious underlying issue with your faucet handle. In this case, it is best to consult a plumber for further assistance and potentially replace the entire faucet handle.
Following these maintenance and troubleshooting tips on how to fix squeaky faucet handle will help ensure the smooth functioning of your faucet handle and prevent any potential leaks or damage. Remember, regular maintenance is key to prolonging the lifespan of your faucet handle and maintaining a functional and efficient kitchen or bathroom sink.
When to Call a Plumber?
While many faucet handle issues can be addressed with basic troubleshooting and maintenance, there are times when it’s best to call a professional plumber. If you notice persistent squeaking despite your efforts, visible damage to the faucet components, or if leaks continue after replacing parts, it may indicate a more serious underlying problem.
Additionally, if you’re uncomfortable performing repairs or lack the necessary tools, a plumber can ensure the job is done correctly and safely. Seeking professional assistance in these situations can prevent further damage and save both time and money in the long run.
Frequently Asked Questions
Q1: How Do I Know if My Faucet Needs to Be Repaired?
A1: Signs that your faucet may need to be repaired include persistent squeaking, visible damage to the components, and leaks that persist after replacing parts. It is always best to consult with a professional plumber for an accurate diagnosis and repair recommendation. If you notice any of these signs, it is important to address the issue promptly before it causes further damage or leads to higher water bills.
Q2: What Can I Do to Extend the Lifespan of My Faucet?
A2: Regular maintenance can extend the lifespan of your faucet. This includes cleaning the aerator, checking for leaks, and replacing worn-out parts when necessary. Additionally, avoiding abrasive cleaners and using gentle pressure when turning handles can also help prevent damage and prolong use.
Q3: Is it Better to Repair or Replace a Faucet?
A3: It depends on the extent of the damage and the age of the faucet. In some cases, repairing a faucet may be a more cost-effective solution. However, if the faucet is old and constantly breaking down, it may be more beneficial in the long run to replace it with a newer, more durable model.
When making this decision, you should also consider the overall style and functionality of your current faucet. If it no longer meets your needs or aesthetic preferences, then replacing it may be a better option.
Q4: How Long Does It Take to Replace a Faucet?
Replacing a faucet typically takes around 1-2 hours, depending on the complexity of the installation and any unforeseen issues that may arise. It is recommended to have basic plumbing knowledge and tools before attempting to replace a faucet yourself.
If you are not comfortable with DIY projects or do not have the necessary skills, hiring a professional plumber is always an option. They can ensure proper installation and save you time and potential frustration.
Conclusion
Squeaky faucet handles can be frustrating, but with a little bit of troubleshooting and maintenance, you can successfully eliminate the annoying sound. Remember to always turn off the water supply before attempting to fix any plumbing issues, and if you are unsure about the steps involved, don’t hesitate to call a professional plumber for assistance.
With proper care and maintenance, your faucet handle should operate smoothly and quietly for years to come. Thanks for reading this article on how to fix squeaky faucet handle. Happy fixing!

