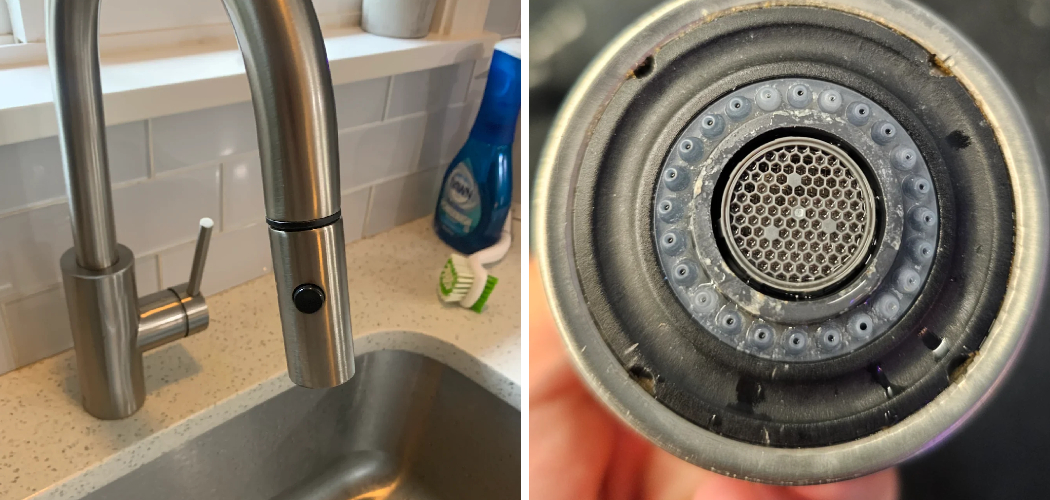
Removing the aerator from a pull-down faucet is a straightforward task that can help improve water flow and remove debris or sediment buildup. Whether you’re performing routine maintenance, cleaning, or replacing the aerator, knowing how to do it correctly can save time and effort.
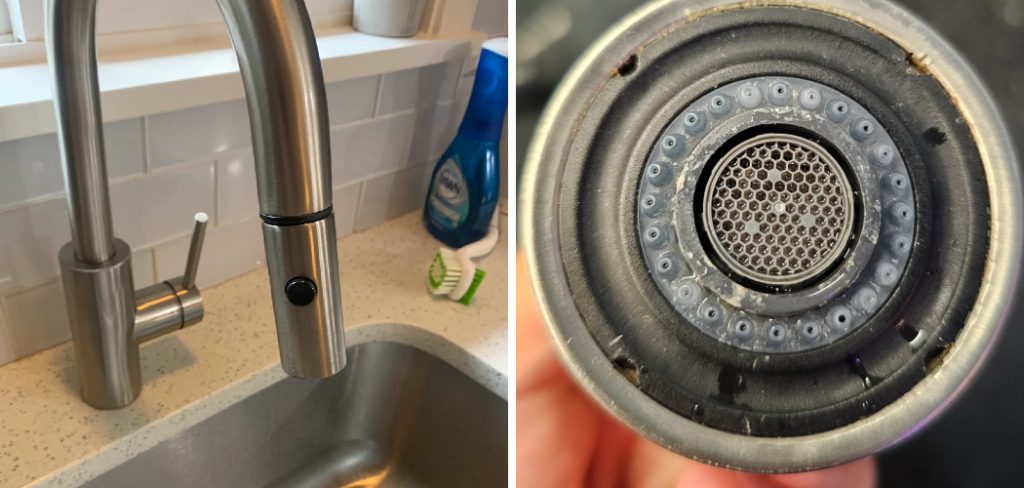
This guide on how to remove aerator from pull down faucet will walk you through the steps to safely and efficiently remove the aerator from your pull-down faucet.
Why Remove the Aerator?
An aerator is a small piece of equipment that screws onto the end of your faucet. Its purpose is to add air to the water flow, making it softer and preventing splashing. While it’s an essential component in most faucets, removing it can be beneficial for several reasons.
Firstly, removing the aerator can help improve water pressure. Over time, debris or sediment buildup can clog the aerator, causing reduced water flow. Removing and cleaning or replacing it can restore proper water pressure.
Secondly, if you have hard water, mineral deposits can accumulate on the aerator, affecting its performance and appearance. By removing and soaking it in a vinegar solution or using a cleaning agent specifically designed for removing mineral deposits, you can prolong the life and efficiency of your aerator.
Needed Materials
- Screwdriver
- Pliers (if Necessary)
- Vinegar or Cleaning Agent
- Small Bowl or Container for Soaking
- Toothbrush or Small Brush for Scrubbing (Optional)
8 Steps on How to Remove Aerator From Pull Down Faucet
Step 1: Locate the Aerator
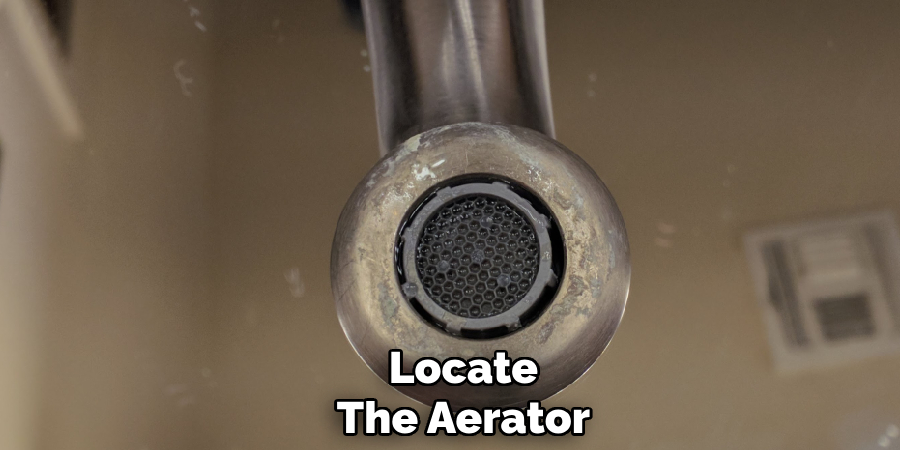
Begin by identifying the location of the aerator on your pull-down faucet. The aerator is typically situated at the tip of the faucet spout where the water flows out.
Examine the spout to confirm its presence; it often appears as a small, round component with a mesh screen visible inside. Familiarizing yourself with its position will make the removal process more efficient.
Step 2: Turn off the Water Supply
Before you start disassembling your faucet, it is essential to turn off the water supply. In most cases, there are shut-off valves under the sink that control the flow of water to your faucet.
If not, you can also turn off the main water valve for your home to be safe. Once you have turned off the water supply, turn on the faucet and let any remaining water run out.
Step 3: Protect Your Sink
Before beginning the removal process, it is important to protect your sink to avoid any scratches or damage caused by tools or falling parts. Place a thick towel or a rubber mat inside the sink to cushion any potential impacts.
Additionally, if you are working with small screws or components, consider using a container or tray nearby to keep everything organized and prevent them from accidentally falling into the drain. Taking these precautions will help ensure a smooth and damage-free process.
Step 4: Remove Aerator With Pliers or Wrench
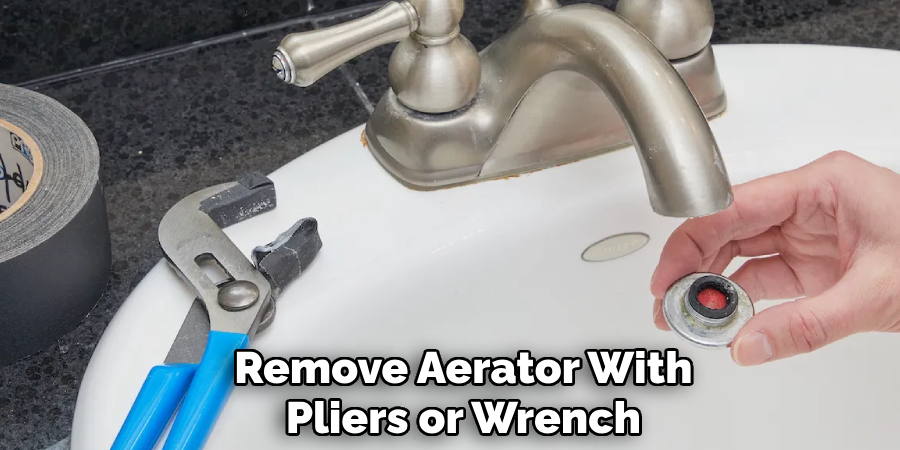
To remove the aerator, use a pair of pliers or an adjustable wrench for a secure grip. Gently grasp the outer edges of the aerator and twist it counterclockwise to loosen it. Be sure to apply steady, even pressure to avoid damaging the aerator’s threads or the faucet itself.
If the aerator is stuck due to buildup or corrosion, consider applying a few drops of penetrating oil and allowing it to sit for a few minutes before trying again. Once loosened, carefully remove the aerator by hand to avoid any damage.
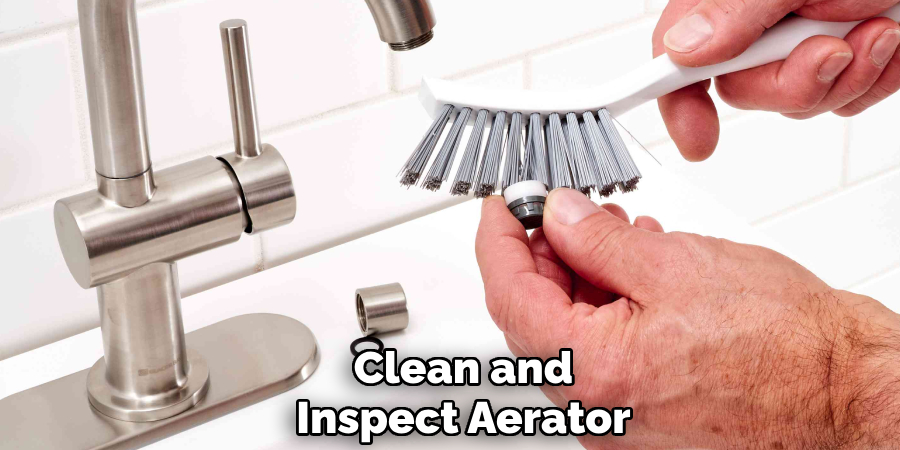
Step 5: Clean and Inspect Aerator
Once the aerator has been removed, carefully inspect it for any debris, mineral buildup, or damage. Use a small brush, such as an old toothbrush, to scrub away any visible deposits. If the buildup is stubborn, soak the aerator in a solution of vinegar and warm water for 15-30 minutes to help dissolve the minerals.
After soaking, rinse the aerator thoroughly under running water to remove any remaining residue. Check for any cracks or wear and replace the aerator if necessary before reassembling.
Step 6: Reassemble the Faucet
Once the aerator is clean and in good condition, it’s time to reassemble the faucet. Align the aerator with the faucet spout and gently screw it back into place. Be careful not to overtighten, as this can cause damage to the threads or the aerator itself.
If the aerator came with a washer, ensure it is properly seated to prevent leaks. After reassembly, turn on the water slowly to test for proper flow and to confirm the aerator is securely in place. If everything is functioning correctly, your faucet is now ready for use!
Step 7: Test Water Flow
Once the aerator is reassembled and securely attached, it’s important to ensure everything is functioning as expected. Begin by turning the faucet handle to allow water to flow. Observe the water pressure and ensure it is consistent and unrestricted.
Check for any leaks around the aerator or faucet spout. If you notice any issues, such as uneven flow or dripping, turn off the water and inspect the aerator to confirm it is properly tightened and seated. Adjust as necessary and retest. When the water flow is smooth and leak-free, the process is complete. Your faucet should now be operating efficiently with improved performance.
Step 8: Regular Maintenance
To prevent future issues with low water flow, make sure to clean your faucet aerator regularly. You can do this by unscrewing it and soaking it in vinegar or a cleaning solution, then scrubbing away any buildup with a small brush. Rinse the aerator and reattach it to the faucet.
Additionally, check for any other potential areas of buildup or clogs in your plumbing system. Regularly cleaning and maintaining your pipes and fixtures will help prevent future problems with low water pressure.
Following these tips on how to remove aerator from pull down faucet will ensure that you have a steady and strong water flow in your home. However, if you do experience persistent low water pressure, it may be a sign of a larger issue with your plumbing system. In this case, it is best to contact a professional plumber for an inspection and potential repairs.
Frequently Asked Questions
Q: Why is My Water Pressure So Low?
A: There are several potential reasons for low water pressure, including clogged aerators, leaks in the plumbing system, or problems with the municipal water supply. It is best to troubleshoot and address the specific cause in order to fix the issue.
Q: How Can I Increase My Water Pressure?
A: Depending on the cause of low water pressure, there are various ways to increase it. For clogged aerators, simply cleaning or replacing them can help. If there is a leak in the plumbing system, repairs will need to be made. Some homeowners also choose to install a pressure booster pump for more consistent and stronger water flow.
Q: Can Low Water Pressure Affect My Appliances?
A: Yes, low water pressure can affect appliances that rely on a steady flow of water such as dishwashers and washing machines. These appliances may not function properly with inadequate water flow, leading to potential damage or malfunction.

Q: Is It Safe to Use High Water Pressure?
Yes, it is generally safe to use high water pressure if it falls within the recommended range for household plumbing systems. However, excessively high water pressure can cause damage to pipes and fixtures over time. It is important to regularly check and adjust your home’s water pressure to ensure it remains at a safe level.
Q: How Can I Increase My Home’s Water Pressure?
A: There are a few steps you can take to increase your home’s water pressure. First, check your main shut-off valve to make sure it is fully open. If your home has a pressure regulator valve, adjusting it may also help increase water pressure. You can also try checking for any obstructions or clogs in your plumbing system, such as sediment buildup or a partially closed valve.
If these steps do not improve your water pressure, it may be necessary to install a booster pump. This device is designed to increase the water flow and pressure in your home’s pipes. It is important to consult with a professional plumber before installing a booster pump to ensure it is compatible with your plumbing system and does not cause any damage.
Conclusion
By following these simple steps on how to remove aerator from pull down faucet, you can easily fix low water pressure in your faucet without having to call a plumber. Remember to always turn off the water supply before attempting any repairs and to carefully reassemble all components. Regular maintenance and cleaning will also help prevent low water pressure issues in the future.
However, if you continue to experience persistent low water pressure, it is best to consult a professional for further assistance. Don’t let low water pressure disrupt your daily routine and follow these steps for a quick and easy fix. Happy plumbing!

