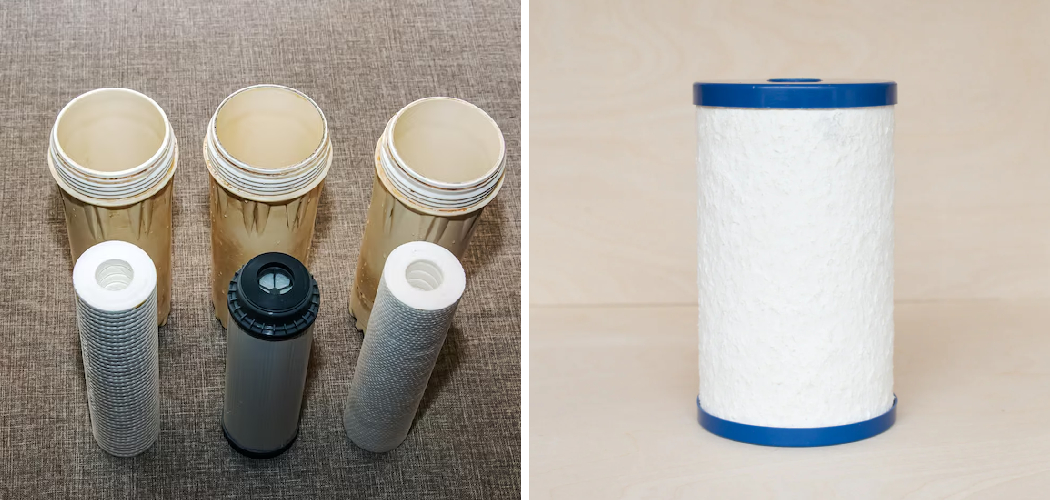
Are you noticing a slower flow of water from your faucet with a filter? Is the taste of filtered water not as fresh as it used to be? It may be time to clean your water filter cartridge. How to clean water filter cartridge can help improve the quality and taste of your filtered water, as well as extend the life of your filter cartridge.
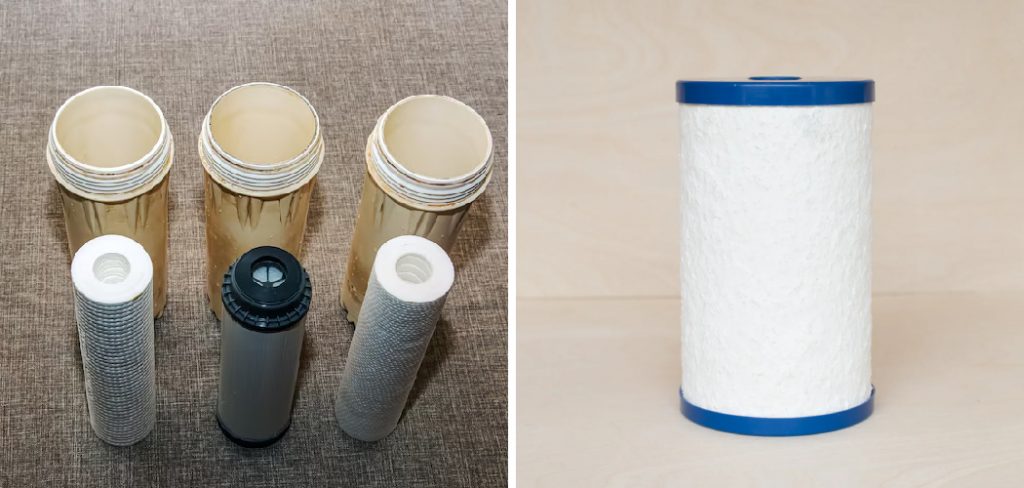
Regular maintenance of your water filter cartridge is essential to ensure it functions efficiently and provides clean, safe water. Over time, sediment, dirt, and other contaminants can build up within the cartridge, reducing its effectiveness. Cleaning the cartridge not only extends its lifespan but also ensures the water you consume is free from impurities.
Whether used in your home or outdoors, following proper cleaning techniques will keep your water filter in optimal condition and help you avoid the need for frequent replacements.
What Are the Benefits of Properly Cleaning Your Water Filter?
Cleaning your water filter has several benefits, including:
- Improving the Lifespan of Your Filter: Regularly cleaning your water filter helps remove built-up debris and contaminants, preventing clogging and allowing it to function properly for a longer period.
- Ensuring Clean Drinking Water: A dirty filter can allow impurities to pass through, affecting the quality and safety of your drinking water. Cleaning the filter removes these impurities, ensuring that the water you consume is free from harmful particles.
- Saving Money on Replacements: By maintaining and cleaning your water filter, you can help avoid frequent replacements. This not only saves you money but also reduces waste and contributes to a more sustainable household.
- Preventing Bacterial Growth: A dirty filter can become a breeding ground for bacteria, which can lead to health issues. Regular cleaning helps prevent this and keeps your water filter functioning properly.
- Extending the Life of Your Water Filter: Proper maintenance and cleaning can significantly extend the lifespan of your water filter. This means you won’t have to replace it as often, saving you money in the long run.
What Will You Need?
Before you start cleaning, make sure you have the following items on hand:
- Soap or detergent
- Clean cloth or sponge
- Warm water
- Vinegar (optional)
Once you have these items, you’re ready to begin cleaning your water filter.
10 Easy Steps on How to Clean Water Filter Cartridge:
Step 1. Turn Off the Water Supply:
Before cleaning your water filter cartridge, it’s essential to shut off the water supply to prevent leaks or a mess. Locate the valve or switch that controls the water flow to the filter system and turn it off completely. Depending on your setup, this might be a shut-off valve on the main water line or a specific valve connected to the filter.
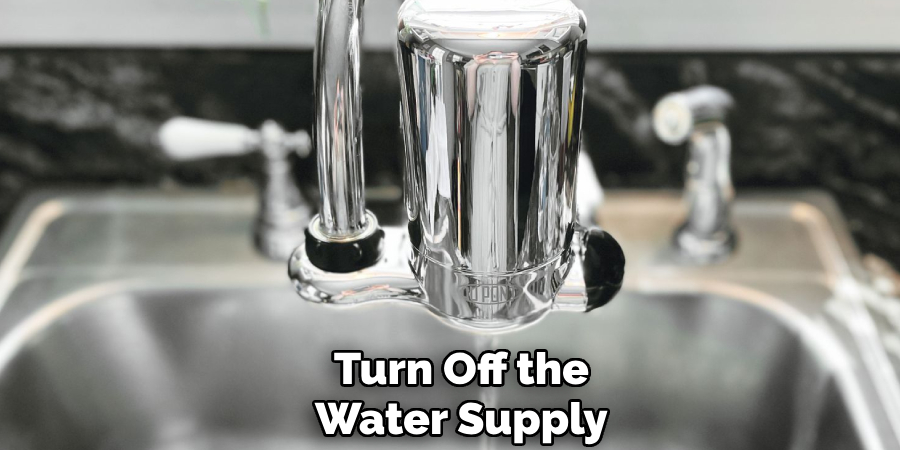
Ensuring the water is off allows you to safely remove the filter without dealing with unnecessary water pressure or flow complications. Take a moment to double-check that the water has stopped flowing before proceeding to the next step.
Step 2. Release Pressure:
Once you’ve ensured the water is completely shut off, the next important step is to release any built-up pressure in the filter system. Many filtration units come equipped with a pressure release valve, typically located near the top of the filter housing. Press or turn the valve carefully to allow trapped air or water pressure to escape from the system. You might hear a hissing sound as the pressure is released—this is entirely normal.
If your system does not have a designated pressure release valve, you can open a faucet downstream of the filter to achieve the same effect. Releasing the pressure is crucial, as it prevents unnecessary strain on the components and ensures the safe removal of the filter housing during the following steps.
Step 3. Remove the Filter Housing:
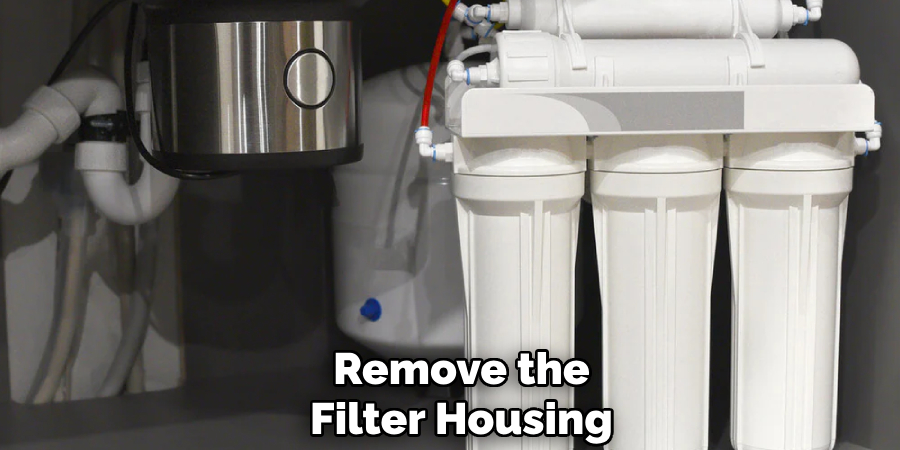
To remove the filter housing, first, ensure you have the appropriate tools, such as a filter wrench, to loosen it. Position a bucket or towel under the housing to catch any water that may spill during removal.
Carefully use the wrench to turn the housing counterclockwise if it is threaded, taking care not to apply excessive force to avoid damaging the threads or the housing itself. If the housing feels stuck, check to ensure all pressure has been released from the system—residual pressure can make the housing difficult to remove.
Step 4. Take Out the Cartridge:
Carefully remove the old cartridge from the housing by gripping it firmly and pulling it straight out. Be prepared for a small amount of water to drip from the cartridge. It’s a good idea to have a towel or bucket nearby to catch any excess water.
Inspect the old cartridge for any visible buildup, damage, or discoloration, as this could indicate potential issues in your water supply or filtration system. Take note of the orientation of the old cartridge before removing it, as the new cartridge needs to be placed in the same direction for proper operation.
Step 5. Rinse the Cartridge:
Before installing the new cartridge, it is essential to rinse it thoroughly to remove any loose particles or residual manufacturing debris. This ensures optimal performance and prevents any contamination from entering your water supply.
To rinse the cartridge, hold it under a steady stream of cold, running water for a few minutes. Rotate the cartridge gently to ensure all sides and surfaces are rinsed evenly. If the cartridge has an internal filter or specific ports, you can allow water to flow through them for a thorough cleaning.
Step 6. Prepare Cleaning Solution:
To prepare the cleaning solution, start by selecting a cleaning agent appropriate for your cartridge type. Typically, a solution of warm water mixed with a small amount of mild dish soap or a specialized cartridge cleaning solution works best. Avoid using harsh chemicals or abrasive substances, as these can damage the cartridge material and reduce its lifespan.
Once you have chosen the cleaning agent, fill a clean bucket or basin with enough solution to submerge the cartridge fully. Ensure the solution is well-mixed to distribute the cleaning agent evenly. Use gloves if necessary to protect your hands, especially if handling cleaning agents for extended periods.
Step 7. Clean the Cartridge:
Submerge the cartridge in the prepared cleaning solution, ensuring it is fully submerged. Allow the cartridge to soak for the recommended amount of time, typically between 10 and 20 minutes, as indicated in the cleaning solution’s instructions.
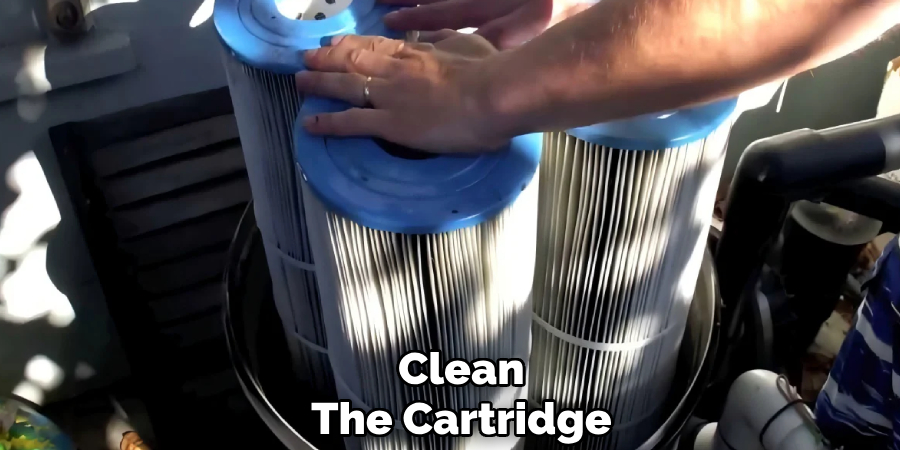
While the cartridge is soaking, gently agitate it periodically to help dislodge any stubborn debris or buildup trapped in the pleats. Use a soft-bristled brush, if necessary, to gently scrub the cartridge, paying close attention to areas that appear particularly dirty. Be thorough, but take care not to apply excessive pressure that could damage the cartridge material.
Step 8. Rinse Thoroughly:
After allowing the cartridge to soak and scrubbing as needed, it’s time to rinse thoroughly to remove all cleaning solution and loosened debris. Use a garden hose with a nozzle attachment to direct a strong stream of water into the pleats, working systematically from top to bottom. Be sure to position the nozzle at an angle to effectively clean between the folds without missing any hidden dirt.
Rotate the cartridge as you rinse to ensure every pleat is addressed. If the cartridge is huge, you may need to work in sections to maintain thoroughness. Inspect the cartridge closely during this process, looking for any remaining debris. If some areas remain dirty, target them with a more focused spray or repeat the scrubbing process. A clean, well-rinsed cartridge is critical to maintaining effective filtration and prolonging the life of your pool’s filtration system.
Step 9. Clean the Housing:
After ensuring the cartridge is thoroughly cleaned, it’s equally important to pay attention to the filter housing. Start by removing any visible debris, such as leaves, dirt, or algae, from the housing unit. Use a soft cloth or sponge along with a mild cleaning solution to scrub the interior and exterior surfaces of the housing.
Focus primarily on the seals and edges, as dirt buildup in these areas can compromise the unit’s function over time. Rinse everything down with a hose to remove soap residue and loosened debris. Finally, inspect the housing for cracks or wear and tear, as this could indicate the need for maintenance or replacement. Properly cleaning and maintaining the housing unit ensures it operates efficiently and avoids contamination of the newly cleaned cartridge.
Step 10: Reassemble the Unit
Once the housing and cartridge are thoroughly cleaned and inspected, reassemble the unit carefully. Start by placing the cleaned or newly replaced cartridge back into the housing, ensuring it is seated properly and aligned as per the manufacturer’s guidelines.
Next, securely screw the housing back onto the base or connecting assembly, making sure the seals or O-rings are in place and properly fitted. Tighten the housing firmly, but avoid over-tightening to prevent damage. Reassembly is a crucial step in ensuring the system functions optimally without leaks or inefficiencies.
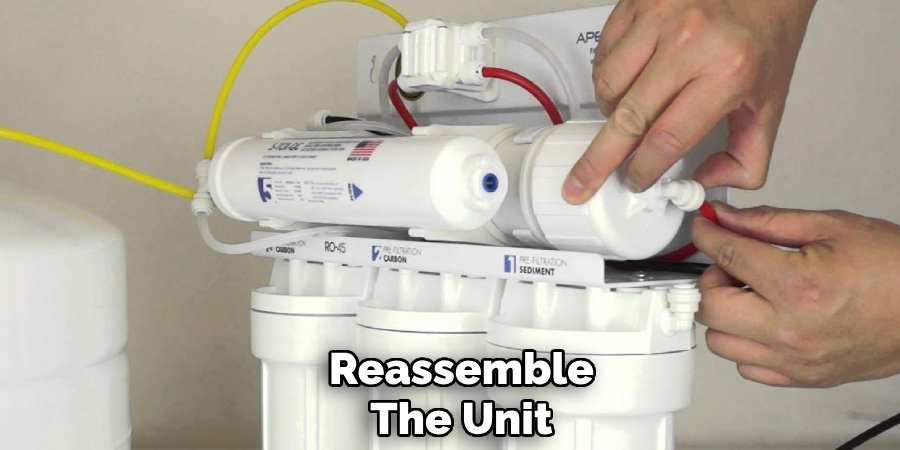
By following these steps, you can keep your water filter cartridge clean and ensure it works efficiently for a longer period.
Conclusion
How to clean water filter cartridge is a straightforward yet essential process to maintain water quality and extend the life of your filter.
Regular cleaning prevents the buildup of dirt and contaminants, ensuring that your filter operates at its maximum efficiency. By dedicating time to follow the proper cleaning steps and inspecting the cartridge for any signs of wear, you can save money on replacements and enjoy cleaner, healthier water for an extended period.
Remember, consistent maintenance goes a long way in keeping your water filtration system performing well.

