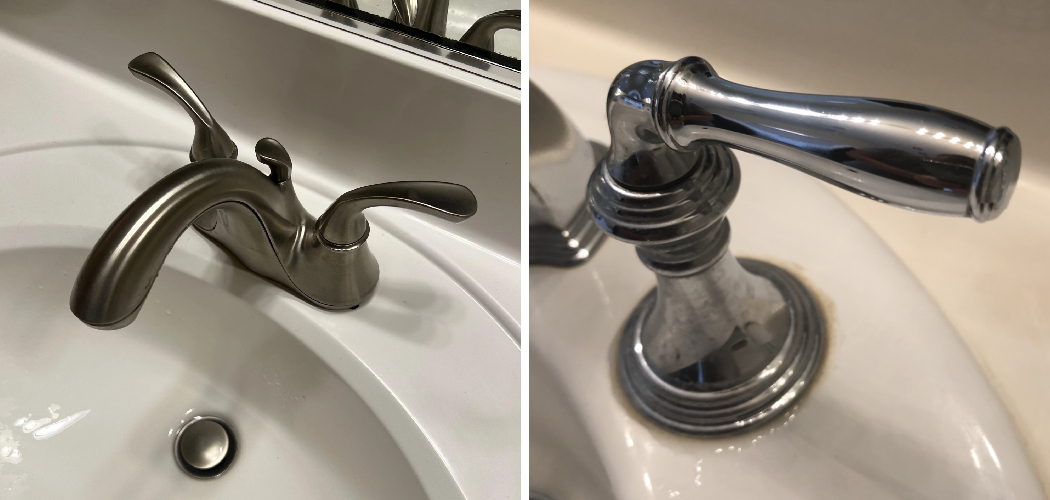
Removing the handle of a Kohler bathroom faucet may seem like a daunting task, but with the right tools and a clear guide, it can be done efficiently. Whether you’re replacing the handle, performing maintenance, or addressing a leak, understanding the process is key to avoiding damage and ensuring a smooth repair.
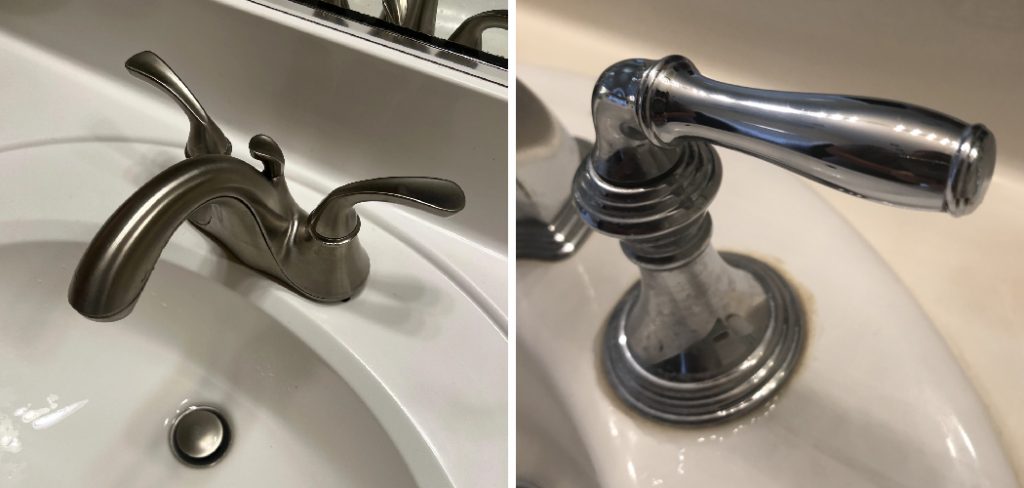
This guide on how to remove kohler bathroom faucet handle will walk you through the steps to safely and effectively remove a Kohler bathroom faucet handle.
Know Your Kohler Faucet Model
Before beginning the removal process, it is essential to identify the specific model of your Kohler bathroom faucet. Kohler produces a wide range of faucet designs, and each model may have slightly different components or removal methods. Look for the model number, which is typically found on the faucet itself, in the owner’s manual, or on the original packaging.
If the model number is not readily available, you can often determine the type by noting the shape, handle configuration, and overall design. Knowing your faucet model ensures you have the correct tools, replacement parts, and instructions tailored to your specific fixture.
Tools and Supplies You’ll Need
Before beginning the process of working on your faucet, gather the necessary tools and supplies to ensure a smooth and efficient repair or replacement. Here’s a list of commonly required items:
- Adjustable Wrench or Basin Wrench
- Screwdriver (Flathead and Phillips)
- Allen Wrench or Hex Key (Depending on Your Faucet Type)
- Plumber’s Tape (Teflon Tape)
- Bucket or Container (to Catch Water)
- Cleaning Cloth or Sponge
- Replacement Parts (Specific to Your Faucet Model)
- Plumber’s Putty (if Needed for Installation)
Having these tools and supplies ready will save time and help avoid unexpected delays during the project. Always ensure the items are compatible with the specific type and model of your faucet.
8 Simple Steps on How to Remove Kohler Bathroom Faucet Handle
Step 1: Shut Off the Water Supply
Before starting, locate the water shutoff valves beneath the sink. Turn the valves clockwise to close them completely and stop the water flow. If your sink lacks individual shutoff valves, you may need to turn off the main water supply for your home.
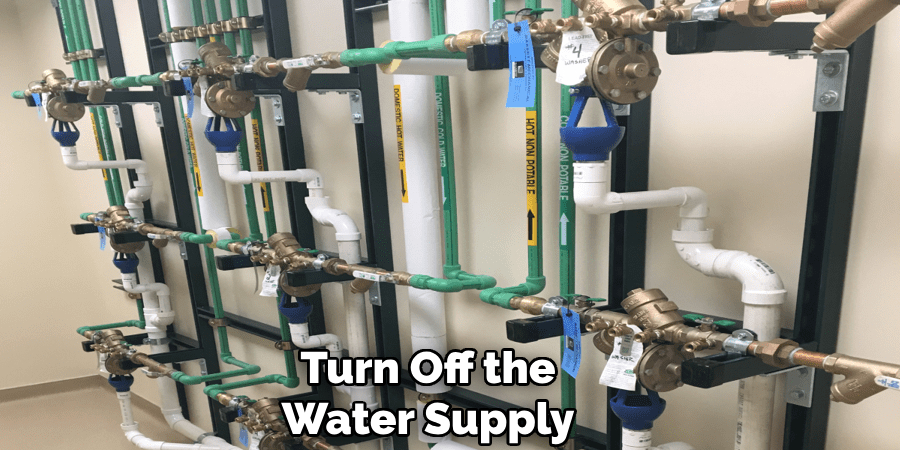
Once the water supply is off, turn on the faucet to release any remaining water pressure. This step ensures a safe and dry workspace for the rest of the process.
Step 2: Remove Decorative Cap or Plug
Inspect the faucet handle for a decorative cap or plug that may be covering the handle’s screw. These caps are typically located on the top or side of the handle and can often be removed by gently prying them off with a flathead screwdriver or a similar tool.
Be careful not to scratch or damage the finish while prying. Once removed, set the cap or plug aside in a safe place for reassembly later.
Step 3: Unscrew the Handle from the Base
Using a screwdriver that matches the type of screw holding the handle in place, carefully unscrew the handle from the faucet base. Turn the screw counterclockwise, ensuring you apply steady pressure to avoid stripping the screw.
Once the screw is completely removed, gently lift the handle off the base. If the handle seems stuck, you can wiggle it slightly or use a small amount of lubricant to loosen it. Place the removed handle and screw in a secure location to prevent loss or damage.
Step 4: Inspect and Replace Any Damaged Parts
With the handle removed, carefully inspect the faucet components for any signs of wear or damage. Look for cracks, corrosion, or mineral buildup, especially on the cartridge, O-rings, and seals. If you notice any damaged parts, it’s important to replace them to ensure the faucet functions properly without leaks.

Gently clean any buildup using a soft cloth or vinegar solution, taking care not to damage any surfaces. Refer to your faucet’s manual or take the damaged piece to a hardware store to ensure you purchase the correct replacement. Install the new part securely, following the manufacturer’s instructions. Ensuring every component is in good condition will prolong the life of your faucet and improve its performance.
Step 5: Reattach Handle and Decorative Cap or Plug
Once the replacement part is installed and secure, carefully reattach the faucet handle. Align it properly with the stem and tighten any screws or fasteners to hold it firmly in place. Finally, snap the decorative cap or plug back onto the handle to give the faucet a finished look.
Ensure everything is snug and secure before testing the faucet to confirm it functions correctly without leaks. This final step completes the repair process, restoring your faucet to full working order.
Step 6: Turn Water Supply Back On
Once the faucet is reassembled, it’s time to restore the water supply. Carefully turn the shut-off valves under the sink counterclockwise to open them. If there is a main water supply valve, ensure it is fully turned on as well.
Gradually restore the water flow to avoid any sudden pressure surges that might impact the faucet. After turning the water back on, check for leaks around the handle and base to ensure the repair was successful. If everything looks good, the faucet is now ready for regular use!
Step 7: Test Faucet
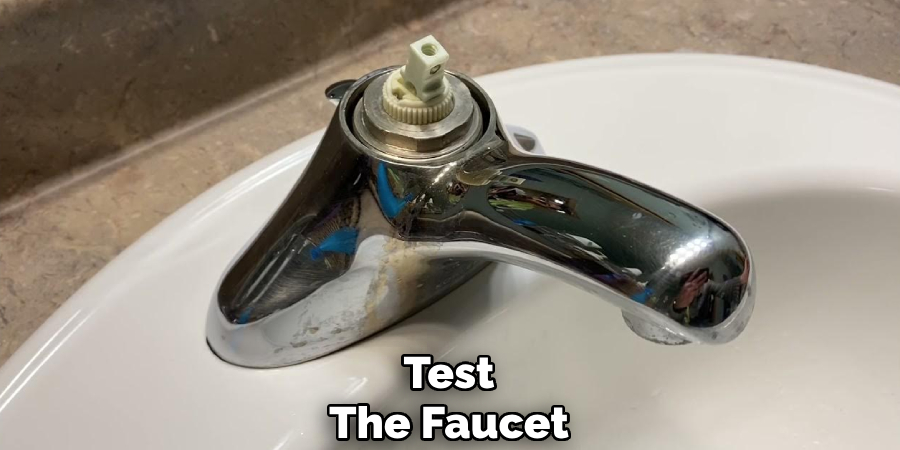
With the water supply restored, it’s time to test the faucet to ensure it is functioning properly. Turn on both the hot and cold water handles, checking for smooth operation and consistent water flow. Observe the faucet closely for any drips or leaks around the repaired areas.
Switch between different flow settings, if applicable, to confirm that everything is working as expected. If any issues are detected, double-check the assembly and ensure all components are securely in place. Once satisfied with the results, your faucet repair is complete!
Step 8: Clean Up
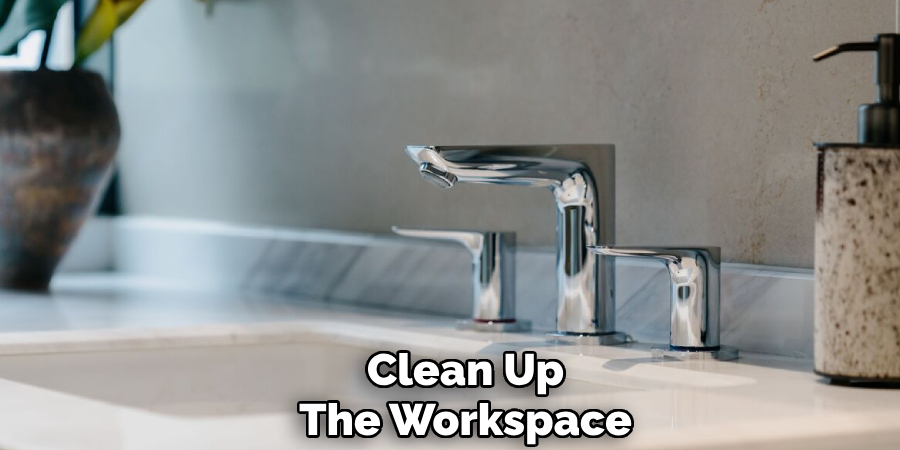
After completing the faucet repair and verifying its functionality, take time to clean up the workspace. Begin by wiping down the sink and surrounding areas to remove any residual water, grime, or debris left from the repair process. Gather all tools and materials used, ensuring they are cleaned and stored properly for future use. Dispose of any old or damaged parts responsibly, following local waste disposal guidelines. A tidy workspace not only reflects a job well done but also makes future maintenance tasks more efficient.
Following these steps on how to remove kohler bathroom faucet handle will help save time and ensure a successful repair. It is important to remember to always turn off the water supply before beginning any plumbing repairs and to take care when handling tools and materials.
Additional Tips
- If you are unsure about disassembling or fixing your faucet, consult a professional plumber for assistance.
- Prevent future issues by regularly checking and cleaning your faucet’s aerator and washers.
- Consider upgrading to newer models of Kohler faucets that have more advanced features such as touchless activation or temperature memory settings.
- Remember to always turn off the water supply before attempting any repairs or installations.
- Keep a manual or online guide specific to your faucet model for reference and troubleshooting tips.
- When installing a new faucet, make sure all parts are securely tightened and properly aligned before turning on the water supply.
- Use plumber’s tape when connecting pipes and fixtures to ensure a secure, leak-free connection.
- Regularly inspect the area under your sink for any signs of leaks or water damage.
- Avoid using harsh chemicals or abrasive cleaners on your faucet as they can damage the finish.
- To keep your faucet looking shiny and clean, wipe it down regularly with a mild soap and warm water solution.
- Consider investing in an aerator key to easily remove and clean mineral buildup from your faucet’s aerator.
Frequently Asked Questions
Q: How Often Should I Replace My Faucet?
A: It is recommended to replace your faucet every 10-15 years, but this can vary depending on usage and quality of the faucet.
Q: Can I Install a New Faucet Myself?
A: If you have plumbing experience and the necessary tools, then yes, you can install a new faucet yourself. However, it is always best to consult a professional plumber for any major plumbing installations.
Q: What Do I Do if My Faucet is Leaking?
A: First, check the area under your sink for any signs of leaks or water damage. If there are no obvious issues, try tightening any loose connections or replacing worn-out parts such as washers or O-rings. If the issue persists, it is best to contact a plumber to diagnose and fix the problem.
Q: How Often Should I Replace My Faucet?
A: The lifespan of a faucet can vary depending on its quality and usage, but on average, it should be replaced every 10-15 years. Signs that it may be time for a replacement include frequent leaks, rust or corrosion, and difficulty turning the handle.
Conclusion
Maintaining your faucets is essential for ensuring their longevity and efficiency. Regular inspections, timely repairs, and replacements when necessary can save you from bigger plumbing issues in the future.
By addressing problems early and taking proper care of your faucets, you can enjoy reliable performance and avoid unnecessary expenses. If in doubt, seeking professional advice is always a smart choice. Thanks for reading this article on how to remove kohler bathroom faucet handle.

